はじめに
本記事は、UI5 Toolingを使ってみるシリーズの2回目です。(1回目はこちら)
今回は、以下のブログを参考にODataとの接続を行います。
End-To-End setup of local development environment with UI5 Tooling – Part 3 VS Code
内容
- 認証不要なODataの場合
- 認証が必要ながODataの場合
1. 認証不要なODataの場合
まずは、NorthwindのサンプルODataを使います。
1.1. データソースを追加
manifest.jsonにODataの接続設定を追加します。
	"sap.app": {
		...
			"mainService": {
				"uri": "/Northwind/V2/Northwind/Northwind.svc/",
				"type": "OData",
				"settings": {
					"odataVersion": "2.0",
					"localUri": "localService/metadata.xml"
				}
			}
		}
		"models": {
			...
			"": {
				"dataSource": "mainService",
				"preload": true
			}
		}
ビューにリストを追加します。
			<Page title="{i18n>title}">
				<content>
					<List items="{/Products}" growing="true" growingScrollToLoad="true">
						<items>
							<ObjectListItem type="Navigation" title="{ProductID}" number="{UnitsInStock}" />
						</items>
					</List>
				</content>
			</Page>
1.2. ui5-middleware-simpleproxyをインストール
ui5-middleware-simpleproxyを入れると、プロキシが使えるようになります。アプリとODataとのやり取りの間にプロキシを間に入れることによってCORSのエラーを回避できます。
参考:CORS and Fiori/UI5 – Everything you need to know
以下のコマンドを入力します。
npm install ui5-middleware-simpleproxy --save-dev
package.jsonに以下を追加します。
"ui5": {
  "dependencies": [
    "ui5-middleware-simpleproxy"
  ]
}
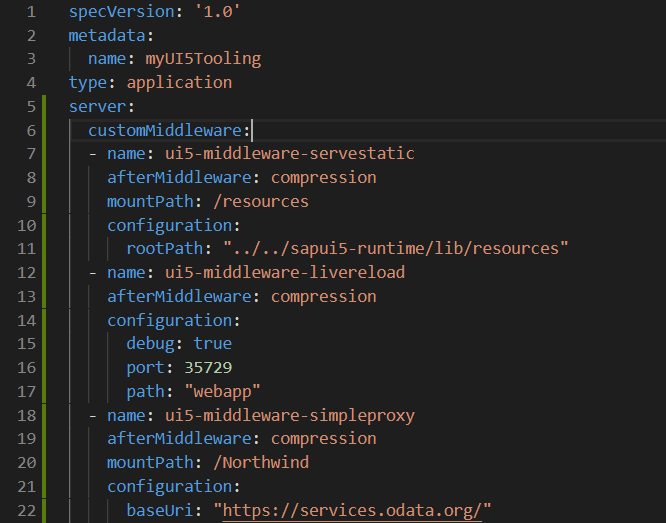
ui5.yamlに以下を追加します。mountPathはmanifest.jsonに追加したuriの先頭部分と一致させます。この部分がbaseUriに置き換わります。
  - name: ui5-middleware-simpleproxy
    afterMiddleware: compression
    mountPath: /Northwind
    configuration:
      baseUri: "https://services.odata.org/"
1.3. 実行してみる
レイアウトがあまりよくないですが、一応データはロードできました。
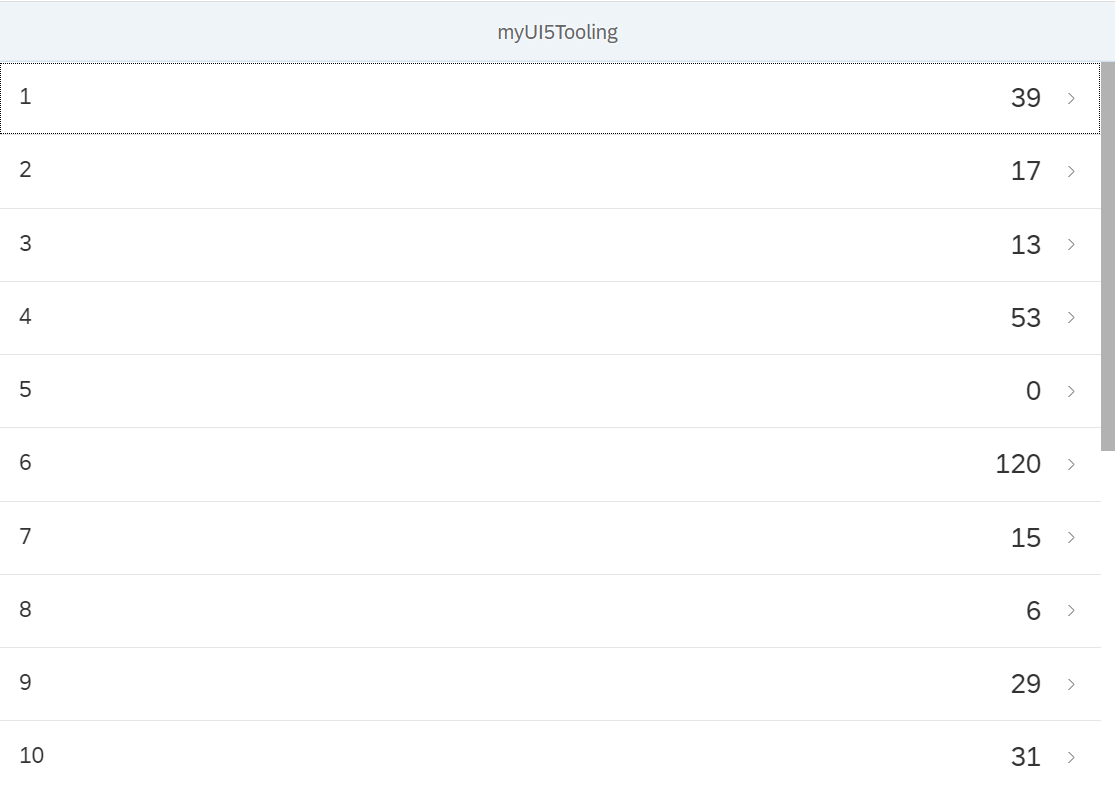
ネットワークタブを見るとリクエストURLの先頭がhttp://localhost:8080となっていて、これ自体はさきほどと変わりません。プロキシがui5.yamlに追加したbaseUriを使って正しいサーバにアクセスしてくれていると思われます。

2. 認証が必要なODataの場合
通常、バックエンドのODataサービスに接続する際は認証が必要です。今回はES5というSAPが用意したGateway Demoサーバーを使って認証が必要なパターンを試してみます。
ES5のアカウントは以下のリンクから作成できます。
https://developers.sap.com/tutorials/gateway-demo-signup.html
2.1. データソースを追加
manifest.jsonにES5の宛先を追加します。Northwindの宛先は今回使いませんが、残しておきたかったので"Northwind"と名前を変えてあります。
なお、先頭についている"ES5"などの識別子はデプロイする前に外す必要があります。
		"dataSources": {
			"mainService": {
				"uri": "ES5/sap/opu/odata/iwbep/GWSAMPLE_BASIC/",
				"type": "OData",
				"settings": {
					"odataVersion": "2.0",
					"localUri": "localService/metadata.xml"
				}
			},
			"Northwind": {
				"uri": "/Northwind/V2/Northwind/Northwind.svc/",
				"type": "OData",
				"settings": {
					"odataVersion": "2.0",
					"localUri": "localService/metadata.xml"
				}
			}
		"models": {
			...
			"": {
				"dataSource": "mainService",
				"preload": true
			}
		}
ビューを変更します。
			<Page title="{i18n>title}">
				<content>
					<List items="{/ProductSet}" growing="true" growingScrollToLoad="true">
						<items>
							<ObjectListItem type="Navigation" title="{ProductID}" number="{Price}" />
						</items>
					</List>
					<!-- <List items="{/Products}" growing="true" growingScrollToLoad="true">
						<items>
							<ObjectListItem type="Navigation" title="{ProductID}" number="{UnitsInStock}" />
						</items>
					</List>					 -->
				</content>
			</Page>
2.2. ui5-middleware-proxy-basicauthをインストール
ui5-middleware-proxy-basicauthはui5-middleware-simpleproxyと大体同じ役割ですが、Basic認証にユーザID、パスワードを渡すことができます。
以下のコマンドを入力します。
npm install ui5-middleware-proxy-basicauth --save-dev
package.jsonに以下を追加します。前のステップで追加したui5-middleware-simpleproxyは削除します。
"ui5": {
  "dependencies": [
    "ui5-middleware-proxy-basicauth"
  ]
}
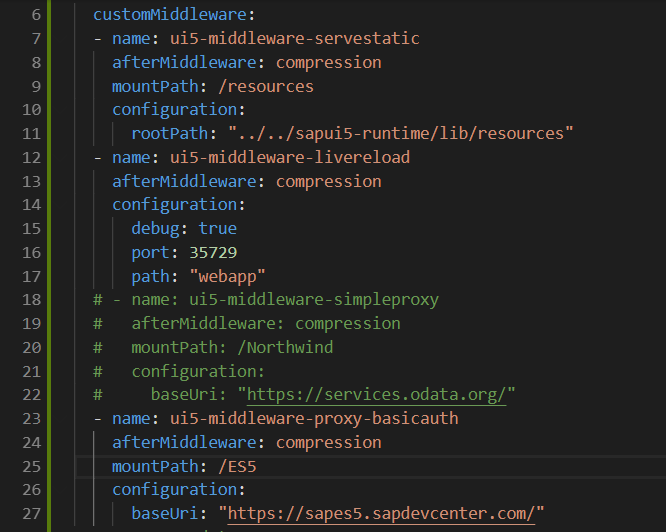
ui5.yamlに以下を追加します。
  - name: ui5-middleware-proxy-basicauth
    afterMiddleware: compression
    mountPath: /ES5
    configuration:
      baseUri: "https://sapes5.sapdevcenter.com/"
      client: "002"
プロジェクト直下に.envファイルを作成し、ユーザID、パスワードを設定します。
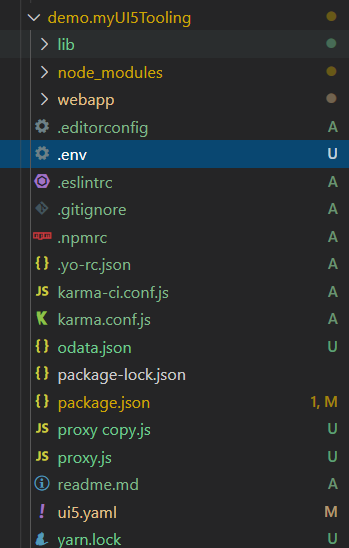
PROXY_USERNAME=<ユーザID>
PROXY_PASSWORD=<パスワード>
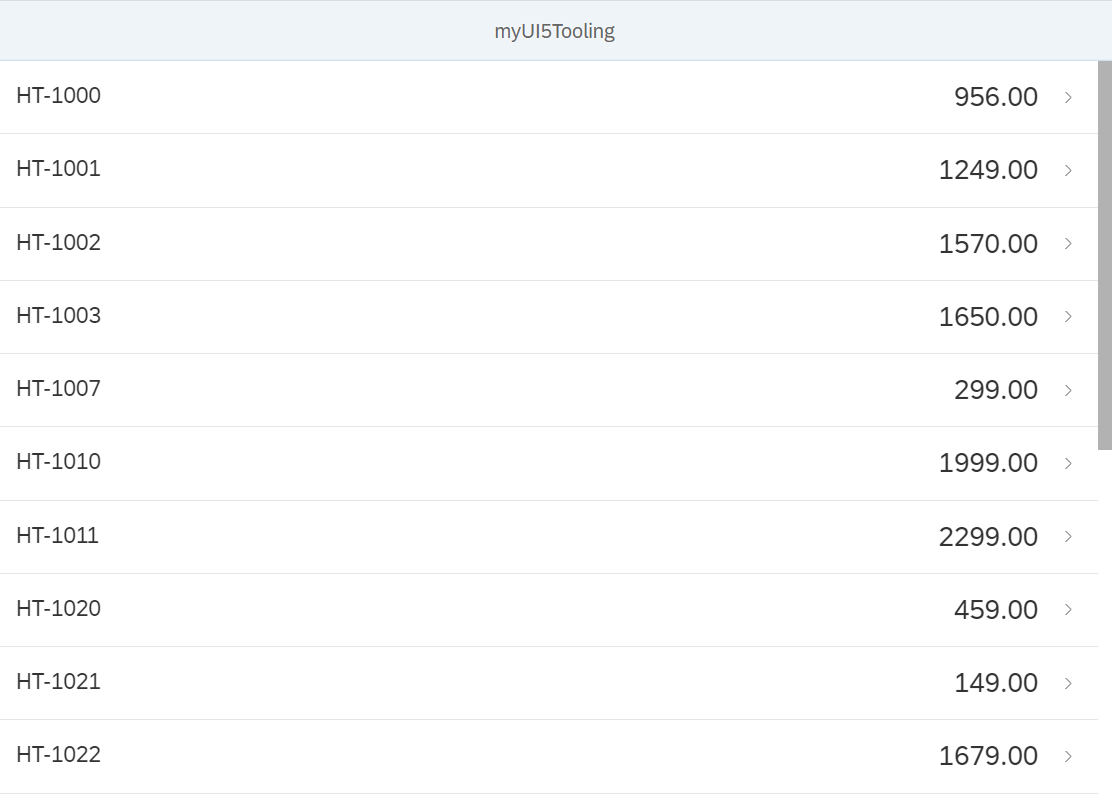
2.3. 実行してみる
さきほどと内容が変わって、Gateway Demoサーバーのデータがロードされました。
参考
End-To-End setup of local development environment with UI5 Tooling – Part 3 VS Code
CORS and Fiori/UI5 – Everything you need to know
UI5 Tooling – Custom Server Middleware Proxy Extension


