概要
SAP Gateway Demo SystemのODataサービスを使って、SAPUI5のアプリを作ってみたいと思います。今回は、準備編としてSAP Gateway Demo Systemへの接続設定をおこないます。
※OData関連の投稿一覧は以下の記事をご参照ください。
【SAPUI5】OData(1) ODataとは
今回やること
- SAP Gateway Demo Systemにユーザ登録する
- サービスのmetadataを確認する
- SAP Cloud Platform Cockpitで宛先を設定する
- WebIDEから接続を確認する
1. SAP Gateway Demo Systemにログインする
以下のページを参考に、SAP Gateway Demo Systemにユーザ登録します。
https://developers.sap.com/tutorials/gateway-demo-signup.html
前提として、SAP Cloud Platform Cockpitのアカウントが必要です。アカウントの作成方法については以下を参考にしてください。
【SAPUI5】Hello World
ログインすると、以下のようにwebguiの画面が立ち上がります。
ここから開発等はできないようです。ユーザ登録するのは、SAP Gateway Demo Systemのサービスを使用できるようにするためです。

2. サービスのmetadataを確認する
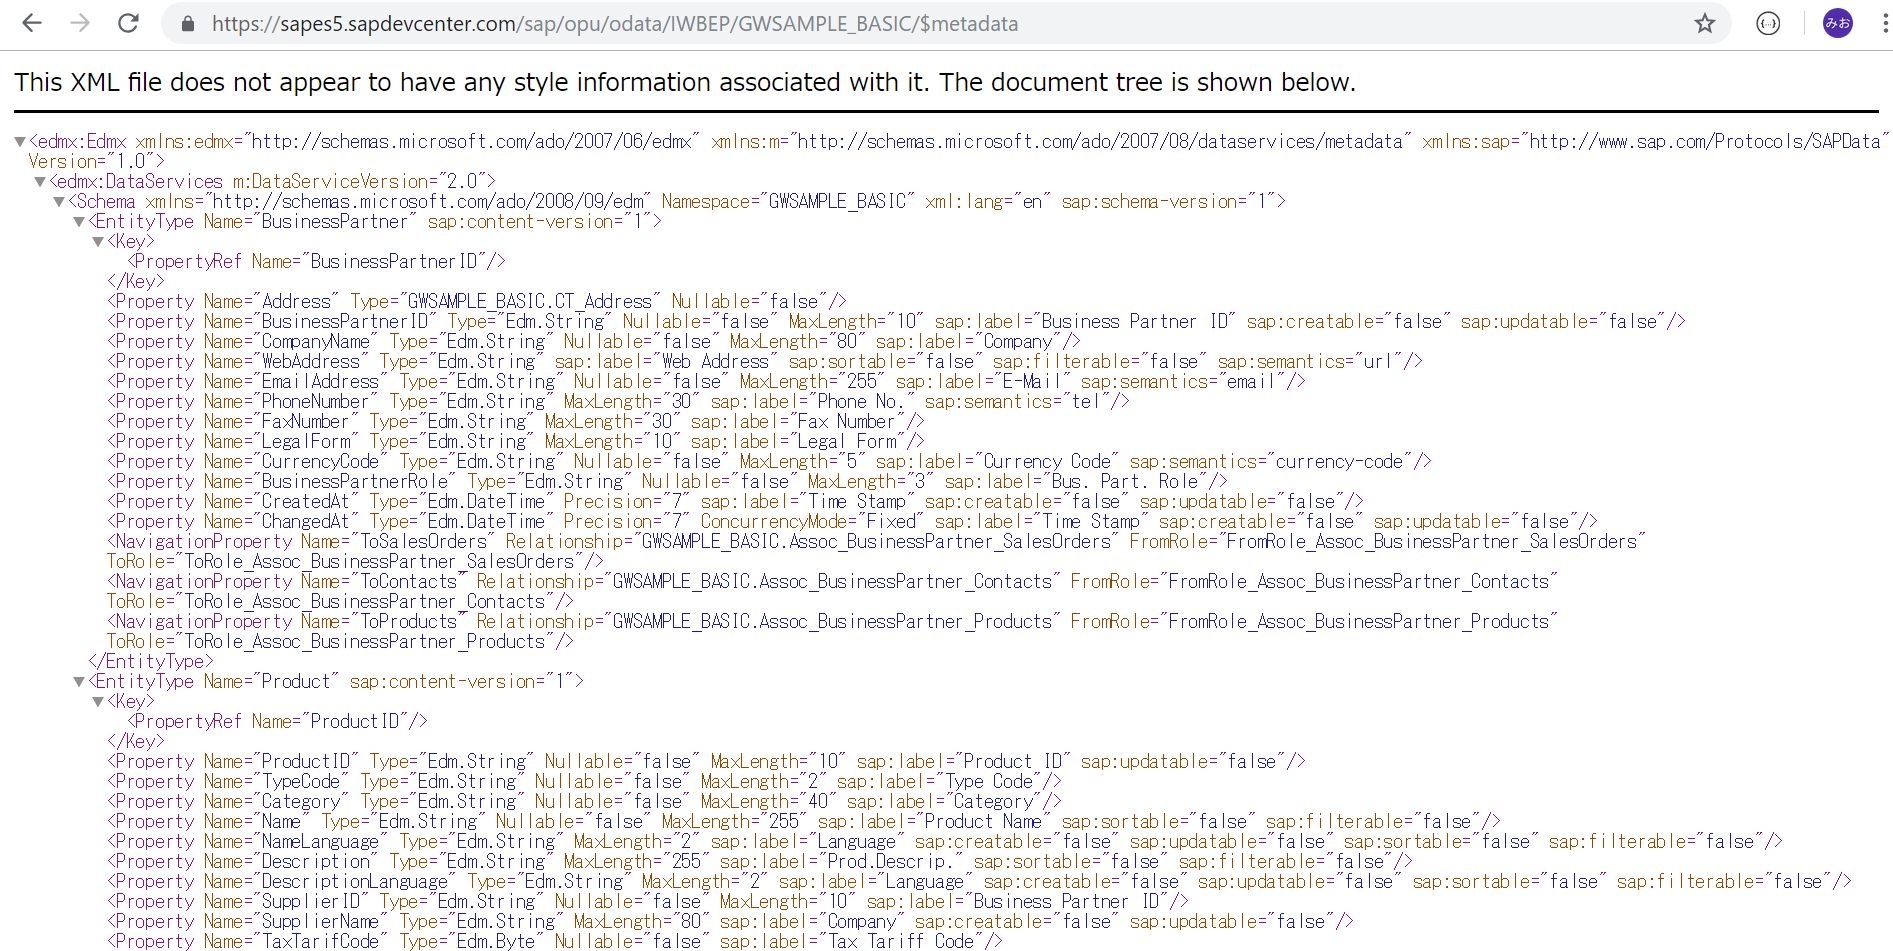
SAP Gateway Demo SystemがどのようなODataサービスを提供しているのか見てみましょう。
ブラウザに以下のように入力してください。ログインを求められたら、ステップ1で設定したユーザID、パスワードを入力してください。
https://sapes5.sapdevcenter.com/sap/opu/odata/IWBEP/GWSAMPLE_BASIC/$metadata
meatadataが表示されます。

以下のEntity Set, Navigation Propertyが用意されていることがわかりました。
| Entity Set | Navigation Property |
|---|---|
| BusinessPartnerSet | ToSalesOrders, ToContacts, ToProducts |
| ProductSet | ToSalesOrderLineItems, ToSupplier |
| SalesOrderSet | ToBusinessPartner, ToLineItems |
| SalesOrderLineItemSet | ToHeader, ToProduct |
| ContactSet | ToBusinessPartner |
3. SAP Cloud Platform Cockpitで宛先を設定する
1.で登録したSAP Gateway Demo Systemを、SAP Cloud Platform Cockpitに登録します。これにより、Web IDEでアプリを作る際にODataサービスを選択できるようになります。
参考:https://developers.sap.com/tutorials/gateway-demo-signup.html
下記URLからSAP Cloud Platform Cockpitにログインします。
https://account.hanatrial.ondemand.com/cockpit
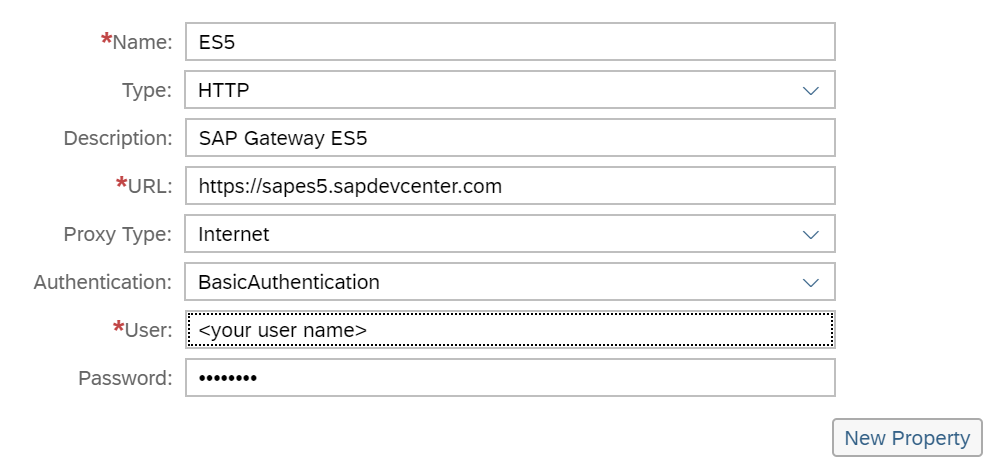
"Connectivity"のメニューを開いて"Destinations"を選択します。

以下の内容を入力します。
URL:https://sapes5.sapdevcenter.com

"New Property"ボタンを押して、追加で以下の内容を入力します。
WebIDEでこの宛先を使えるようにするための設定です。
WebIDEUsage: odata_gen, odata_abap, bsp_execute_abap

入力し終わったら"SAVE"ボタンを押します。
4. WebIDEから接続を確認する
最後に、WebIDEから接続がうまくいっているか確認してみます。
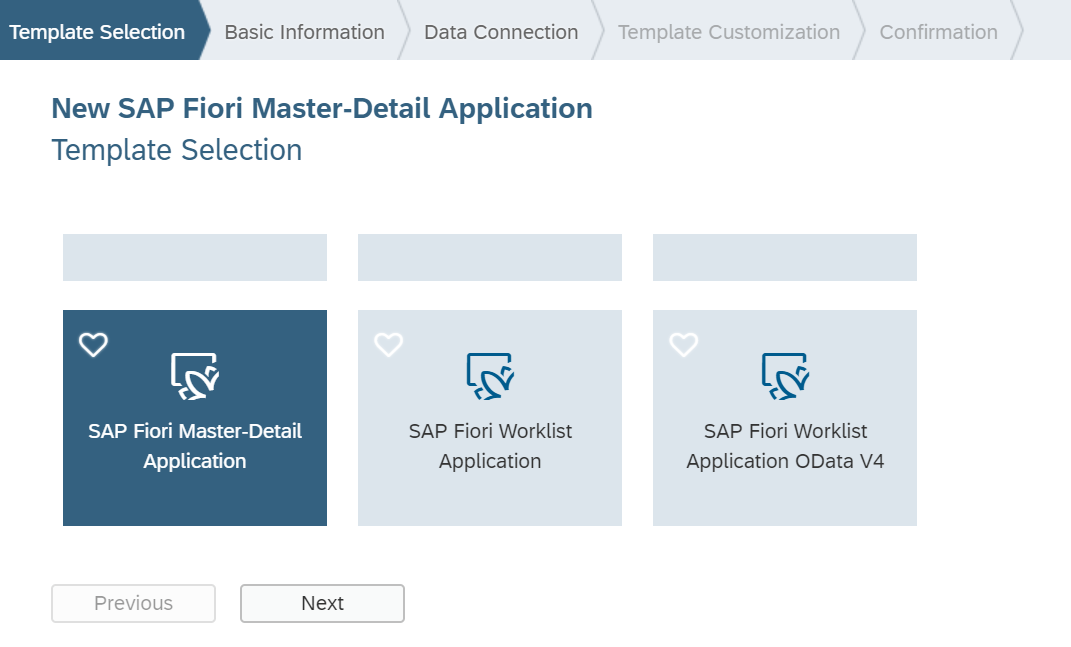
WebIDEにログインして、"New Project from Template"を選択します。

"SAP Fiori Master-Detail Application"を選択して、"Next"を押します。

Project Name, Titleを入力します。(接続確認が目的なので、名前は適当です)

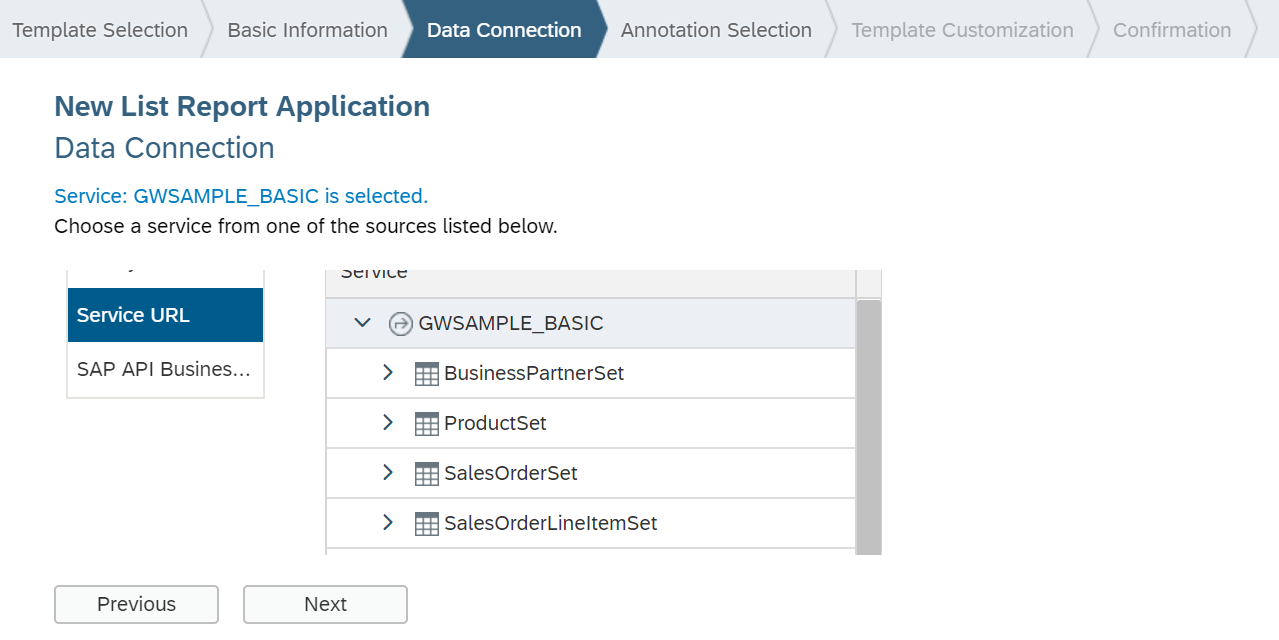
接続先の設定で、"Service URL"を選択し、プルダウンから"ES5"を選択します。

サービスURLに、以下を入力します。
sap/opu/odata/IWBEP/GWSAMPLE_BASIC

"Test"ボタンを押して、Entity Setが表示されれば成功です。

関連記事
OData(6) SAPでのODataサービスの作り方 開発編-2
OData(8) ODataを使ったSAPUI5アプリケーションの作り方 開発編-1


