Githubで公開している内容(READMEの内容)です。
ソースコード → https://github.com/takux/example-django-s3
Django関連コースを出しているのでこちらもぜひ
→ https://www.takux.one
Django プロジェクトの作成
必要に応じて仮想環境作成。
python3 -m venv venv
Django プロジェクトの作成。
django-admin startproject myconfig .
Django App の作成。
python manage.py startapp myapp
必要なライブラリのインストール
pip install Django django-environ boto3
Django: フレームワークとして使用
django-environ: 環境変数読み込み用に使用
boto3: S3 へのアップロードに使用
AWS S3 の設定
Google 検索などで設定の方法を探すと出てくるので割愛。
環境変数の設定
.env ファイルを作成し、以下のように設定。
(Github などに公開しないように注意)
# DjangoのSECRET_KEY(今回のExampleとは直接関係ないが、Github上にSECRET_KEYは公開すべきでないので設定)
SECRET_KEY=xxx

# AWS S3で設定したアクセスキーやバケット名など
AWS_ACCESS_KEY_ID=xxx
AWS_SECRET_ACCESS_KEY=xxx
AWS_STORAGE_BUCKET_NAME=xxx
Django の設定
今回変更したファイルは以下の通り。
画像の準備
今回は仮に用意したプロジェクト直下の screenshot.png の画像を使用。
実行
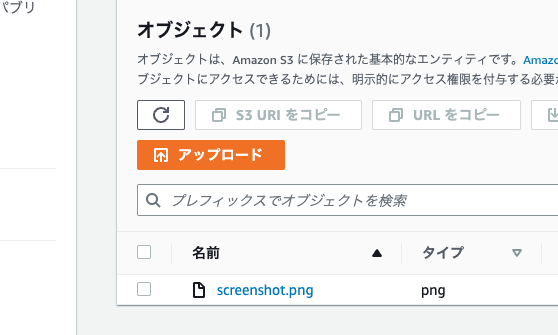
python manage.py runserver して http://localhost:8000/upload/ にアクセスで、S3 に画像(screentshot.png)がアップロード。
