はじめに
Observabilityの3つのデータ、ログ・メトリクス・トレース、これらを集めるツールとしてOpenTelemetryが一般的になってきました。
ElasticもEDOTをリリースするなど対応を進めており、こちらは以前に記事にしています。
https://qiita.com/takeo-furukubo/items/2747bdf3e28037b1870b
この記事を書いた当時はリリース直後だったため少し手順が多かったのですが、幸いなことにコマンド一つでEDOTを試す事ができるようになりました。
以前も記事にしたstart localにEDOTオプションが新しく実装されています。
start localについてはこちらの記事を参考にして下さい。
https://qiita.com/takeo-furukubo/items/df17ca57203825a45da1
環境
Mac M3 v15.7
Docker v28.4
Docker Compose v2.39.2
Elasticsearch v9.1.3
基本全部コンテナで閉じるのであまり環境には依存しないはずですが、docker composeのconfigはdocker compose v2.23以降でのサポートのようです。
手順
start local
EDOT Collectorをくっつけてstart localからElasticクラスタを立ち上げます。
コマンドはこれ一つ
curl -fsSL https://elastic.co/start-local | sh -s -- --edot
これまでと何が違うかと言うと、docker-composeファイルにEDOT Collectorの設定が入っていることです。
要するに下記の2つの部分が--edotのオプションによって自動的に作成されるという非常にシンプルな形です。
- config
-
otel.ymlにあたる部分
-
configs:
  # This is the minimal yaml configuration needed to listen on all interfaces
  # for OTLP logs, metrics and traces, exporting to Elasticsearch.
  edot-collector-config:
    content: |
      receivers:
        # Receives data from other Collectors in Agent mode
        otlp:
          protocols:
            grpc:
              endpoint: 0.0.0.0:4317 # Listen on all interfaces
            http:
              endpoint: 0.0.0.0:4318 # Listen on all interfaces

      connectors:
        elasticapm: {} # Elastic APM Connector

      processors:
        batch:
          send_batch_size: 1000
          timeout: 1s
          send_batch_max_size: 1500
        batch/metrics:
          send_batch_max_size: 0 # Explicitly set to 0 to avoid splitting metrics requests
          timeout: 1s
        elastictrace: {} # Elastic Trace Processor

      exporters:
        debug: {}
        elasticsearch/otel:
          endpoints:
            - http://elasticsearch:9200
          user: elastic
          password: ${ES_LOCAL_PASSWORD}
          tls:
            insecure_skip_verify: true
          mapping:
            mode: otel

      service:
        pipelines:
          metrics:
            receivers: [otlp]
            processors: [batch/metrics]
            exporters: [debug, elasticsearch/otel]
          logs:
            receivers: [otlp]
            processors: [batch]
            exporters: [debug, elasticapm, elasticsearch/otel]
          traces:
            receivers: [otlp]
            processors: [batch, elastictrace]
            exporters: [debug, elasticapm, elasticsearch/otel]
          metrics/aggregated-otel-metrics:
            receivers:
              - elasticapm
            processors: [] # No processors defined in the original for this pipeline
            exporters:
              - debug
              - elasticsearch/otel
- EDOT collector
- 実質Elastic AgentだがFleetには登録されない
  edot-collector:
    image: docker.elastic.co/elastic-agent/elastic-otel-collector:${ES_LOCAL_VERSION}
    container_name: ${EDOT_LOCAL_CONTAINER_NAME}
    depends_on:
      elasticsearch:
        condition: service_healthy
    command: [
      "--config=/etc/otelcol-contrib/config.yaml",
    ]
    configs:
      - source: edot-collector-config
        target: /etc/otelcol-contrib/config.yaml
    ports:
      - "4317:4317"  # grpc
      - "4318:4318"  # http
    healthcheck:
      test: ["CMD-SHELL", "bash -c 'echo -n > /dev/tcp/127.0.0.1/4317'"]
      retries: 300
      interval: 1s
volumes:
とりあえず表示されるCredential情報はメモしておきましょう
アプリ
今回はごく簡単にFlaskとRedisで作っています。
ソースコードには何も必要ありません。
こちらにサンプルコードがあります
https://github.com/legacyworld/startlocal_edot
env_sampleを.envにコピーして
OTEL_EXPORTER_OTLP_ENDPOINT=http://192.168.1.15:4317
IPアドレス部分をホストのアドレスに変えてください。
start localとはDockerのネットワークが違うのでそのままではElasticsearchと通信できません。
準備できたら
docker compose build
docker compose up -d
で問題なく起動するはずです。
# docker logs otel
 * Serving Flask app 'edot'
 * Debug mode: off
となっているはず。
トレース情報作成
localhost:5011/endpoint1
にアクセスします。curlでも大丈夫です。
時々Exception吐くようにしているので何度かアクセスしてください。
データ確認
localhost:5601
にアクセスして、Kibanaにログインします。ユーザ名はelasticでパスワードはstart localを立ち上げた時に出力されていたものです。
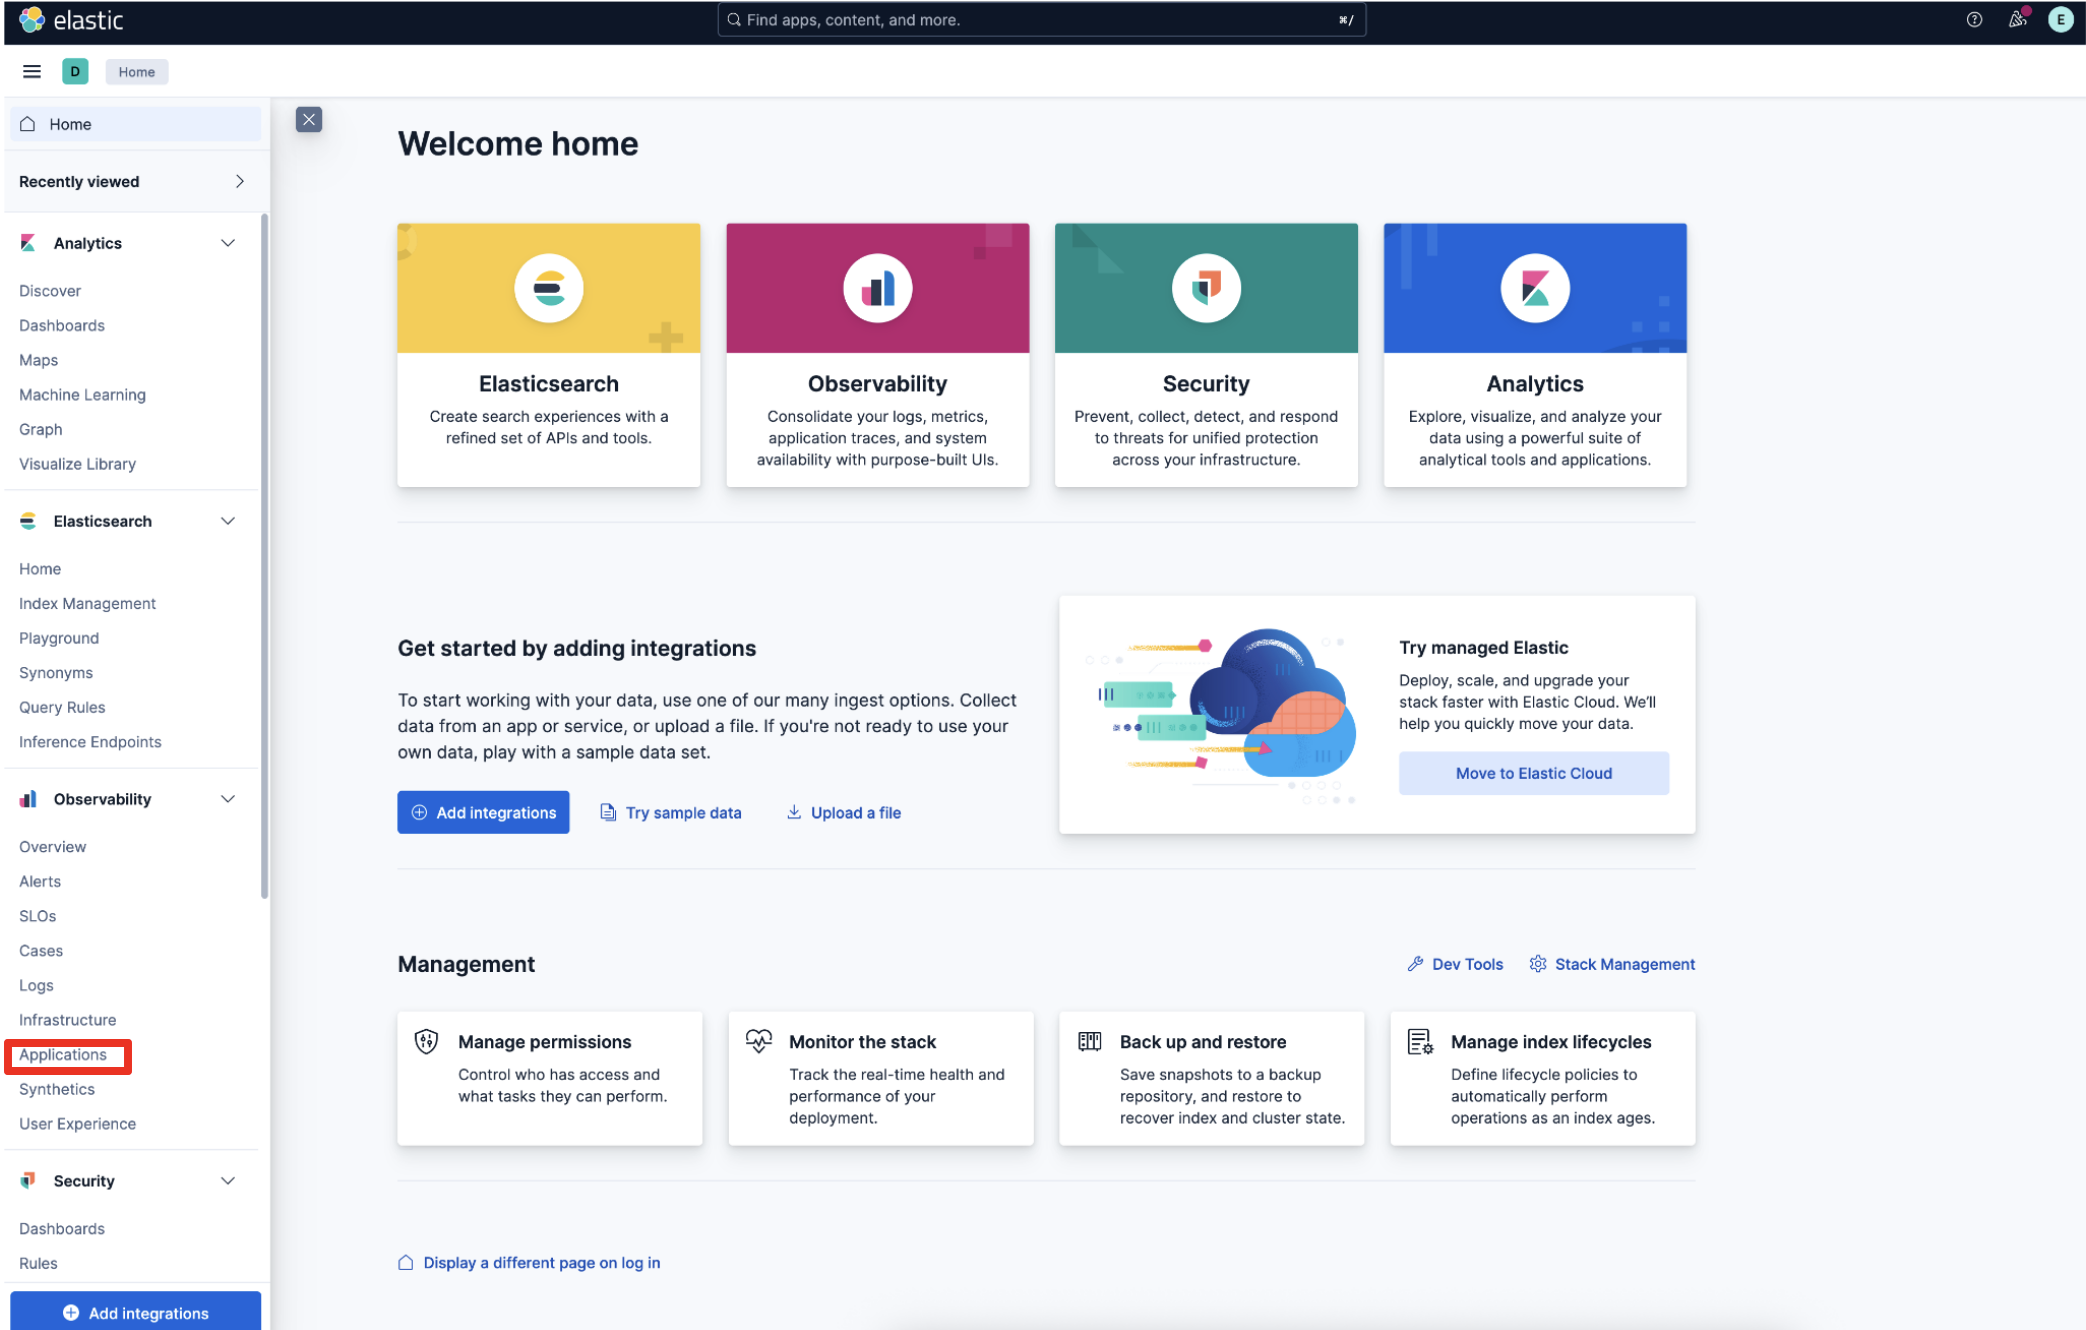
左上の3本線からメニューを開いて、Applicationをクリックします。
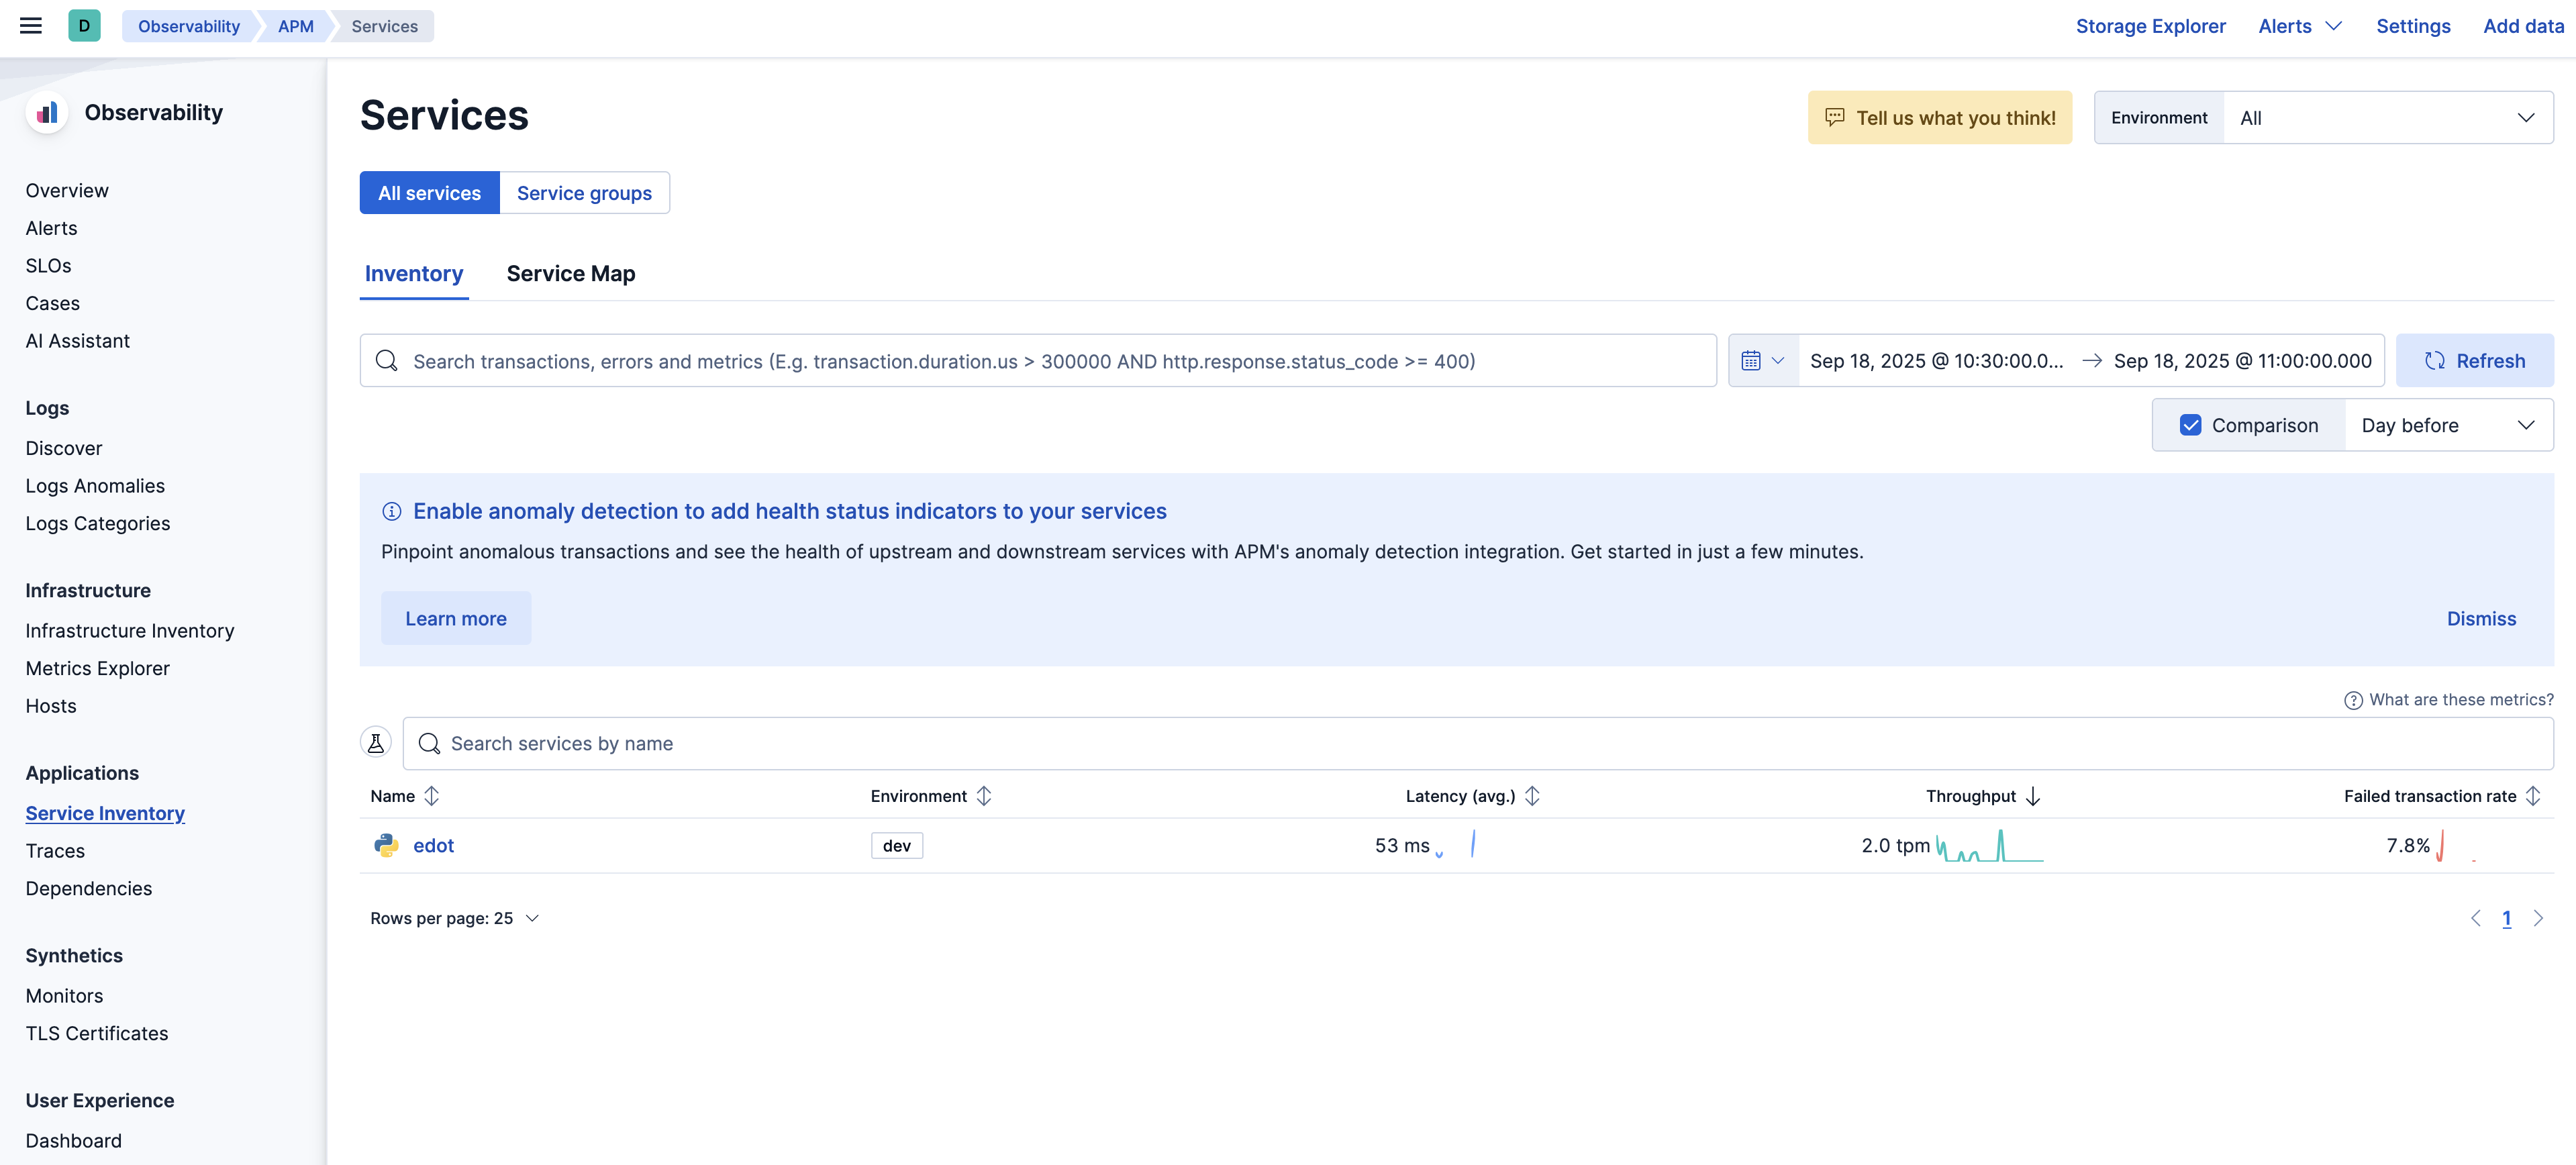
Service Inventoryにedotとあります。これは.envで設定している名前です。
OTEL_RESOURCE_ATTRIBUTES="service.name=edot,service.version=1.0.0,deployment.environment=dev"
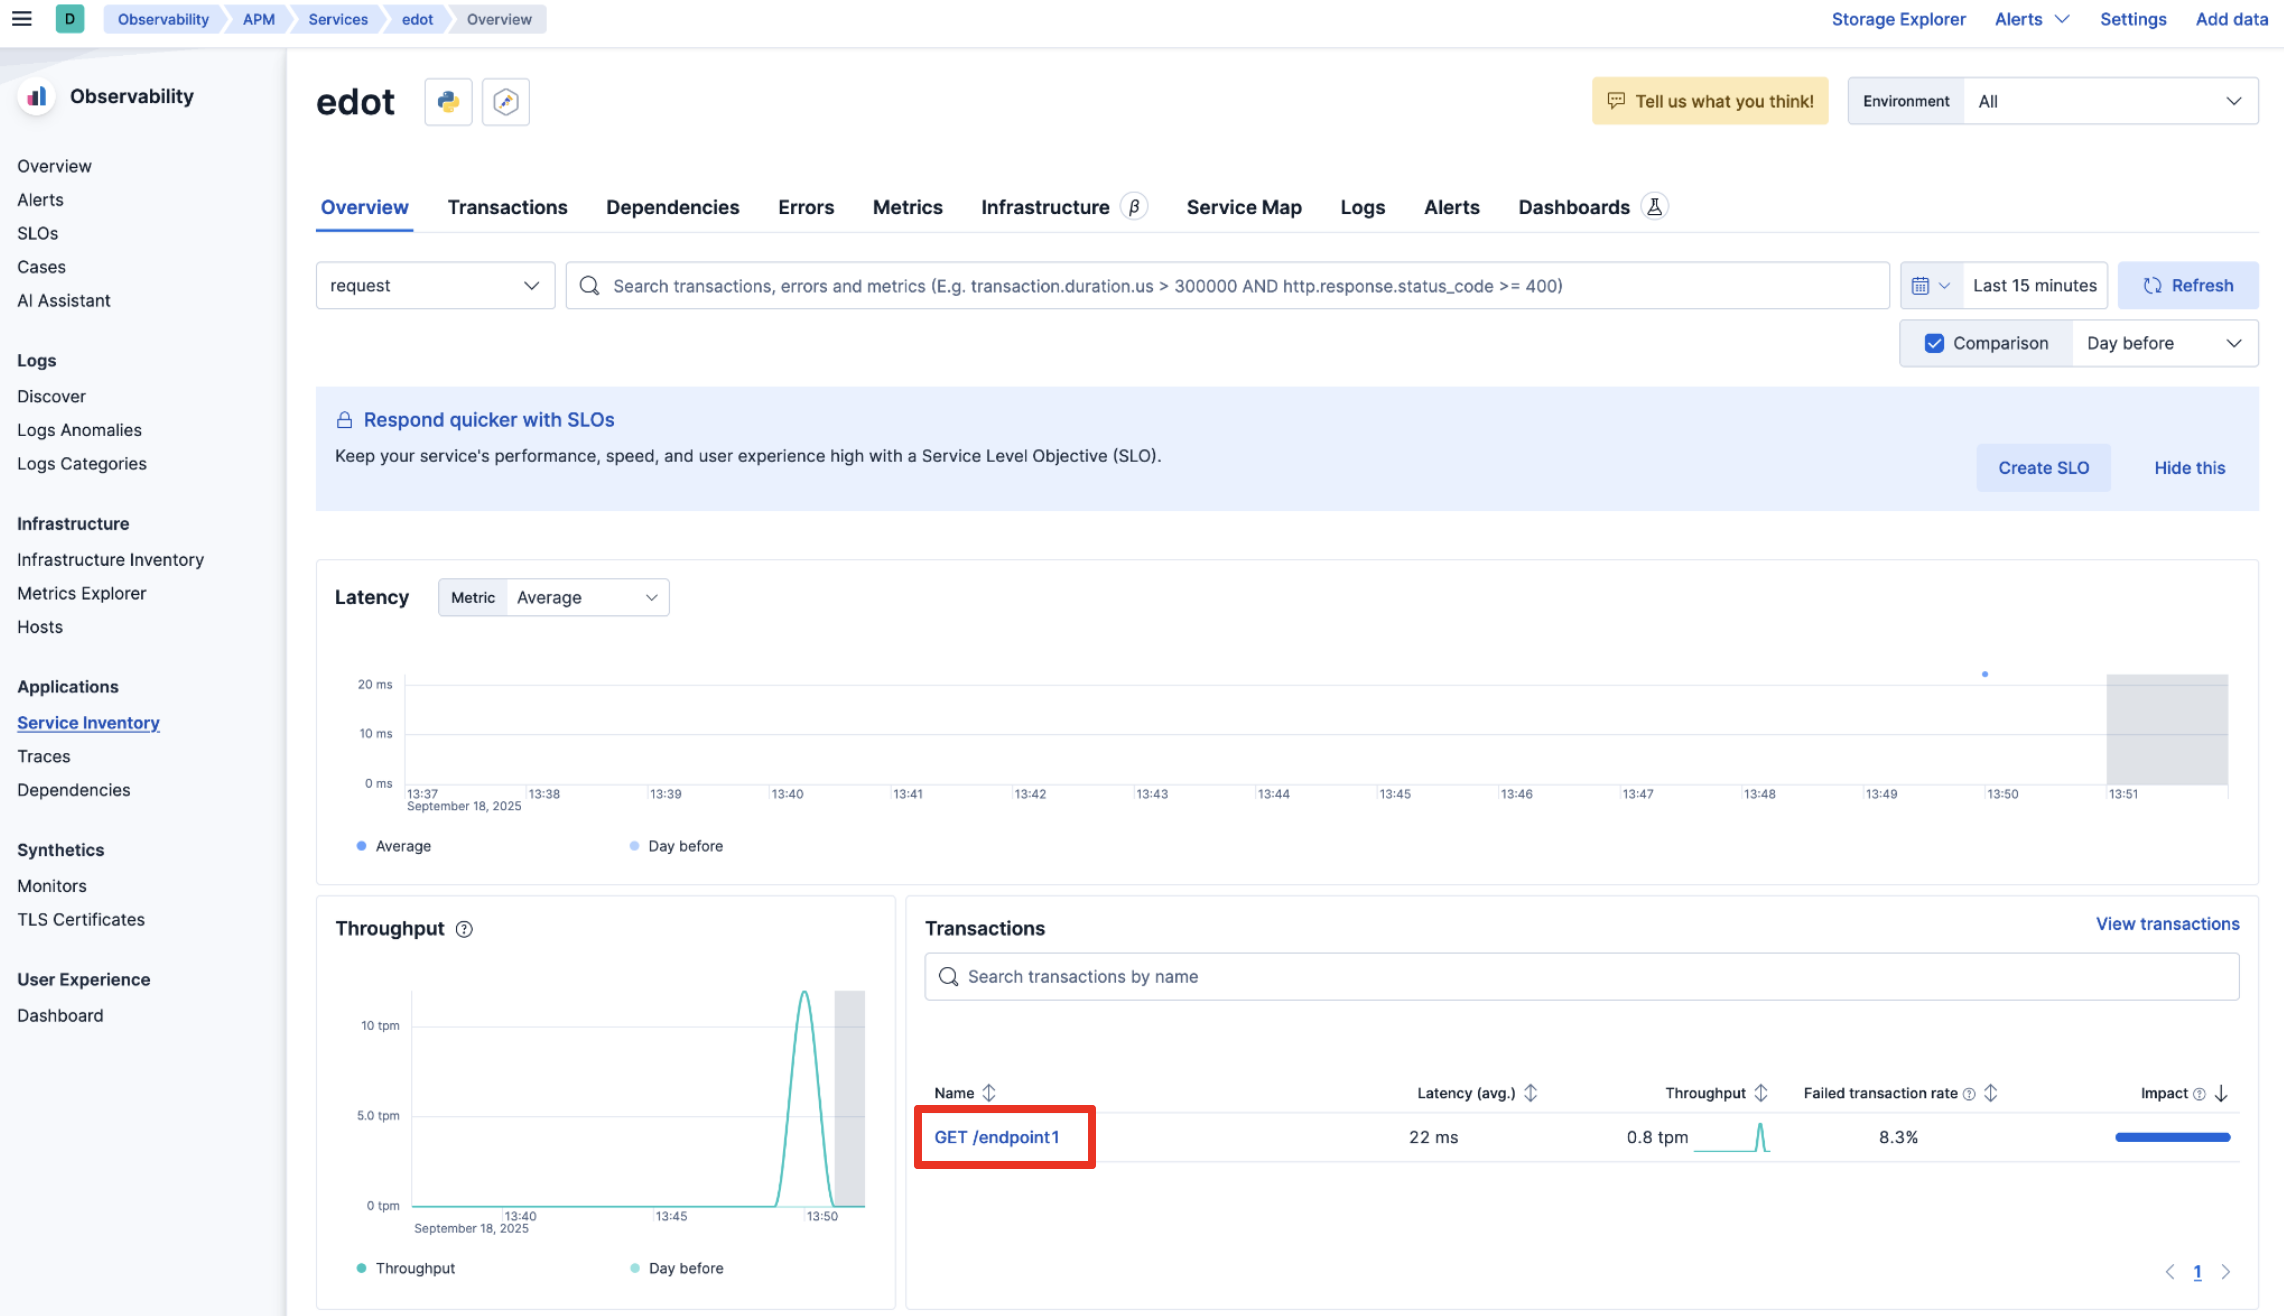
このedotをクリックすると概要画面が表示されます。真ん中あたりにGET /endpoint1とあるのでこれをクリック
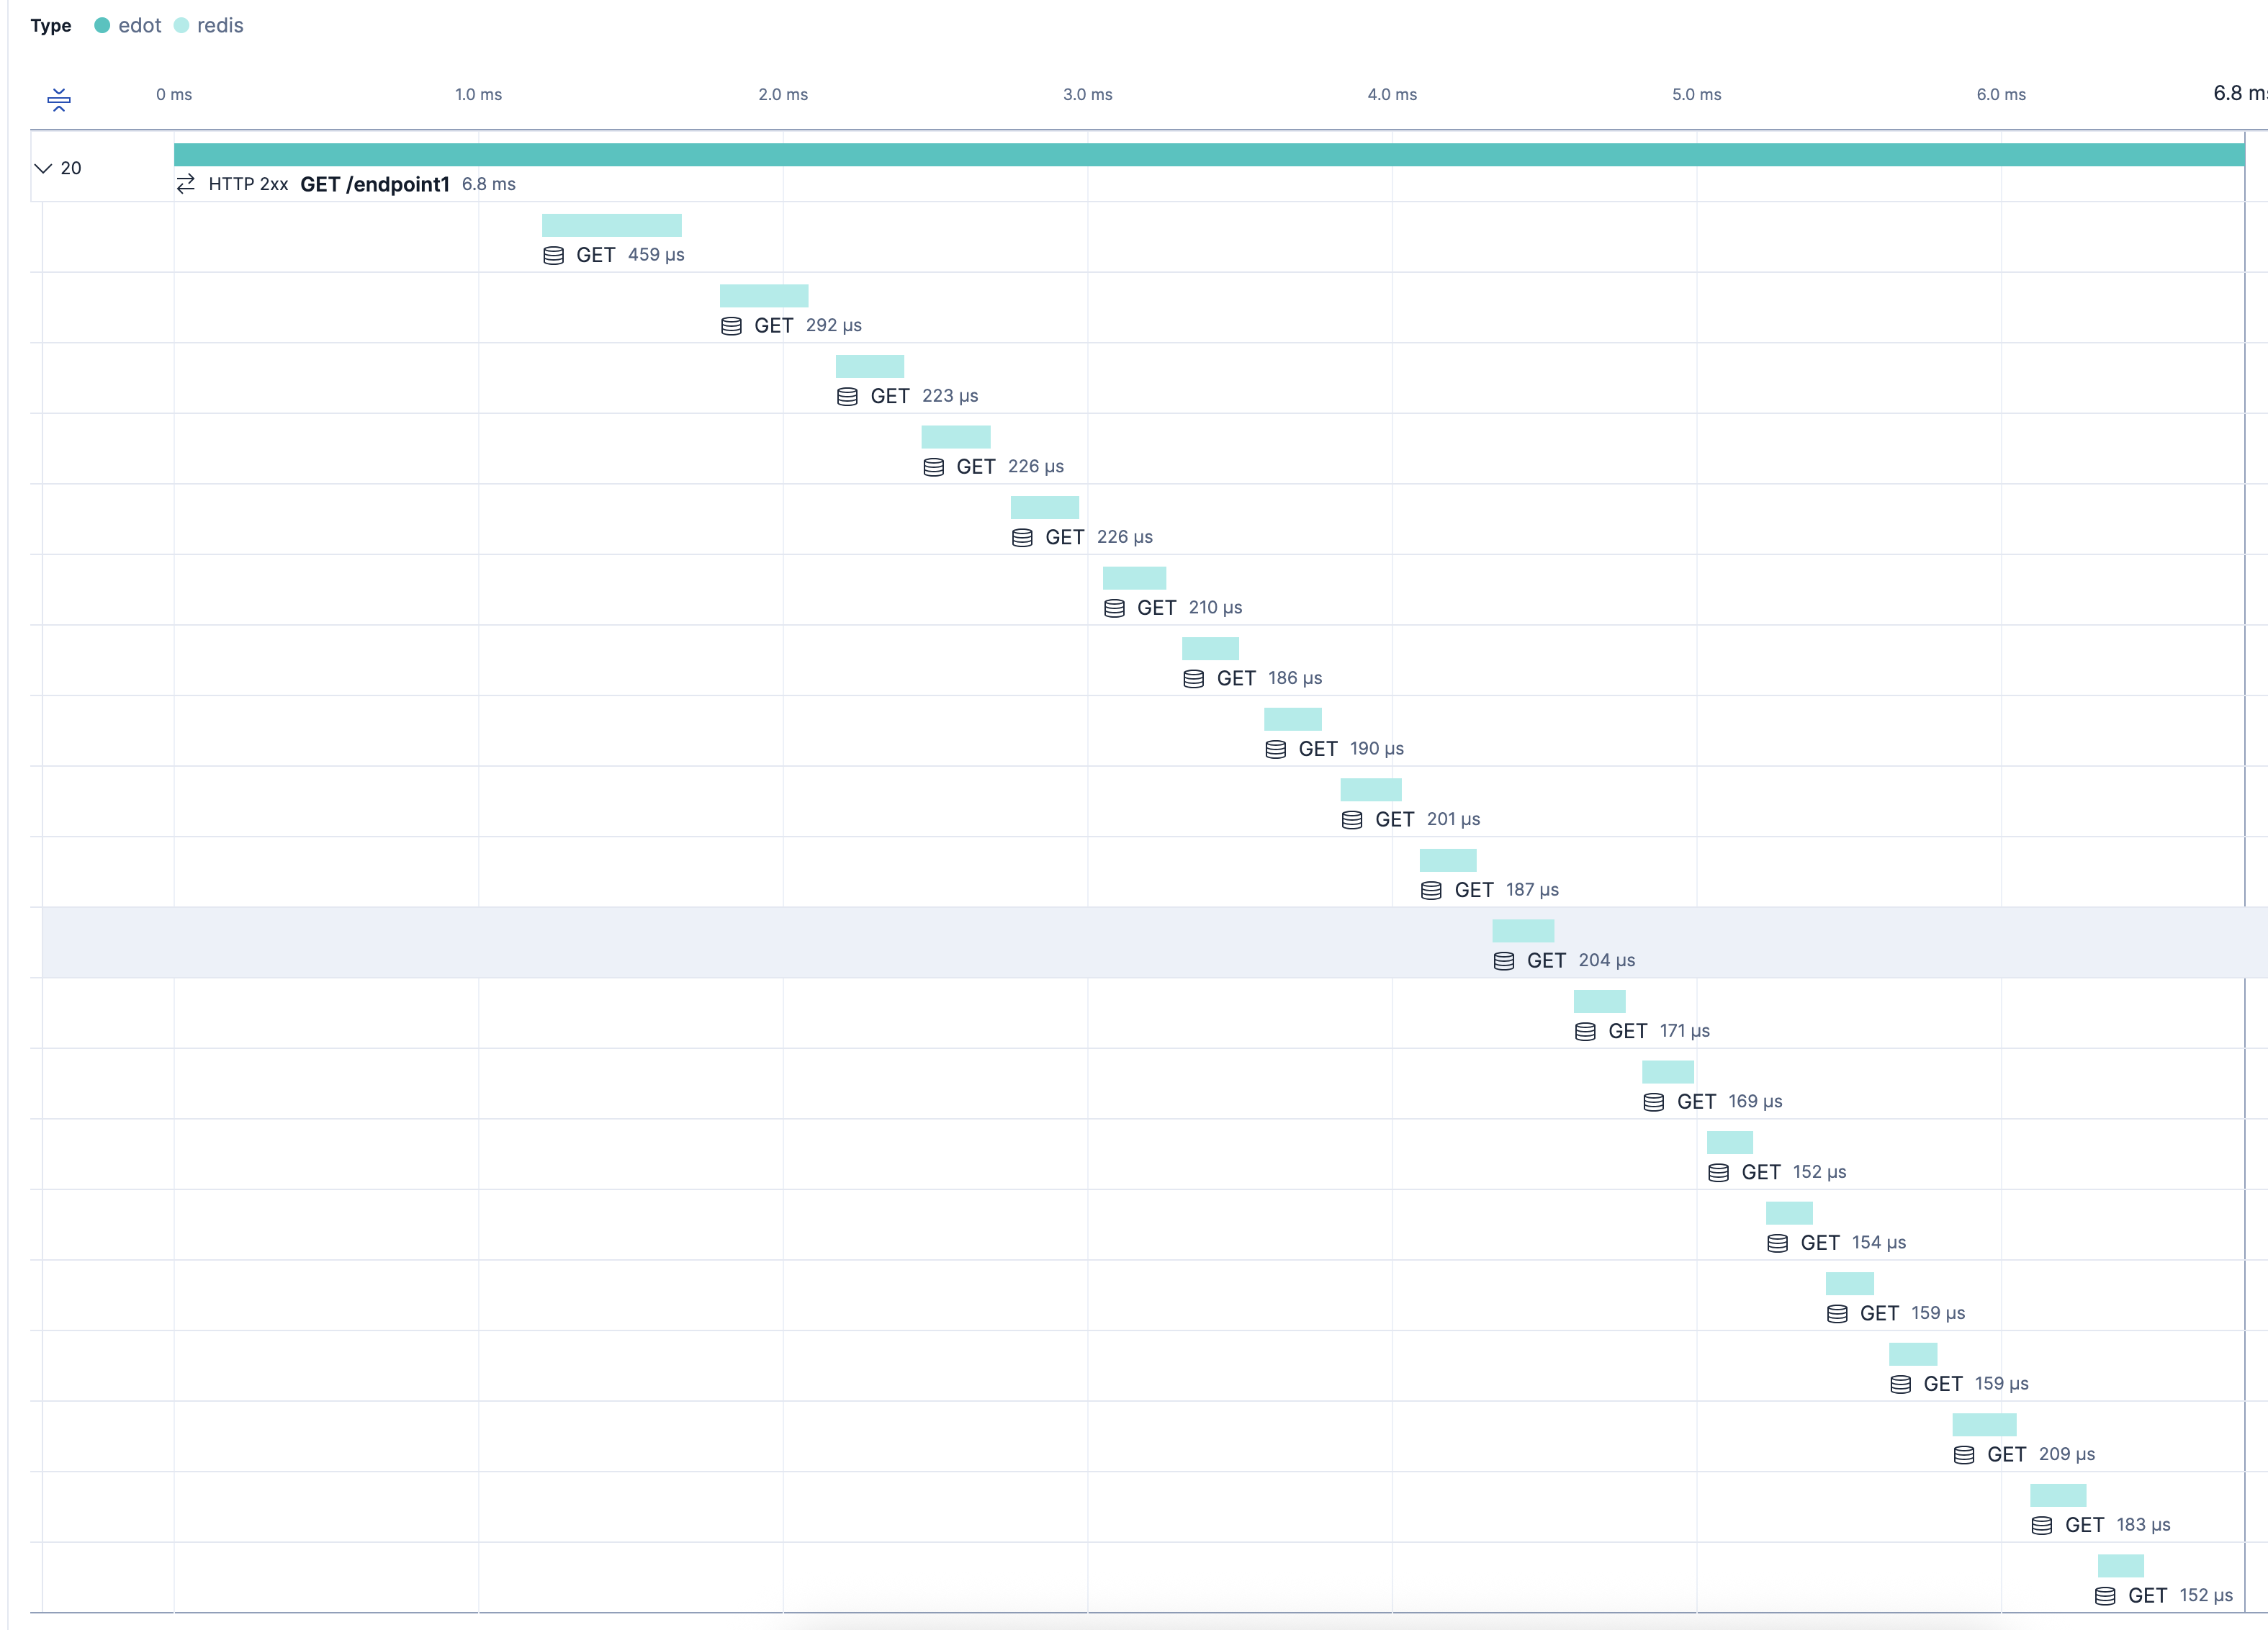
下の方にスクロールするとredisにアクセスしている部分も表示されています
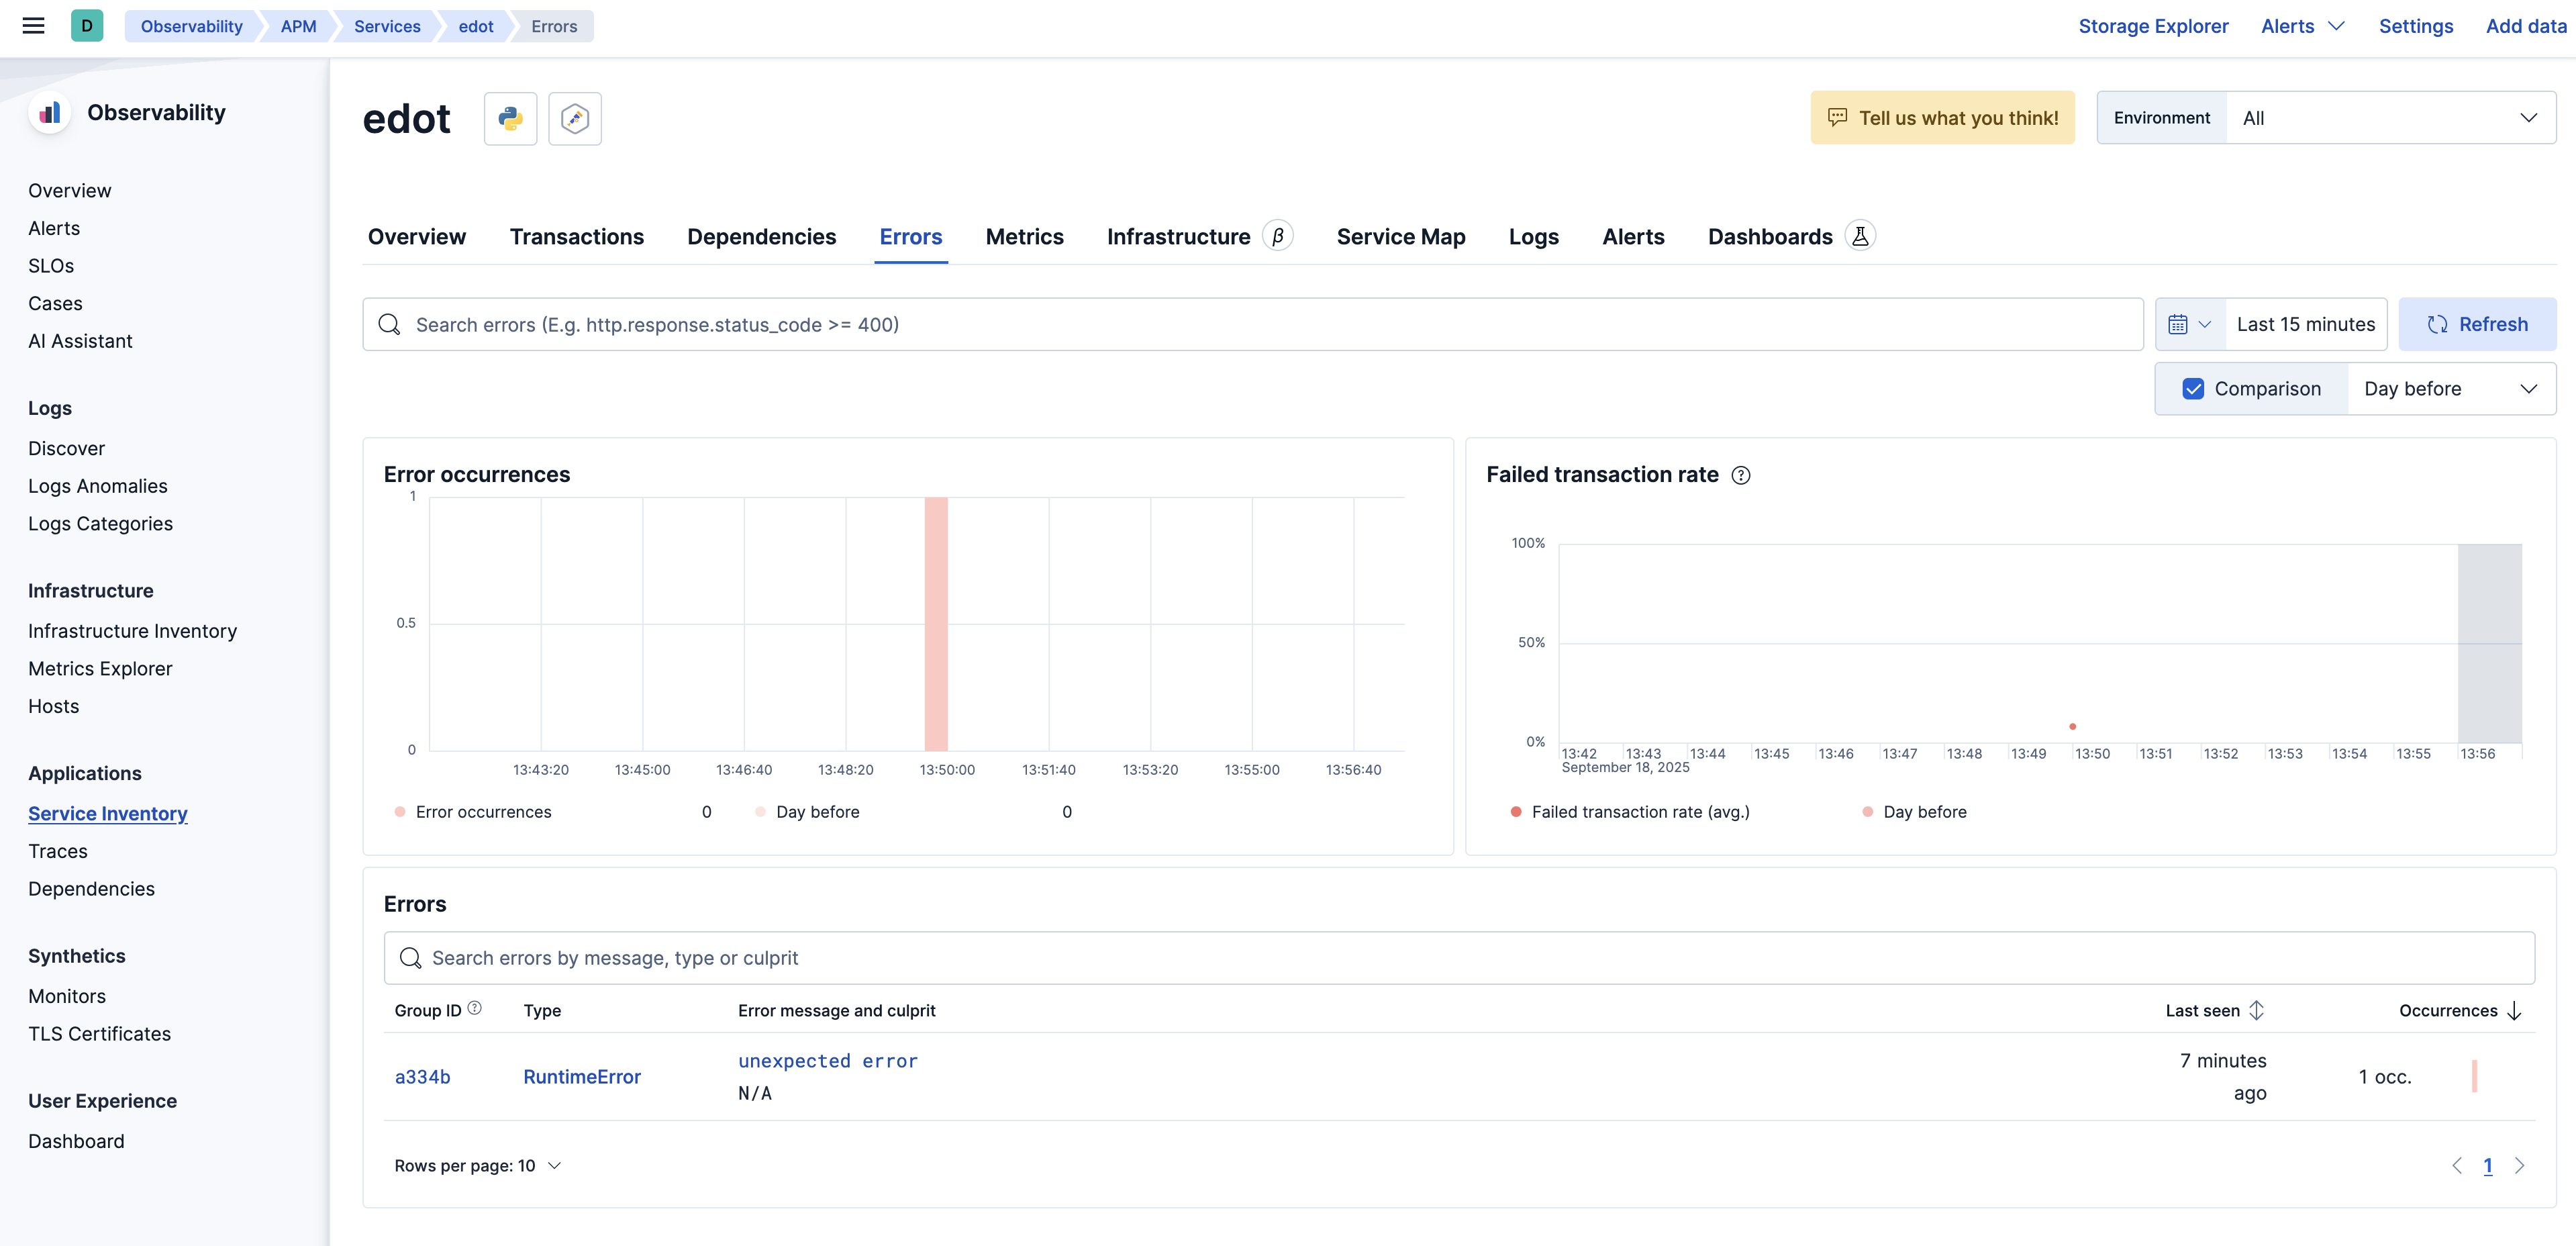
Exceptionを発生させていれば、Errorタブをクリックすると見ることができます。
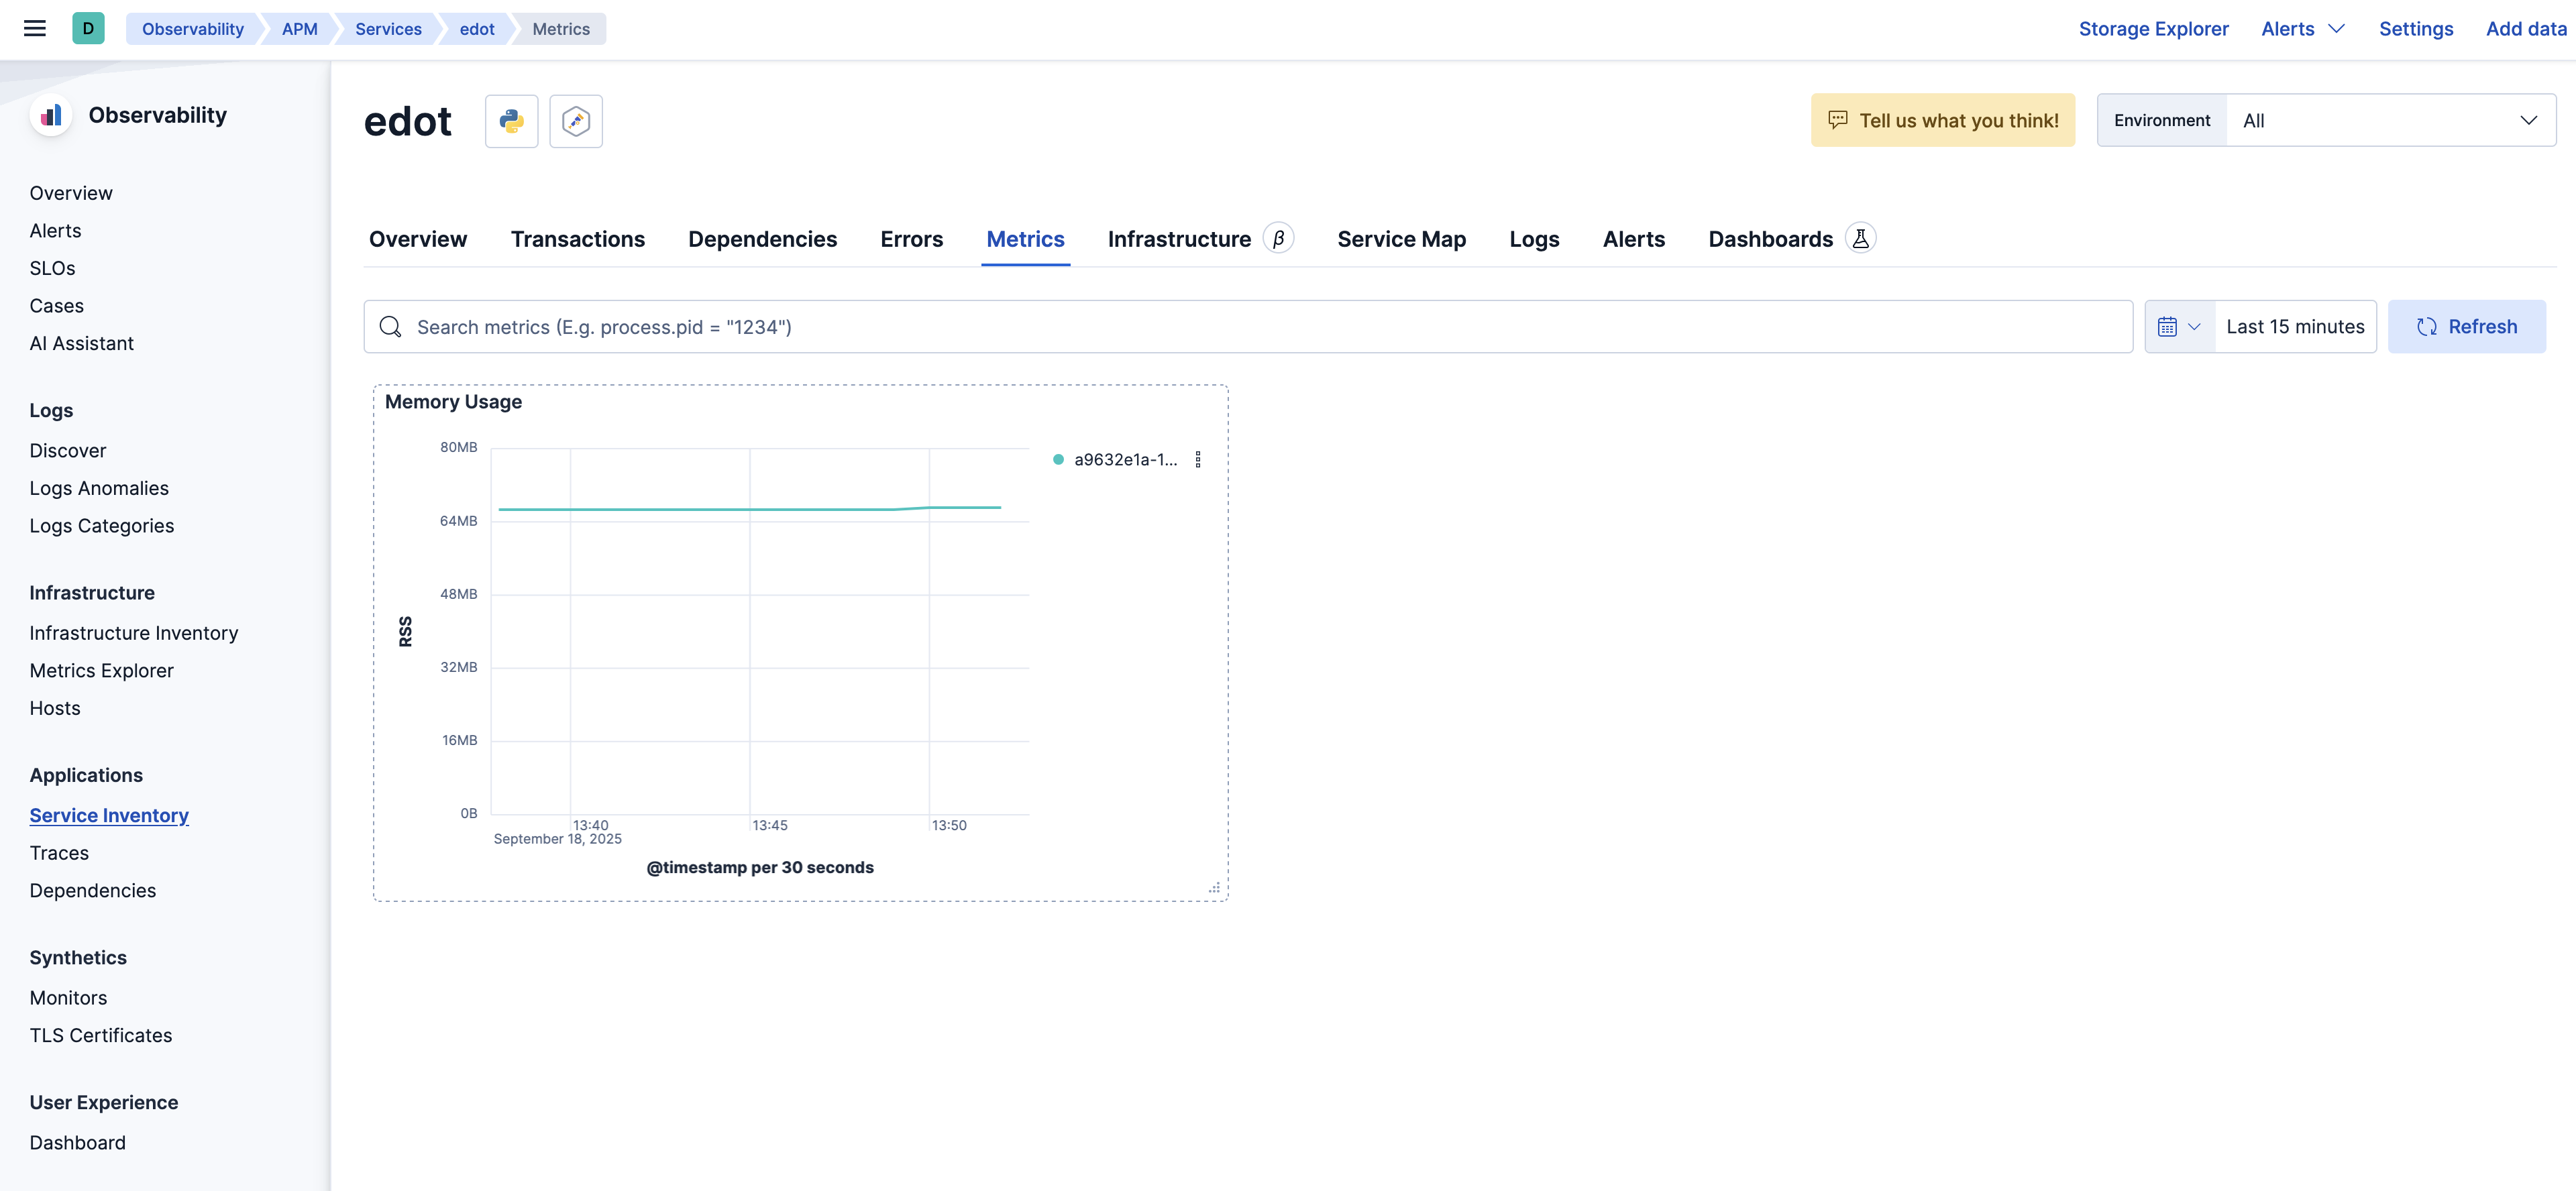
メトリクスも表示されます
ちょこっと解説
いわゆる自動計測(Auto Instruments)なのでソースコードには一切手を入れていませんが、当然ながらビルドの部分でやってます。
FROM python:3.12-slim
USER root
WORKDIR /src
COPY ./ /src
RUN apt-get update
RUN apt-get -y install g++
RUN pip3 install -r requirements.txt
RUN edot-bootstrap --action=install
WORKDIR /src
edot-bootstrap --action=installでいろいろやってくれます。requirements.txtに書いてなくてもここでやってくれます。
まとめ
start localを使うとElasticsearchのほぼすべての機能を試すことができます。
それに加えてEDOT Collectorも同時に立ち上げることで、OpenTelemetryを利用したトレース・ログ・メトリクスを簡単に検証できるようになりました。
まずはstart localで試してみてください。