1
2

Delete article

Deleted articles cannot be recovered.

Draft of this article would be also deleted.

Are you sure you want to delete this article?

More than 3 years have passed since last update.

AWS Lambda で Javaを使う ーEclipse準備編

Last updated at Posted at 2020-03-03

##やりたいこと
AWS Lambdaで実行するJavaを実装する

##AWS Lambda で Javaを使う 目次
Eclipse準備編
・登録実行編(いつか)
実装編 - EC2を止める/立ち上げる
実装編 - CloudWatchの引数を確認する
実装編Tips - ReagionとInstanceIDからInstance名を取得する

Eclipse準備編

まずは、開発環境を整える。
AWS Toolkit for Eclipseというのが準備されているので、それを利用する。
https://docs.aws.amazon.com/ja_jp/toolkit-for-eclipse/v1/user-guide/setup-install.html

↑に従うと
Eclipse→[Help] →[Install New Software] からインストールできるはずなのだけど、
ネットワークの問題なのかなんなのかうんともすんとも言わなかった。

ので、↓の「Drag and Drop Install」からインストールした。
https://marketplace.eclipse.org/marketplace-client-intro?mpc_install=907

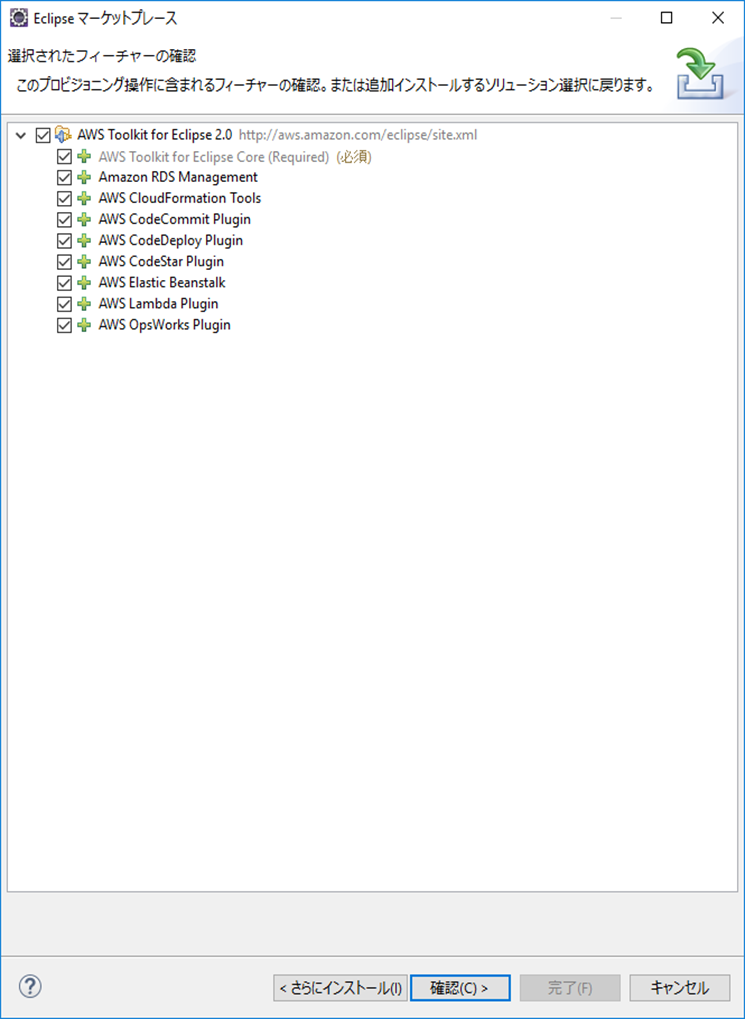
とりあえず、全フィーチャーを選択
image.png

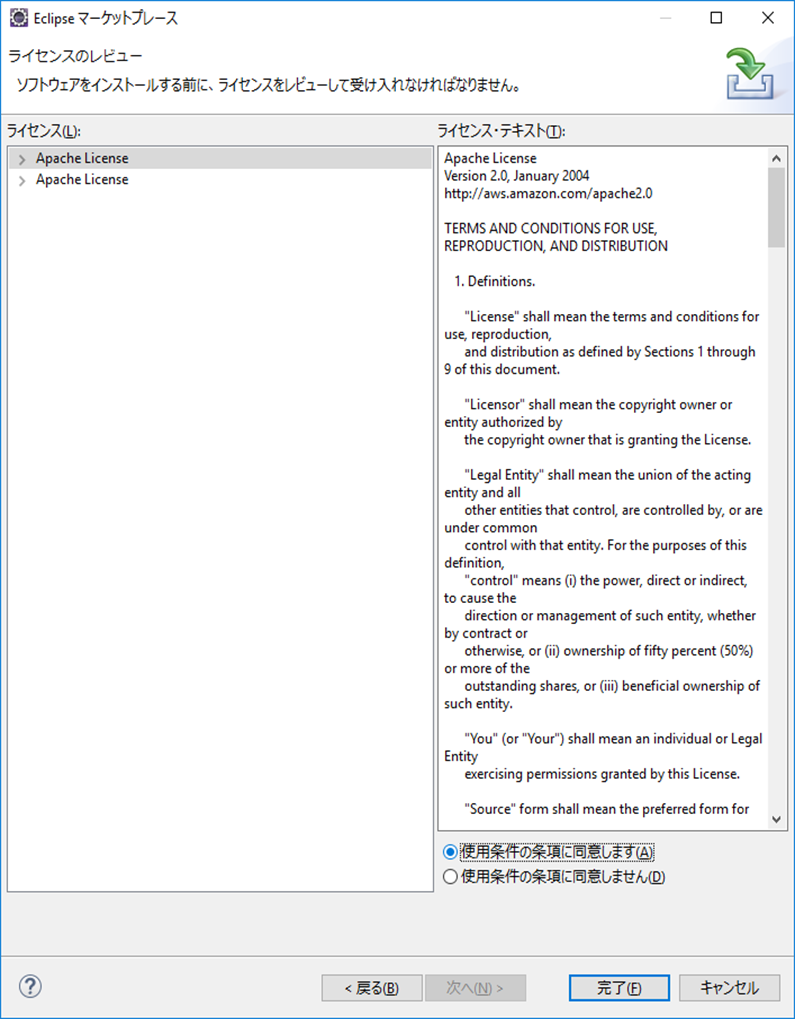
条件に同意して、完了
image.png

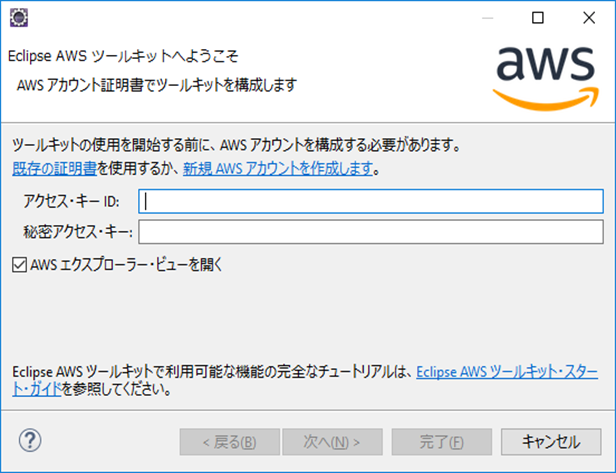
そして、再起動すると、AWSアカウントの構成を求められる。
image.png

↓の「アクセスキー ID とシークレットアクセスキーを取得するには」を参考にして、アクセスキーを作成。
https://docs.aws.amazon.com/ja_jp/toolkit-for-eclipse/v1/user-guide/setup-credentials.html

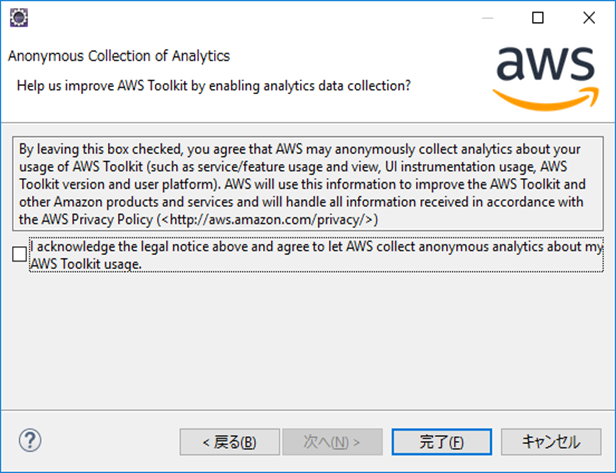
作成した内容を入力すると、↓が出てくるので、完了を押す
image.png

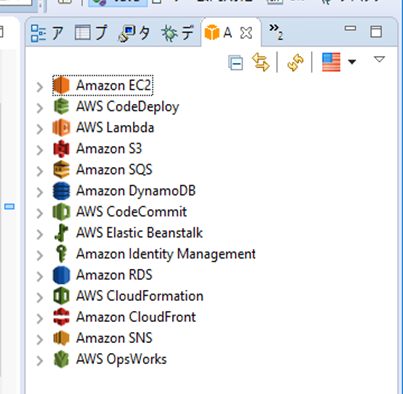
そうするとAWS Explore Viewがでているので、完成
image.png

サンプルソースを見てみる

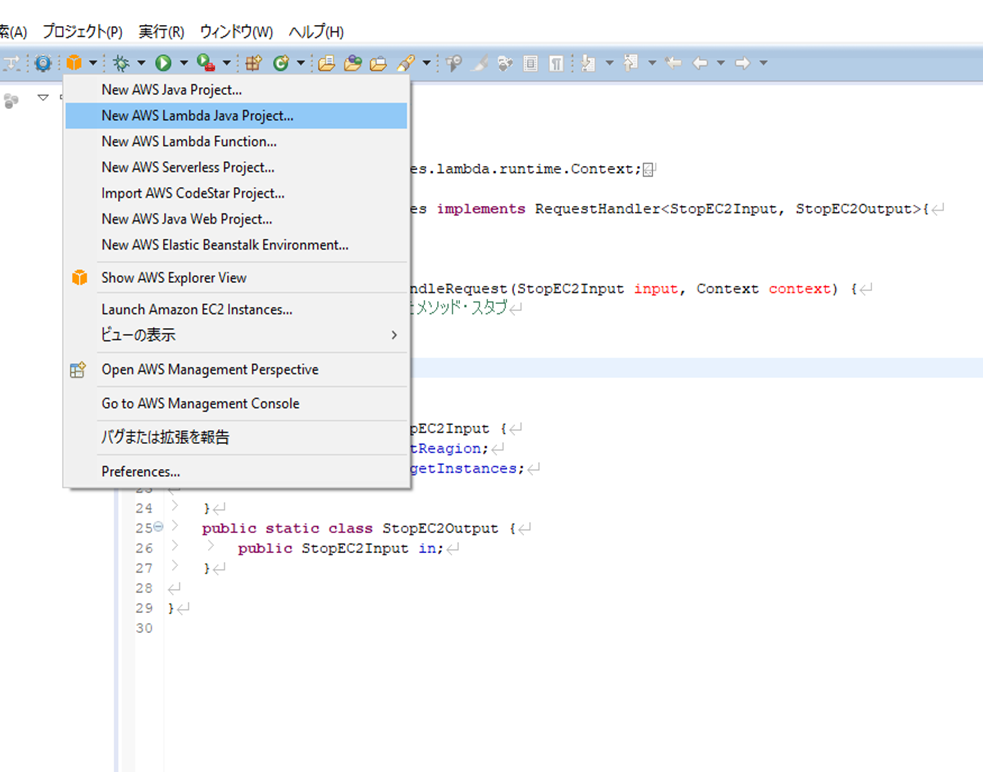
AWS Exploreマークのボタンから、いろいろAWSのプロジェクトが見れる。
image.png

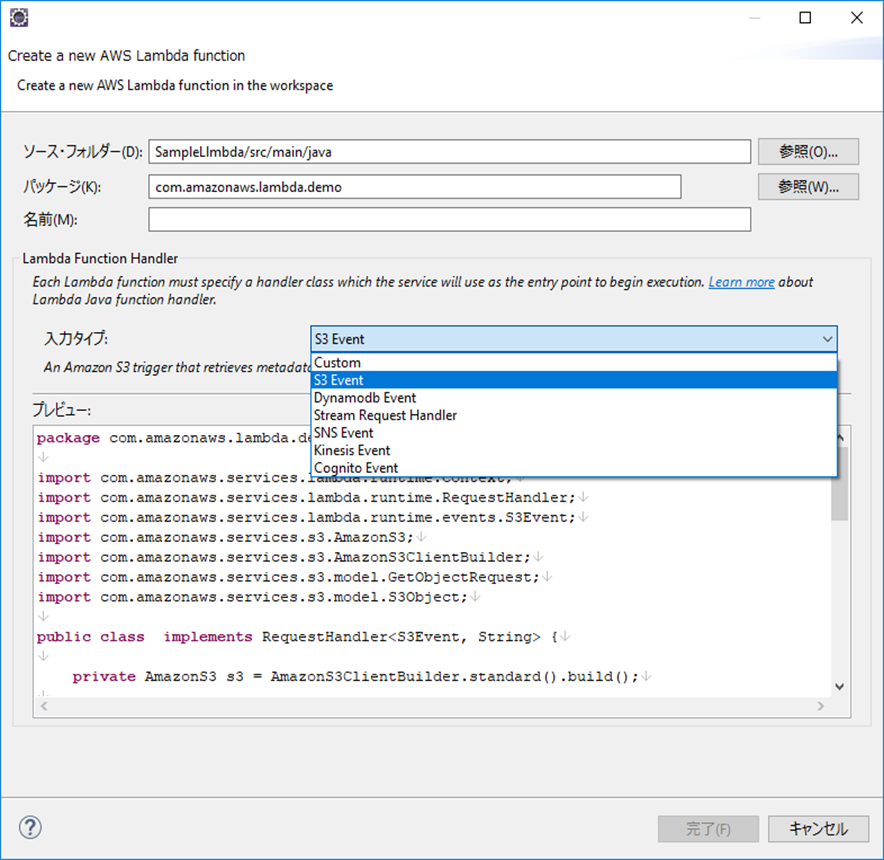
ここで、Lambdaを選ぶとサンプルパッケージが作らるので、これを参考にしながら実装できる、
image.png

1
2
0

Register as a new user and use Qiita more conveniently

  1. You get articles that match your needs
  2. You can efficiently read back useful information
  3. You can use dark theme
What you can do with signing up
1
2

Delete article

Deleted articles cannot be recovered.

Draft of this article would be also deleted.

Are you sure you want to delete this article?