0
1

Delete article

Deleted articles cannot be recovered.

Draft of this article would be also deleted.

Are you sure you want to delete this article?

ThonnyやArduinoIDEの環境構築は調べれば出てきますが、VSCodeの拡張機能だけで開発環境ができるようなので、実際にやってみました。

必要なもの

  • PC
  • Visual Studio Code

構築手順

  1. VS Codeを起動
  2. 左のサイドバーの"Extensions"(Ctrl + Shift + X)に移動
  3. 検索画面にRaspberry Pi Picoと入力
    スクリーンショット 2024-12-24 210120.png
  4. Installをクリックして、インストール

これで、拡張機能のRaspberry Pi Picoがインストールされました。

すると、左のサイドバーに新たにRaspberry Pi Picoのアイコンが出てきます。
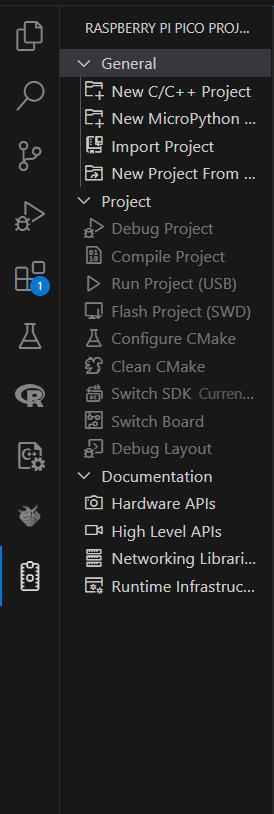
スクリーンショット 2024-12-24 211114.png

Generalタブから、新しいプロジェクトを作ったり、既存のプロジェクトをインポートしたり、もしくはサンプルプロジェクトを作ったりします。
Projectタブでは、デバッグやコンパイル、実行、Picoに書き込みなどです。

0
1
0

Register as a new user and use Qiita more conveniently

  1. You get articles that match your needs
  2. You can efficiently read back useful information
  3. You can use dark theme
What you can do with signing up
0
1

Delete article

Deleted articles cannot be recovered.

Draft of this article would be also deleted.

Are you sure you want to delete this article?