ロードバランサーのログはS3に出力することができるが,
これを別アカウントのS3バケットに出力したかった
難しい設定は不要でS3のポリシーを変えてやれば良い
クロスアカウントの設定が必要になるかと思ったが不要
手順
A→書き込むS3バケットを用意し,ポリシーを設定
B→Aのバケットを指定する
これだけです
S3バケットを作成
A側でS3バケット(hoge-fuga)を作成します。
(ブロックパブリックアクセスは全てブロックでOK)
S3のバケットポリシーを設定
{
    "Version": "2012-10-17",
    "Statement": [
        {
            "Sid": "Allow_ELB_Access_logs_Other_Account",
            "Effect": "Allow",
            "Principal": {
                "AWS": [
                    "arn:aws:iam::{BのアカウントID}:root",
                    "arn:aws:iam::{EC2のあるリージョンコード}:root"
                ]
            },
            "Action": "s3:PutObject",
            "Resource": "arn:aws:s3:::{hoge-fuga}/*"
        }
    ]
}
- {BのアカウントID}
- {elb-account-id}
- {hoge-fuga}
この3箇所を修正してS3に設定しましょう
elb-account-idは,こちらから確認できます
該当のリージョンのものをコピペしましょう
https://docs.aws.amazon.com/ja_jp/elasticloadbalancing/latest/classic/enable-access-logs.html#attach-bucket-policy:~:text=Replace%20elb%2Daccount%2Did%20with%20the%20ID%20of%20the%20AWS%20account%20for%20Elastic%20Load%20Balancing%20for%20your%20Region%3A
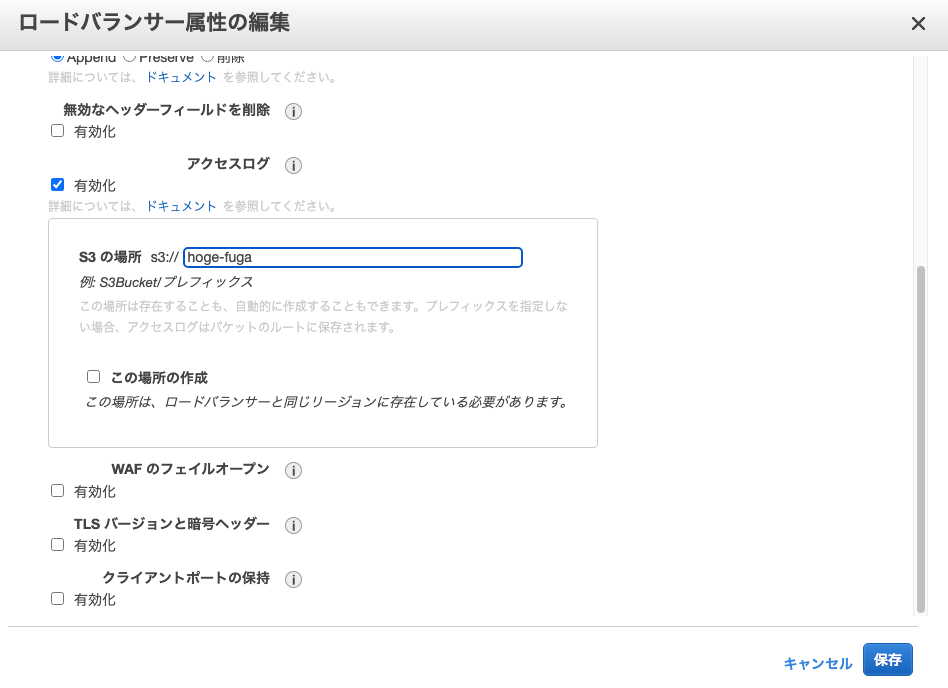
B側でS3バケットを設定
AWSダッシュボードから,EC2→ロードバランサー→説明タブ→属性の編集 にて
アクセスログにチェックし有効化,S3の場所を指定してください
(プレフィックスは適宜)
以上で設定終了です
A側のS3バケットにログが出力されていることを確認してください。