背景
Vue.jsで大きなプロジェクトを開発する時の事を考えてる最中。そのプロジェクトだけで使用する共通モジュール(全世界公開はしない)をどうするかが課題の一つ。
mavenでのprivate javaリポジトリの様なものが無いか調べてたら、Verdaccio というものがそれに該当するらしい。試しておきたい。
前説
基本関係プロジェクトとかはDockerコンテナで構築しています。結果的に以下3つのDockerコンテナを使用しているので、コンテナ内、というのがどのコンテナかはお察ししてもらえると有り難いです。
- Verdaccio サービスを起動しているコンテナ(コンテナ名 verdaccio)
- vue-sfc-rollup を使用してコンポーネント作成するプロジェクトのコンテナ(コンテナ名 vuecomptest01)
- コンポーネントをインストールするプロジェクトのコンテナ(コンテナ名 vueprj-test01)
ホストとは、これらのコンテナが起動しているホストマシンの事です。
Verdaccioを構築してみる
やっぱりDockerで構築したい。Dockerfileを作り始めようと思ったが、既に公式Dockerイメージが無いか探してみた。そしたら、公式イメージが存在した。
https://verdaccio.org/docs/en/docker.html
早速説明ページ通りにトレース。
Docker使うとはいえ、永続領域を持つサービスなので、それ用のフォルダ用意。
sudo mkdir -p /var/opt/verdaccio
sudo chmod 777 -R /var/opt/verdaccio
起動用のシェル、launch-verdaccio.shを作る。
# ! /bin/bash

V_PATH=/var/opt/verdaccio;

docker run -it --rm -d --name verdaccio \
  -p 4873:4873 \
  -v $V_PATH/conf:/verdaccio/conf \
  -v $V_PATH/storage:/verdaccio/storage \
  -v $V_PATH/plugins:/verdaccio/plugins \
  verdaccio/verdaccio
chmod 755 launch-verdaccio.sh
sudo docker pull verdaccio/verdaccio
Verdaccioを使って簡単local npm registryを構築する を真似て、config.yaml作成。
公式ページも参照して少し修正。
vim /var/opt/verdaccio/conf/config.yaml
storage: /verdaccio/storage
plugins: ./plugins

web:
  title: Verdaccio

auth:
  htpasswd:
    file: ./htpasswd

uplinks:
  npmjs:
    url: https://registry.npmjs.org/
  local:
    url:  http://localhost:4873/

packages:
  '@*/*':
    # scoped packages
    access: $all
    publish: $authenticated
    unpublish: $authenticated
  '**':
    access: $all
    publish: $authenticated
    unpublish: $authenticated
    proxy: npmjs

server:
  keepAliveTimeout: 60

middlewares:
  audit:
    enabled: true

listen: 0.0.0.0:4873
sudo ./launch-verdaccio.sh
http://localhost:4873/ へアクセスしてみる。何も登録されてない事が表示された(画面ショット取り忘れ)。
Verdaccio初期セットアップ
sudo docker exec -it --user root verdaccio /bin/sh
npm adduser --registry http://localhost:4873/
入力を求められるので、適当にユーザーID、パスワード、メールアドレス(xxxx@yyy.zzz形式)を入力。
※後々使うので忘れない事!!!
登録テスト用ライブラリ作成
Vue Componentをnpmパッケージ経由で配布する
によると、vue-sfc-rollup というモジュールを使うと簡単にコンポーネント公開環境が出来るらしい。
vue-sfc-rollup公式ページ を参考にする。
dockerで環境準備
mkdir -p ~/vuecomptest01/component
cd ~/vuecomptest01
設定ファイル作成(~/vuecomptest01 直下に配置)
version: '3.7'
services:
  frontvue:
    build:
      context: .
      dockerfile: Dockerfile-vueini
    ports:
      - 8080:8080
    volumes:
      - ./component:/component
    container_name: vuecomptest01
    tty: true
FROM node:12.18.1-alpine

MAINTAINER silverbox

WORKDIR /component

RUN apk update
RUN apk add curl
RUN npm install -g @vue/cli@4.4.1
RUN npm install -g @vue/cli-init@4.4.1
sudo docker-compose -f docker-compose-vueini.yml build
sudo docker-compose -f docker-compose-vueini.yml up -d
sudo docker exec --user root -it vuecomptest01 /bin/sh
/component # npm install -g vue-sfc-rollup
/component # sfc-init
開発する種類を聞かれるので、選択する。今回は簡単にSingle Componentを選択。後はコンポーネントとかの名前を聞かれます。
? Is this a single component or a library? › - Use arrow-keys. Return to submit.
❯   Single Component
    Library

# TypeScript か JavaScript かも聞かれます。今回は簡単にJavaScriptを選択。
? Will this component be written in JavaScript or TypeScript? › - Use arrow-keys. Return to submit.
❯   JavaScript
    TypeScript
/component # sfc-init
✔ Is this a single component or a library? › Single Component
✔ What is the npm name of your component? … my-test-component01
✔ What is the kebab-case tag name for your component? … my-test-component01
✔ Will this component be written in JavaScript or TypeScript? › JavaScript
✔ Enter a location to save the component files: … ./my-test-component01

  Init is complete, your files have been generated and saved into the directory you specified above.
  Within that directory, use src/mytest-component.vue as a starting point for your SFC.
  When you're ready, run `npm run build` to generate the redistributable versions.
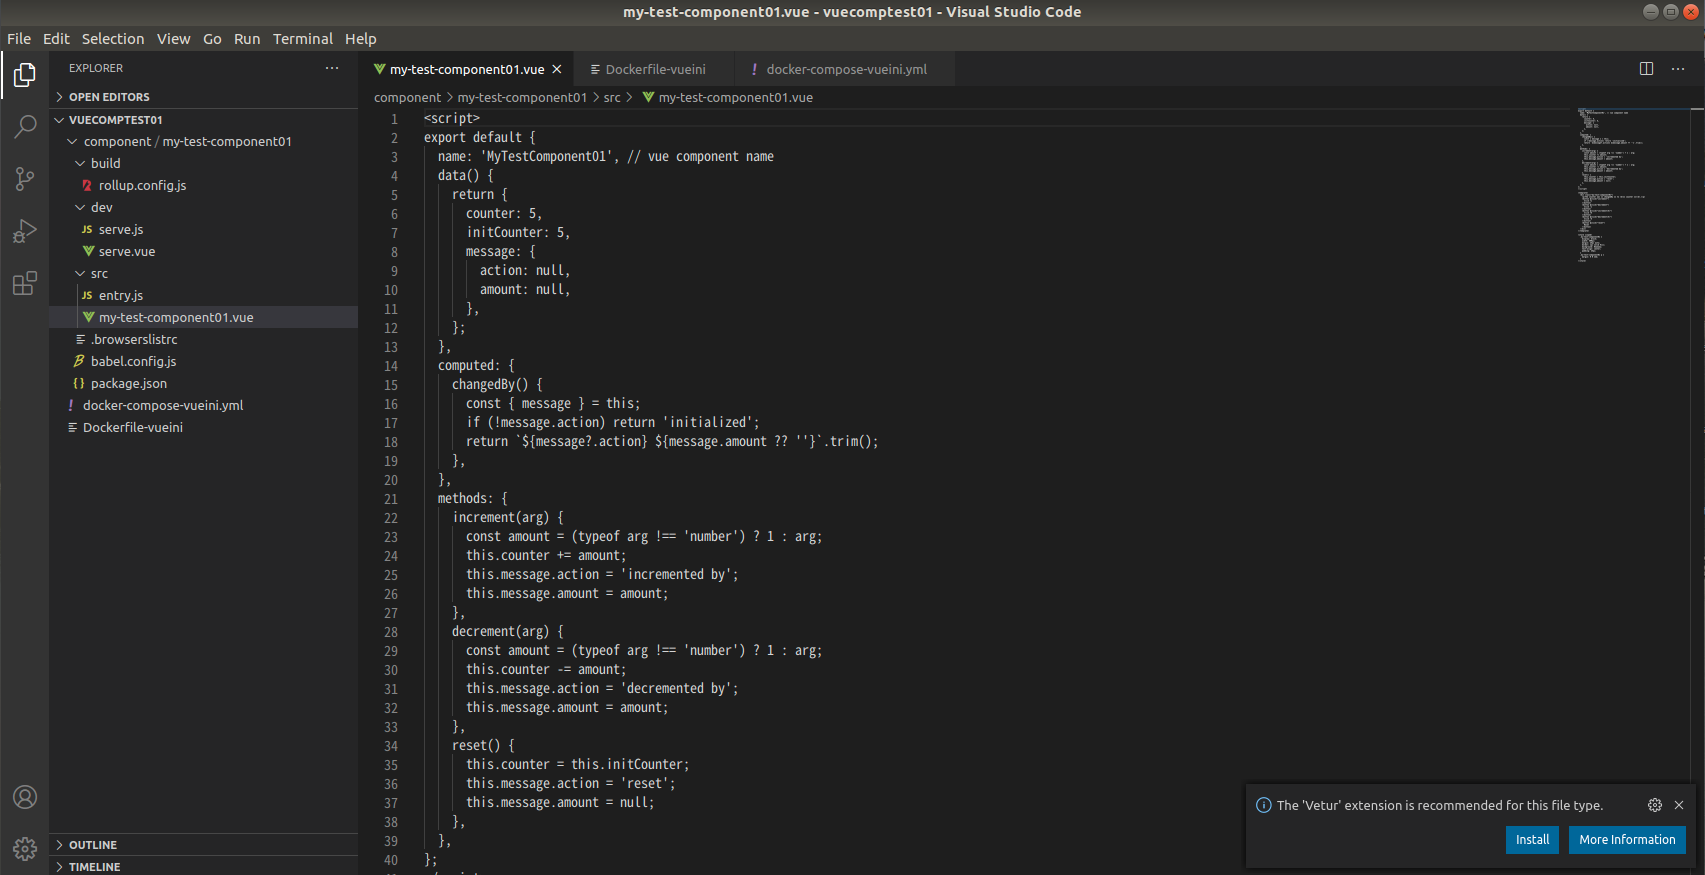
こんな感じのフォルダ&ファイル構成でサンプルも同時に作成されます(すごい助かる)。
※ホスト側からマウントされているフォルダをVSCodeで見てる状態
/component # cd my-test-component01
/component/my-test-component01 # npm install
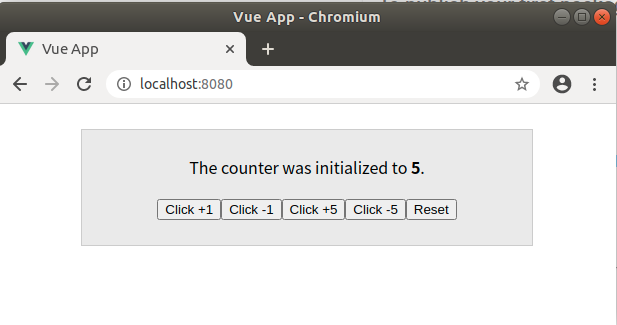
/component/my-test-component01 # npm run serve
ホストから、サンプルぺーjにアクセスできます。
/component/my-test-component01/dev/serve.vue をいじればサンプルページも編集出来そうです。
Ctrl+Cで開発モード終了してビルドします。
/component/my-test-component01 # npm run build
distフォルダ内にビルド成果物が生成されています。
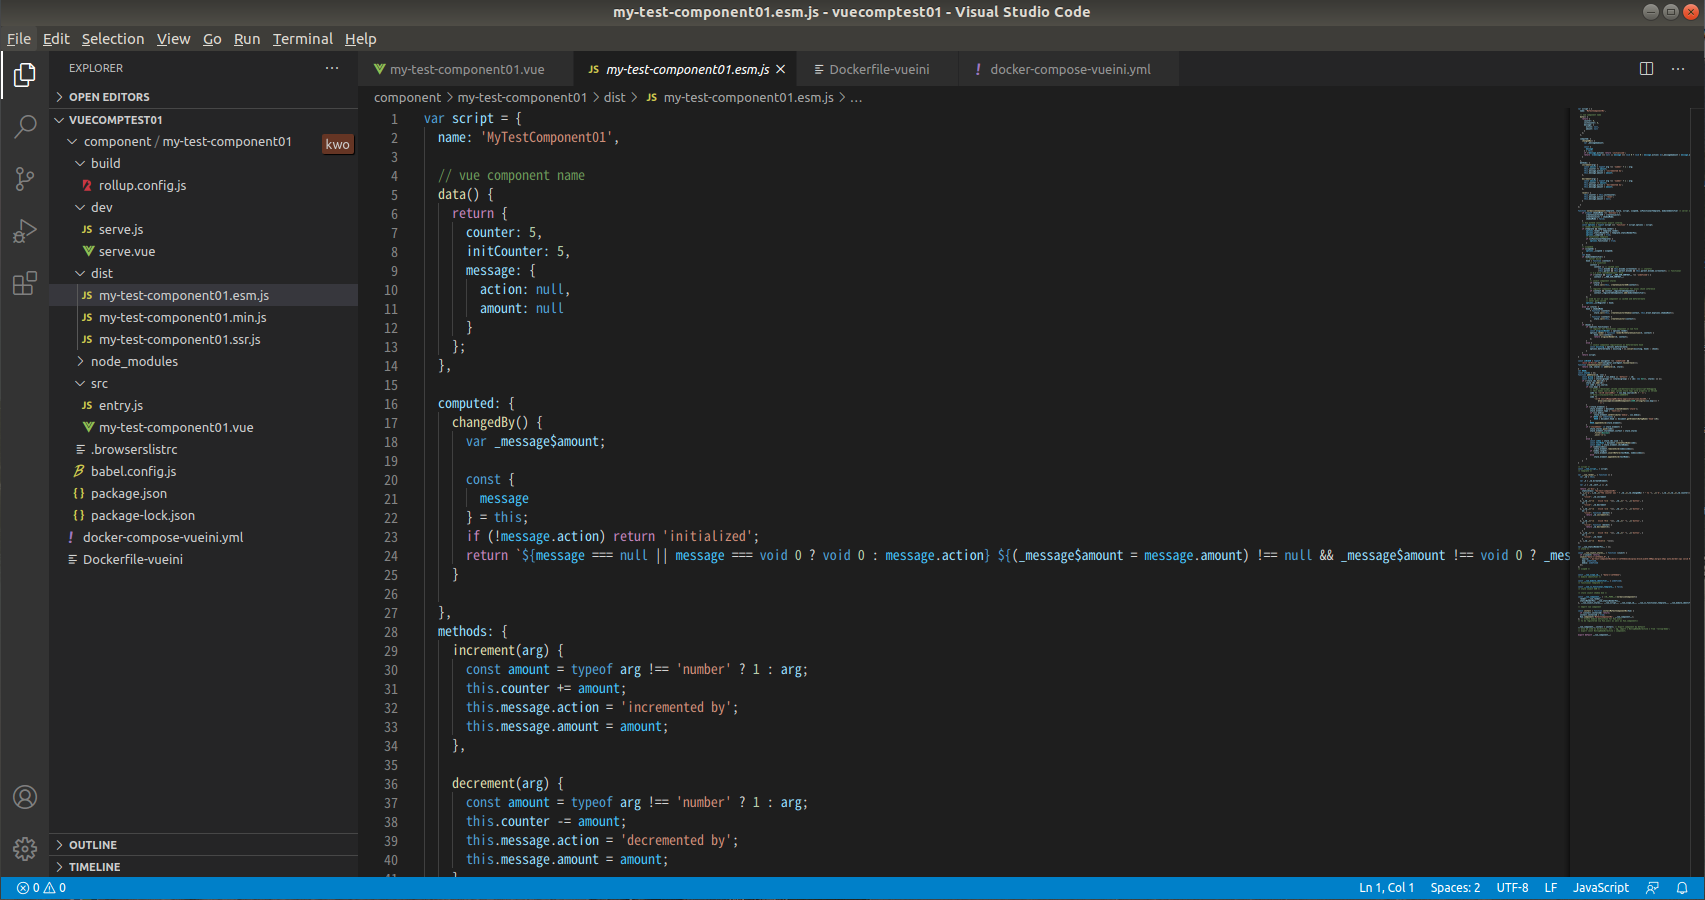
公式ページによると、「# Ready to publish!」だそうで。
プライベートリポジトリにpublish
DockerホストのIPを指定しているが、Verdaccioコンテナとつながってるので大丈夫。
もちろん、上の方でセットアップしたVerdaccioコンテナは起動したままです。
npm login --registry http://{ホストのIP}:4873
Verdaccio初期セットアップで登録したユーザーのID/Pass/e-mailを入力
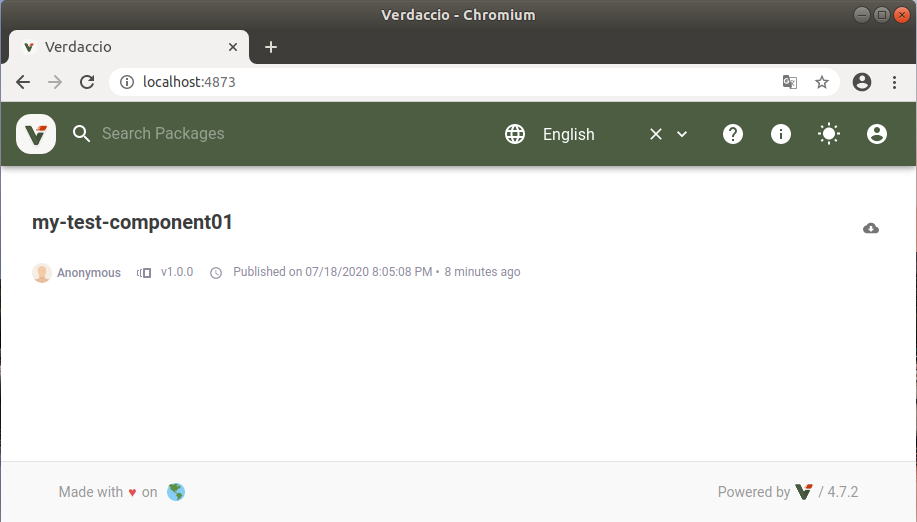
/component/my-test-component01 # npm publish --registry http://{ホストのIP}:4873
npm notice
npm notice package: my-test-component01@1.0.0
npm notice === Tarball Contents ===
npm notice 8.7kB dist/my-test-component01.esm.js
npm notice 3.7kB dist/my-test-component01.min.js
npm notice 8.2kB dist/my-test-component01.ssr.js
npm notice 1.4kB package.json
npm notice 1.7kB src/my-test-component01.vue
npm notice === Tarball Details ===
npm notice name:          my-test-component01
npm notice version:       1.0.0
npm notice package size:  5.6 kB
npm notice unpacked size: 23.7 kB
npm notice shasum:        a7c10cbacae6c99acc8ad1256e2c533cb18a600a
npm notice integrity:     sha512-YO60lOmRGhoVZ[...]t+pCFzJCQm6bw==
npm notice total files:   5
npm notice
+ my-test-component01@1.0.0
プライベートリポジトリに登録されました。
プライベートリポジトリを使ってみる
以前書いた記事、Vueを複数人で開発する環境を試してみた で使用したコンテナ環境で試してみる。
sudo docker exec --user root -it vueprj-test01 sh
npm config set registry http://{ホストのIP}:4873
npm install my-test-component01

/app # npm install my-test-component01
npm WARN optional SKIPPING OPTIONAL DEPENDENCY: fsevents@2.1.3 (node_modules/fsevents):
npm WARN notsup SKIPPING OPTIONAL DEPENDENCY: Unsupported platform for fsevents@2.1.3: wanted {"os":"darwin","arch":"any"} (current: {"os":"linux","arch":"x64"})
npm WARN optional SKIPPING OPTIONAL DEPENDENCY: fsevents@1.2.13 (node_modules/watchpack-chokidar2/node_modules/fsevents):
npm WARN notsup SKIPPING OPTIONAL DEPENDENCY: Unsupported platform for fsevents@1.2.13: wanted {"os":"darwin","arch":"any"} (current: {"os":"linux","arch":"x64"})
npm WARN optional SKIPPING OPTIONAL DEPENDENCY: fsevents@1.2.13 (node_modules/webpack-dev-server/node_modules/fsevents):
npm WARN notsup SKIPPING OPTIONAL DEPENDENCY: Unsupported platform for fsevents@1.2.13: wanted {"os":"darwin","arch":"any"} (current: {"os":"linux","arch":"x64"})

+ my-test-component01@1.0.0
added 1 package in 16.91s

45 packages are looking for funding
  run `npm fund` for details
ちょっとWarning出てるけどインストール出来ました。
参考にさせてもらったページ
Verdaccioを使って簡単local npm registryを構築する
verdaccioでprivateなnpmリポジトリを作成
Vue コンポーネントを npm パッケージ化する
Vue CLI3でコンポーネントをnpmのモジュールにする
javascript - Vueコンポーネントを外部プロジェクトに公開する
【Vue.js】業務で開発した自作ライブラリをnpmに公開してみた
Vue Componentをnpmパッケージ経由で配布する
vue-sfc-rollup公式gitリポジトリ