コンポーネントとは
コンポーネント(Component)とは、特定の機能を持った汎用的な部品のことです。
ボタンやテキストボックス、リストなどもソフトウェアを構成する部品(=コンポーネント)と言えます。
それぞれのパーツをコンポーネントとして扱うことにより、取り外しできるレゴのパーツみたいに再利用可能となります。
とりあえずコンポーネントを作ってみる
Reactでコンポーネントを作ってみます。
前回の記事で作成したcreate-react-appの環境をそのまま使っていきます。
https://qiita.com/sho7/items/bb564e22a096eaea9877
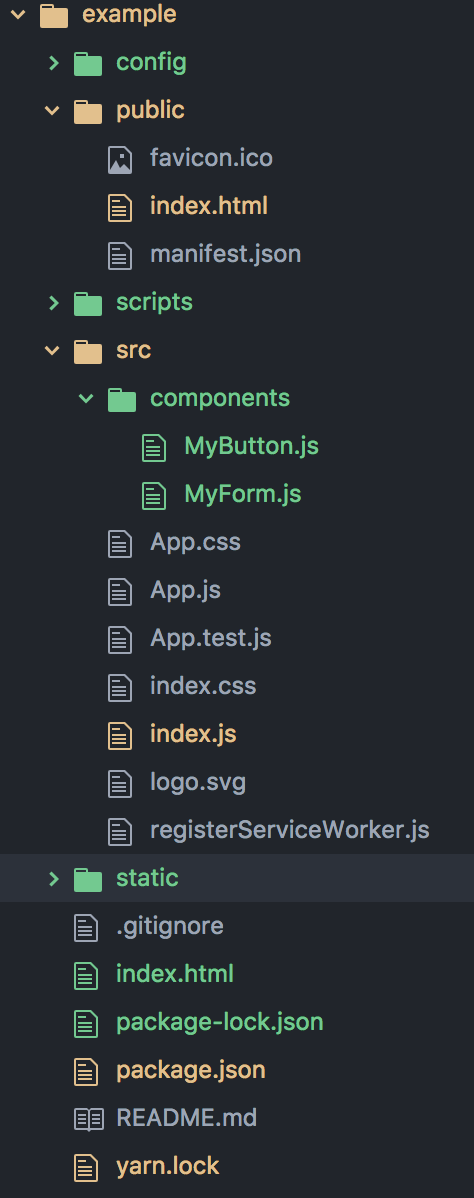
このサンプルのディレクトリ構成は以下の通りです。
public/index.htmlに以下のように記載します。
<!DOCTYPE html>
<html lang="en">
  <head>
    <meta charset="utf-8">
    <meta name="viewport" content="width=device-width, initial-scale=1, shrink-to-fit=no">
    <meta name="theme-color" content="#000000">
    <!--
      manifest.json provides metadata used when your web app is added to the
      homescreen on Android. See https://developers.google.com/web/fundamentals/engage-and-retain/web-app-manifest/
    -->
    <link rel="manifest" href="%PUBLIC_URL%/manifest.json">
    <link rel="shortcut icon" href="%PUBLIC_URL%/favicon.ico">
    <!--
      Notice the use of %PUBLIC_URL% in the tags above.
      It will be replaced with the URL of the `public` folder during the build.
      Only files inside the `public` folder can be referenced from the HTML.

      Unlike "/favicon.ico" or "favicon.ico", "%PUBLIC_URL%/favicon.ico" will
      work correctly both with client-side routing and a non-root public URL.
      Learn how to configure a non-root public URL by running `npm run build`.
    -->
    <title>React App</title>
  </head>
  <body>
    <noscript>
      You need to enable JavaScript to run this app.
    </noscript>
    <div id="root"></div>
    <div id="myForm"></div>
    <br/>
    <br/>
    <div id="myButton"></div>
    <!--
      This HTML file is a template.
      If you open it directly in the browser, you will see an empty page.

      You can add webfonts, meta tags, or analytics to this file.
      The build step will place the bundled scripts into the <body> tag.

      To begin the development, run `npm start` or `yarn start`.
      To create a production bundle, use `npm run build` or `yarn build`.
    -->
  </body>
</html>
次にsrc/componentsディレクトリ以下にMyForm.jsを作ってみます。
import React from 'react'

export default class MyForm extends React.Component {
  constructor (props) {
    super(props)
    this.state = {value:''}
  }

  doChange (e) {
    const newValue = e.target.value
    this.setState({value: newValue})
  }

  doSubmit (e) {
    window.alert('Input value is ' + this.state.value)
    e.preventDefault()
  }

  render () {
    const doSubmit = (e) => this.doSubmit(e)
    const doChange = (e) => this.doChange(e)
    return (
      <form onSubmit={doSubmit}>
        <input type='text'
         value={this.state.value}
         onChange={doChange} />
        <input type='submit' value='send' />
      </form>
    )
  }
}
src/index.jsにReactDOM.renderを追加します。
```javascript:src/index.js`
import React from 'react';
import ReactDOM from 'react-dom';
import './index.css';
import App from './App';
import MyForm from './components/MyForm'
import MyButton from './components/MyButton'
import registerServiceWorker from './registerServiceWorker';
ReactDOM.render(, document.getElementById('root'));
ReactDOM.render(, document.getElementById('myForm'));
ReactDOM.render(, document.getElementById('myButton'));
registerServiceWorker();
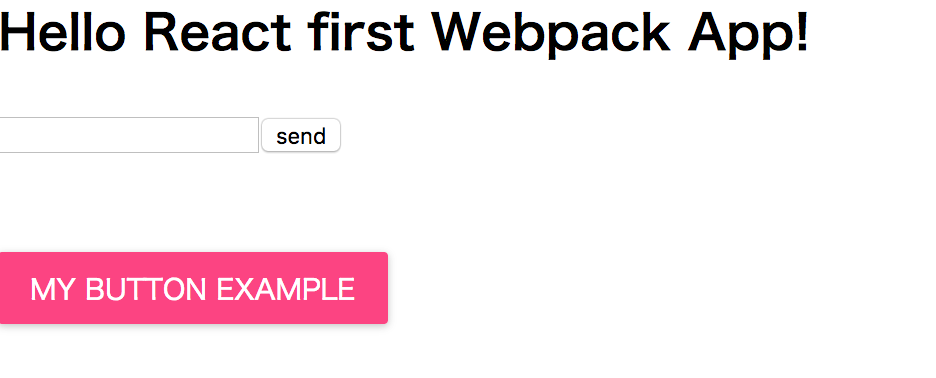
すると、以下のようにフォームが追加されます。
yarn start -s
<img width="430" alt="React App 2018-01-02 19-11-38.png" src="https://qiita-image-store.s3.amazonaws.com/0/226431/880410b1-37fe-e37c-16f7-acafb390b398.png">


### マテリアルデザインを取り入れてみる

適当に作ってきたコンポーネントをそれっぽいデザインにするために、`material-ui`を取り入れてみます。

以下のページを参考にしています。
https://www.npmjs.com/package/material-ui
https://github.com/callemall/material-ui-webpack-example/blob/25938ac6f5db94645e6ea9f24a903792d3133c5d/src/app/Main.js
http://www.material-ui.com/#/components/raised-button

以下のコマンドでmaterial-uiをインストールします。
npm install material-ui
しかし、サンプル見よう見まねで作った以下の書き方では思わぬエラーが出てしまいます。

```javascript:src/components/MyButton.js
import React,  {Component}  from 'react';
import RaisedButton from 'material-ui/RaisedButton';

export default class MyButton extends Component {
  handleTouchTap() {
    this.setState({
      open: true,
    });
  }

  render() {
    return (
      <RaisedButton
        label="My Button Example"
        secondary={true}
        onTouchTap={this.handleTouchTap}
      />
    )
  }
}
出てくるのは以下のようなメッセージです。
TypeError: Cannot read property 'prepareStyles' of undefined
  291 |     secondary = _props.secondary,
  292 |     style = _props.style,
  293 |     other = (0, _objectWithoutProperties3.default)(_props, ['backgroundColor', 'buttonStyle', 'children', 'className', 'disabled', 'disabledBackgroundColor', 'disabledLabelColor', 'fullWidth', 'icon', 'label', 'labelColor', 'labelPosition', 'labelStyle', 'overlayStyle', 'primary', 'rippleStyle', 'secondary', 'style']);
> 294 | var prepareStyles = this.context.muiTheme.prepareStyles;
  295 |
  296 | var styles = getStyles(this.props, this.context, this.state);
  297 | var mergedRippleStyles = (0, _simpleAssign2.default)({}, styles.ripple, rippleStyle);
こちらを解消するためには、MuiThemeProviderをimportして、タグを<MuiThemeProvider>でラップする必要があります。
import React,  {Component}  from 'react';
import RaisedButton from 'material-ui/RaisedButton';
import MuiThemeProvider from 'material-ui/styles/MuiThemeProvider'

export default class MyButton extends Component {

  handleClick() {
    console.log('button is clicked')
  }

  render() {
    return (
      <MuiThemeProvider>
        <RaisedButton
          label="My Button Example"
          secondary={true}
          onClick={this.handleClick}
        />
      </MuiThemeProvider>
    )
  }
}
上記の対応でエラーを解消したところ、以下のようにマテリアルデザインっぽいボタンが表示されました。
yarn start -s
JavaScript構文を調べる
- export
変数をモジュール外部に公開することができます。
export 文は、指定したファイル (またはモジュール) から関数、オブジェクト、プリミティブをエクスポートするために使用します。
https://developer.mozilla.org/ja/docs/Web/JavaScript/Reference/Statements/export
exportで外部に公開されたモジュールを利用する側ではimportを使います。
この記事がわかりやすいです。
http://analogic.jp/module-summary/#es2015-module
- default
importする際に特に指定がなければdefaultで指定されたクラスや関数を呼びます。
こちらの記事もわかりやすいです。
http://numb86-tech.hatenablog.com/entry/2016/10/19/153606