今回実装するもの
8番出口風の、ループできるような仕組みを実装します。
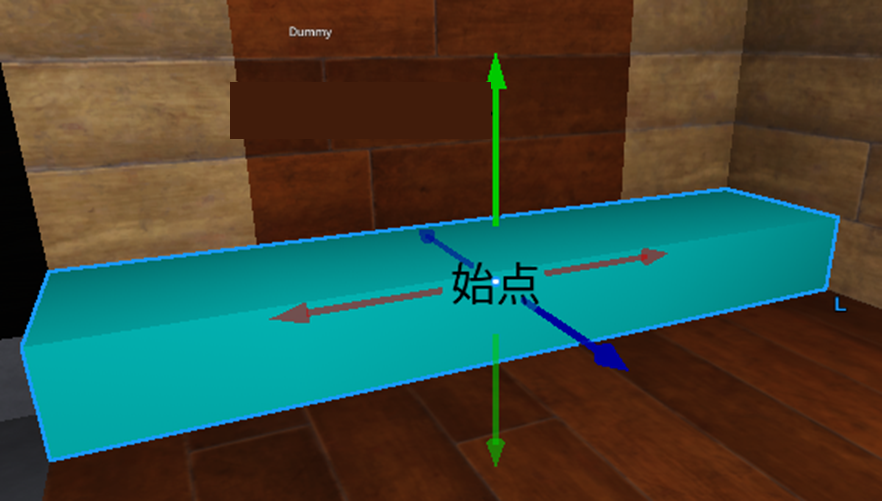
始点
オブジェクトの見た目
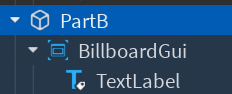
エクスプローラーの情報
始点について
- ループ始めの地点を、「始点」としています。
- オブジェクトの名前は「PartB」としています。
- BillboardGuiとTextLabelを追加していますが、開発中にわかりやすいようにするためです。
- Part自体のその他の設定は、色とスケールのみ変えています。
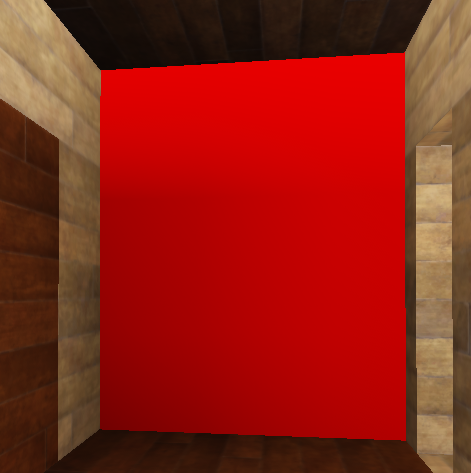
終点
オブジェクトの見た目
エクスプローラーの情報
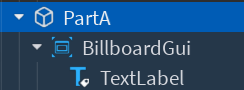
終点について
- Anchored = true
- CanCollide = false(すり抜ける)
- ServerScriptServiceにScriptを1つ作ります。
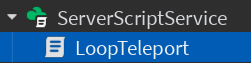
LoopTeleport
-- PartA に触れたら PartB にテレポートするだけの基本ループ

local Players = game:GetService("Players")
local Workspace = game:GetService("Workspace")

local PartA = Workspace:WaitForChild("PartA") -- 終点(透明トリガー)
local PartB = Workspace:WaitForChild("PartB") -- 始点(見える床やマーカー)

-- 連続で何度も発火してしまうのを防ぐためのデバウンス
local touching = {} -- [character] = true/false

-- 安全テレポ(少し上&向き合わせ)
local function teleportToB(character)
	local hrp = character:FindFirstChild("HumanoidRootPart")
	if not hrp then return end
	local bcf = PartB.CFrame

	-- PartBの少し上&少し手前にワープ(床に埋まらないよう高さ+3)
	local pos = bcf.Position + Vector3.new(0, 3, 0) - bcf.LookVector * 2
	hrp.CFrame = CFrame.new(pos, pos + bcf.LookVector) -- Bの向きに正対
end

-- PartAに触れたら発動
PartA.Touched:Connect(function(hit)
	local character = hit and hit.Parent
	if not character then return end

	local hum = character:FindFirstChildOfClass("Humanoid")
	if not hum or hum.Health <= 0 then return end
	if touching[character] then return end -- 連続発火防止

	touching[character] = true
	teleportToB(character)
	task.delay(0.2, function() touching[character] = nil end)
end)

-- (任意)リスポーン時は最初からBへ立たせたい場合:
Players.PlayerAdded:Connect(function(plr)
	plr.CharacterAdded:Connect(function(char)
		-- スポーン直後は物理が安定するまで待つ
		task.wait(0.2)
		teleportToB(char)
	end)
end)
実行してみると
動かしてみるとこんな感じになります(YouTube Shorts)。
https://youtube.com/shorts/ILF3NY99e4c
まとめ
今回の記事では、「8番出口」風のループ通路をRobloxで実装する方法を紹介しました。
- 終点(PartA)に触れると、始点(PartB)へ自動でテレポートする仕組み
- リスポーン時も始点に立たせるオプション
といった基本的なループの仕組みが作れるようになったと思います。
ここからさらに、演出を加えたり「アノマリー」要素を入れたりすれば、「無限ループ感」をより強く表現できます。
まずはシンプルなループから試して、オリジナルの不思議な通路づくりに発展させてみてください!
関連記事
【Roblox Studio】プロジェクト全体を暗くする方法(環境光の調整)
Roblox Studioでカットシーン+会話イベントを実装してみた【初心者向け】