Elixir の auth_plugで簡単に認証が行えるということで基本的な動作を確認してみました。
auth_plug 公式サイト
【関連記事】
- Phoenix 認証システム - mix phx.gen.auth
- Phoenix LiveViewの基本設定 - mix phx.gen.schema
- Phoenix1.6の基本的な仕組み - mix phx.gen.html
- Elixir/Phoenix のシンプル認証 auth_plug
- Elixir Ecto チュートリアル
- Elixir Ecto のまとめ
1.インストール
mix phx.new app --no-ecto --no-mailer --no-dashboard
cd app
mix.exsを編集します。
  defp deps do
    [
      {:phoenix, "~> 1.6.12"},
      ---
      {:plug_cowboy, "~> 2.5"},
      {:auth_plug, "~> 1.4.14"}  # <== 追加
    ]
  end
次のコマンドでインストールします
mix deps.get
2.AUTH_API_KEY を取得
GitHub または Google account を利用して、このサイトで「https://dwylauth.herokuapp.com」、AUTH_API_KEY を取得します。

AUTH_API_KEYを.envに保存します。
export AUTH_API_KEY=88SwQERj7eJQcUgM32vfRgXZckaM1VcUFqSZYm3N5/dwylauth.herokuapp.com
AUTH_API_KEYをロードします。
source .env
3.AuthPlug をrouter.exに追加しルートを保護する
router.exを以下のように修正します。
  pipeline :auth, do: plug(AuthPlug)       # 追加

  scope "/", AppWeb do
    pipe_through :browser
    pipe_through :auth                      # 追加

    get "/admin", PageController, :admin    # 追加
  end
"/admin" ルートがAuthPlugで保護されます。
4.Controller、View、Template
controllerとtemplateを修正します。viewは触りません。
defmodule AppWeb.PageController do
  use AppWeb, :controller

  def admin(conn, _params) do
    # IO.inspect(conn)
    render(conn, "index.html")
  end
end
admin関数に渡ってくる conn には以下のような内容が含まれます。
%Plug.Conn{
  adapter: {Plug.Cowboy.Conn, :...},
  assigns: %{
    jwt: "eyJhbGciOiJIUzI1NImlzcyI6IkpzM5fQ.hGbEz8rbZ7HjnT2E3CH0aHyEM9rXe-dg5UKKgs8snKI",
    person: %{
      app_id: 51,
      aud: "Joken",
      auth_provider: "google",
      email: "sandxxxxx@gmail.com",
      exp: 1696763339,
      givenName: "Googleアカウントの名前",
      ---
      picture: "https://lh3.googleusercontent.com/a/YOEY_xYWG4naks7rj=s96-c",
      roles: "6,6",
      ---
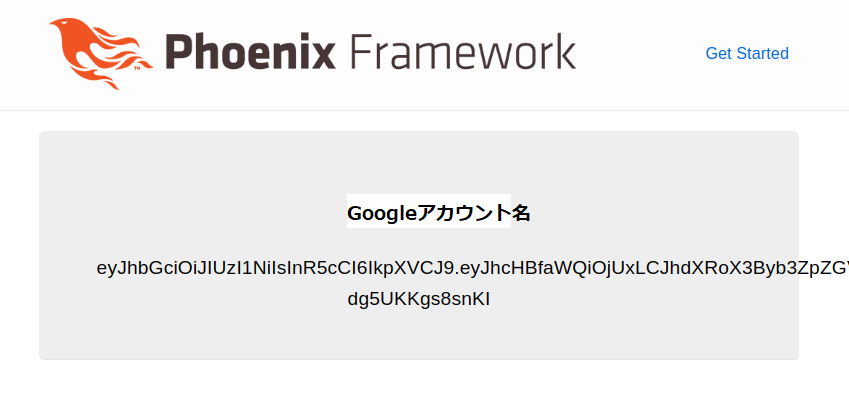
conn.assignsがtemplateで参照できる変数となりますので、JWT認証の内容を表示してみます。
<section class="phx-hero">
  <h1><%=  @person.givenName %></h1>
  <p><%= @jwt %></p>
</section>
Phoenixサーバを立ち上げます。
mix phx.server
4ー1.保護されたルートへアクセスを試みます
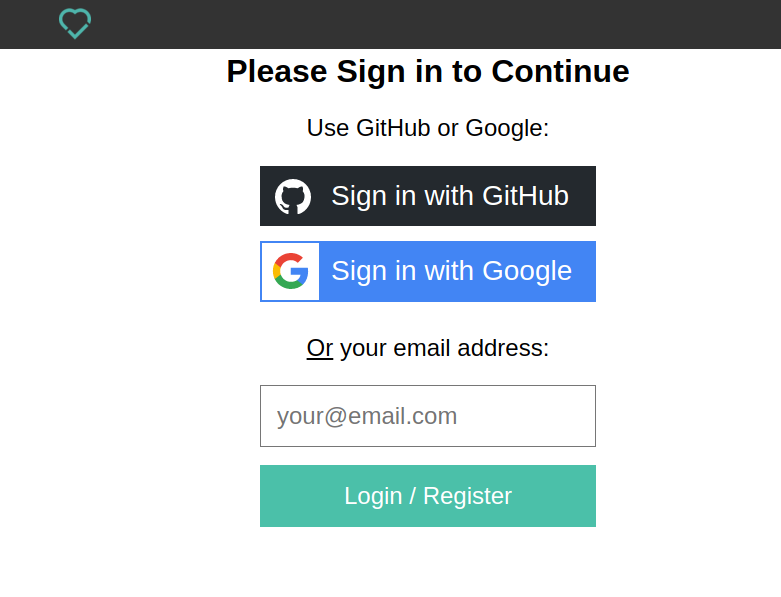
http://localhost:4000 にアクセスすると認証画面にリダイレクトします。
私の場合はGoogleを選んで認証します。認証が成功すると、もともとのアクセス先の画面が表示されます。
Googleアカウントの名前とJWTが表示されるのが確認できます。確かにシンプルですね。
今回は以上です。

