趣向
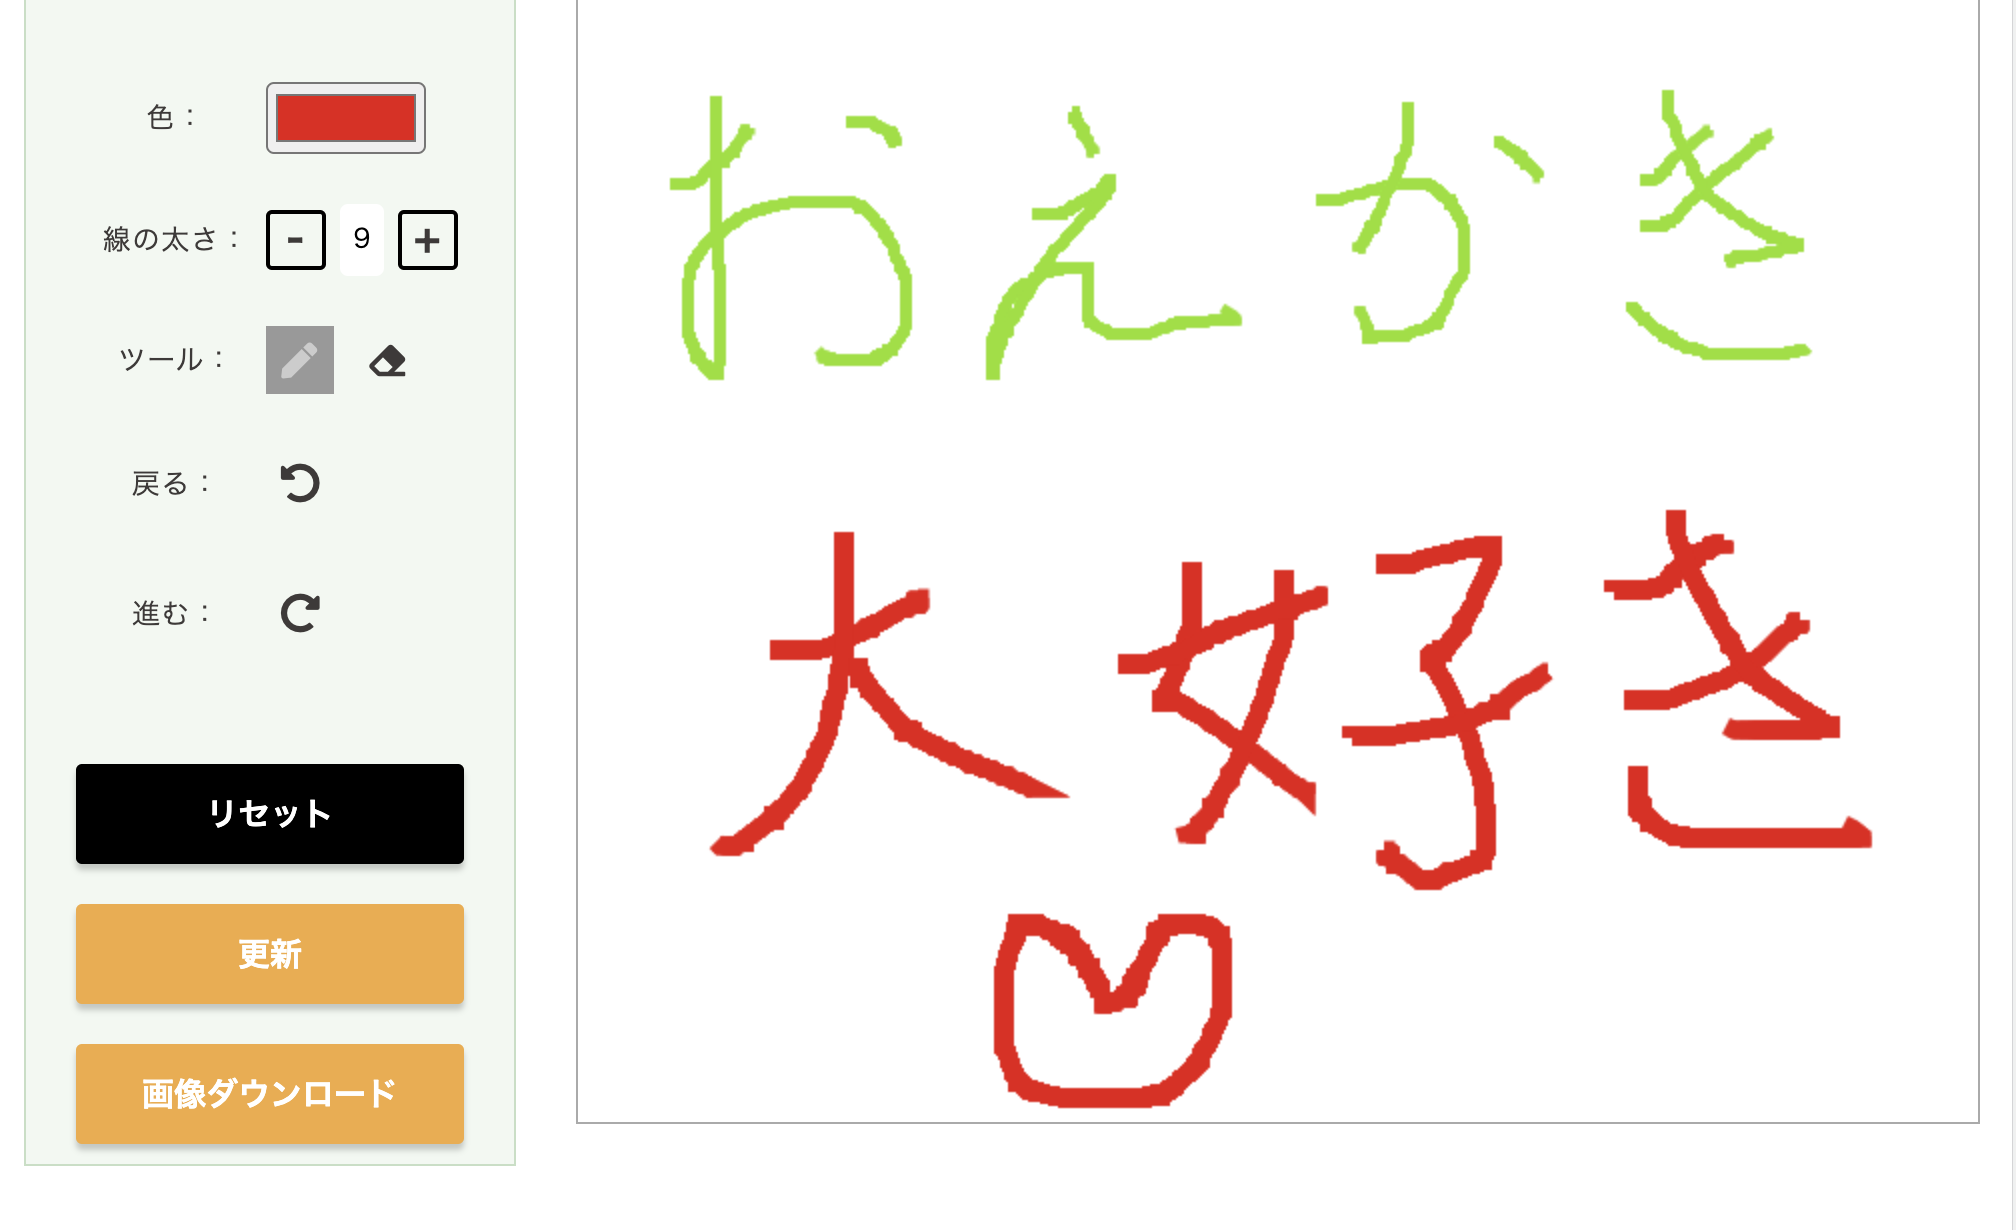
vueでお絵かき機能を作成する機会があったため作ってみました!

はじめに
このページではお絵描きできるCanvasの実装まで行います。
今回は簡単にCDNを読み込んで作成していきたいと思います。
html
<!-- vue -->
<script src="https://cdn.jsdelivr.net/npm/vue/dist/vue.js"></script>
まずはvueの作成。
widthとheight で枠の大きさ、lineWidthでペンの太さ。strokeStyleでペンの色を決めることができます。
JavaScript
new Vue({
  el: '#app',
  data() {
    return {
      weightNum: 5,
      canvas: null,
      color: "black",
      context: null,
    }
  },
  mounted () {
    // カンバス作成
    this.canvas = document.querySelector('#myCanvas')
    this.context = this.canvas.getContext('2d')
    this.context.lineCap = 'round'
    this.context.lineCap = 'round'
    this.canvas.width = 700
    this.canvas.height = 600
    this.context.lineWidth = this.weightNum
    this.context.strokeStyle = this.color
  },
});
次にhtml。canvasを作成し、マウスを動かした時の処理を書いていきます。
html
<div id="app">
    <main>
        <div>
            <canvas id="myCanvas" ref="myCanvas" style="border:1px solid #aaa" @mousedown="dragStart"  @mouseup="dragEnd" @mouseout="dragEnd" @mousemove="draw"></canvas>
        </div>
    </main>
</div>
このままではエラーになってしまうのでマウスを動かした時の処理をvueにも追加
JavaScript
  methods: {
    // 描画
    draw :function(e) {
      let x = e.layerX
      let y = e.layerY
      if(!this.isDrag) return;
      this.context.lineTo(x, y);
      this.context.stroke();
    },
    // 描画開始(mousedown)
    dragStart:function(e) {
      let x = e.layerX
      let y = e.layerY
      this.context.beginPath();
      this.context.lineTo(x, y);
      this.context.stroke();
      this.isDrag = true;
      this.context.getImageData(0, 0, this.canvas.width, this.canvas.height)

    },
    // 描画終了(mouseup, mouseout)
    dragEnd: function() {
      this.context.closePath();
      this.isDrag = false;
    }
}
とりあえずこれでかけるようになったと思います。
次回はペン機能と消しゴム機能をわけ。ペンの太さと色を変更できるようにしたいと思います。
