趣向
vueでお絵かき機能を作成する機会があったため作ってみました!
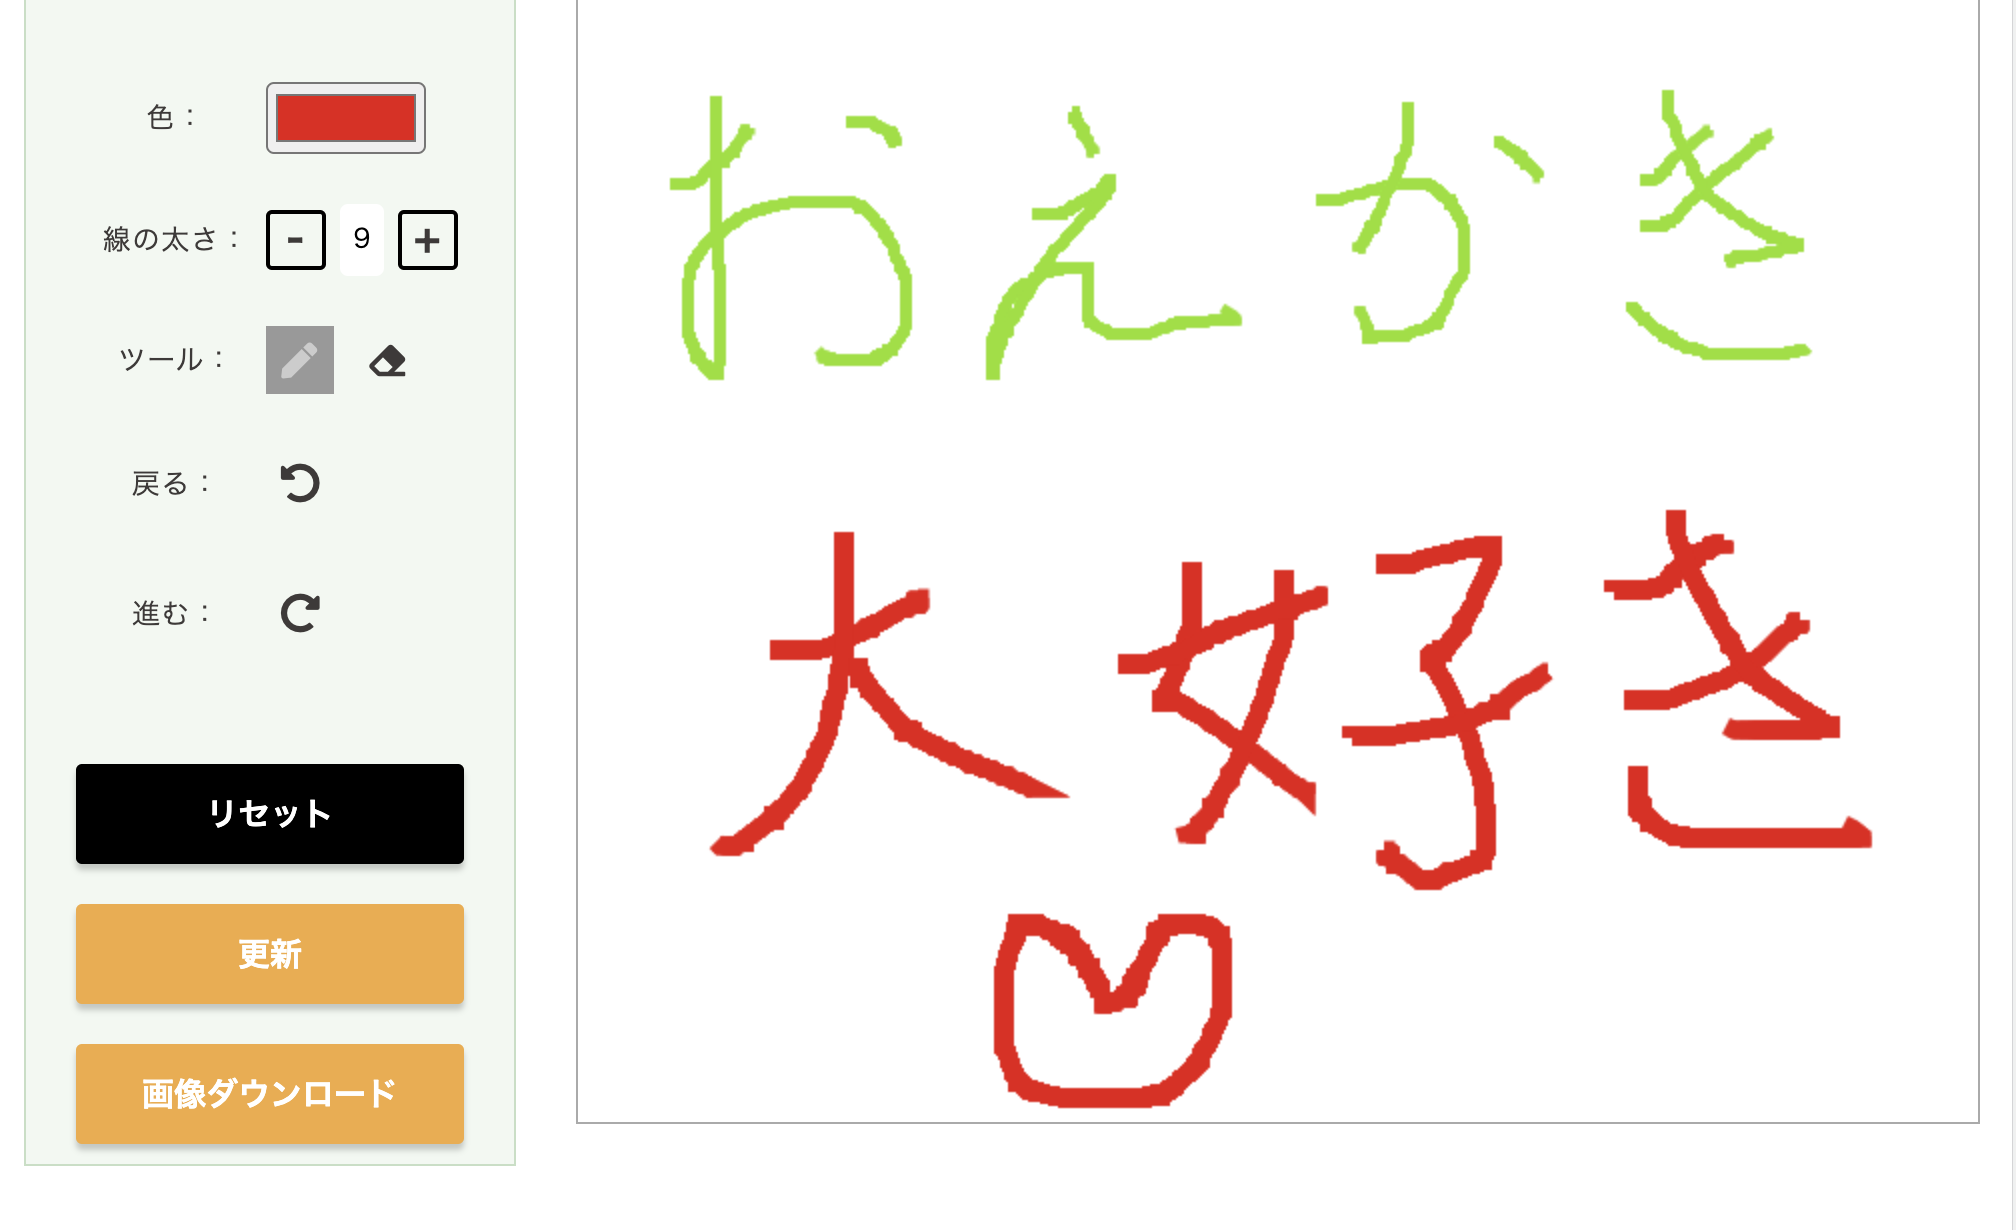
2の続き
前回の2はこちら
このページでは「前に戻る」「次に進む」が動作できるようにしていきたいと思います。
まずはhtml。画面に「進む」と「戻る」のボタンを追加します。
@clickを忘れずに。
html
<div class="controller history">
    <label>戻る:</label>
    <div class="history-box js-canvas-history" @click="back">
        <i class="fas fa-undo-alt"></i>
    </div>
</div>
<div class="controller history">
    <label>進む:</label>
    <div class="history-box js-canvas-history" @click="next">
        <i class="fas fa-redo-alt"></i>
    </div>
</div>
次にvue
戻す用スタックとやり直し用スタックをdataに用意します。
今回は戻す用スタックの最大保持数を10までにします。
描写時に戻す用スタックにどんどん先頭にデータを入れていくようにします。
戻るを押した場合、戻すようスタックに入れた先頭データを取得して、描写するようにしています。
また、進むの場合もほぼ同様なものになります。
JavaScript
new Vue({
  el: '#app',
  data() {
    return {
      redoDataStack: [],
      undoDataStack: [],
    }
  },
  methods: {
    // 描画開始(mousedown)
    dragStart:function(e) {
      let x = e.layerX
      let y = e.layerY
      this.context.beginPath();
      this.context.lineTo(x, y);
      this.context.stroke();
      this.isDrag = true;

      this.context.getImageData(0, 0, this.canvas.width, this.canvas.height)
      // やり直し用スタックの中身を削除
      this.redoDataStack = [];
      // 元に戻す用の配列が最大保持数より大きくなっているかどうか
      if (this.undoDataStack.length >= 10) {
          // 条件に該当する場合末尾の要素を削除
          this.undoDataStack.pop();
      }
      // 元に戻す配列の先頭にcontextのImageDataを保持する
      this.undoDataStack.push(this.context.getImageData(0, 0, this.canvas.width, this.canvas.height));
    },
    // 一つ前に戻る
    back: function() {
      // 戻す配列にスタックしているデータがなければ処理を終了する
      if (this.undoDataStack.length <= 0) return;
      // やり直し用の配列に元に戻す操作をする前のCanvasの状態をスタックしておく
      this.redoDataStack.push(this.context.getImageData(0, 0, this.canvas.width, this.canvas.height));
      // 元に戻す配列の先頭からイメージデータを取得して
      let imageData = this.undoDataStack.pop();
      // 描画する
      this.context.putImageData(imageData, 0, 0);
    },
    // 一つ後に進む
    next: function() {
      // 戻す配列にスタックしているデータがなければ処理を終了する
      if (this.redoDataStack.length <= 0) return;
      // やり直し用の配列に元に戻す操作をする前のCanvasの状態をスタックしておく
      this.undoDataStack.push(this.context.getImageData(0, 0, this.canvas.width, this.canvas.height));
      // 元に戻す配列の先頭からイメージデータを取得して
      let imageData = this.redoDataStack.pop();
      // 描画する
      this.context.putImageData(imageData, 0, 0)
    },
  },
});

これで進む戻るが実装できました。🙌
今回は前回のものと比べ少し複雑だったかもしれません。
次回は「リセット」と「画像ダウンロード」とデータを「更新」できるように
したいと思います。