はじめに
Javaの学習を始めて最も躓いたSpringSecurityについて調べ実装することができたので、記録として残しておきます。
完全に理解することができていない為、不備等あるかもしれませんがご了承ください。
SpringSecurityシリーズ 項目表
| NO | タイトル |
|---|---|
| その1 | SpringSecurity 導入から基本的な認証フロー |
| その2 | SpringSecurity ログインページをカスタマイズする |
| その3 | SpringSecurity DBアクセス処理 |
| その4 | SpringSecurity 403エラーページをカスタマイズする |
実装
依存関係の追加
SpringSecurityを使うには、spring-boot-starter-securityを追加します。
※今回はmavenでの実装とします。
<!-- 中略 -->

<dependency>
    <groupId>org.springframework.boot</groupId>
    <artifactId>spring-boot-starter-security</artifactId>
</dependency>

<!-- 中略 -->
SpringSecurity設定
WebSecurityConfigurerAdapterを継承したクラスを用意します。
その1ではインメモリでユーザ認証を実現します。
@Configuration
@EnableWebSecurity
public class SecurityConfig extends WebSecurityConfigurerAdapter {

  @Bean
  public BCryptPasswordEncoder passwordEncoder() {
    // パスワードの暗号化用に、BCrypt(ビー・クリプト)を使用
    return new BCryptPasswordEncoder();
  }

  @Override
  protected void configure(HttpSecurity http) throws Exception {
    // アクセス権限の設定
    http.authorizeRequests()
        // 制限なし
        .antMatchers("/").permitAll()
        // '/admin'は、'ADMIN'ロールのみアクセス可
        .antMatchers("/admin").hasRole("ADMIN")
        // 他は制限あり
        .anyRequest().authenticated();
    // ログイン処理の設定
    http.formLogin();
  }

  @Override
  protected void configure(AuthenticationManagerBuilder auth) throws Exception {
    // インメモリでユーザ認証処理
    auth.inMemoryAuthentication()
        // ユーザ名'user',パスワード'user',ロール'USER'のユーザを追加
        .withUser("user").password(passwordEncoder().encode("user")).roles("USER")
        .and()
        // ユーザ名'admin',パスワード'admin',ロール'ADMIN'のユーザを追加
        .withUser("admin").password(passwordEncoder().encode("admin")).roles("ADMIN");
  }
}
画面遷移用ページの用意
ページ遷移の確認用に、必要最小限のControllerとViewファイルを用意しております。
Controller
@Controller
public class SecurityController {

  @GetMapping
  public String top() {
    // top.htmlを表示
    return "top";
  }

  @GetMapping("/admin")
  public String admin() {
    // admin.htmlを表示
    return "admin";
  }

  @GetMapping("/sample")
  public String sample() {
    // sample.htmlを表示
    return "sample";
  }
}
View
<!DOCTYPE html>
<html xmlns:th="http://www.thymeleaf.org">
  <head>
    <meta charset="UTF-8">
    <title>adminページ</title>
  </head>
  <body>
    <h1>adminページ</h1>
  </body>
</html>
<!DOCTYPE html>
<html xmlns:th="http://www.thymeleaf.org">
  <head>
    <meta charset="UTF-8">
    <title>sampleページ</title>
  </head>
  <body>
    <h1>sampleページ</h1>
  </body>
</html>
<!DOCTYPE html>
<html xmlns:th="http://www.thymeleaf.org">
  <head>
    <meta charset="UTF-8">
    <title>topページ</title>
  </head>
  <body>
    <h1>topページ</h1>
  </body>
</html>
動作確認
topページ
topページは認証外としているため、未ログイン状態でも閲覧することができます。

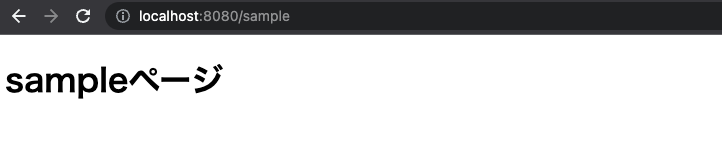
sampleページ
sampleページはログイン状態でないと閲覧することができない。
/sampleでsampleページを表示する。

未ログイン状態である為、ログインページに遷移する。(SpringSecurityのデフォルトログインページ)
フォームにユーザ名とパスワードを入力する。(今回はインメモリに設定)
すると、sampleページに遷移することができる。
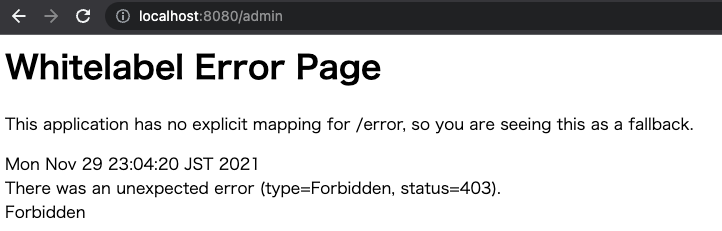
adminページ
adminページはADMIN権限が付与されたユーザのみ閲覧することができる。
/adminでadminページを表示する。
ADMIN権限がないユーザが閲覧するとエラーになる。
ADMIN権限を付与されたユーザでログインする。

おまけ
SpringSecurityにデフォルトである機能
ユーザ名、パスワード入力誤り
ユーザ名、パスワードを誤るとログインページに戻ってきてエラー表示されます。

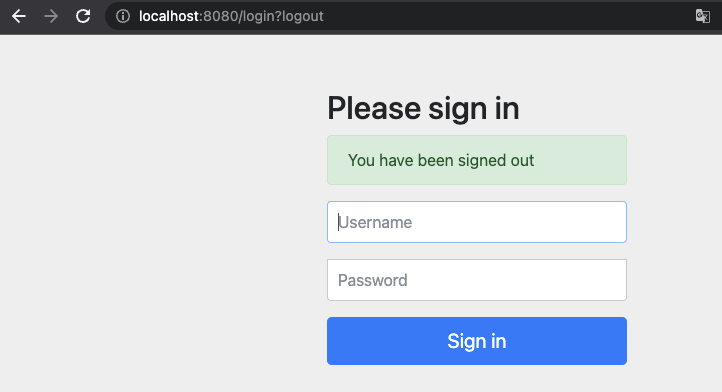
ログアウト
/logoutでログアウトページに遷移します。(SpringSecurityのデフォルトログアウトページ)

ボタンをクリックするとログアウトを実行して、ログインページに戻ります。
おわりに
これでSpringSecurityの導入から基本的な認証フローを実装することができました。
間違っている箇所ありましたら、ご指摘いただければ幸いです。
次はログインページをカスタマイズしていきます。