はじめに
SpringSecurity その2です。今回はログインページをカスタマイズしていきます。
完全に理解することができていない為、不備等あるかもしれませんがご了承ください。
SpringSecurityシリーズ 項目表
| NO | タイトル |
|---|---|
| その1 | SpringSecurity 導入から基本的な認証フロー |
| その2 | SpringSecurity ログインページをカスタマイズする |
| その3 | SpringSecurity DBアクセス処理 |
| その4 | SpringSecurity 403エラーページをカスタマイズする |
前回の続きからとなる為、その1を実装後にご覧ください。
実装
SpringSecurity設定
ログインページをカスタマイズするための設定を追加します。
SecurityConfig.java
@Configuration
@EnableWebSecurity
public class SecurityConfig extends WebSecurityConfigurerAdapter {

  <!-- 中略 -->

  @Override
  protected void configure(HttpSecurity http) throws Exception {
    // アクセス権限の設定
    http.authorizeRequests()
        // 制限なし
        .antMatchers("/", "/login*", "/logout").permitAll()
        // '/admin'は、'ADMIN'ロールのみアクセス可
        .antMatchers("/admin").hasRole("ADMIN")
        // 他は制限あり
        .anyRequest().authenticated();
    // ログイン処理の設定
    http.formLogin()
        // ログイン処理のURL
        .loginPage("/login")
        // usernameのパラメータ名
        .usernameParameter("user")
        // passwordのパラメータ名
        .passwordParameter("password")
        // ログイン失敗時の遷移先URL
        .failureForwardUrl("/login-error");
    // ログアウト処理の設定
    http.logout()
        // ログアウト処理のURL
        .logoutRequestMatcher(new AntPathRequestMatcher("/logout"))
        // ログアウト成功時の遷移先URL
        .logoutSuccessUrl("/login")
        // ログアウト時に削除するクッキー名
        .deleteCookies("JSESSIONID")
        // ログアウト時のセッション破棄を有効化
        .invalidateHttpSession(true);
  }

 <!-- 中略 -->

}
formLogin().loginPage("/login")にて、カスタマイズログインページの設定を行います。
loginPage(...)でカスタマイズのログインパスを指定します。この例だとデフォルトログインページも同じパスですが、明示的に指定しないとカスタマイズページに届きません。
usernameParameter(...)とpasswordParameter(...)で認証時に使用するパラメータの設定を行います。html内のname属性に合わせて設定します。
メッセージ追加
カスタマイズするエラーメッセージを設定します。
src/main/resources/messages.properties
AbstractUserDetailsAuthenticationProvider.badCredentials=ユーザーIDまたはパスワードが違っています。
画面遷移用ページの用意
ページ遷移の確認用に、必要最小限のControllerとViewファイルを用意しております。
Controller
SecurityController.java
@Controller
public class SecurityController {

  <!-- 中略 -->

  @GetMapping("/login")
  public String login() {
    // login.htmlを表示
    return "login";
  }

  @PostMapping("/login*")
  public String login(@ModelAttribute("user") String user,
      @RequestAttribute(name = WebAttributes.AUTHENTICATION_EXCEPTION, required = false) Exception exception,
      Model model) {

    // 入力されたユーザ名をセットする
    model.addAttribute("message", user);
    // exceptionがnullではない(エラー)場合、エラーメッセージをセットする
    if (exception != null) {
      model.addAttribute("message", exception.getMessage());
    }
    // login.htmlを表示
    return "login";
  }
}
View
login.html
<!DOCTYPE html>
<html xmlns:th="http://www.thymeleaf.org">
  <head>
  <meta charset="UTF-8" />
  <title>loginページ</title>
  </head>
  <body>
    <h1>login</h1>
    <div th:if="${message} != null">
      <span th:text="${message}"></span>
    </div>
    <form th:action="@{/login}" method="post">
      <p>ユーザー: <input type="text" name="user" th:value="${user}" /></p>
      <p>パスワード: <input type="password" name="password" /></p>
      <p><input type="submit" value="ログイン" /></p>
    </form>
  </body>
</html>
動作確認
loginページ
/loginでloginページを表示する。
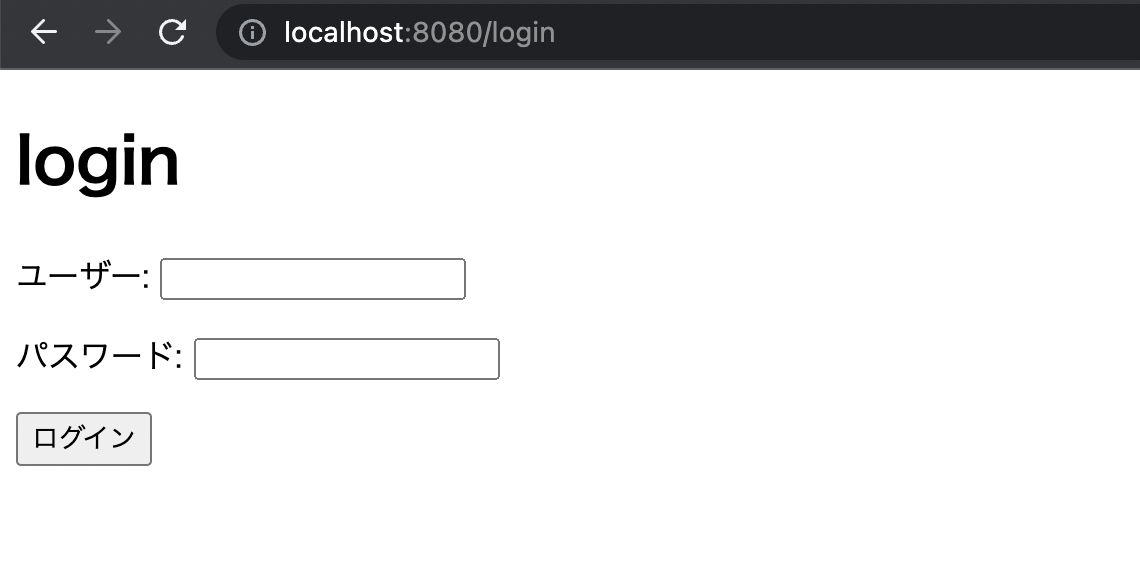
カスタマイズのログインページを閲覧することができました。HTMLやCSSを編集することでオシャレなページにする事も可能です。
ユーザ名、パスワード入力誤り
ユーザ名、パスワードを誤るとログインページに戻ってきてエラー表示されます。

ログイン成功
正しいユーザ名、パスワードを入力します。
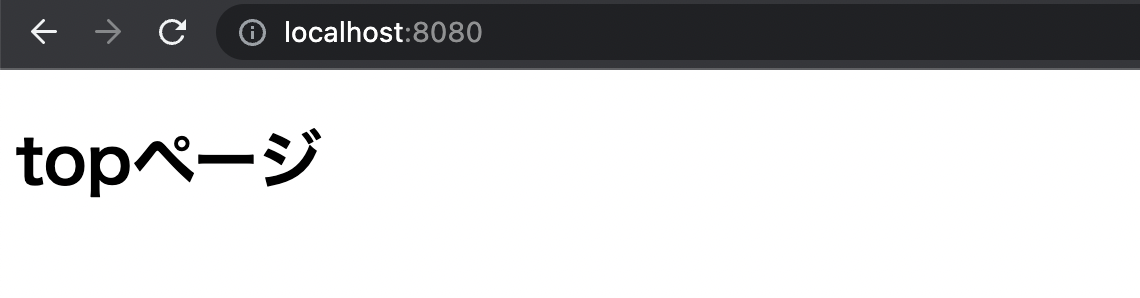
ログインに成功しトップページに遷移します。
おわりに
これでSpring Securityのログインページをカスタマイズすることができました。
間違っている箇所ありましたら、ご指摘いただければ幸いです。
次はDBアクセス処理機能の実装を行なっていきます。