概要
Azure Machine Learningの入門記事です。Azure Machine Learning Studioを使って、おなじみTitanic生存予測モデルの学習を行い、学習したモデルをWebサービスとしてデプロイするところまでを実施します。
前提条件
- Azureのアカウントを所持していること。
- リソースグループ、およびMachine Learningリソースが作成されていること。(作成の手順についてはこちら)
- 機械学習スタジオが起動されていること。

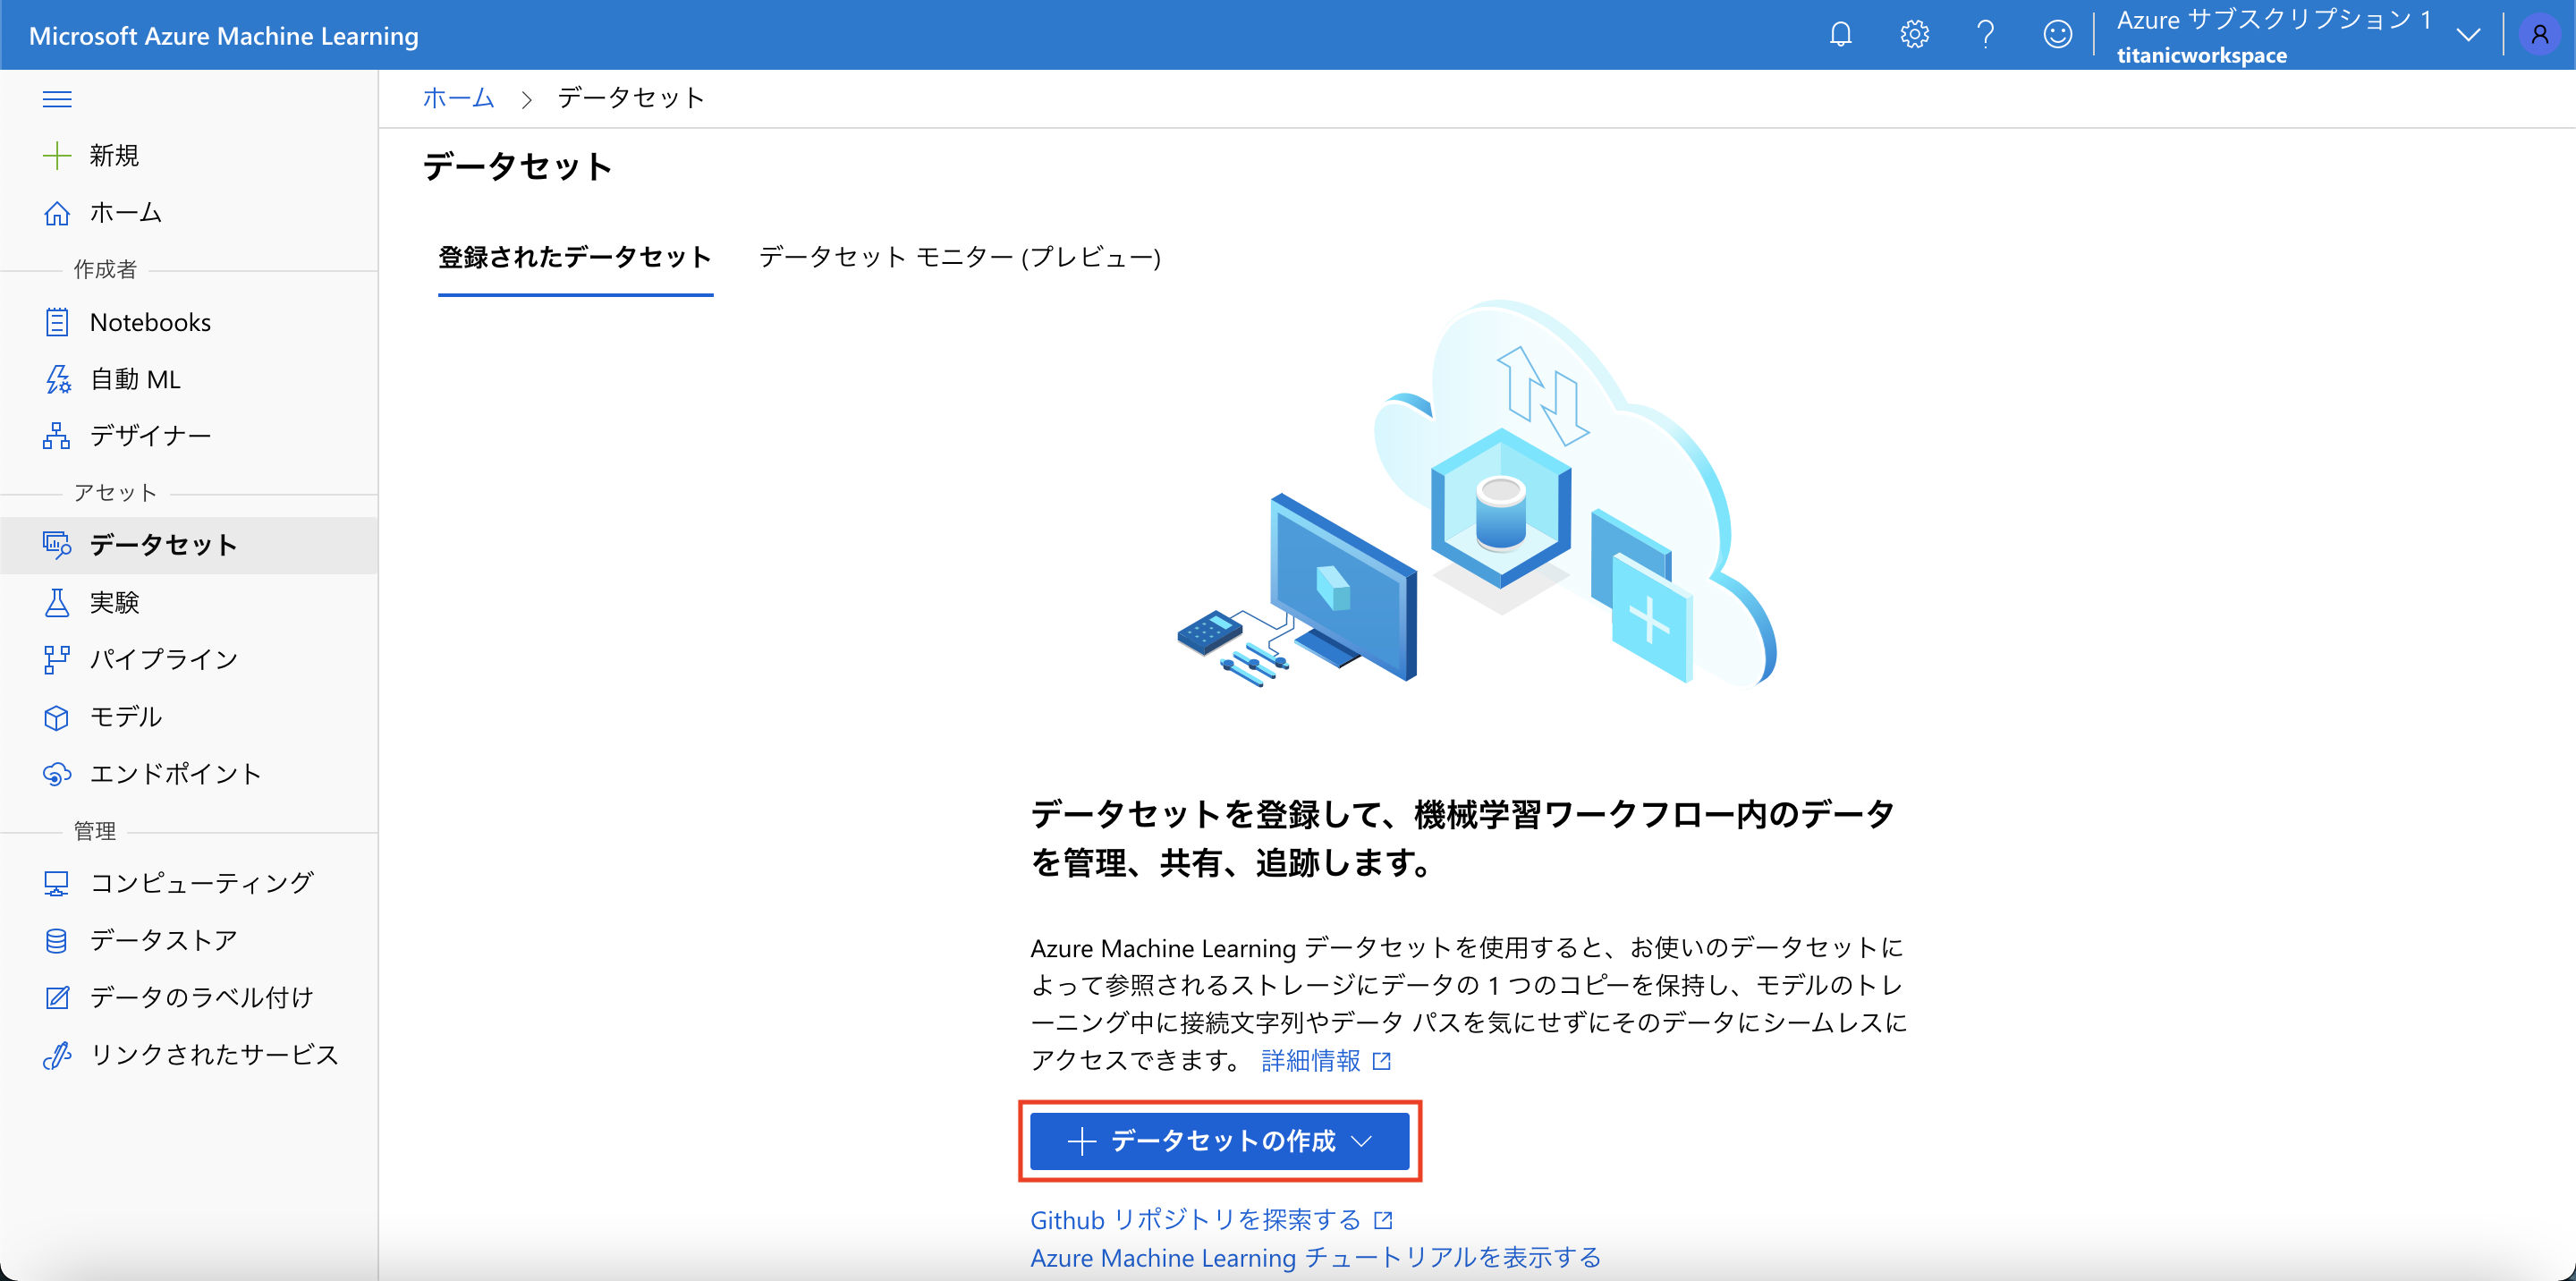
データセットの作成
KaggleよりTitanicデータセットの "train.csv" をダウンロードし、これをデータセットとして使用します。
[データセット] メニューより、「+データセットの作成」ボタンを押下し、ローカルファイルからデータセットを作成します。
作成後は以下のようなデータセットが作成されています。

ノートブックの作成
[Notebooks] メニューを開き、以下のようなディレクトリ構成を作成します。新しいノートブック、および新しいコンピューティングを作成します。
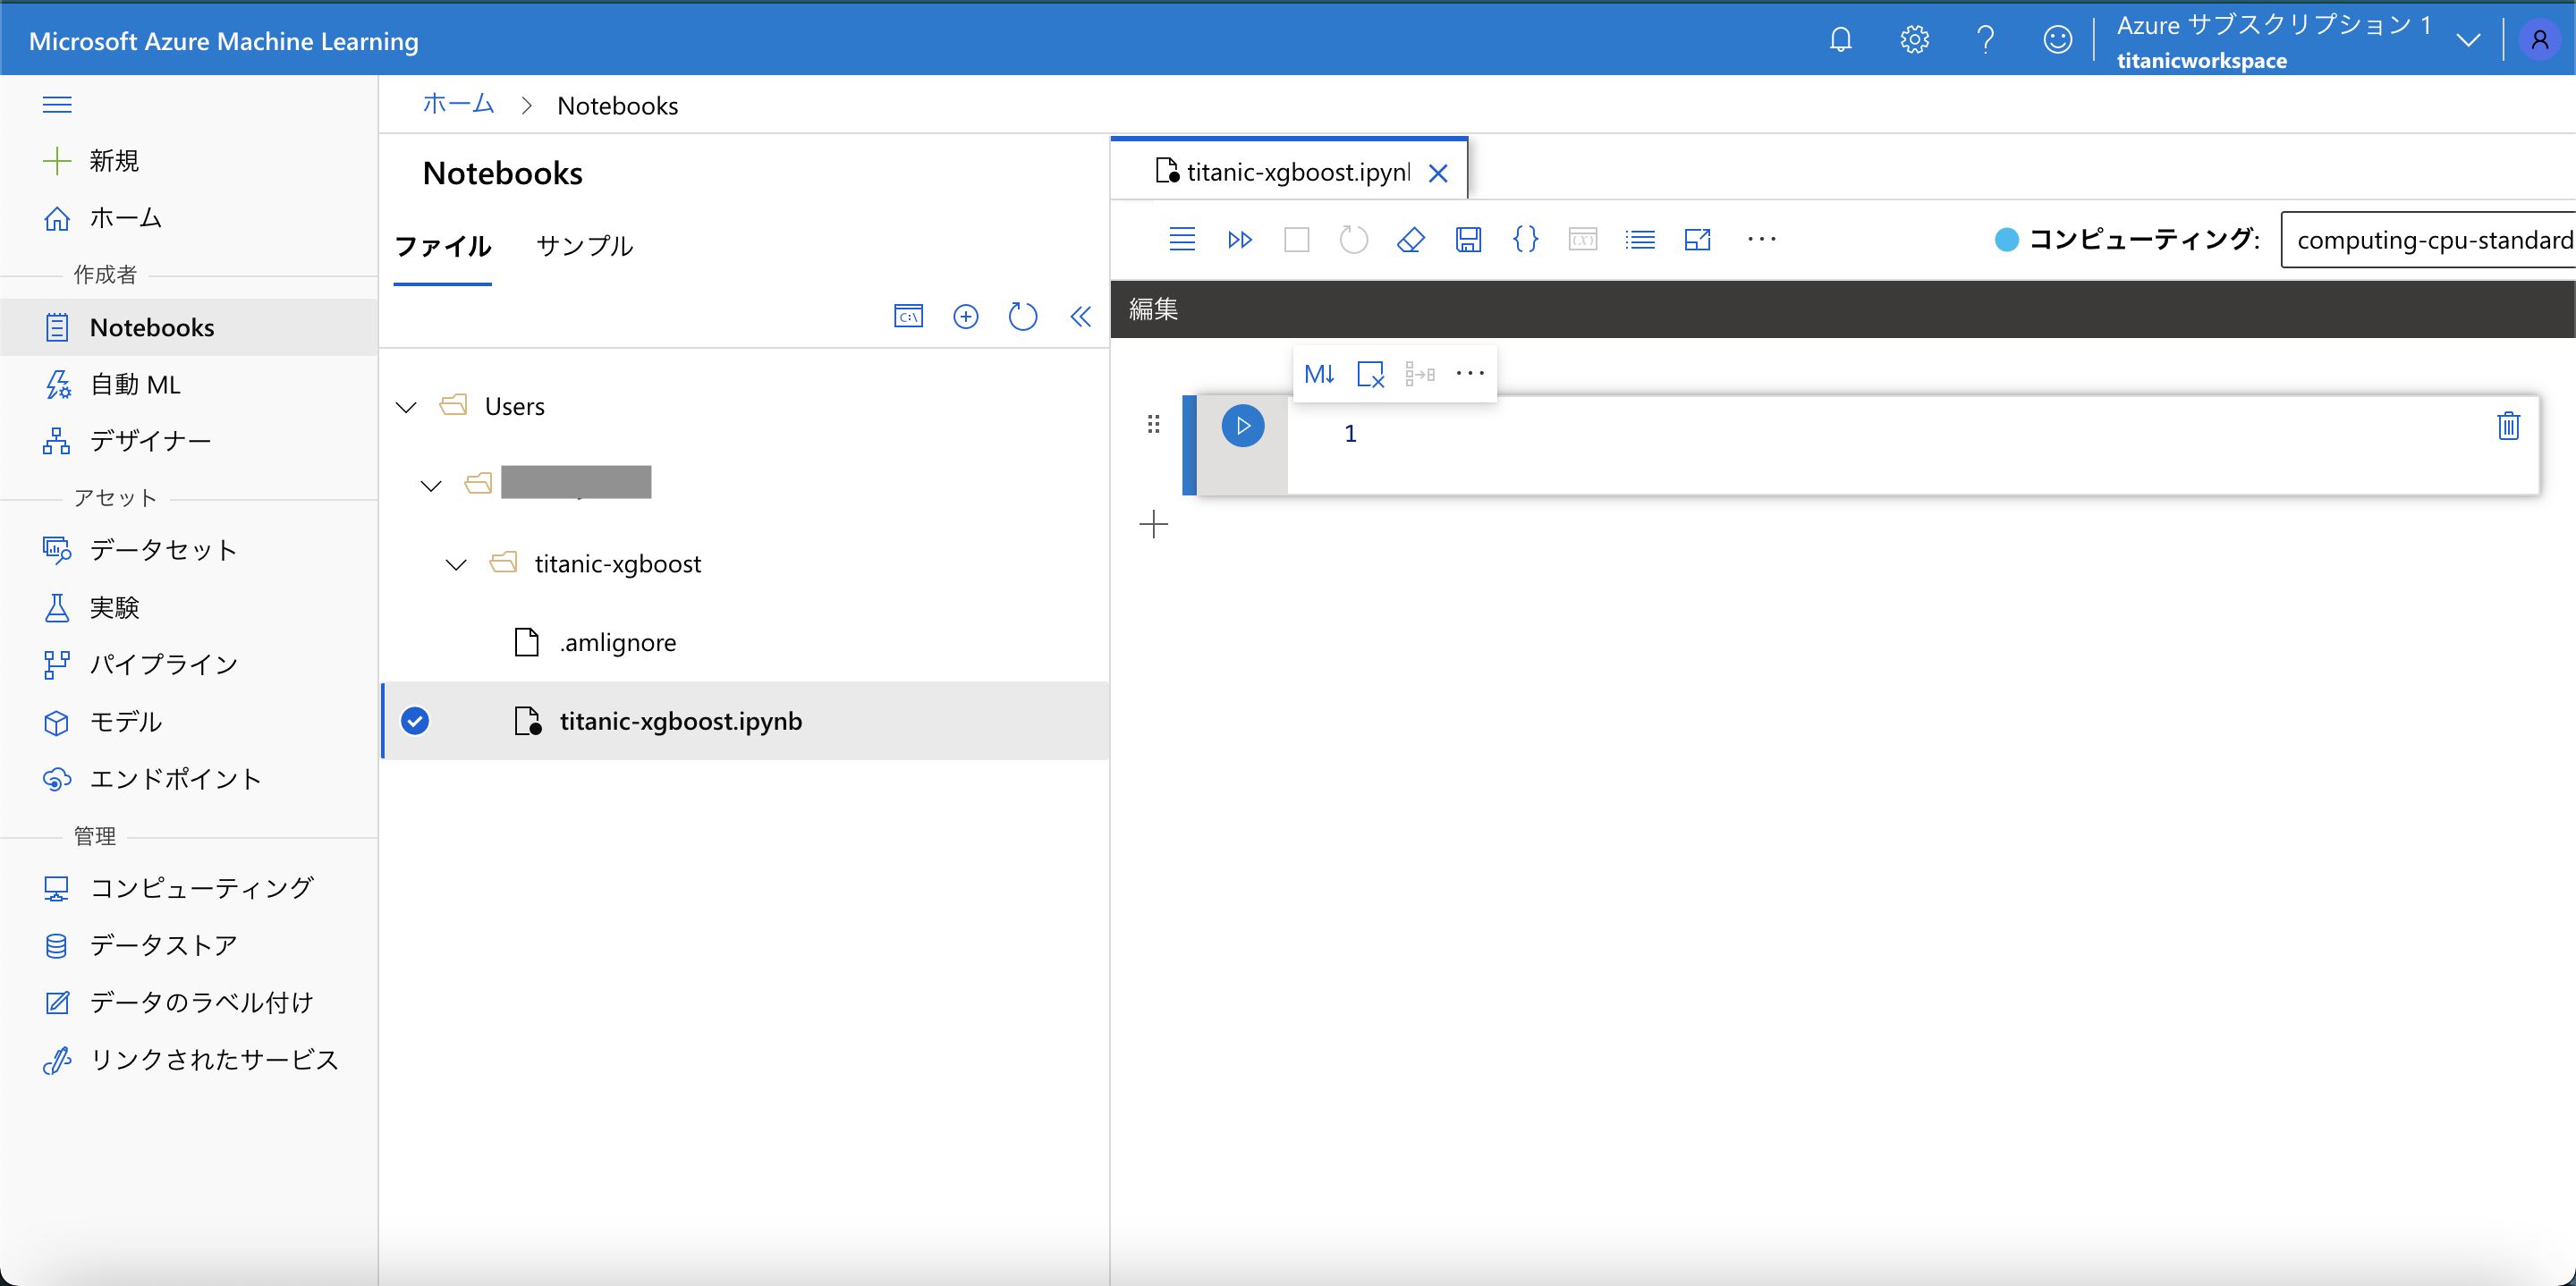
以降、ノートブック上でセルを実行していきます。
ワークスペースの作成
ワークスペースを作成します。初回実行時には認証を求められます。
import os
import json
import numpy as np
import pandas as pd

import azureml.core
from azureml.core import Workspace

print("Azure ML SDK Version: ", azureml.core.VERSION)
# Azure ML SDK Version:  1.24.0

subscription_id = 'YOUR_SUBSCRIPTION_ID'
resource_group = 'MyResourceGroup'
workspace_name = 'titanicworkspace'

ws = Workspace(subscription_id, resource_group, workspace_name)
print(ws.name, ws.location, ws.resource_group, sep='\t')
サブスクリプションIDはワークスペースの画面で確認できます。

実験の作成
experiment_name = 'Demo-titanic-xgboost'

from azureml.core import Experiment
exp = Experiment(workspace=ws, name=experiment_name)
ComputeTargetの作成
from azureml.core.compute import AmlCompute
from azureml.core.compute import ComputeTarget
import os

# choose a name for your cluster
compute_name = os.environ.get("AML_COMPUTE_CLUSTER_NAME", "cpu-cluster")
compute_min_nodes = os.environ.get("AML_COMPUTE_CLUSTER_MIN_NODES", 0)
compute_max_nodes = os.environ.get("AML_COMPUTE_CLUSTER_MAX_NODES", 4)

# This example uses CPU VM. For using GPU VM, set SKU to STANDARD_NC6
vm_size = os.environ.get("AML_COMPUTE_CLUSTER_SKU", "STANDARD_D2_V2")


if compute_name in ws.compute_targets:
    compute_target = ws.compute_targets[compute_name]
    if compute_target and type(compute_target) is AmlCompute:
        print("found compute target: " + compute_name)
else:
    print("creating new compute target...")
    provisioning_config = AmlCompute.provisioning_configuration(vm_size = vm_size,
                                                                min_nodes = compute_min_nodes,
                                                                max_nodes = compute_max_nodes)

    # create the cluster
    compute_target = ComputeTarget.create(ws, compute_name, provisioning_config)

    # can poll for a minimum number of nodes and for a specific timeout.
    # if no min node count is provided it will use the scale settings for the cluster
    compute_target.wait_for_completion(show_output=True, min_node_count=None, timeout_in_minutes=20)

     # For a more detailed view of current AmlCompute status, use get_status()
    print(compute_target.get_status().serialize())
学習スクリプトの作成
%%writefile train.py

import os
import joblib
import numpy as np
import pandas as pd

from sklearn.metrics import accuracy_score, confusion_matrix
from sklearn.model_selection import train_test_split

from xgboost import XGBClassifier

from azureml.core import Run
from azureml.core import Workspace, Dataset

run = Run.get_context()
ws = run.experiment.workspace

dataset_name = "titanic"
dataset = Dataset.get_by_name(workspace=ws, name=dataset_name)

df = dataset.to_pandas_dataframe()

print(df.head())

# Pre-process data
df['Age'] = df['Age'].fillna(28.0)
df['Sex'] = df['Sex'].apply(lambda x: 1 if x == 'female' else 0)

featuresCols = ['Sex', 'Age', 'Pclass']
targetCol = ['Survived']

X = df[featuresCols].values
y = df[targetCol].values

# Split data
X_train, X_test, y_train, y_test = train_test_split(X, y, test_size=0.2, random_state=0)

# Define model
clf = XGBClassifier(
    max_depth=3,
    learning_rate=0.2,
    n_estimators=100,
    verbosity=1,
    objective='binary:logistic',
    random_state=0)

# Fit model
clf.fit(X_train, y_train)

print('Predict the test set')
y_pred = clf.predict(X_test)

acc = accuracy_score(y_test, y_pred)
print(f'Accuracy: {acc}')

cm = confusion_matrix(y_test, y_pred)
print('Confuxion Matrix')
print(cm)

run.log('accuracy', acc)
os.makedirs('outputs', exist_ok=True)

joblib.dump(value=clf, filename='outputs/titanic-xgboost-model.pkl')
環境の作成
from azureml.core.environment import Environment
from azureml.core.conda_dependencies import CondaDependencies

# to install required packages
env = Environment('myenv')
cd = CondaDependencies.create(
    pip_packages=['azureml-dataset-runtime[pandas,fuse]', 'azureml-defaults'],
    conda_packages = ['scikit-learn', 'xgboost'])

env.python.conda_dependencies = cd

# Register environment to re-use later
env.register(workspace = ws)
学習の実行
学習を実行します。
from azureml.core import ScriptRunConfig

src = ScriptRunConfig(
    source_directory='.',
    script='train.py',
    compute_target=compute_target,
    environment=env)

run = exp.submit(config=src)
ジョブ実行の詳細を確認します。
from azureml.widgets import RunDetails
RunDetails(run).show()
ジョブ実行が完了をするまで待機します。
# specify show_output to True for a verbose log
run.wait_for_completion(show_output=True)
学習が完了したら、学習スクリプトの中で設定したメトリクスを取得してみます。
print(run.get_metrics())
# {'accuracy': 0.8379888268156425}
モデルの登録
学習済みモデルを登録します。
model = run.register_model(model_name='titanic-xgboost', model_path='outputs/titanic-xgboost-model.pkl')
print(model.name, model.id, model.version, sep='\t')
# titanic-xgboost	titanic-xgboost:1	1
[モデル] メニューから、登録したモデルが存在することが確認できます。

スコアリングスクリプトの作成
%%writefile score.py

import json
import numpy as np
import os
import pickle
import joblib

def init():
    global model
    model_path = os.path.join(os.getenv('AZUREML_MODEL_DIR'), 'titanic-xgboost-model.pkl')
    model = joblib.load(model_path)

def run(raw_data):
    data = np.array(json.loads(raw_data)['data'])
    y_prob = model.predict_proba(data)
    return y_prob.tolist()
モデルのデプロイ
デプロイの設定を定義します。
from azureml.core.model import InferenceConfig
from azureml.core.environment import Environment
from azureml.core.model import Model
from azureml.core.webservice import AciWebservice

model = Model(ws, 'titanic-xgboost', version=1)

myenv = Environment.get(workspace=ws, name="myenv", version=1)
inference_config = InferenceConfig(entry_script="score.py", environment=myenv)

aciconfig = AciWebservice.deploy_configuration(
    cpu_cores=1,
    memory_gb=1,
    tags={"data": "titanic",  "method" : "xgboost"},
    description='Titanic Survival Prediction with XGBoost')
モデルをデプロイします。
%%time
import uuid

service_name = 'titanic-xgboost-' + str(uuid.uuid4())[:4]
service = Model.deploy(
    workspace=ws,
    name=service_name,
    models=[model],
    inference_config=inference_config,
    deployment_config=aciconfig)

service.wait_for_deployment(show_output=True)
[エンドポイント] メニューから、リアルタイムエンドポイントが作成されていることが確認できます。

Webサービスのテスト
エンドポイントに対してテストデータを投入し、結果が返ってくることを確認します。
import requests

scoring_uri = service.scoring_uri
input_data = json.dumps({"data": [[1, 28, 1]]})
headers = {'Content-Type': 'application/json'}

response = requests.post(scoring_uri, input_data, headers=headers)
prob = json.loads(response.text)[0][1]
print(f'Probability of survival: {prob}')
# Probability of survival: 0.9525420069694519
まとめ
以上、Azure Machine Learningを使って機械学習モデルを作成し、Webサービスとしてデプロイしてみたの記事でした。