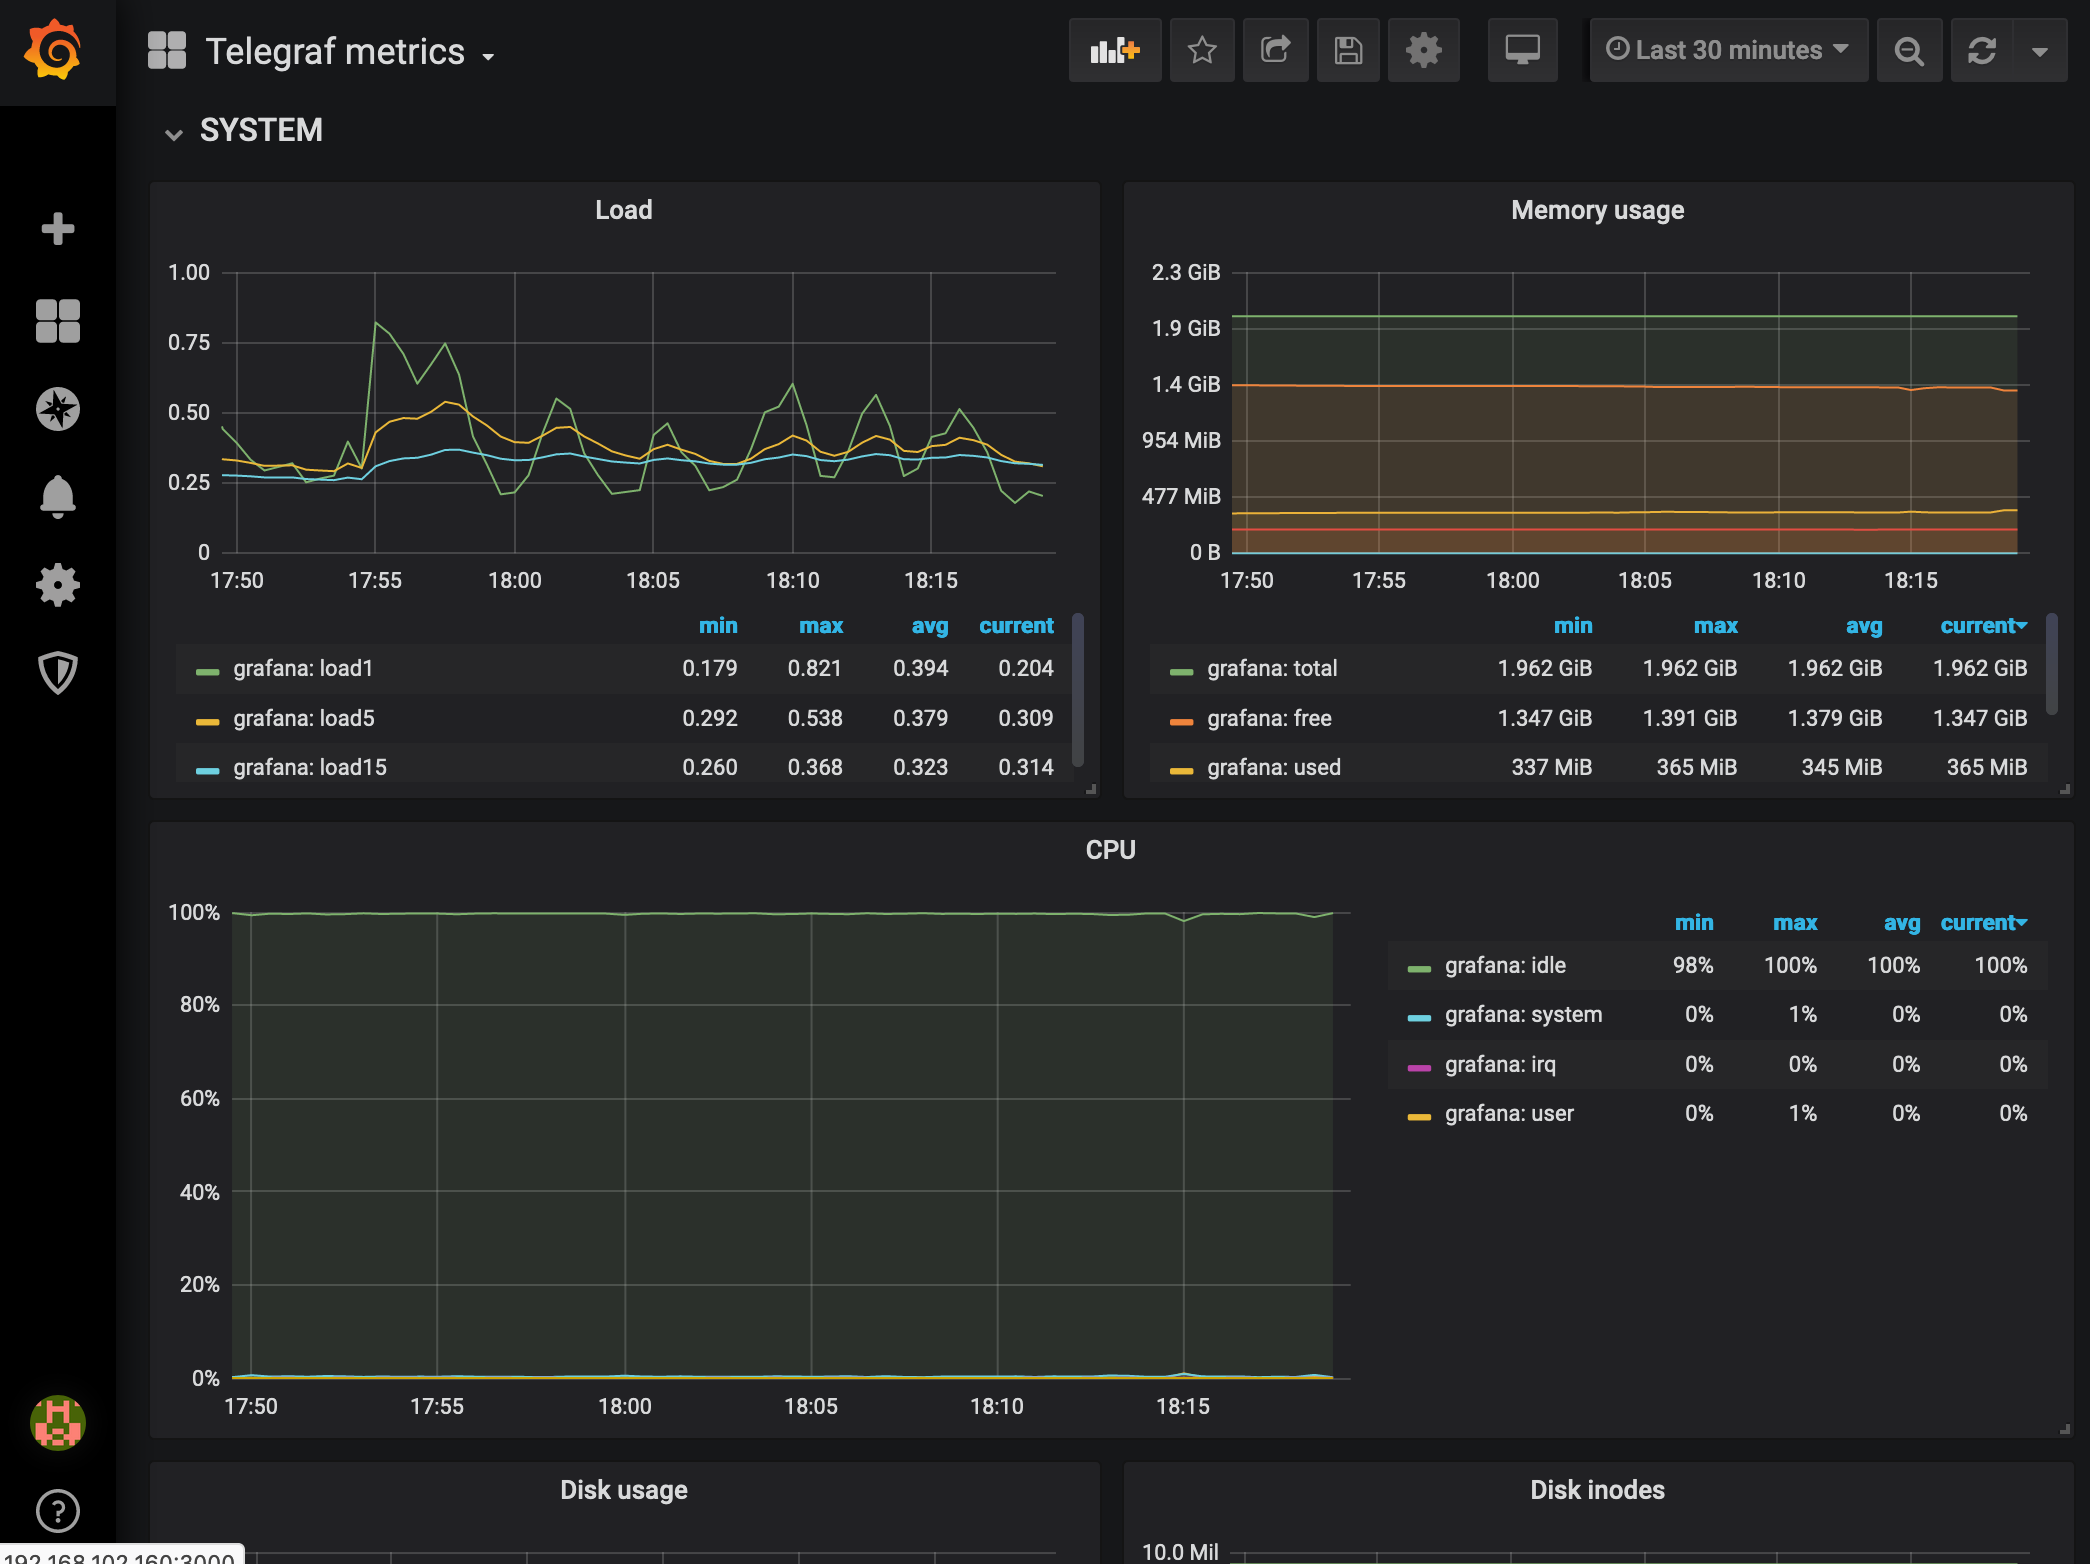
FreeBSD12.1でTelegraf、InfluxDB、Grafanaを使ってサーバのリソースを可視化してみます。
今回はサーバ1台に全て相乗りさせて構築します。
検索すると Prometheus&Grafana の組み合わせのほうがよく出てくる気がしますが、
Prometheus はサービスごとに exporter を複数設定するのが面倒で、
Telegrafは設定ファイル1つで複数サービス設定できたので好みでした。
1. 必要なパッケージのインストール
全部rootで作業しています
# pkg install -y telegraf influxdb grafana6 lsof
※grafanaのバージョン5の場合はgrafana5を指定するとバージョン5をインストール可能
※lsofはtelegrafで使用する
2. InfluxDBの設定
InfluxDB の設定は /usr/local/etc/influxd.conf で行います。
今回はデフォルトのまま修正なしでいきます。
DBのファイルは /var/db/influxdb/ 以下に保存され、HTTPのサービスはポート8086で起動されます。
デフォルトでsyslogのdaemon.infoにログを出力するのでこちらの記事の設定を行うとログが見れます。
または、/etc/rc.conf で influxd_facility、influxd_priority を設定するとお好みのfacility、priorityでログを出力できます。
3. Grafanaの設定
Grafana の設定は /usr/local/etc/grafana.conf で行います。
Webのリクエストログも出力するように変更します。(不要な人は変更なしでOK)
# Log web requests
-;router_logging = false
+router_logging = true
ログは/var/log/grafana/grafana.log、
データファイルなどは /var/db/grafana/ 以下に保存され、ポート3000で起動されます。
4. Telegrafの設定
Telegraf の設定は /usr/local/etc/telegraf.conf で行います。
今回は設定しませんが、apache、nginx、php-fpm、mysql、redis なども
設定を有効にすれば簡単にメトリクス収集するようにできます。
設定ファイルの修正
修正内容は下記の3点です
- influxdbへの出力設定を有効にする
- ネットワークインターフェースの情報を取得できるようにする
- TCP関連の情報を取得できるようにする(lsofコマンドはここで必要になる)
デフォルトの設定ファイル(telegraf.conf.sample)との差はこんな感じです
--- telegraf.conf.sample	2019-11-16 00:44:34.000000000 +0900
+++ telegraf.conf	2019-12-05 13:54:47.956204000 +0900
@@ -102,6 +102,7 @@
   # urls = ["unix:///var/run/influxdb.sock"]
   # urls = ["udp://127.0.0.1:8089"]
   # urls = ["http://127.0.0.1:8086"]
+  urls = ["http://127.0.0.1:8086"]

   ## The target database for metrics; will be created as needed.
   ## For UDP url endpoint database needs to be configured on server side.
@@ -3429,7 +3430,7 @@


 # # Read metrics about network interface usage
-# [[inputs.net]]
+[[inputs.net]]
 #   ## By default, telegraf gathers stats from any up interface (excluding loopback)
 #   ## Setting interfaces will tell it to gather these explicit interfaces,
 #   ## regardless of status.
@@ -3471,7 +3472,7 @@


 # # Read TCP metrics such as established, time wait and sockets counts.
-# [[inputs.netstat]]
+[[inputs.netstat]]
 #   # no configuration
設定通りメトリクスが取得できるかの確認を行う
# telegraf --config /usr/local/etc/telegraf.conf --test
2019-12-04T06:05:45Z I! Starting Telegraf 1.12.5
> disk,device=da0p2,fstype=ufs,host=grafana,mode=rw,path=/ free=34621923328i,inodes_free=4957483i,inodes_total=4975870i,inodes_used=18387i,total=39314485248i,used=1547403264i,used_percent=4.278219723179081 1575439545000000000
> disk,device=procfs,fstype=procfs,host=grafana,mode=rw,path=/proc free=0i,inodes_free=0i,inodes_total=1i,inodes_used=1i,total=4096i,used=4096i,used_percent=100 1575439545000000000
> diskio,host=grafana,name=da0 io_time=2483i,iops_in_progress=0i,read_bytes=28022272i,read_time=228i,reads=1379i,weighted_io_time=0i,write_bytes=601558528i,write_time=9515i,writes=15751i 1575439545000000000
> diskio,host=grafana,name=cd0 io_time=2i,iops_in_progress=0i,read_bytes=0i,read_time=1i,reads=5i,weighted_io_time=0i,write_bytes=0i,write_time=0i,writes=0i 1575439545000000000
> diskio,host=grafana,name=pass0 io_time=0i,iops_in_progress=0i,read_bytes=0i,read_time=0i,reads=0i,weighted_io_time=0i,write_bytes=0i,write_time=0i,writes=0i 1575439545000000000
> diskio,host=grafana,name=pass1 io_time=0i,iops_in_progress=0i,read_bytes=0i,read_time=0i,reads=0i,weighted_io_time=0i,write_bytes=0i,write_time=0i,writes=0i 1575439545000000000
> mem,host=grafana active=11411456i,available=1785913344i,available_percent=84.77896926861042,buffered=209281024i,cached=0i,commit_limit=0i,committed_as=0i,dirty=0i,free=1542381568i,high_free=0i,high_total=0i,huge_page_size=0i,huge_pages_free=0i,huge_pages_total=0i,inactive=243531776i,low_free=0i,low_total=0i,mapped=0i,page_tables=0i,shared=0i,slab=0i,swap_cached=0i,swap_free=0i,swap_total=0i,total=2106552320i,used=320638976i,used_percent=15.221030731389572,vmalloc_chunk=0i,vmalloc_total=0i,vmalloc_used=0i,wired=262303744i,write_back=0i,write_back_tmp=0i 1575439545000000000
> processes,host=grafana blocked=21i,idle=15i,running=2i,sleeping=6i,stopped=0i,total=45i,unknown=0i,wait=1i,zombies=0i 1575439545000000000
> system,host=grafana load1=0.18798828125,load15=0.20654296875,load5=0.2158203125,n_cpus=2i,n_users=1i 1575439545000000000
> system,host=grafana uptime=1575439545i 1575439545000000000
> system,host=grafana uptime_format="18234 days,  6:05" 1575439545000000000
> net,host=grafana,interface=em0 bytes_recv=3658251165i,bytes_sent=3627473i,drop_in=0i,drop_out=0i,err_in=0i,err_out=0i,packets_recv=2913280i,packets_sent=43688i 1575439545000000000
> cpu,cpu=cpu0,host=grafana usage_guest=0,usage_guest_nice=0,usage_idle=100,usage_iowait=0,usage_irq=0,usage_nice=0,usage_softirq=0,usage_steal=0,usage_system=0,usage_user=0 1575439546000000000
> cpu,cpu=cpu1,host=grafana usage_guest=0,usage_guest_nice=0,usage_idle=100,usage_iowait=0,usage_irq=0,usage_nice=0,usage_softirq=0,usage_steal=0,usage_system=0,usage_user=0 1575439546000000000
> cpu,cpu=cpu-total,host=grafana usage_guest=0,usage_guest_nice=0,usage_idle=100,usage_iowait=0,usage_irq=0,usage_nice=0,usage_softirq=0,usage_steal=0,usage_system=0,usage_user=0 1575439546000000000
> swap,host=grafana free=2147442688i,total=2147442688i,used=0i,used_percent=0 1575439546000000000
> swap,host=grafana in=0i,out=0i 1575439546000000000
> netstat,host=grafana tcp_close=0i,tcp_close_wait=0i,tcp_closing=0i,tcp_established=1i,tcp_fin_wait1=0i,tcp_fin_wait2=0i,tcp_last_ack=0i,tcp_listen=3i,tcp_none=0i,tcp_syn_recv=0i,tcp_syn_sent=0i,tcp_time_wait=0i,udp_socket=2i 1575439546000000000

# 特定の値だけ取得したい場合は --input-filter を使います
# telegraf --config /usr/local/etc/telegraf.conf --test --input-filter mem
※ホスト名をgrafanaにしているのでhost=grafanaとなっています
5. Telegraf、InfluxDB、Grafanaの起動
# sysrc influxd_enable="YES" grafana_enable="YES" telegraf_enable="YES"
# service influxd start
# service telegraf start
# service grafana start
6. Grafanaへアクセス
初期ログイン
http://IPアドレス:3000/ へアクセス
username: admin、password: adminでログイン可能です

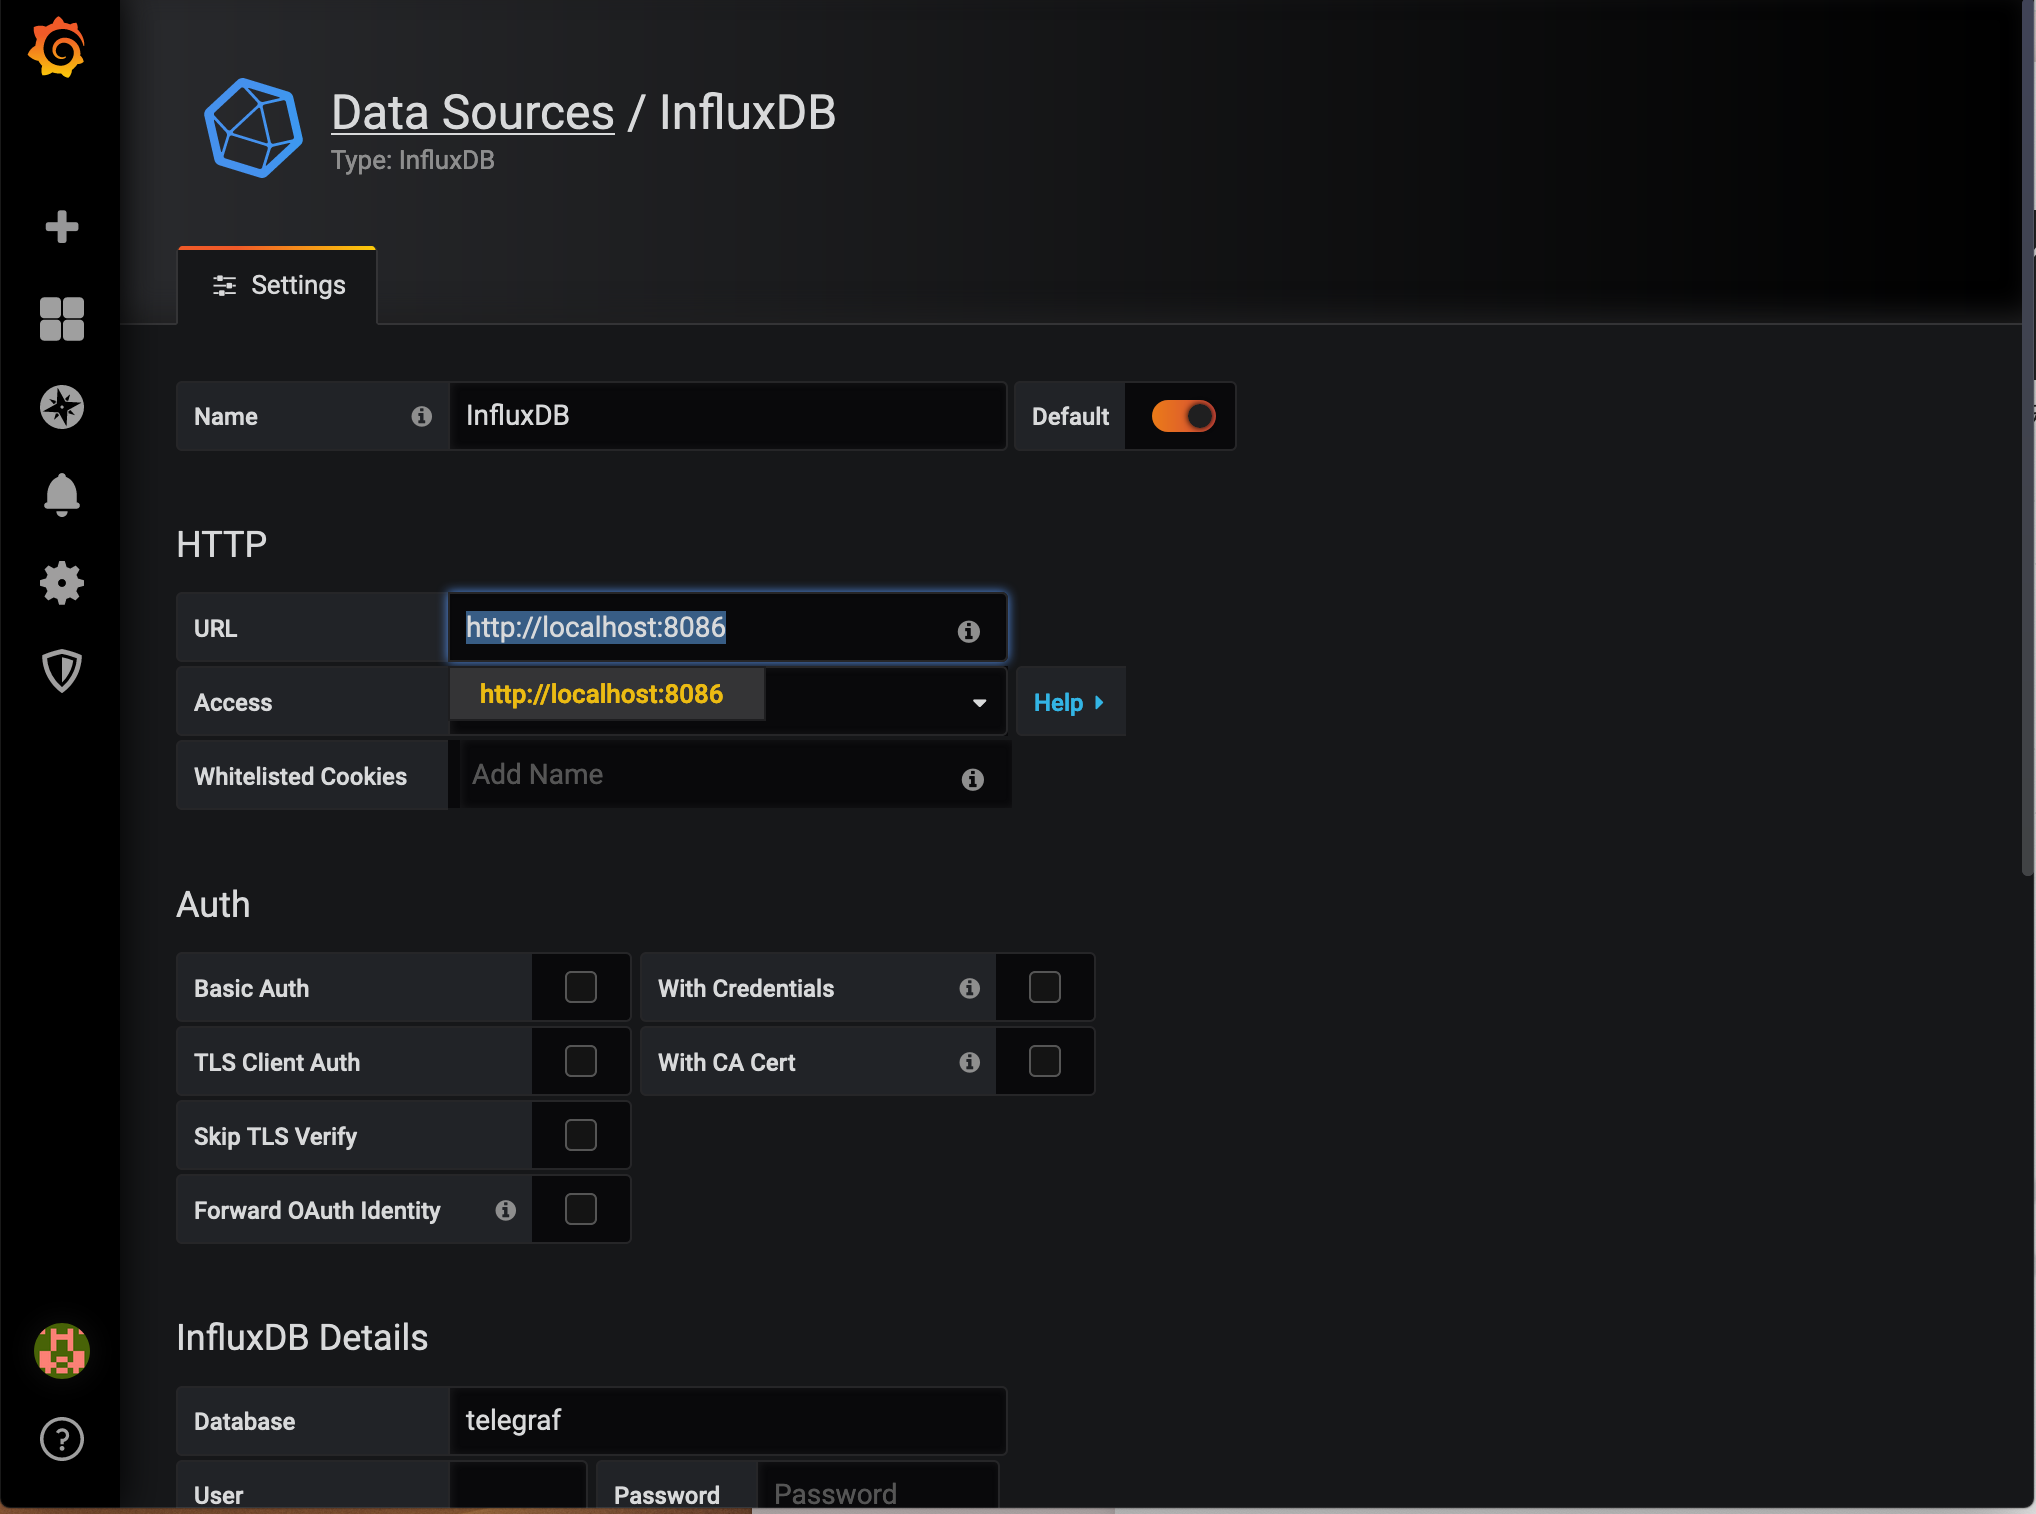
Data Sources設定でInfluxDBを設定
http://IPアドレス:3000/datasources

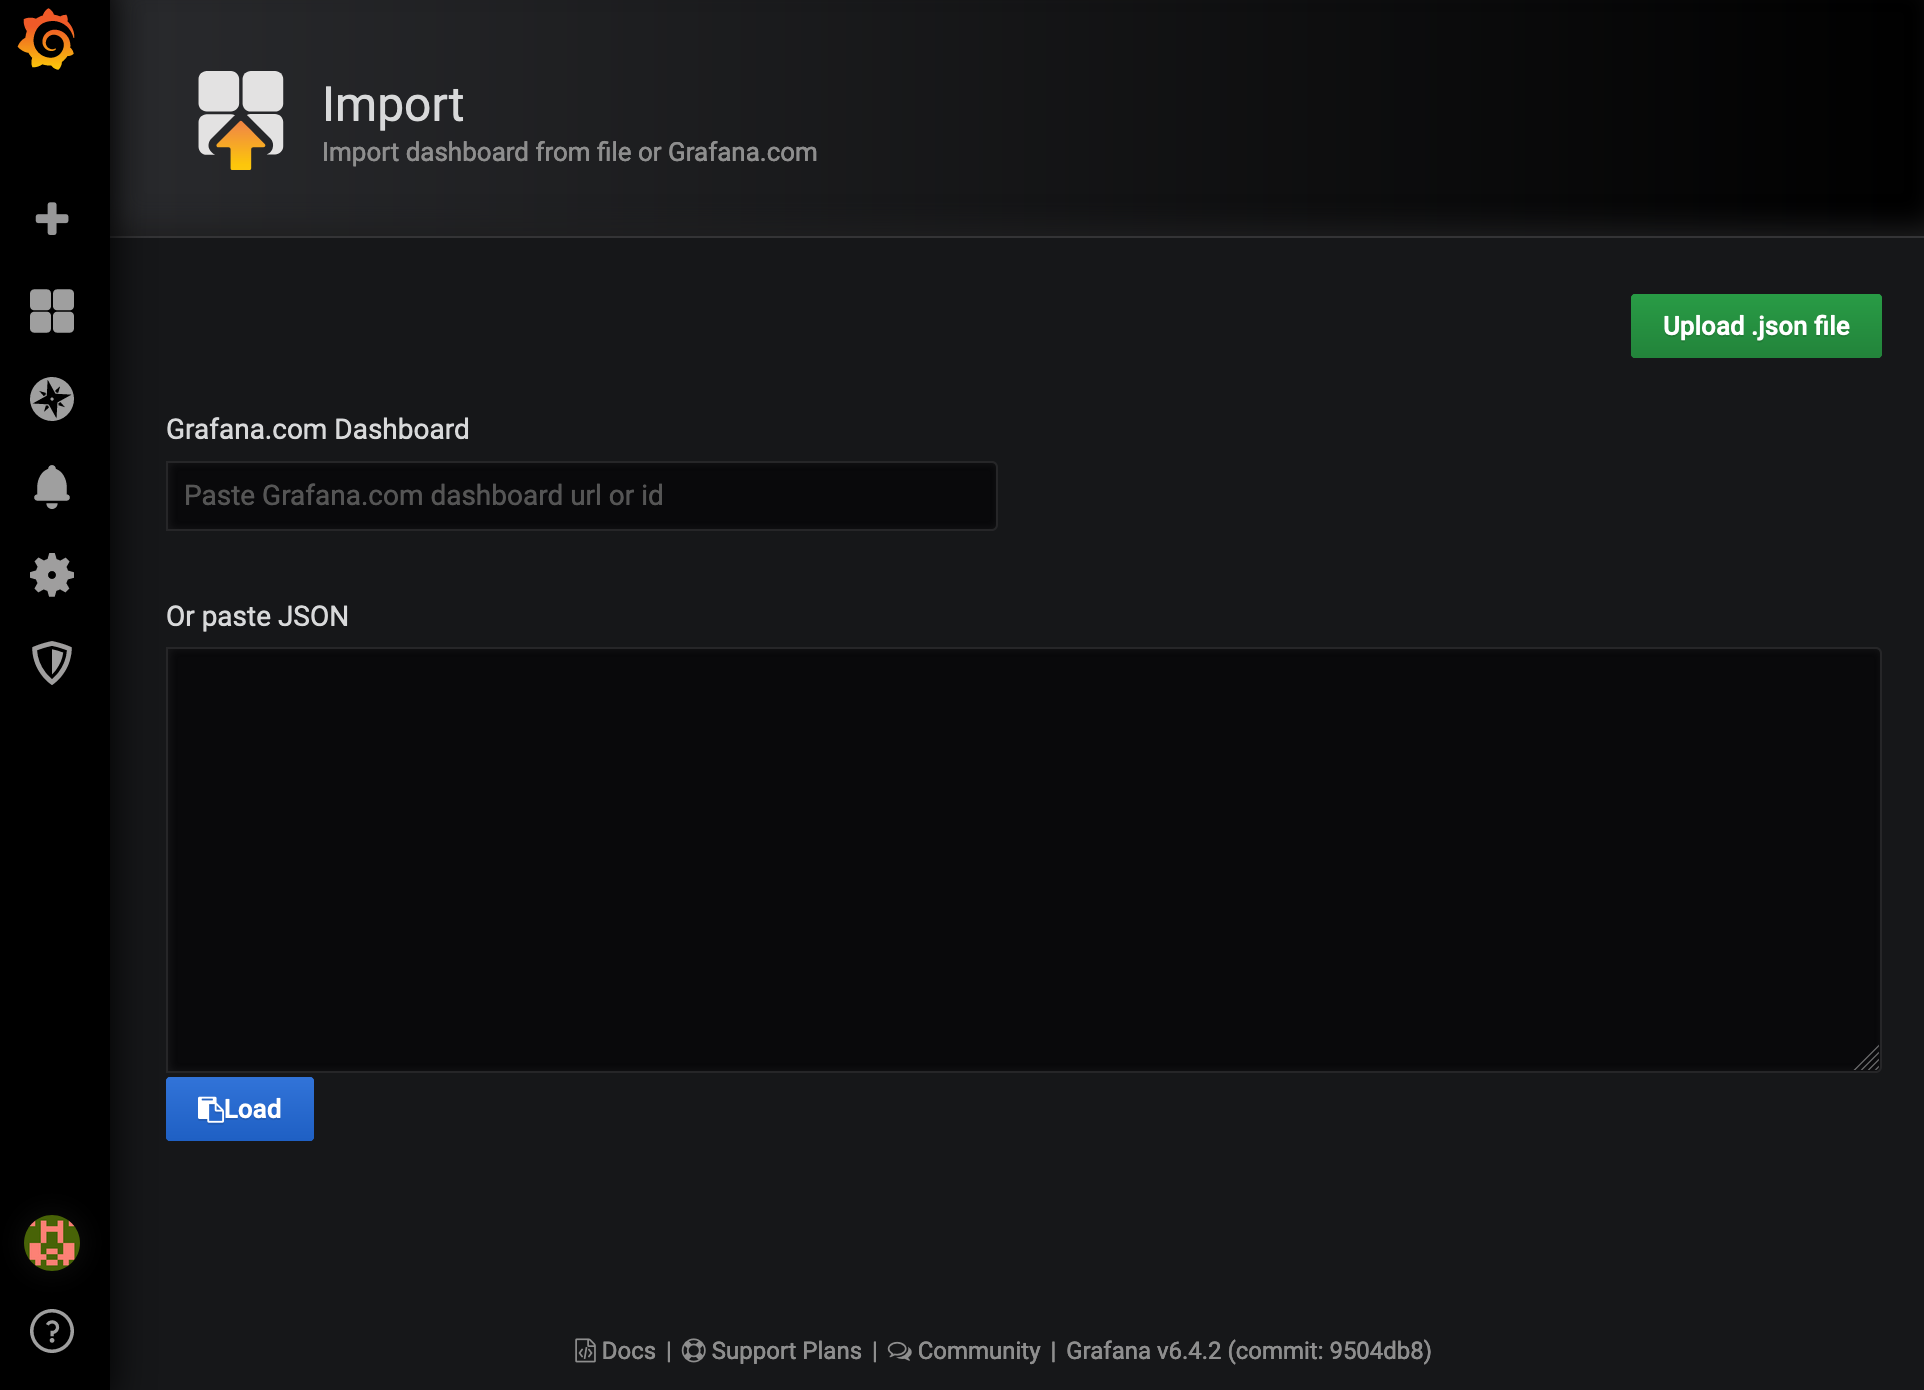
ダッシュボードをインポート
http://IPアドレス:3000/dashboard/import

ダッシュボードは自分でも作成できますが、今回はメトリクスを少し確認できれば良いので
既存のダッシュボードをインポートして確認します。ダッシュボードは↓で探します。
https://grafana.com/grafana/dashboards
今回は https://grafana.com/grafana/dashboards/61 をインポートしてみました。
(今回の環境だとURLを入れてもうまくインポートできないのでJSONをダウンロードしてインポートしました)
