下記Elixirコミュニティ運営/所属の piacere です、ご覧いただいてありがとございます ![]()
ElixirでリアルタイムUIを作るLiveView/Livebookで盛り上がるコミュニティ「LiveView JP」
LiveViewが標準搭載されたPhoenix 1.6に、deps1行でライトにTailwind CSSを導入し、Tailwindを気軽に使う方法が、Phoenix創始者Chris Mccordから紹介されています
Tailwind CSSは最近人気のCSSライブラリで、2021年12月にバージョン3.0がリリースされ、よりパワーアップされた元気の良いライブラリです
なお、このコラムはPhoenix 1.6から導入されたesbuildを使うことで、Node.js/npm無しでTailwind CSSが利用できる手順となっています
内容が、面白かったり、役に立ったら、「LGTM」よろしくお願いします ![]()
本コラムの検証環境
本コラムは、以下環境で検証しています(Windowsで検証してますがLinuxやmacでも動作する想定です)
- Windows 10
- Elixir 1.13.0 on WSL2 Ubuntu 18.04 ※最新版のインストール手順はコチラ
- Phoenix 1.6.2、1.6.6 ※最新版のインストール手順はコチラ
【2022/2/1追記】
Node.jsは不要です
ライブラリ「Tailwind」の導入
kokura.exオーガナイザ @im_miolab さんが書いた、下記コラムをベースにしつつ、上記Chrisのツイートで紹介しているFly.ioのコラムで使われているライブラリ「Tailwind」を使った手順で構築します
Tailwind CSSでトランジションとメディアクエリをサクッとPhoenixフレームワークに導入・実装する
https://qiita.com/im_miolab/items/504a8534802e433d7442
なお、上記コラムではPhoenix 1.5系で構築を行っていますが、ここではLiveViewが標準搭載されたPhoenix 1.6で試しているため、.heexの書き方などが元コラムと異なっています
Phoenix PJの作成
DB無しでPhoenix PJを作ります
mix phx.new basic --no-ecto
…
Fetch and install dependencies? [Yn] 【←Yを入力】
…
cd basic
Tailwindのインストール(Fly.ioコラム通りの手順)
まず、下記Fly.ioコラム通りの手順で進めます
Tailwindをライブラリ追加します
defmodule Basic.MixProject do
  use Mix.Project
…
  defp deps do
    [
      {:tailwind, "~> 0.1"},
      {:phoenix, "~> 1.6.2"},
…
configにTailwindの利用バージョンを書きます
# This file is responsible for configuring your application
# and its dependencies with the aid of the Config module.
#
# This configuration file is loaded before any dependency and
# is restricted to this project.

# General application configuration
import Config
…
config :phoenix, :json_library, Jason

# v-- add start
config :tailwind,
  version: "3.0.7",
  default: [
    args: ~w(
      --config=tailwind.config.js
      --input=css/app.css
      --output=../priv/static/assets/app.css
    ),
    cd: Path.expand("../assets", __DIR__)
  ]
# ^-- add end
…
Tailwind用のビルドウォッチャーを設定します
# For development, we disable any cache and enable
# debugging and code reloading.
#
# The watchers configuration can be used to run external
# watchers to your application. For example, we use it
# with esbuild to bundle .js and .css sources.
config :basic, BasicWeb.Endpoint,
…
  watchers: [
    tailwind: {Tailwind, :install_and_run, [:default, ~w(--watch)]},  # <- add here
…
この後、Phoenixを起動すればTailwindが使える手順となっていましたが、Tailwindライブラリのインストールやtailwind.config.jsの生成など、色々と手順が抜けてて、このままではTailwindが有効にならないため、不足手順を下記でカバーします
Tailwindのインストール(Fly.ioコラムの不足をカバー)
Tailwindに欠かせないベーススタイル/コンポーネント/ユーティリティをimportします
/* This file is for your main application CSS */
@import "./phoenix.css";

@import "tailwindcss/base";  /* <- add here */
@import "tailwindcss/components";  /* <- add here */
@import "tailwindcss/utilities";  /* <- add here */
…
ライブラリをインストールし、Phoenixを起動します
mix deps.get
iex -S mix phx.server
PhxGenTailwindインストール直後のトップページは、こんな感じで、Phoenix標準CSSライブラリ「milligram」が無効化されてる感じです
Tailwindを使う
それでは、トップページをTailwindを使用するページに変えてみましょう
まず、下記ページ左上の画像を、im.jpgという名前でダウンロードして、PJ配下に配置します
https://qiita.com/im_miolab
OSから直接異ファイル操作できないWSL2※では、Dドライブのルートにim.jpgという画像を保存し、下記コマンドでPJ配下に移動します(WSL2以外では普通にpriv/static/images配下に画像を置いてください)
Phoenixは起動中なので、Ctrl+Cを二度押して、停止しておいてください
cp /mnt/d/im.jpg ./priv/static/images/
上記で、priv/static配下に直接置いてるのは、Phoenix 1.6以降では、画像フォルダであるimagesが、assetsフォルダ配下から無くなり、LiveReload時にassetsからpriv/static配下に画像コピーされる機能が無くなったためです(Webpackからesbuildに変更されたと同時に、この対応がされたと思われる)
※自宅の他PCでは、エクスプローラにWSL2フォルダがあったけど、コラム書いたPCでは見れず…
※下記コラムを参考に、「\wsl$」と入れるとエクスプローラで画像ファイル置けました
https://snowsystem.net/other/windows/wsl2-ubuntu-explorer/
次に、レイアウトを下記に差し替えます
<main role="main" class="container">
  <p class="alert alert-info" role="alert"><%= get_flash(@conn, :info) %></p>
  <p class="alert alert-danger" role="alert"><%= get_flash(@conn, :error) %></p>

  <!-- 追加ここから -->
  <section>
    <h1 class="text-center font-medium text-4xl">
      <%= gettext "team %{name}", name: "im" %>
    </h1>
  </section>
  <%= @inner_content %>
  <%= @inner_content %>
  <!-- 追加ここまで -->

  <%= @inner_content %>
</main>
トップページを下記に差し替えます … 元コラムでは、<%= ~ %>で書かれたHTMLアトリビュートへのElixirコードの展開(解釈)は、.heexでは、{~}で記述し、ダブルクォートで囲まないよう注意してください(囲むとElixirコード解釈されません)
<section class="my-8">
  <figure
    class="md:flex transition duration-500 ease-in-out bg-gray-100 hover:bg-indigo-200 transform hover:-translate-y-1 hover:scale-105 rounded-xl p-8 md:p-0"
  >
    <!-- プロフィール画像は`/assets/static/images/`に準備 -->
    <img
      class="w-32 h-32 md:w-56 md:h-56 rounded-full md:rounded-none mx-auto md:mx-0"
      alt="im image"
      src={Routes.static_path(@conn, "/images/im.jpg")}
    >
    <div class="pt-6 md:p-8 text-center md:text-left space-y-4">
      <p class="text-xl font-semibold">
        "Aenean eleifend, massa id scelerisque lacinia, odio elit blandit diam, at varius nisi turpis ut neque. Nam at consequat erat."
      </p>
      <figcaption class="font-medium">
        <div>
          <p class="text-purple-600">im</p>
        </div>
        <div>
          <p class="text-gray-500">Web Developer</p>
        </div>
      </figcaption>
    </div>
  </figure>
</section>
Phoenixを起動して、確認しましょう
iex -S mix phx.server
Tailwindで構成されたページが、イイ感じに表示されました
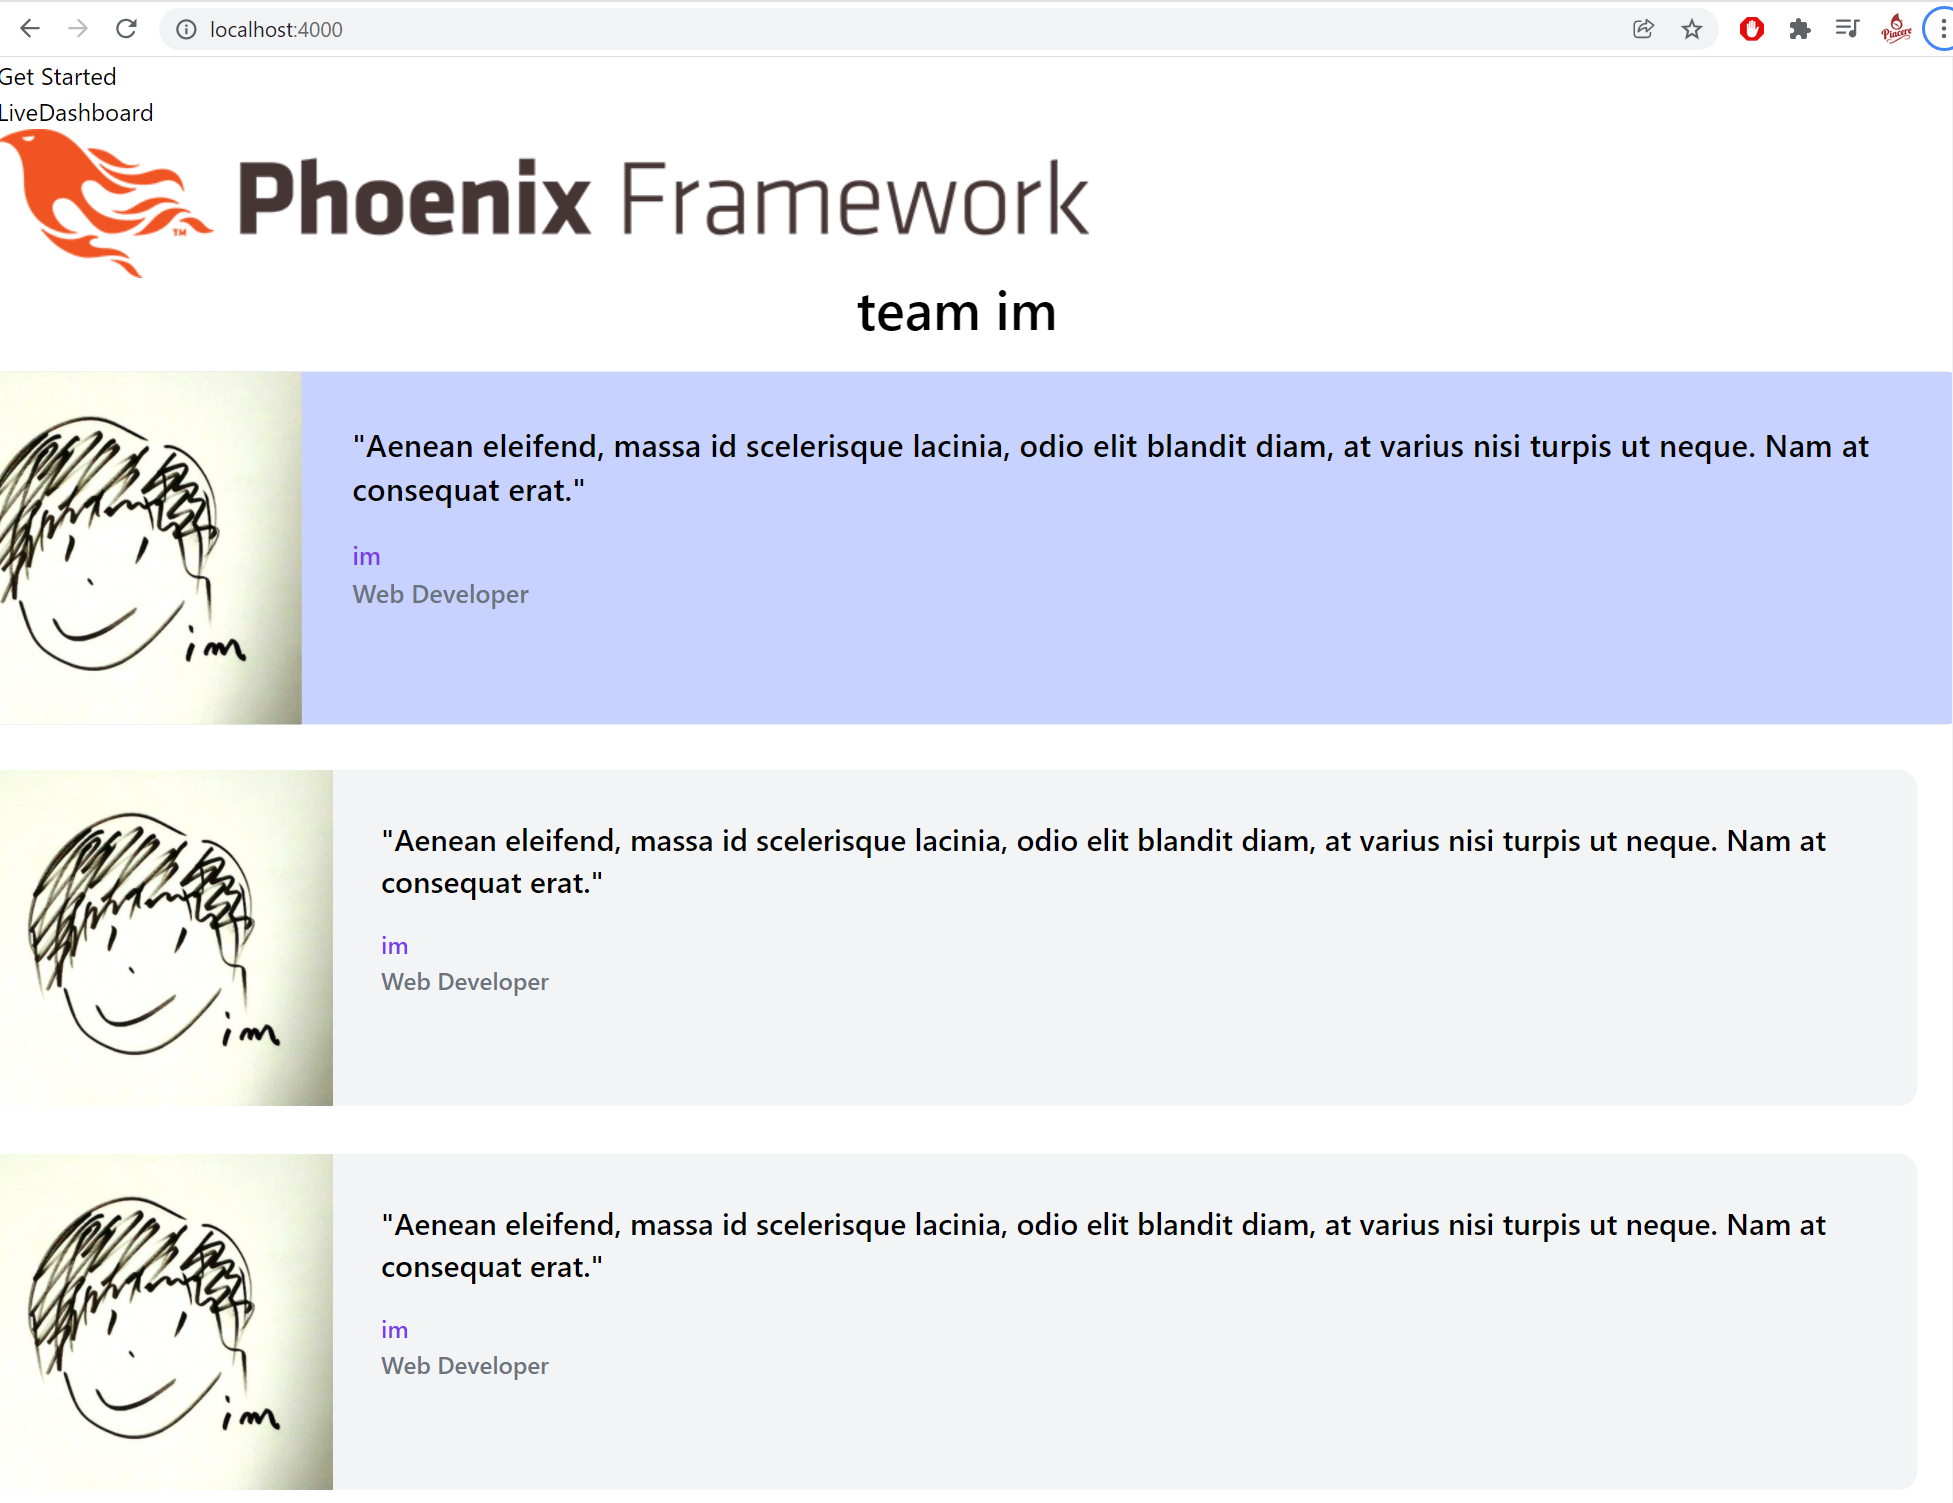
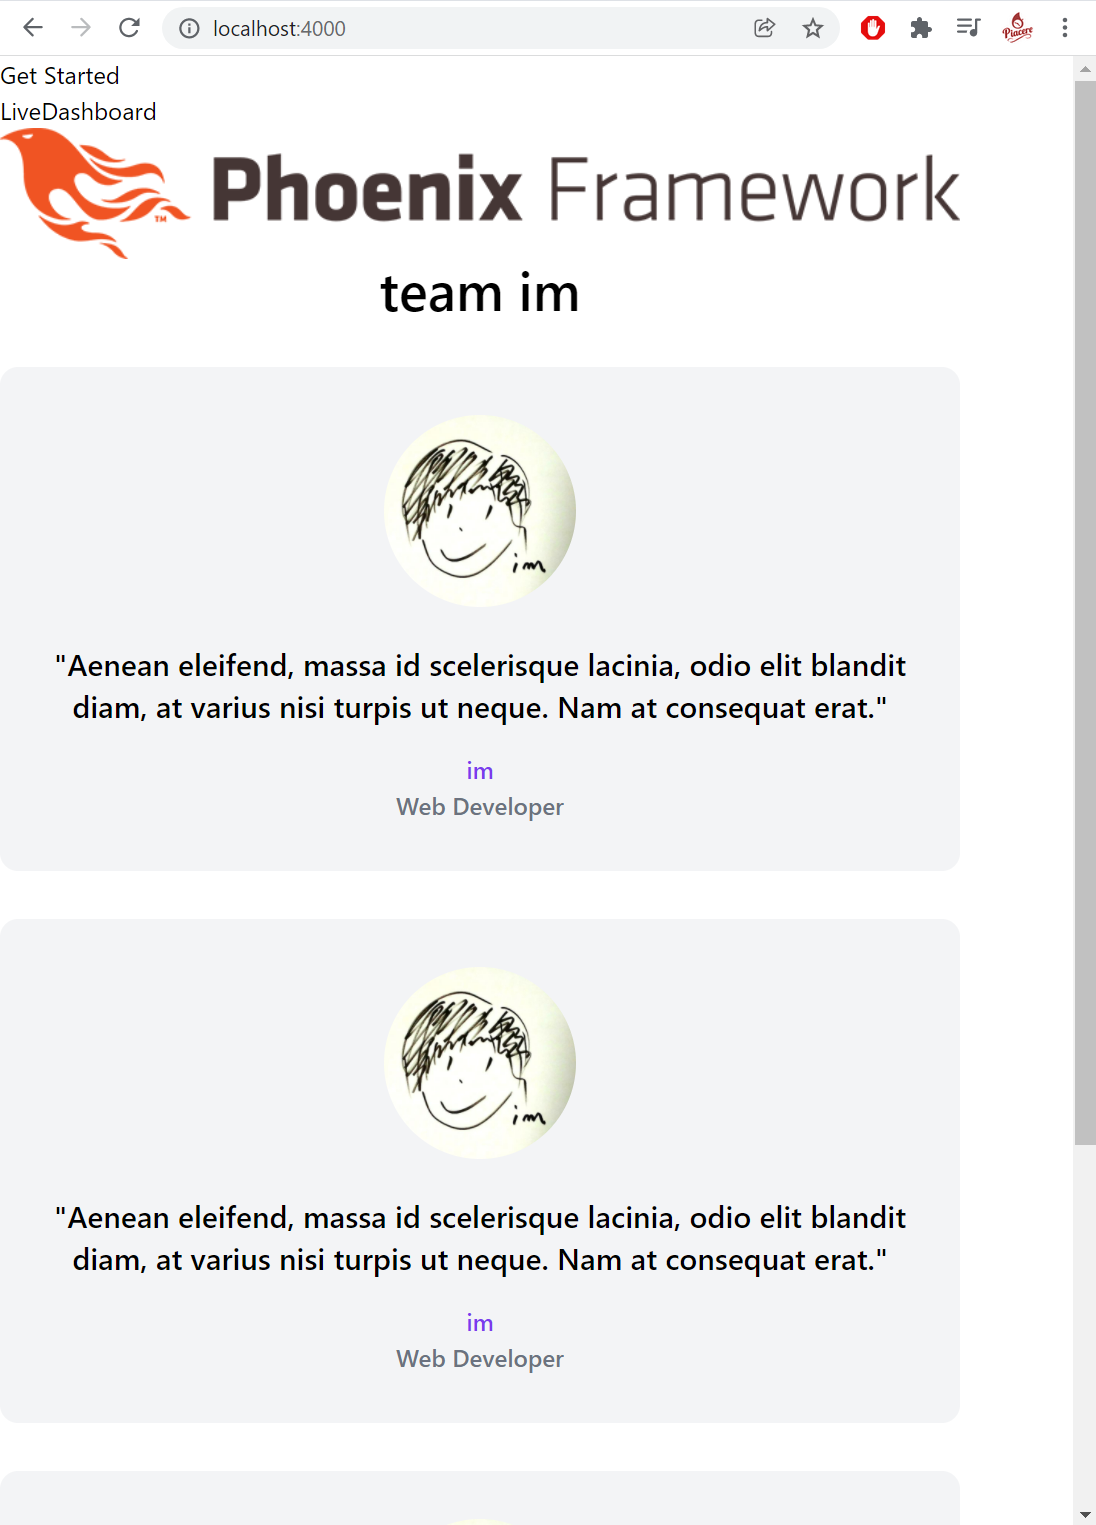
レスポンシブも、ちゃんと働いています
LiveViewっぽいリアルタイムフロントUIでTailwindを使う
せっかくなので、もっとLiveViewっぽいUIでTailwindを使ってみましょう
下記LiveViewコラムを、Phoenix 1.6+Tailwindバージョンで再構築してみます
LiveViewでSPAを作る②: API無しQiita検索SPAをフォームsubmitスタイルに換装
https://qiita.com/piacerex/items/21b0e308a36e486d8b25
まず、元コラム同様、Smallexをライブラリ追加します
…
  defp deps do
    [
      {:smallex, "~> 0.2.3"},  # <- add here
…
インストールします
mix deps.get
レイアウトを元に戻します
<main role="main" class="container">
  <p class="alert alert-info" role="alert"><%= get_flash(@conn, :info) %></p>
  <p class="alert alert-danger" role="alert"><%= get_flash(@conn, :error) %></p>
  <%= @inner_content %>
</main>
routerを追加します
defmodule BasicWeb.Router do
  use BasicWeb, :router
…
  scope "/", BasicWeb do
    pipe_through :browser

    get "/", PageController, :index
    live "/realtime", RealtimeLive.Index, :index  # <- add here
  end
…
ここまでが準備で、ここからが本番です
TailwindをLiveViewテンプレート中で書く
LiveViewテンプレートである.heexを作り、その中でTailwindのclass指定をしていきます
<div class="container mx-auto w-full max-w-screen-lg">

<%= if @message != "" do %>
<p class="alert alert-info">
<%= @message %>
</p>
<% end %>

<h2 class="mb-2 px-2 text-4xl">.leexテンプレート化したLiveViewアプリ</h2>

<form class="bg-gray-100 px-8 pt-6 pb-8 mb-4" phx-submit="submit" phx-change="change">
<input type="text" name="query" value={@query} readonly={if !@message, do: "readonly"} placeholder="Please enter keyword" class="shadow appearance-none border rounded w-full py-2 px-3 text-gray-700 leading-tight focus:outline-none focus:shadow-outline" />
<p>Query: <%= @query %></p>
<input type="submit" class="bg-blue-500 hover:bg-blue-700 text-white font-bold py-2 px-4 rounded focus:outline-none focus:shadow-outline" value="search" onclick="blur()" />
</form>

<table class="w-full shadow-md rounded px-8 pt-6 pb-8 mb-4 items-center">
<tr>
    <th class="border px-4 py-2 bg-gray-100">ID</th>
    <th class="border px-4 py-2 bg-gray-100">タイトル</th>
    <th class="border px-4 py-2 bg-gray-100">作成日</th>
</tr>
<%= for result <- @results do %>
<tr>
    <td class="border px-4 py-2"><%= result[ "id" ] %></td>
    <td class="border px-4 py-2"><%= result[ "title" ] %></td>
    <td class="border px-4 py-2"><%= result[ "created_at" ] %></td>
</tr>
<% end %>
</table>

</div>
LiveViewハンドラを書く
ここは元コラムと同じ内容です
defmodule BasicWeb.RealtimeLive.Index do
  use BasicWeb, :live_view

  def mount(_params, _session, socket) do
    {:ok, assign(socket, query: "", message: "", results: [])}
  end

  def handle_event("change", %{"query" => query}, socket) do
    { :noreply, assign( socket, query: query, message: "" ) }
  end

  def handle_event("submit",  %{"query" => query}, socket) do
    send(self(), {:submit, query})
    {:noreply, assign(socket, query: query, message: "[Searching...]")}
  end

  def handle_info({:submit, query}, socket) do
    results = Json.get("https://qiita.com", "/api/v2/items?query=#{query}")
    {:noreply, assign(socket, query: query, message: "[Search completed!!]", results: results)}
  end
end
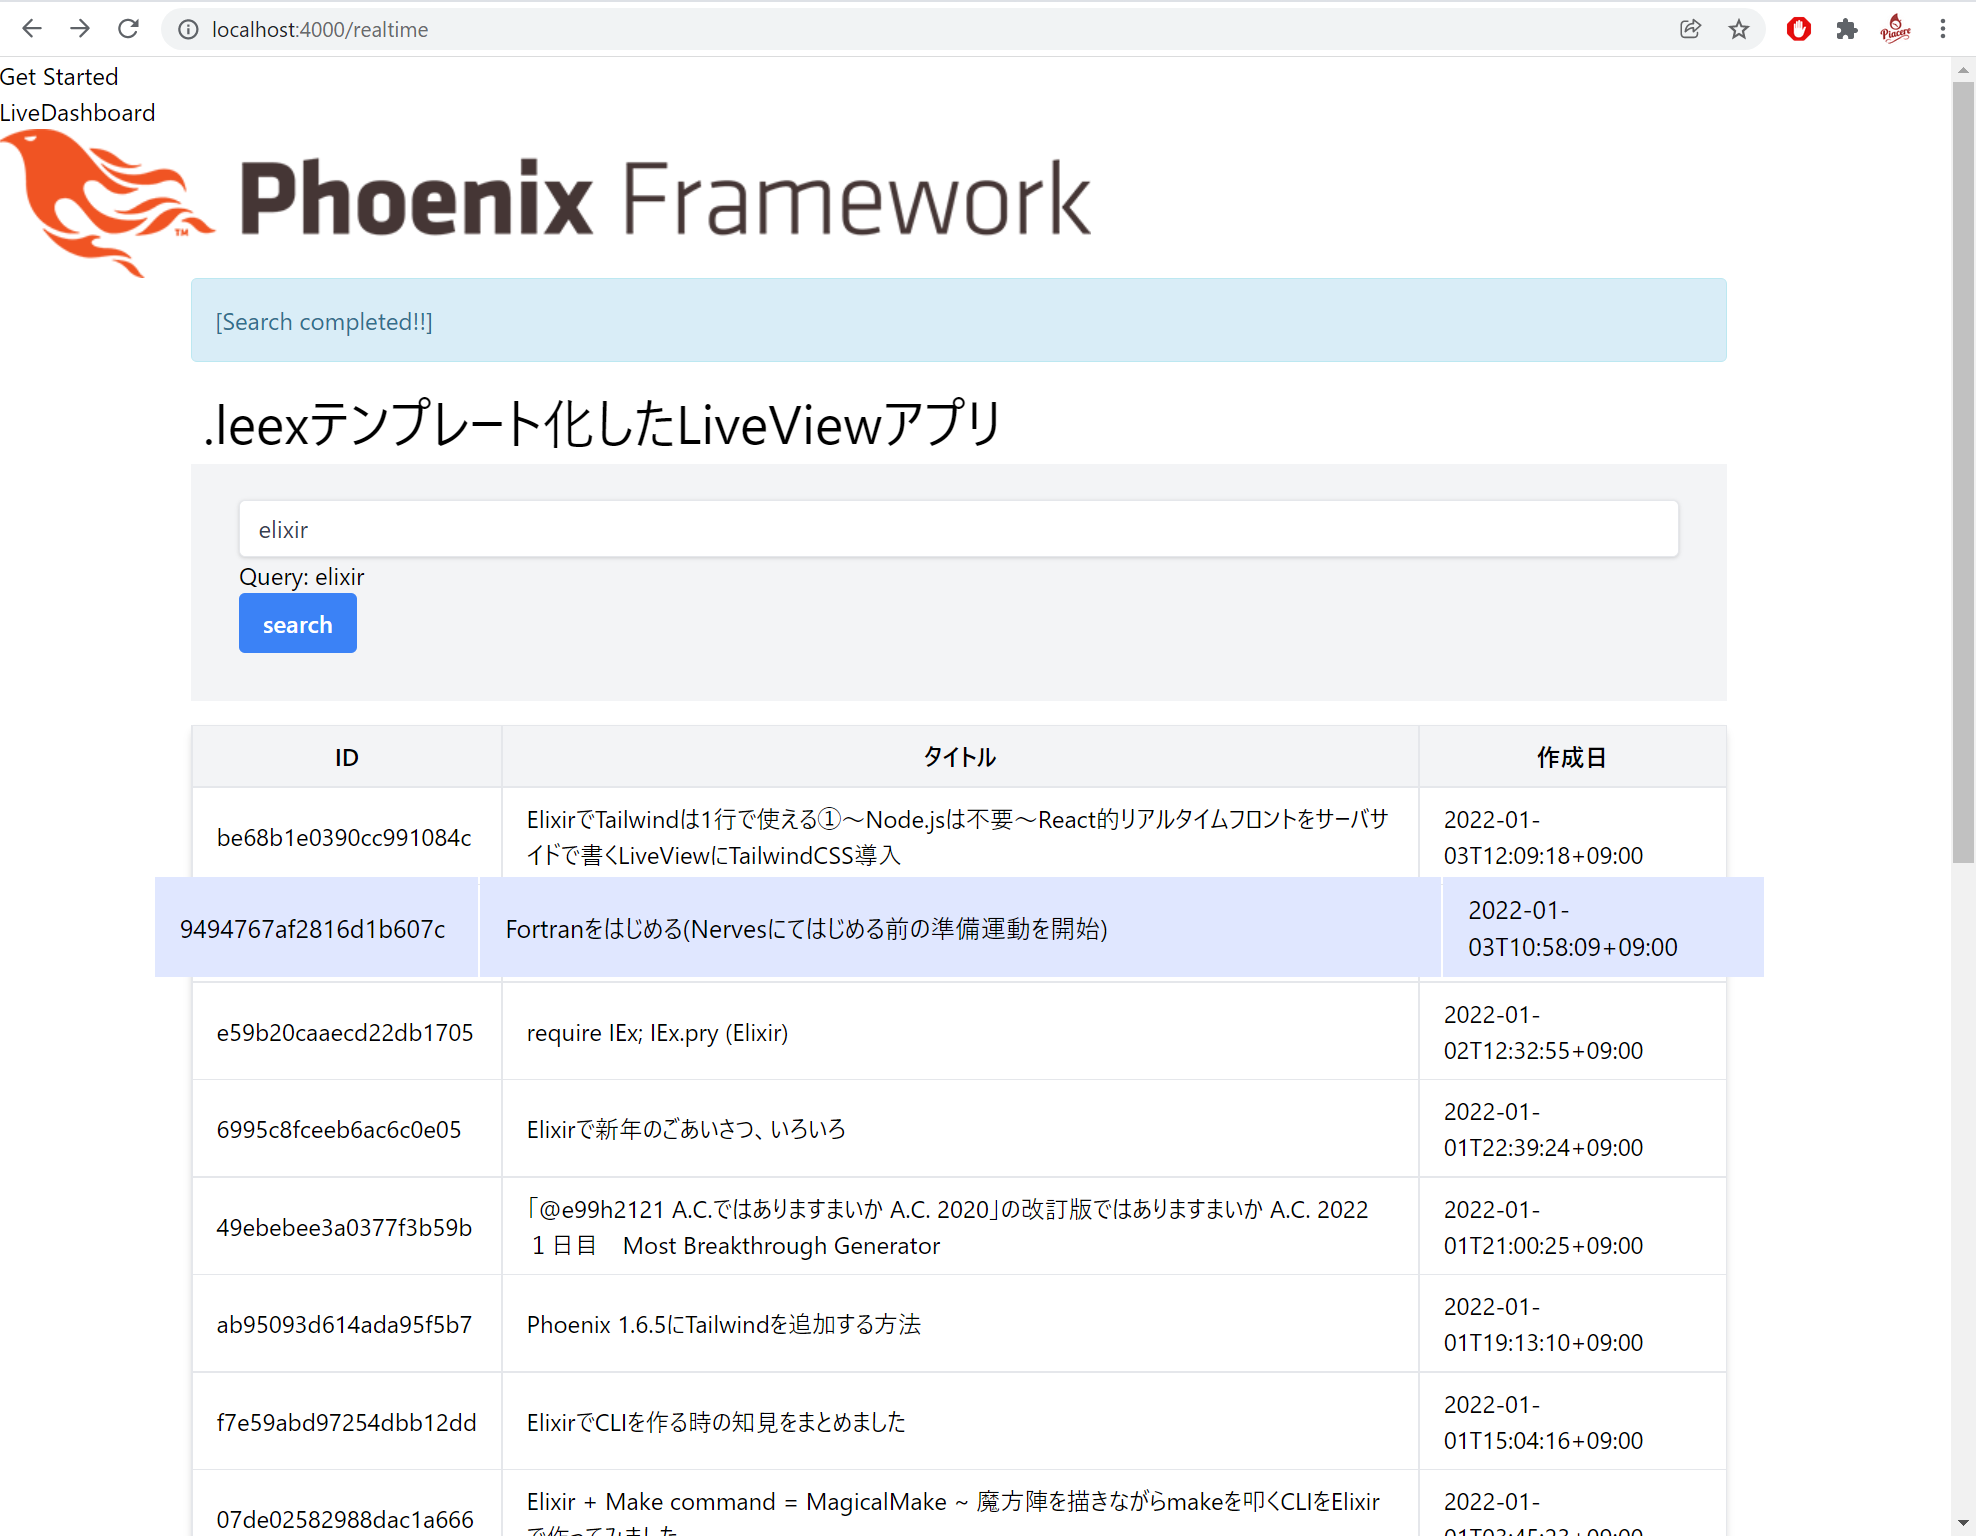
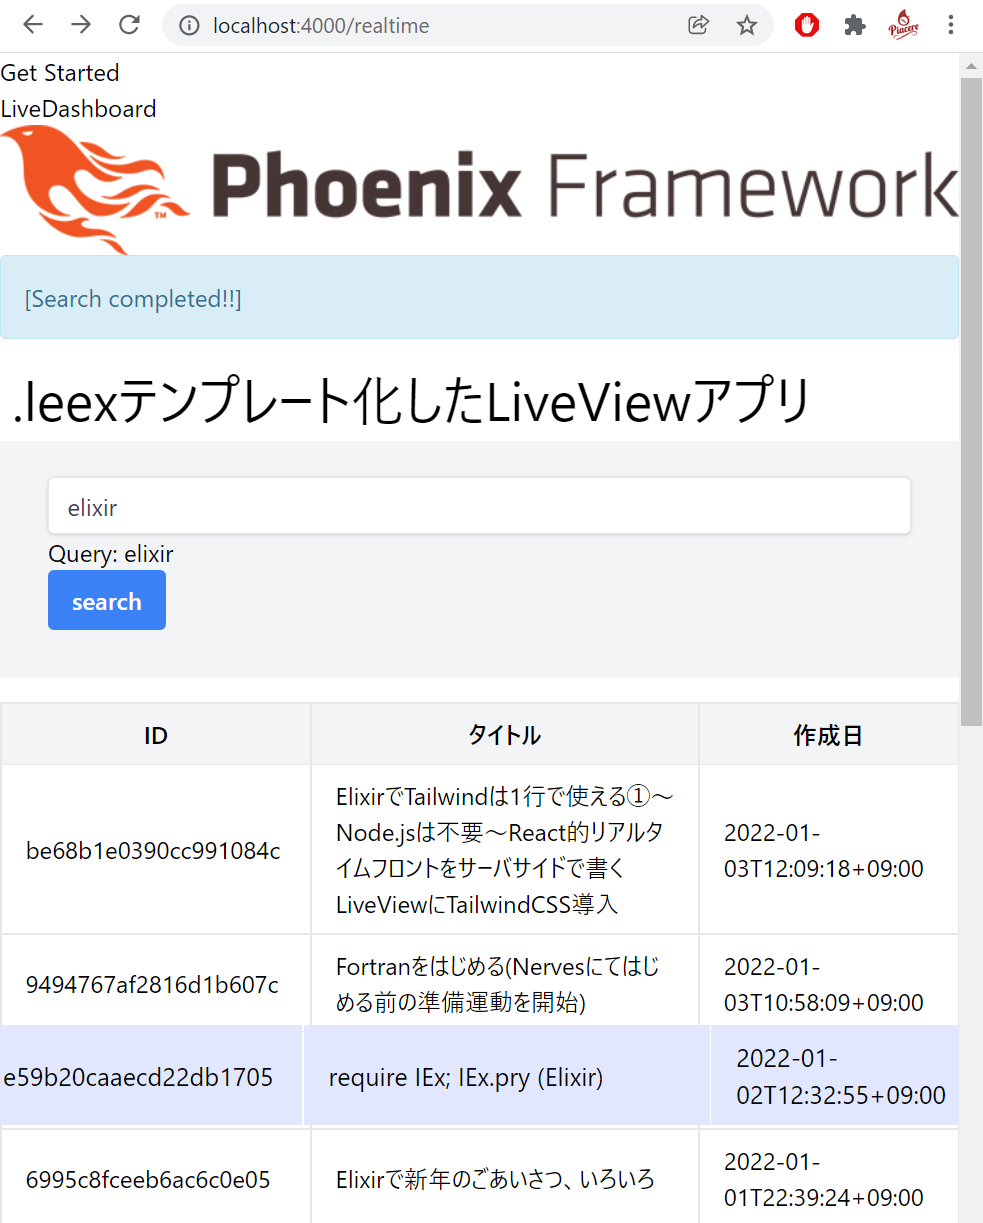
LiveView+Tailwindの成果を確認する
出来上がりは、パッと見はmilligramと大差無いですが、Tailwindを使っているメリットは、スペースの取り方がキレイになってたり、ホバー時のデザインがキレイに出来たり、さほど意識せずともレスポンシブ対応できる点ですね
また、LiveViewのリアルタイム入力/描画との相性もイイ感じです
レスポンシブも、横幅に合わせた4段階の調整がバッチリ効いてます … ぜひ実際に動かして、お手元で見てみてください
最後に
ライブラリ「Tailwind」を使うと、いとも簡単にTailwindが利用可能となることがお分かりでしょうか?
「PhxGenTailwind」よりは一手間多い現状ですが、「Tailwind」はPhoenixチームが開発を行っていることから、恐らくコチラが将来のPhoenixに標準搭載されるかと思われます
これまでPhoenixでは、CSSライブラリの導入にあまりチカラが入っておらず、自前で手配する手間が結構ありましたが、本コラムの最小手順を使い、Tailwindを使ったプロダクション開発をしてみるのはいかがでしょう?
なお、最後にご紹介した例は、phx.gen.liveを使わないLiveView構築例でもあるため、LiveViewの基本を学ぶ上でも参考にしてください
p.s.このコラムが、面白かったり、役に立ったら…
 や
や  にて、どうぞ応援よろしくお願いします:bow