ElixirImp/fukuoka.ex/kokura.exとLiveView JPの piacere です、ご覧いただいてありがとございます ![]()
NxがOTP24必須となったのを受けて、Windowsインストーラ版ElixirだとNxが動かないため、WSL2でOTP24対応済みElixir/Phoenixを導入し、WindowsでもNxを使えるにするための最短手順をメモします
内容が、面白かったり、役に立ったら、「いいね」よろしくお願いします ![]()
 Advent Calendar、fukuoka.ex1位、Elixir2位達成ヽ(=´▽`=)ノ
fukuoka.ex Advent Calendar、Webテクノロジーカテゴリで堂々1位 … 各コラムぜひお読みください
https://qiita.com/advent-calendar/2020/fukuokaex
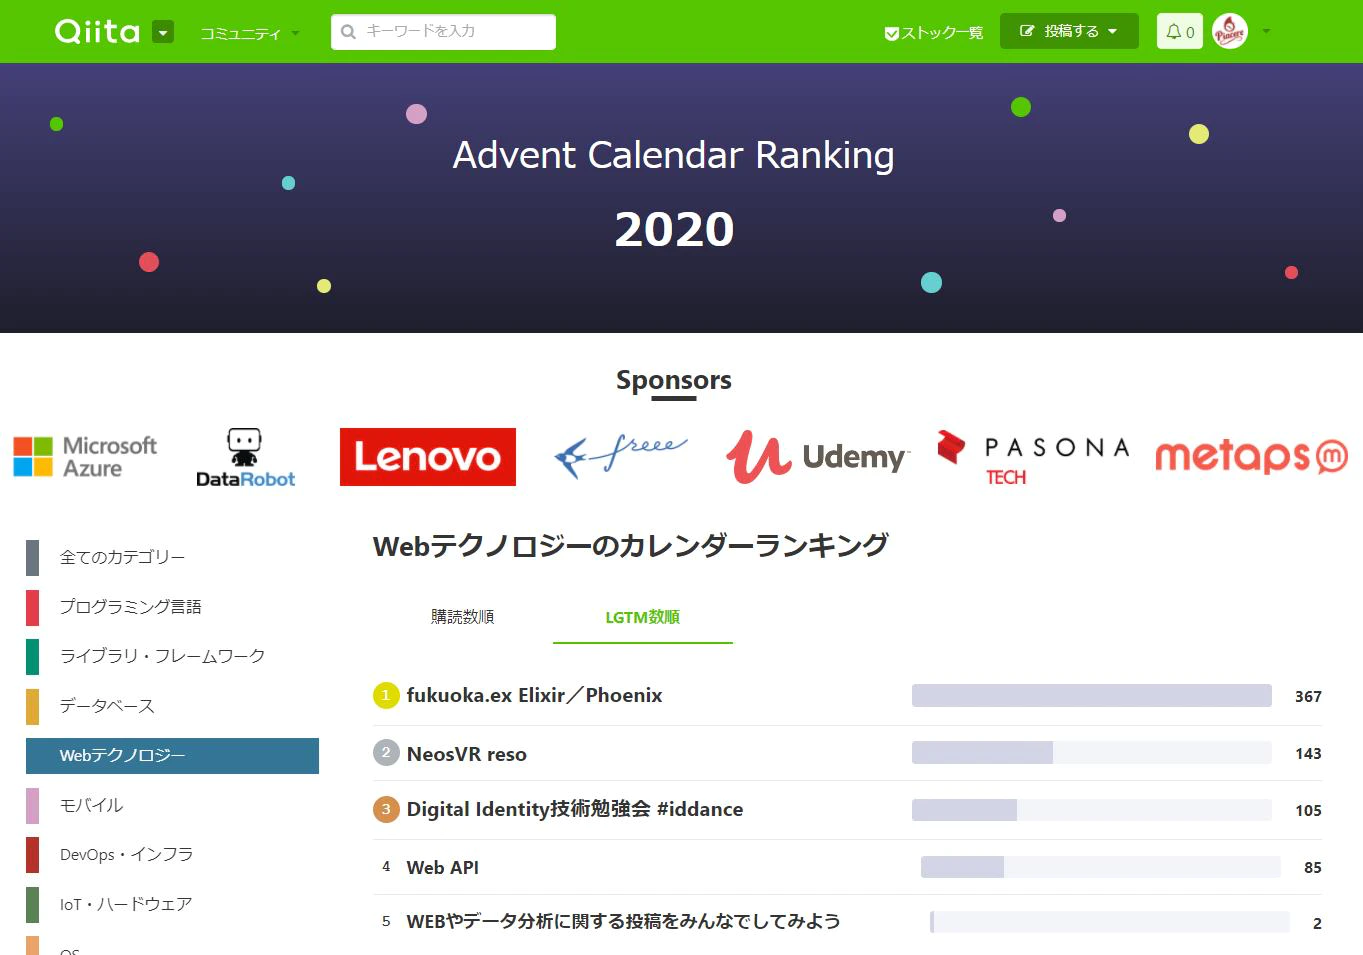
そして、プログラミング言語カテゴリは、1位がRust、2位がElixir、3位がGoとモダン言語揃い踏みでのトップ3、熱いネー![]()
https://qiita.com/advent-calendar/2020/elixir

本コラムの検証環境
本コラムは、以下環境で検証しています
- Windows 10
- Elixir 1.13.0 on WSL2 Ubuntu
- Phoenix 1.6.6
WSL2のインストール前(再起動します)
dism.exe /online /enable-feature /featurename:Microsoft-Windows-Subsystem-Linux /all /norestart
dism.exe /online /enable-feature /featurename:VirtualMachinePlatform /all /norestart
WSL2とUbuntu 18.04のインストール
下記をダウンロードしてインストール
x64 マシン用 WSL2 Linux カーネル更新プログラム パッケージ
wsl --set-default-version 2
下記で「入手」ボタンをクリック
Ubuntu 18.04 LTS(Windows Store)
Enter new UNIX username: hoge
Enter new UNIX password: *********
Retype new UNIX password: *********
passwd: password updated successfully
Installation successful!
To run a command as administrator (user "root"), use "sudo <command>".
See "man sudo_root" for details.

hoge@XXXXXXXXXXXXXXX:~$
ElixirとPhoenixのインストール
sudo apt update -y
wget https://packages.erlang-solutions.com/erlang-solutions_2.0_all.deb && sudo dpkg -i erlang-solutions_2.0_all.deb
sudo apt update
sudo apt install esl-erlang -y
sudo apt install elixir -y
sudo apt install erlang-dev -y
sudo apt install erlang-xmerl -y
sudo apt install erlang-parsetools -y
sudo apt install inotify-tools -y
mix archive.install hex phx_new
PostgreSQLのインストール
sudo apt install curl ca-certificates gnupg -y
curl https://www.postgresql.org/media/keys/ACCC4CF8.asc | sudo apt-key add -
sudo apt update
sudo apt install postgresql -y
sudo service postgresql start
sudo su - postgres
psql
postgres=# alter role postgres with password 'postgres';
postgres=# \q
exit
DB付きPhoenix PJを動かす
mix phx.new basic --live
cd basic
mix ecto.create
iex -S mix phx.server
ブラウザで、http://localhost:4000 を見て、「Welcome to Phoenix!」のページが表示されるのを確認してください
Nxをインストール/テスト
mix.exsのdepsに下記追記
…
  defp deps do
    [
      {:nx, "~> 0.1.0"},
      …
Nxをインストールして、iexで実行すると、上手く動きました
mix deps.get
iex -S mix phx.server
iex> t = Nx.tensor([[1, 2], [3, 4]])
#Nx.Tensor<
  s64[2][2]
  [
    [1, 2],
    [3, 4]
  ]
>
iex> Nx.divide(Nx.exp(t), Nx.sum(Nx.exp(t)))
#Nx.Tensor<
  f32[2][2]
  [
    [0.032058604061603546, 0.08714432269334793],
    [0.23688282072544098, 0.6439142227172852]
  ]
>
最後に
次回以降、以下コマンドでWSL2のubuntu 18.04が起動でき、Elixir/Phoenixが利用できます
ubuntu1804
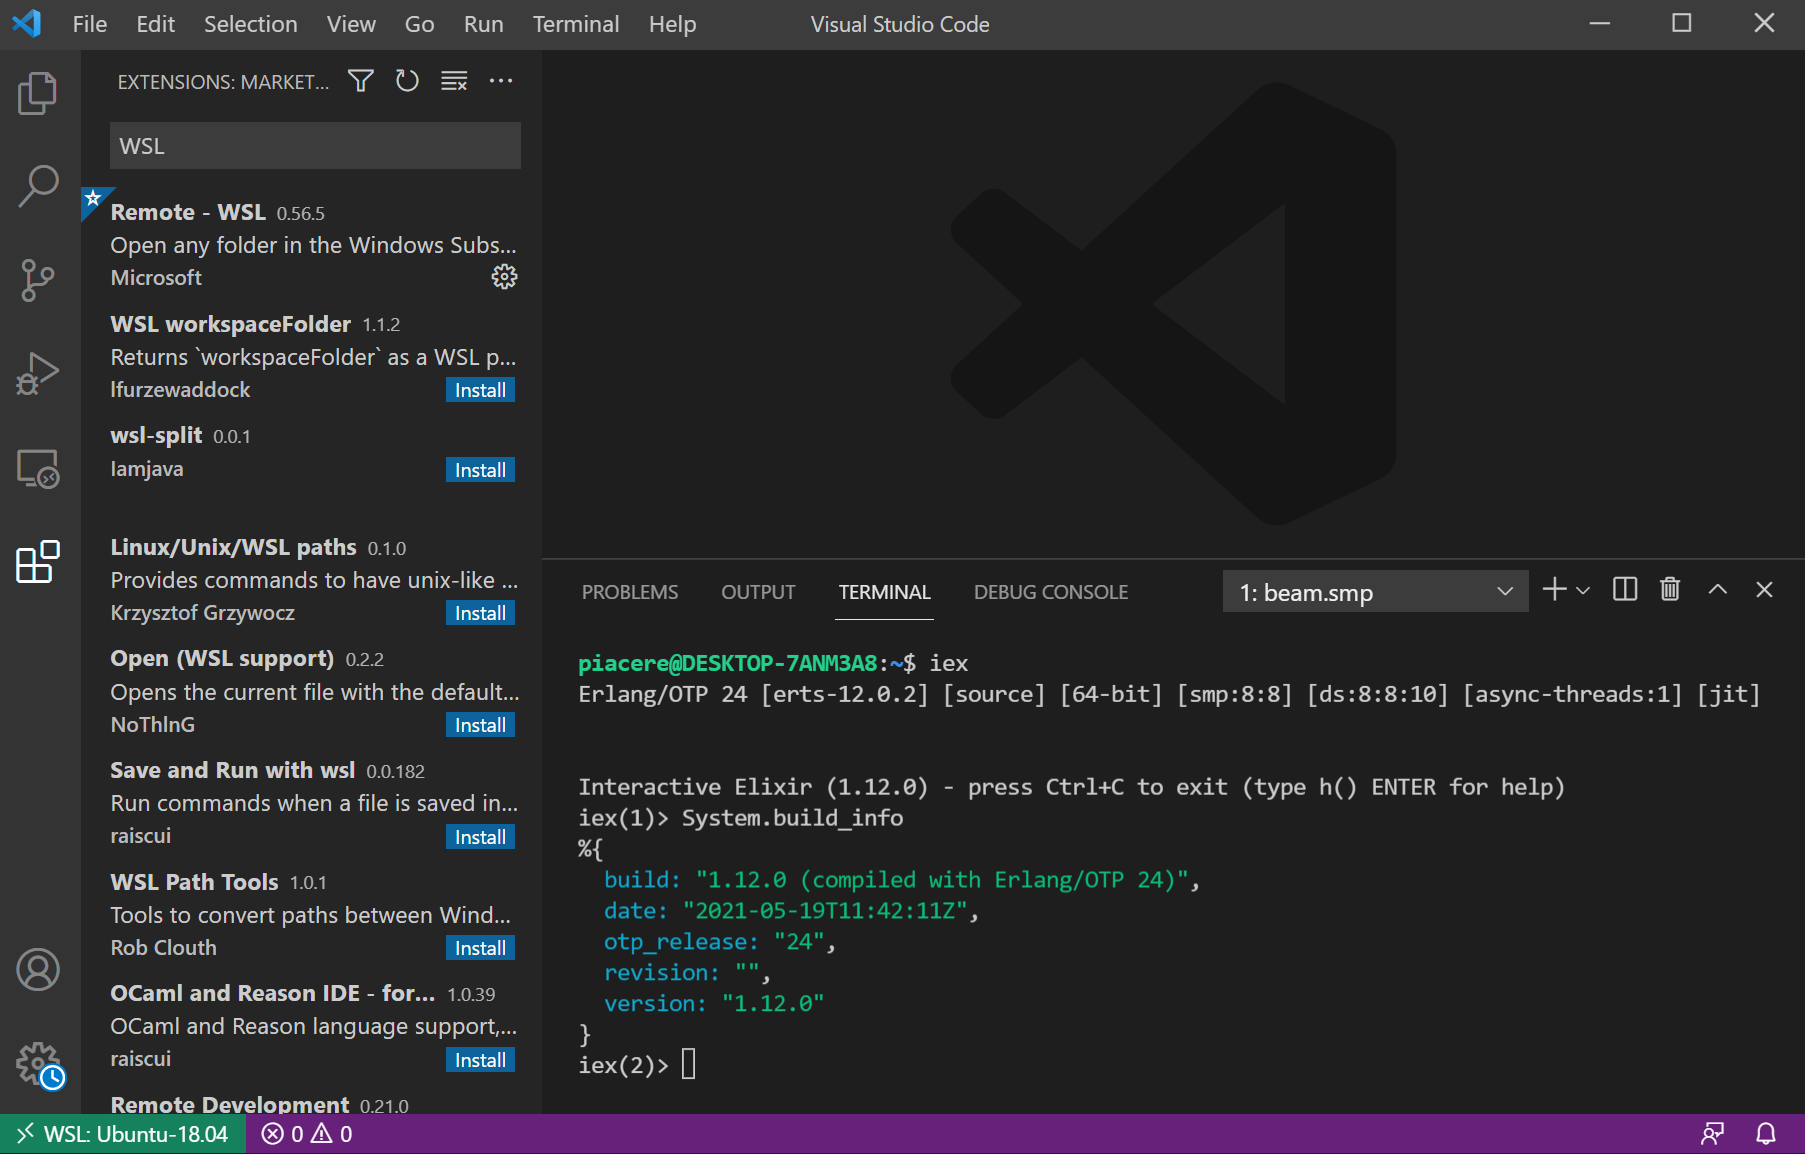
なお、VisualStudio Codeをお使いの方であれば、「Remote - WSL」というエクステンションを入れておくと、ターミナルで、上記でセットアップしたWSL2が使えて便利です
p.s.このコラムが、面白かったり、役に立ったら…
 や
や  にて、どうぞ応援よろしくお願いします
![]()