fukuoka.ex代表のpiacereです
ご覧いただいて、ありがとうございます![]()
引き続き、ElixirのWebフレームワーク「Phoenix」の新バージョン1.4でアプリを作っていきます
前回は、DB+APIアプリを作りましたが、今回は、GraphQLアプリを作ってみます
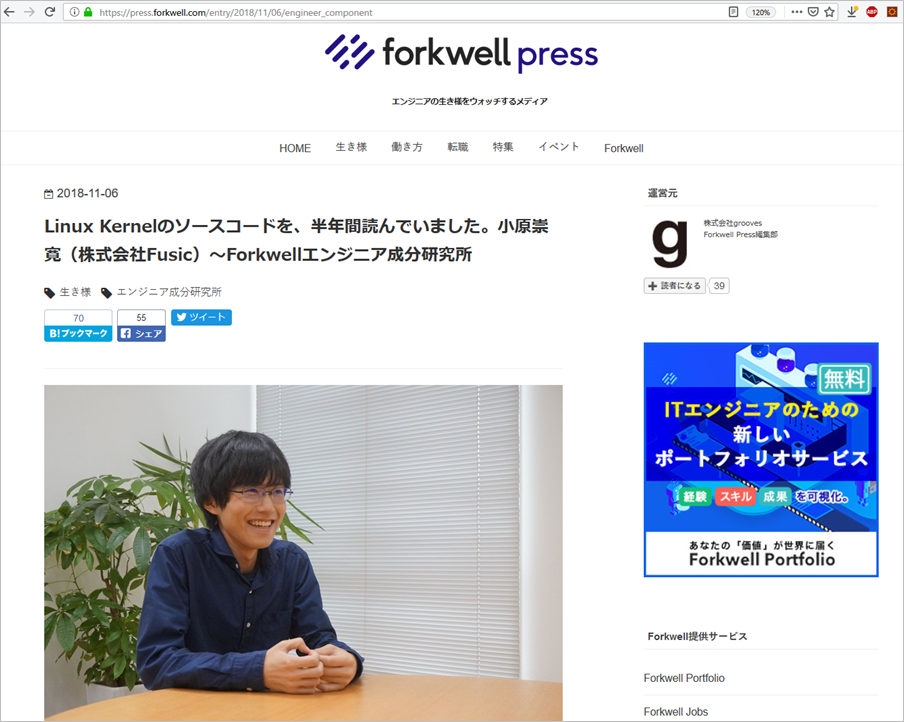
今回、GraphQLアプリを作るにあたり、最近、「福岡インタビューリレー」でコラム公開された、@kobatako さんの「GraphQL for Elixir」シリーズも参考にさせてもらいました![]()
https://press.forkwell.com/entry/2018/11/06/engineer_component
この連載の、前回までの記事は、以下になります
|> Phoenix 1.4正式版① インストール編
|> Phoenix 1.4正式版② DB+API編
あと、参考までに、rc版を試したときのコラムは、以下になります
|> Phoenix 1.4rcを試す① アップデート紹介編
|> Phoenix 1.4rcを試す② インストール編(不具合時の復旧もあるよ)
|> Phoenix 1.4rcを試す③ ローカルSSL開発編(Gigalixirのオマケ付)
|> Phoenix 1.4rcを試す④ webpack編
内容が、面白かったり、気に入ったら、「いいね」よろしくお願いします ![]()
GraphQLライブラリ「Absinthe」を使う
「Absinthe」は、ElixirでGraphQLアプリを開発する際の、最もポピュラーなライブラリです
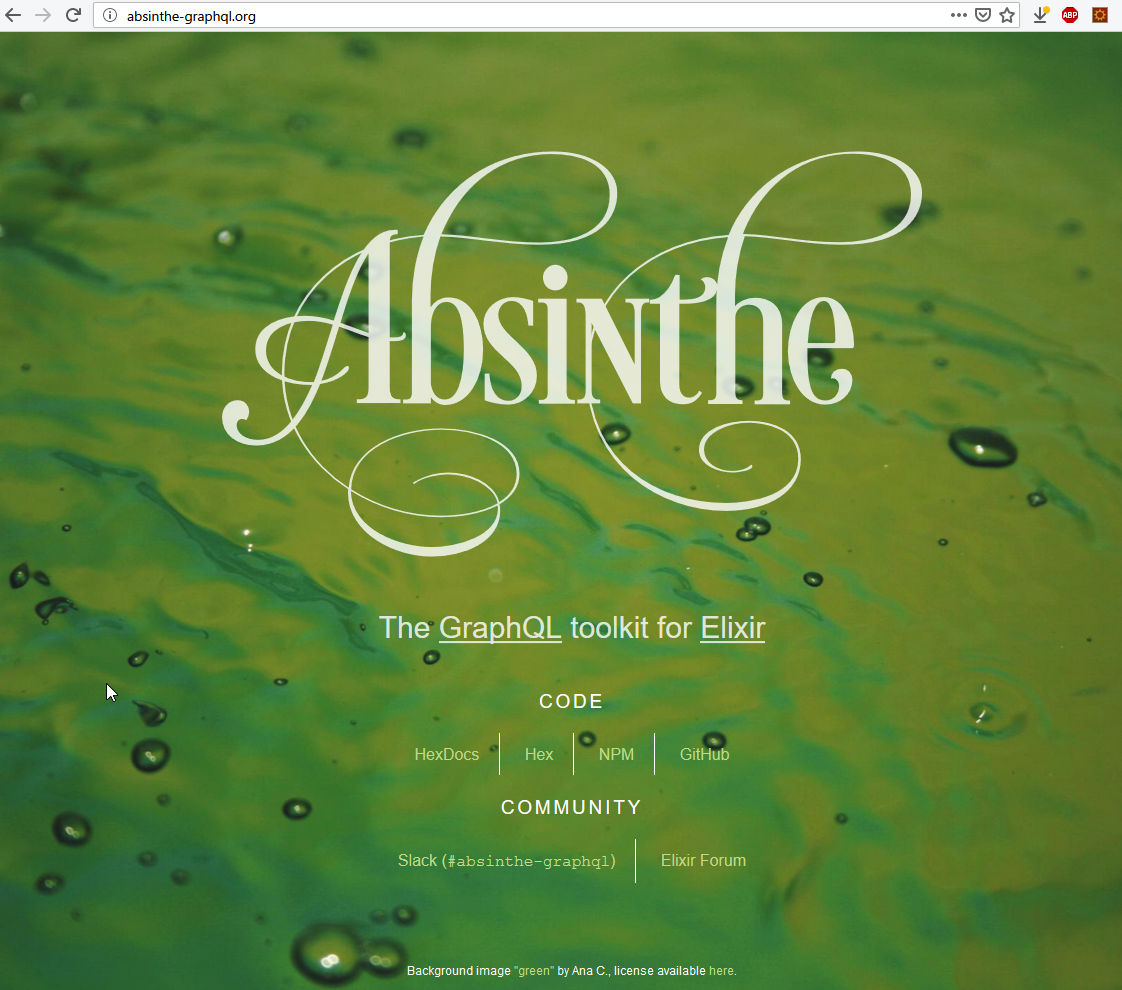
こちらのHexdocで解説されている例に沿って、アプリ構築してみます
https://hexdocs.pm/absinthe/our-first-query.html
GraphQL用Phoenix PJを作成
Hexdocの説明を見ると、Ectoスキーマの利用があるようなので、DB有でPhoenix PJを作成します
なお、PJ名に「Web」という文字列を含むと、フォルダ作成やモジュール命名の都合から、不具合が出るため、入れないよう気を付けてください(エラーメッセージから判断付けるのは、かなり困難なので、ご注意を)
mix phx.new blog
 …(ファイル作成ログが続く)…
Fetch and install dependencies? [Yn] (←n、Enterを入力)
cd blog
「Absinthe」を利用するため、mix.exsの「def deps do」配下に追記します(:phoenix~の記載の上行に追加)
…
  defp deps do
    [
      { :absinthe,      "~> 1.4" },
      …
ライブラリをインストールし、DBを作成した後、Phoenixを起動します
cd blog
mix deps.get
mix ecto.create
iex -S mix phx.server
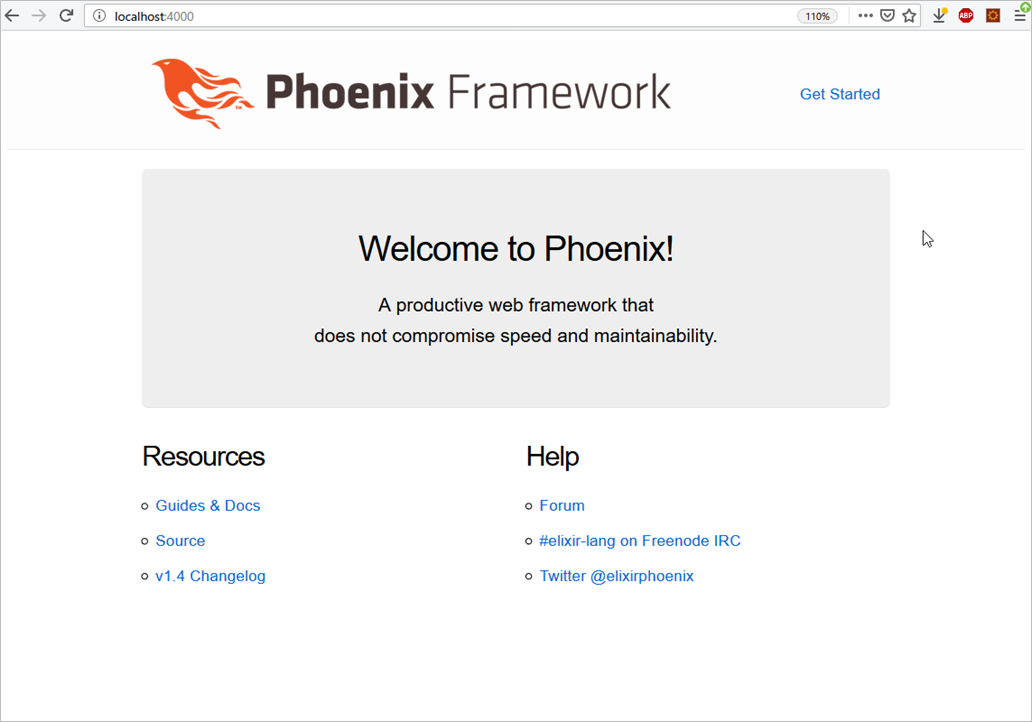
Phoenix起動の際、以下ログが出ていれば起動成功です
…
[info] Running BlogWeb.Endpoint with cowboy 2.5.0 at http://localhost:4000
Interactive Elixir (1.7.4) - press Ctrl+C to exit (type h() ENTER for help)
iex>
ブラウザで「 http://localhost:4000 」をアクセスすると、以下ページが表示されます
GraphQL APIが扱うデータ用CRUDを作成
Hexdocの冒頭にて、予め「Blog.Content」という名前のコンテキストに、「Post」という名前のEctoスキーマを作っておく必要があるため、下記コマンドで作成します(データ編集をラクにするため、CRUD Webで作成しておきます)
mix phx.gen.html Content Post posts title:string body:text
実行後の作業指示が示されるので、書いている通りに実施します(もう何度か行っているので慣れてきましたかねぇ)
…
Add the resource to your browser scope in lib/blog_web/router.ex:

    resources "/posts", PostController

Remember to update your repository by running migrations:

    $ mix ecto.migrate
defmodule BlogWeb.Router do
  use BlogWeb, :router
  …
  scope "/", BlogWeb do
    pipe_through :browser

    get "/", PageController, :index
    resources "/posts", PostController
  end
  …
マイグレートします
mix ecto.migrate
Phoenixを起動します
iex -S mix phx.server
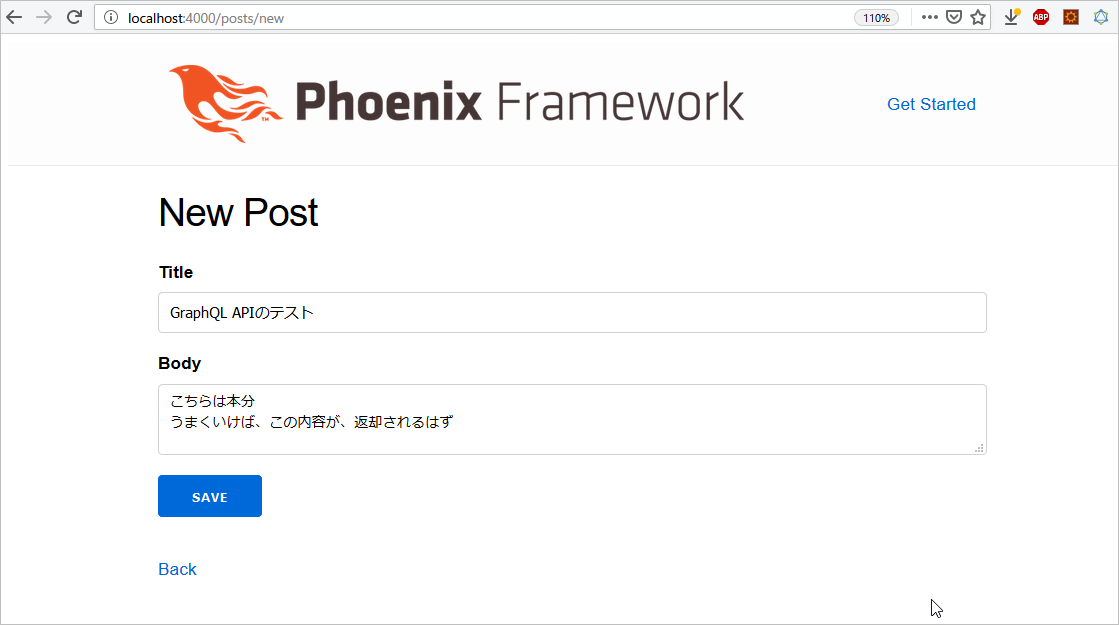
ブラウザで「http://localhost:4000/posts」にアクセスすると、CRUD Webページが見れます
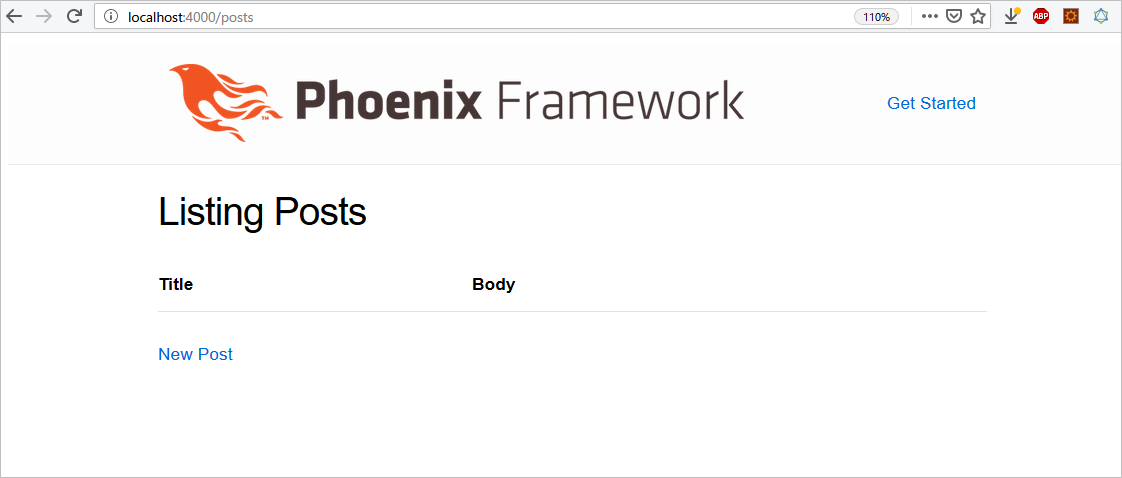
「New Post」リンクをクリックし、入力画面を入力し、「Submit」ボタンクリックでデータ投入してください
GraphQL APIの設定
それでは、Absintheを使った、GraphQL APIの設定を行います
まず、Absinthe用のファイルを作るためのフォルダを作成します
cd lib/blog_web
mkdir schema
mkdir resolvers
cd ../..
Hexdocに書かれている通り、GraphQL APIのスキーマ仕様を定義します
defmodule BlogWeb.Schema.ContentTypes do
  use Absinthe.Schema.Notation

  object :post do
    field :id, :id
    field :title, :string
    field :body, :string
  end
end
次も、Hexdocに書かれている通り、GraphQL API定義に、スキーマ仕様とリゾルバを繋ぎ込みます
defmodule BlogWeb.Schema do
  use Absinthe.Schema
  import_types BlogWeb.Schema.ContentTypes

  alias BlogWeb.Resolvers

  query do
    @desc "Get all posts"
    field :posts, list_of(:post) do
      resolve &Resolvers.Content.list_posts/3
    end
  end
end
リゾルバも、Hexdocに書かれている通りに定義します
defmodule BlogWeb.Resolvers.Content do
  def list_posts(_parent, _args, _resolution) do
    {:ok, Blog.Content.list_posts()}
  end
end
このリゾルバから呼ばれている「Blog.Content.list_posts」は、上述したCRUD Webで作成されたDBアクセッサで、GraphQL API呼出時にDB読み込みを行うようになります
defmodule Blog.Content do
  …
  def list_posts do
    Repo.all(Post)
  end
  …
最後に、やはりHexdocに書かれている通りのルーティングを追加します
なお、デフォルトで生成される「scope "/", BlogWeb do」ブロックは残しておき、「scope "/api" do」ブロックを追加します
defmodule BlogWeb.Router do
  …
  scope "/", BlogWeb do
    pipe_through :browser

    get "/", PageController, :index
  end

  scope "/api" do
    pipe_through :api

    forward "/graphiql", Absinthe.Plug.GraphiQL,
      schema: BlogWeb.Schema

    forward "/", Absinthe.Plug,
      schema: BlogWeb.Schema
  end
  …
ここまでで、Absintheを動かす設定は完了なので、Phoenixを起動します
iex -S mix phx.server
GraphQL APIを呼び出す
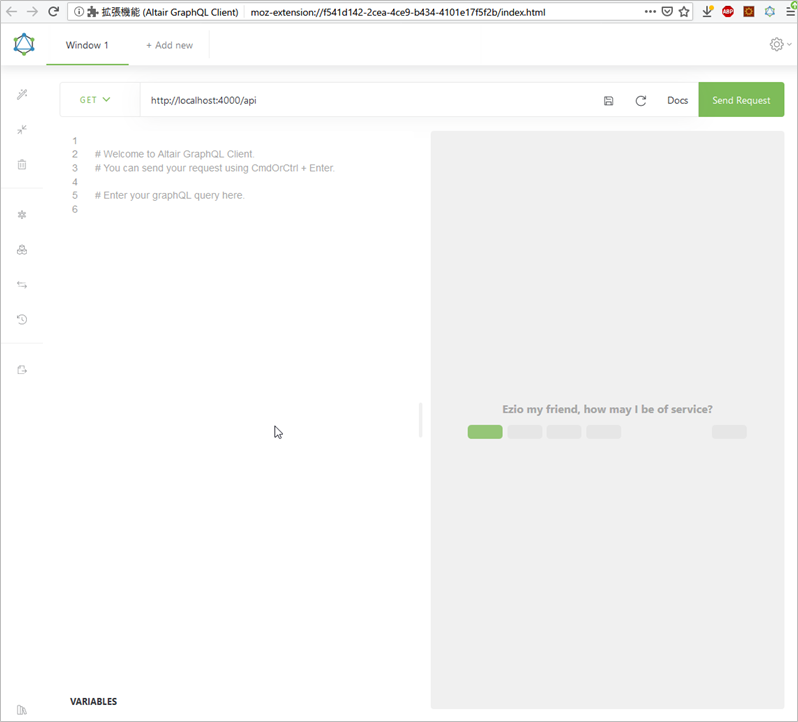
GraphQL APIを叩くために、GraphQL APIクライアントが必要ですが、Firefox、Chrome共にある、「Altair GraphQL Client」が便利です
Firefox版
https://addons.mozilla.org/en-US/firefox/addon/altair-graphql-client/
Chrome版
https://chrome.google.com/webstore/detail/altair-graphql-client/flnheeellpciglgpaodhkhmapeljopja
ここでは、Firefox版をインストールして、使ってみます
「GET」に変更し、URLに「http://localhost:4000/api/」を入力して、「Send Request」ボタンをクリックします
すると、エラーで失敗するようです
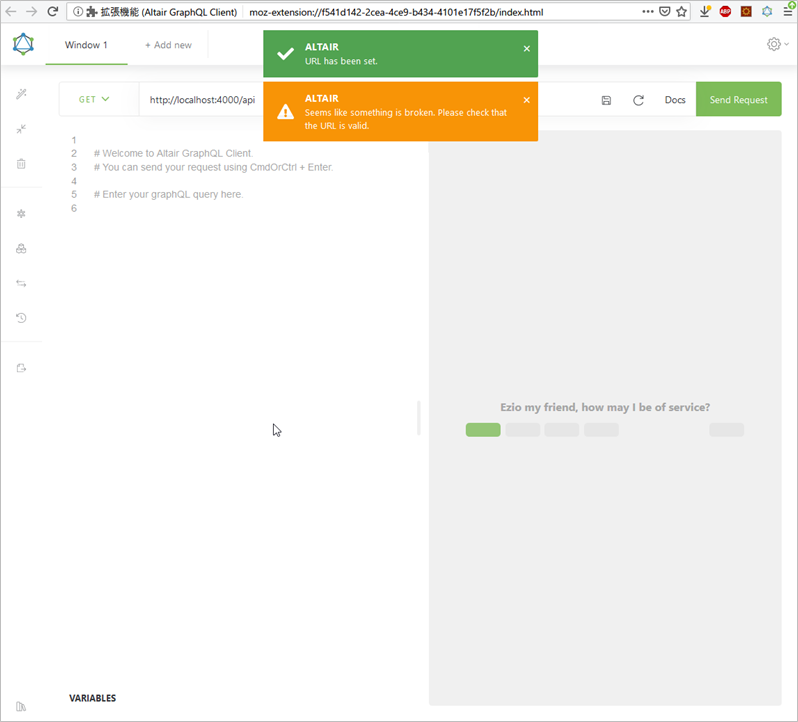
コンソールを見ると、「Absinthe.Plug」の関数が定義されていない、というエラーが出ています
…
** (exit) an exception was raised:
    ** (UndefinedFunctionError) function Absinthe.Plug.init/1 is undefined (module Absinthe.Plug is not available)
        Absinthe.Plug.init([schema: BlogWeb.Schema])
        (phoenix) lib/phoenix/router/route.ex:39: Phoenix.Router.Route.call/2
        (phoenix) lib/phoenix/router.ex:275: Phoenix.Router.__call__/1
        (blog) lib/blog_web/endpoint.ex:1: BlogWeb.Endpoint.plug_builder_call/2
        (blog) lib/plug/debugger.ex:122: BlogWeb.Endpoint."call (overridable 3)"/2
        (blog) lib/blog_web/endpoint.ex:1: BlogWeb.Endpoint.call/2
        (phoenix) lib/phoenix/endpoint/cowboy2_handler.ex:34: Phoenix.Endpoint.Cowboy2Handler.init/2
        (cowboy) c:/piacere/code/blog/deps/cowboy/src/cowboy_handler.erl:41: :cowboy_handler.execute/2
        (cowboy) c:/piacere/code/blog/deps/cowboy/src/cowboy_stream_h.erl:293: :cowboy_stream_h.execute/3
        (cowboy) c:/piacere/code/blog/deps/cowboy/src/cowboy_stream_h.erl:271: :cowboy_stream_h.request_process/3
        (stdlib) proc_lib.erl:247: :proc_lib.init_p_do_apply/3
そもそも、Absinthe.Plugは、インストールされていないため、mix.exsのdepsに追加します
…
  defp deps do
    [
      { :absinthe,      "~> 1.4" },
      { :absinthe_plug, "~> 1.4" },
      …
Ctrl+cを2回押した後、インストールし、Phoenixを起動し直します
mix deps.get
iex -S mix phx.server
再度、Altair GraphQL Clientで「Send Request」をクリックします
なお、「Send Request」ボタンでリクエストが飛ばないときは、以下のボタンをクリックします

今度は、「Poison」の関数が定義されていない、というエラーが出ています
…
** (exit) an exception was raised:
    ** (UndefinedFunctionError) function Poison.decode/1 is undefined (module Poison is not available)
        Poison.decode("{}")
        (absinthe_plug) lib/absinthe/plug/request/query.ex:118: Absinthe.Plug.Request.Query.decode_variables/2
        (absinthe_plug) lib/absinthe/plug/request/query.ex:52: Absinthe.Plug.Request.Query.parse/3
        (absinthe_plug) lib/absinthe/plug/request.ex:71: Absinthe.Plug.Request.build_request/4
        (absinthe_plug) lib/absinthe/plug/request.ex:49: Absinthe.Plug.Request.parse/2
        (absinthe_plug) lib/absinthe/plug.ex:347: Absinthe.Plug.execute/2
        (absinthe_plug) lib/absinthe/plug.ex:247: Absinthe.Plug.call/2
        (phoenix) lib/phoenix/router/route.ex:39: Phoenix.Router.Route.call/2
        (phoenix) lib/phoenix/router.ex:275: Phoenix.Router.__call__/1
        (blog) lib/blog_web/endpoint.ex:1: BlogWeb.Endpoint.plug_builder_call/2
        (blog) lib/plug/debugger.ex:122: BlogWeb.Endpoint."call (overridable 3)"/2
        (blog) lib/blog_web/endpoint.ex:1: BlogWeb.Endpoint.call/2
        (phoenix) lib/phoenix/endpoint/cowboy2_handler.ex:34: Phoenix.Endpoint.Cowboy2Handler.init/2
        (cowboy) c:/piacere/code/blog/deps/cowboy/src/cowboy_handler.erl:41: :cowboy_handler.execute/2
        (cowboy) c:/piacere/code/blog/deps/cowboy/src/cowboy_stream_h.erl:293: :cowboy_stream_h.execute/3
        (cowboy) c:/piacere/code/blog/deps/cowboy/src/cowboy_stream_h.erl:271: :cowboy_stream_h.request_process/3
        (stdlib) proc_lib.erl:247: :proc_lib.init_p_do_apply/3
Poisonもインストールされていないため、mix.exsのdepsに追加します
なお、Poisonは、最新版が4.0ですが、Ecto 3系で利用可能なのは、Poison 3系のため、3.1を指定します
…
  defp deps do
    [
      { :absinthe,      "~> 1.4" },
      { :absinthe_plug, "~> 1.4" },
      { :poison,        "~> 3.1" },
      …
Ctrl+cを2回押した後、インストールし、Phoenixを起動し直します
mix deps.get
iex -S mix phx.server
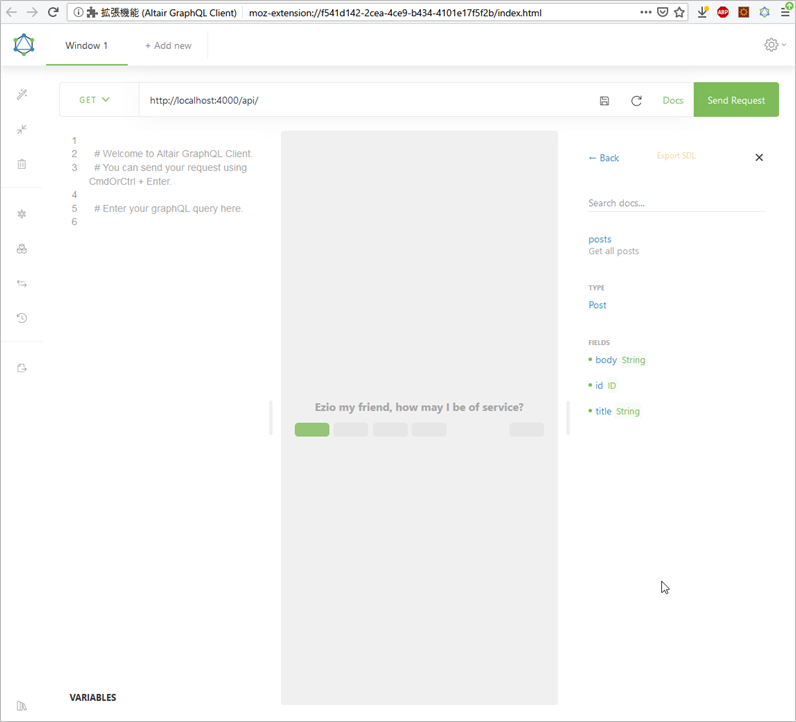
再度、Altair GraphQL ClientでAPIを叩きます
すると、エラーが出なくなりました
「Send Request」ボタン左の「Docs」ボタンをクリックし、「RootQueryType」リンクをクリックし、「posts」リンクをクリックすると、上記で定義したスキーマ定義が返ってきていることが確認できました
コンソールも、エラーは出ておらず、Absintheのデバッグログが出力されています
iex(35)> [info] GET /api/
iex(35)> [debug] ABSINTHE schema=BlogWeb.Schema variables=%{}
---
query IntrospectionQuery {
      __schema {
        queryType { name }
        mutationType { name }
        subscriptionType { name }
        types {
          ...FullType
        }
        directives {
…
それでは、GraphQLのクエリーを送ってみましょう
Altair GraphQL Clientの左側にある入力エリア(コメントが書いてある部分)に、Hexdocの冒頭に書かれているクエリーを入力し、「Send Request」ボタンをクリックします

先ほど投入したデータが、表示されました
終わり
今回は、Phoenix 1.4でGraphQLライブラリ「Absinthe」を動かし、データ取得するところまで行いました
次回は、rc版では確認できていなかった、Phoenix 1.4正式版にマージされた「Telemetry」を試してみたいと思います
p.s.「いいね」よろしくお願いします
よろしければ、ページ左上の  や
や  のクリックをお願いしますー
![]()