fukuoka.ex代表のpiacereです
今回もご覧いただいて、ありがとうございます![]()
革新的なアップデートてんこ盛りのPhoenix 1.4.0-rc.xを数回に分けて試す連載です
前回までの記事は、以下になります
|> Phoenix 1.4rcを試す① アップデート紹介編
|> Phoenix 1.4rcを試す② インストール編(不具合時の復旧もあるよ)
今回は、Phoenix 1.4.0の新機能である「Local SSL development」を、Phoenix 1.4.0-rc.1にて試していきます
なお、Phoenixは、ElixirのWebフレームワークです
![]()
![]()
![]() お知らせ:Elixir MeetUpを来週末10/26(金)に開催します(リモート視聴も)
お知らせ:Elixir MeetUpを来週末10/26(金)に開催します(リモート視聴も) ![]()
![]()
![]()
「fukuoka.ex#16:蔵出し始めました!Elixir実践テクニック公開します① 」を10/26(金)19時に開催します
前回MeetUpのfukuoka.ex#13で宣言した通り、参加型重視、かつ上から下までカバーしていく、プログレッシブなスタイルに移行してから、初の開催となります
fukuoka.ex運営メンバーである、fukuoka.exアドバイザーズ/キャストが、過去会で登壇したり、日頃研鑽してきた数々のElixir実践テクニックを、「座談会+モブプログラミング」という形でダイレクトに伝えていきます
今回は、「Elixir+Vue.jsで2倍速開発」と「ElixirでElixirコンパイラ開発」の2トラックにて、集まった皆さまと一緒にElixir実践テクニックをシェアしたいと思います
https://fukuokaex.connpass.com/event/105154

私は、「Elixir+Vue.jsで2倍速開発」のパーソナリティを担当しますが、これは人気連載である、「Excelから関数型言語マスター」シリーズの続編でもあります
一応、リモート視聴にも対応していますが、福岡近辺にお住まいの方であれば、遊びに来ていただいて、参加型コンテンツを120%楽しんでいただくのが絶対オススメです
Phoenix 1.3時よりmixコマンドが拡張されている
elixir forumの「Local SSL development」の説明中にも記載されていますが、「mix phx.gen.cert」というものが追加されています
前回、作成したPhoenix PJフォルダの配下で、以下コマンドにてmixコマンドの一覧を出すと、確認できます
mix help
…
mix phx               # Prints Phoenix help information
mix phx.digest        # Digests and compresses static files
mix phx.digest.clean  # Removes old versions of static assets.
mix phx.gen.cert      # Generates a self-signed certificate for HTTPS testing
mix phx.gen.channel   # Generates a Phoenix channel
…
「mix phx.gen.cert」を実行する
実行すると、以下のような実行結果が返ってきます
mix phx.gen.cert
* creating priv/cert/selfsigned_key.pem
* creating priv/cert/selfsigned.pem

If you have not already done so, please update your HTTPS Endpoint
configuration in config/dev.exs:

  config :phx14_sample, Phx14SampleWeb.Endpoint,
    http: [port: 4000],
    https: [
      port: 4001,
      certfile: "priv/cert/selfsigned.pem",
      keyfile: "priv/cert/selfsigned_key.pem"
    ],
    ...

WARNING: only use the generated certificate for testing in a closed network
environment, such as running a development server on `localhost`.
For production, staging, or testing servers on the public internet, obtain a
proper certificate, for example from [Let's Encrypt](https://letsencrypt.org).

NOTE: when using Google Chrome, open chrome://flags/#allow-insecure-localhost
to enable the use of self-signed certificates on `localhost`.
自己証明書が生成されている
実行結果の先頭を見ると、priv/cert/配下に、証明書ファイルのようなものが、2ファイル生成されたようなので、確認してみます
ls -la priv/cert
total 8
drwxr-xr-x 1 piacere 197609    0 Oct 16 23:49 .
drwxr-xr-x 1 piacere 197609    0 Oct 16 23:49 ..
-rw-r--r-- 1 piacere 197609 1270 Oct 16 23:49 selfsigned.pem
-rw-r--r-- 1 piacere 197609 1676 Oct 16 23:49 selfsigned_key.pem
内容は、PEM SSLサーバ証明書と、RSA秘密鍵のようです
file priv/cert/selfsigned.pem
priv/cert/selfsigned.pem: PEM certificate

file priv/cert/selfsigned_key.pem
priv/cert/selfsigned_key.pem: PEM RSA private key
これらは、「自己証明書」として利用可能です
SSL設定をdev.exsに追加する
続く実行結果には、config/dev.exsに、SSL設定(SSL用ポート番号、SSL証明書/RSA秘密鍵のファイルパス指定)を追加するよう指示されています
dev.exsのデフォルトで設定されている、4000番ポートの設定を、下記のように上書きします
use Mix.Config
…
# watchers to your application. For example, we use it
# with webpack to recompile .js and .css sources.
config :phx14_sample, Phx14SampleWeb.Endpoint,
  http: [port: 4000],
  https: [
    port: 4001,
    certfile: "priv/cert/selfsigned.pem",
    keyfile: "priv/cert/selfsigned_key.pem"
  ],
  debug_errors: true,
  code_reloader: true,
  check_origin: false,
  watchers: []
…
ここで、SSL用ポート番号は、4001番ポートで設定されます
SSL用ポートでPhoenixの起動を確認する
以下コマンドでSSL対応済のPhoenixを起動します
iex -S mix phx.server
以下のログで、通常の4000番ポートだけで無く、SSL対応の4001番ポートも起動されていることが確認できます
…
[info] Running Phx14SampleWeb.Endpoint with cowboy 2.5.0 at http://localhost:4000
[info] Running Phx14SampleWeb.Endpoint with cowboy 2.5.0 at https://localhost:4001
Interactive Elixir (1.7.3) - press Ctrl+C to exit (type h() ENTER for help)
iex>
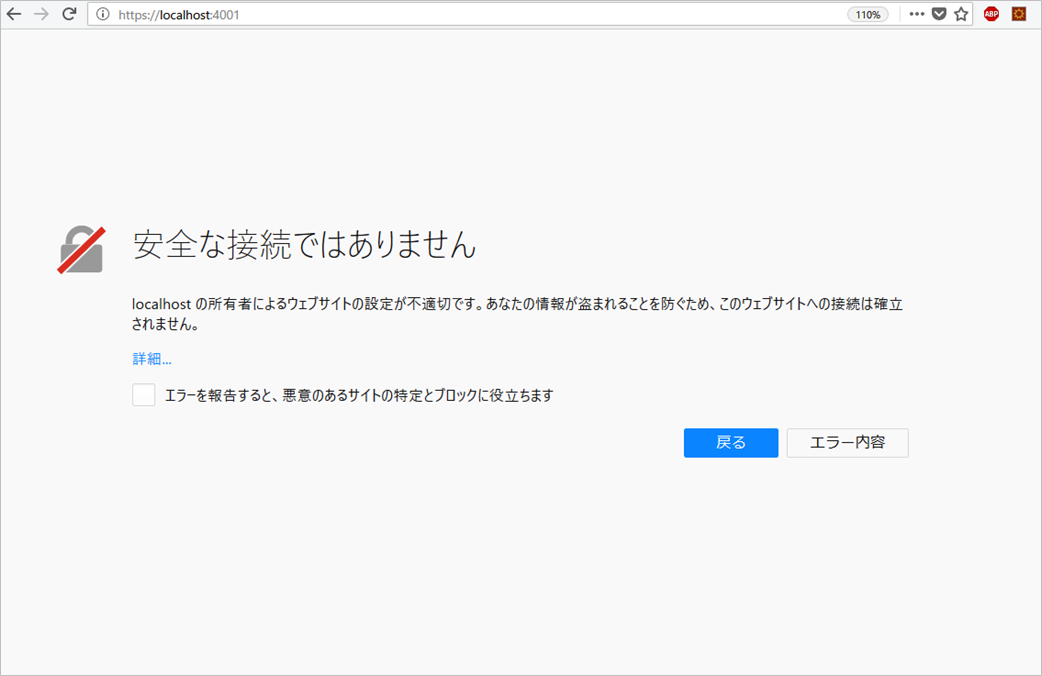
ブラウザで「https://localhost:4000」をアクセスすると、以下のようなセキュリティ警告画面が出ます
上記で作成した証明書は、「自己証明書」なので、セキュリティ警告が出るため、localhost限定のセキュリティ解除が必要です
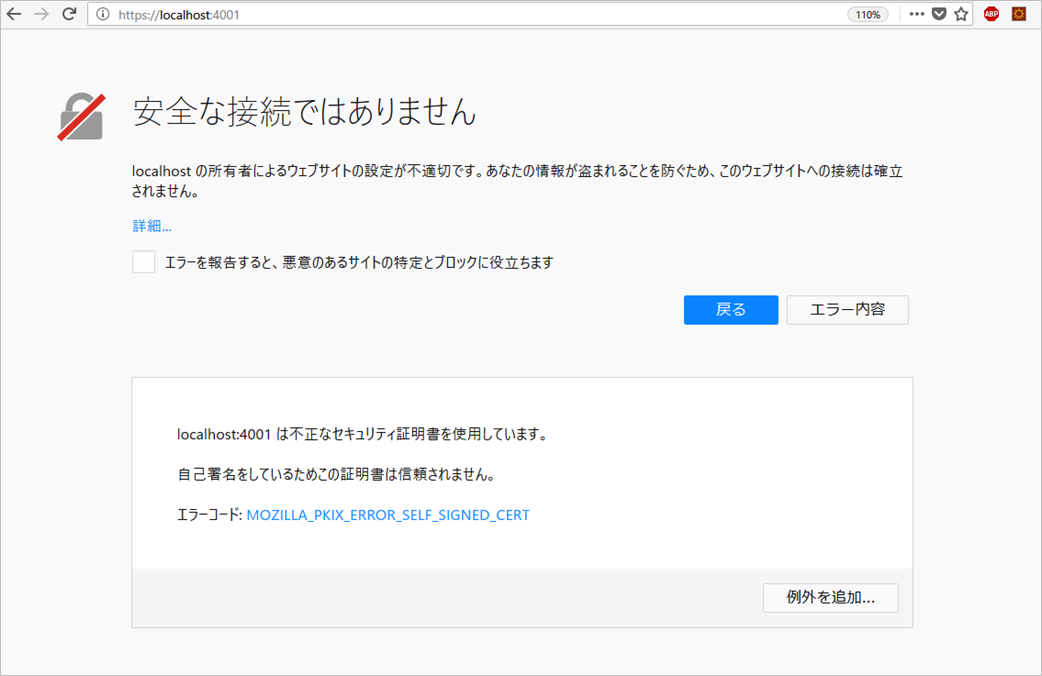
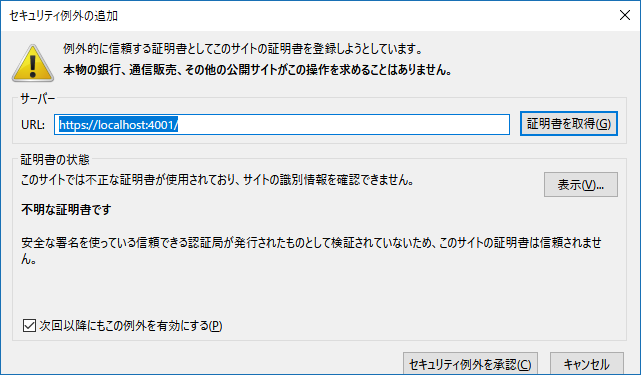
Firefoxだと、上記画面内の「エラー内容」ボタンをクリックし、「例外を追加…」ボタンをクリックします
「セキュリティ例外を承認」ボタンをクリックしてください
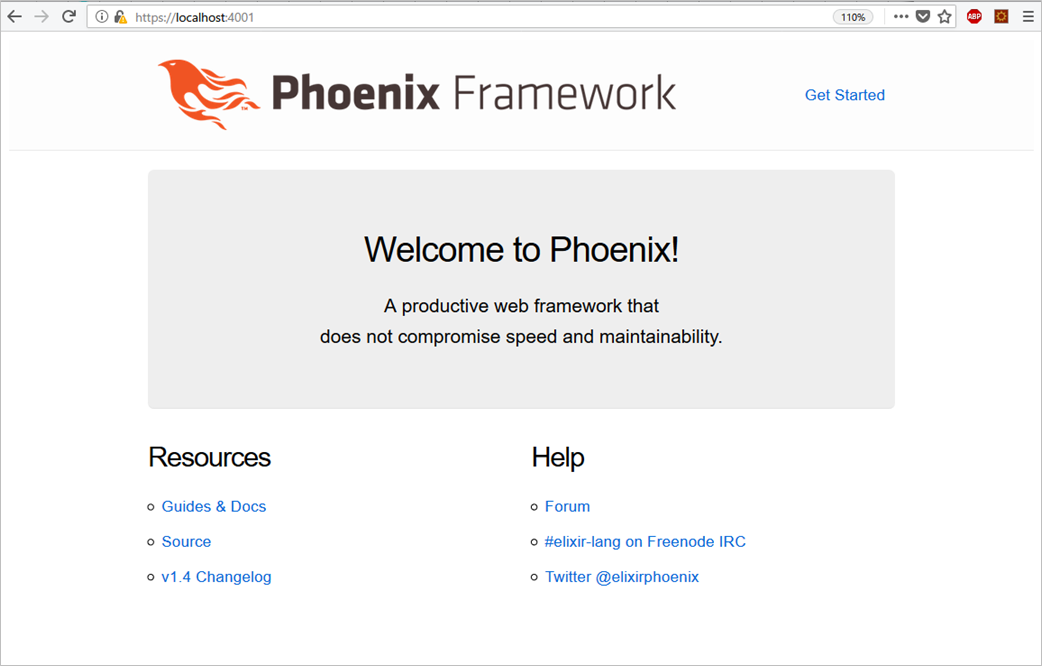
SSL対応されたURLで、Phoenixのトップページが表示できるようになります
以降は、セキュリティ警告画面が出ず、SSL対応されたPhoenixが使えるようになり、ローカルSSL開発が可能となりました
この機能は、ローカル開発環境に限定して使ってください
これで、ローカルSSL開発は可能となった訳ですが、実行結果の末尾を見ると、この機能は、クローズドネットワークの「localhost」で使うようにし、インターネット上の本番環境やステージング環境、テスト環境では、「Let's Encrypt」等の公的な証明書を使うよう警告されています
まぁ、Phoenixに限らず、どのWebサーバでも、同様の話ですね
とはいえ、PhoenixにおけるSSL対応としては、サーバ証明書/RSA秘密鍵の入手が別ルートになり、dev.exsでは無くprod.exsやtest.exsとなるだけで、上記解説したSSL設定のやり方は、同じなので、覚えておいて損は無いです…
…が、Gigalixirを使うときは、不要になる可能性はあります…
参考:Gigalixirでは上記設定も不要でSSL化できます
というのも、Gigalixirを使うと、設定は一切不要で、最初からSSL化されたURLが利用できます
また、カスタムドメイン登録のコマンドを打つと、Let's Encryptでの証明書発行まで含めて、自動で設定してくれます(DNS側の設定は別途必要ですが)
これらについては、Phoenix 1.4.0ネタとは別なので、別途コラム化したいと思います
終わり
今回は、Phoenix 1.4.0の新機能である「Local SSL development」について解説しました
ローカルSSL開発の手順が、mixコマンドに統合されているため、PhoenixにおけるSSL化は、とても気軽に行えて、良い感じですね


