こんにちはandroidでアプリ開発を学習中のみのむしと申します。
今回は、前回に引き続きSplashScreenでアニメーションをつける方法について学びましたので、忘備録として残したいと思います。
MotionLayoutとは
アプリ内のモーションとウィジェットのアニメーションを管理できるレイアウトタイプで
ConstraintLayoutのサブクラスと公式ドキュメントに書かれています。
早速参考サイトや動画見ながら、実装していきたいと思います。
drawable(background_bg.xml)に新規xmlファイルを作成する
<?xml version="1.0" encoding="utf-8"?>
<shape xmlns:android="http://schemas.android.com/apk/res/android">

    <solid android:color="#5B4F47"/>
    <corners android:radius="500dp"/>

</shape>
activitymain.xmlファイルに処理を記述する
アニメーションさせたいレイアウトのroot要素(ConstraintLayout)MotionLayoutに変更する<?xml version="1.0" encoding="utf-8"?>
<androidx.constraintlayout.motion.widget.MotionLayout
xmlns:android="http://schemas.android.com/apk/res/android"
xmlns:app="http://schemas.android.com/apk/res-auto"
xmlns:tools="http://schemas.android.com/tools"
android:id="@+id/MotionLayout"
android:layout_width="match_parent"
android:layout_height="match_parent"
app:layoutDescription="@xml/activity_main_scene"
tools:context=".MainActivity">
<androidx.constraintlayout.widget.ConstraintLayout
android:id="@+id/BackgroundLayout"
android:layout_width="150dp"
android:layout_height="150dp"
android:background="@drawable/background_bg"
app:layout_constraintBottom_toBottomOf="parent"
app:layout_constraintEnd_toEndOf="parent"
app:layout_constraintStart_toStartOf="parent"
app:layout_constraintTop_toTopOf="parent" />
<ImageView
android:id="@+id/DarkIcon"
android:layout_width="140dp"
android:layout_height="140dp"
app:layout_constraintBottom_toBottomOf="parent"
app:layout_constraintEnd_toEndOf="parent"
app:layout_constraintStart_toStartOf="parent"
app:layout_constraintTop_toTopOf="parent"
app:srcCompat="@drawable/お好みの画像" />
<ImageView
android:id="@+id/Right_Icon"
android:layout_width="160dp"
android:layout_height="160dp"
app:layout_constraintBottom_toBottomOf="parent"
app:layout_constraintEnd_toEndOf="parent"
app:layout_constraintStart_toStartOf="parent"
app:layout_constraintTop_toTopOf="parent"
app:srcCompat="@drawable/お好みの画像2" />
</androidx.constraintlayout.motion.widget.MotionLayout>
xmlフォルダ内にMotionSceneを作成する
アニメーション前とアニメーション後のレイアウトを表示させるようなイメージかと思います※このファイルを作っていないとエラーが発生します
<?xml version="1.0" encoding="utf-8"?>
<MotionScene
    xmlns:android="http://schemas.android.com/apk/res/android"
    xmlns:motion="http://schemas.android.com/apk/res-auto">

    <Transition
        motion:constraintSetEnd="@+id/end"
        motion:constraintSetStart="@id/start"
        motion:duration="1000"
        motion:autoTransition="animateToEnd">
       <KeyFrameSet>
       </KeyFrameSet>
    </Transition>

    <ConstraintSet android:id="@+id/start">
        <Constraint
            android:id="@+id/BackgroundLayout"
            motion:layout_constraintEnd_toEndOf="parent"
            android:layout_width="150dp"
            android:layout_height="150dp"
            motion:layout_constraintBottom_toBottomOf="parent"
            motion:layout_constraintTop_toTopOf="parent"
            motion:layout_constraintStart_toStartOf="parent"
            android:scaleX="10"
            android:scaleY="10" />
        <Constraint
            android:id="@+id/DarkIcon"
            motion:layout_constraintEnd_toEndOf="parent"
            android:layout_width="140dp"
            android:layout_height="140dp"
            motion:layout_constraintBottom_toBottomOf="parent"
            motion:layout_constraintTop_toTopOf="parent"
            motion:layout_constraintStart_toStartOf="parent"
            android:scaleX="0"
            android:scaleY="0"
            android:alpha="0" />
        <Constraint
            android:id="@+id/Right_Icon"
            motion:layout_constraintEnd_toEndOf="parent"
            android:layout_width="160dp"
            android:layout_height="160dp"
            motion:layout_constraintBottom_toBottomOf="parent"
            motion:layout_constraintTop_toTopOf="parent"
            motion:layout_constraintStart_toStartOf="parent"
            android:scaleX="1"
            android:scaleY="1" />
    </ConstraintSet>

    <ConstraintSet android:id="@+id/end">
        <Constraint
            android:id="@+id/BackgroundLayout"
            motion:layout_constraintEnd_toEndOf="parent"
            android:layout_width="150dp"
            android:layout_height="150dp"
            motion:layout_constraintBottom_toBottomOf="parent"
            motion:layout_constraintTop_toTopOf="parent"
            motion:layout_constraintStart_toStartOf="parent"
            android:scaleX="0"
            android:scaleY="0" />
        <Constraint
            android:id="@+id/DarkIcon"
            motion:layout_constraintEnd_toEndOf="parent"
            android:layout_width="140dp"
            android:layout_height="140dp"
            motion:layout_constraintBottom_toBottomOf="parent"
            motion:layout_constraintTop_toTopOf="parent"
            motion:layout_constraintStart_toStartOf="parent"
            android:scaleX="1"
            android:scaleY="1"
            android:alpha="1"
            motion:transitionEasing="cubic(1,0,1,0)" />
        <Constraint
            android:id="@+id/Right_Icon"
            motion:layout_constraintEnd_toEndOf="parent"
            android:layout_width="160dp"
            android:layout_height="160dp"
            motion:layout_constraintBottom_toBottomOf="parent"
            motion:layout_constraintTop_toTopOf="parent"
            motion:layout_constraintStart_toStartOf="parent"
            android:scaleX="0"
            android:scaleY="0" />
    </ConstraintSet>
</MotionScene>
MainActivity内に処理を記述する
import androidx.appcompat.app.AppCompatActivity;

import android.content.Intent;
import android.os.Bundle;
import android.os.Handler;

public class MainActivity extends AppCompatActivity {

    private final long TIME = 1000;

    @Override
    protected void onCreate(Bundle savedInstanceState) {
        super.onCreate(savedInstanceState);
        setContentView(R.layout.activity_main);

        new Handler().postDelayed(new Runnable() {
            @Override
            public void run() {

                //3秒後にActivityを実行するように画面遷移を行う
                Intent intent = new Intent(MainActivity.this,IntentSecondActivity.class);
                startActivity(intent);
                finish();
            }
        },TIME);
    }
}
実行結果
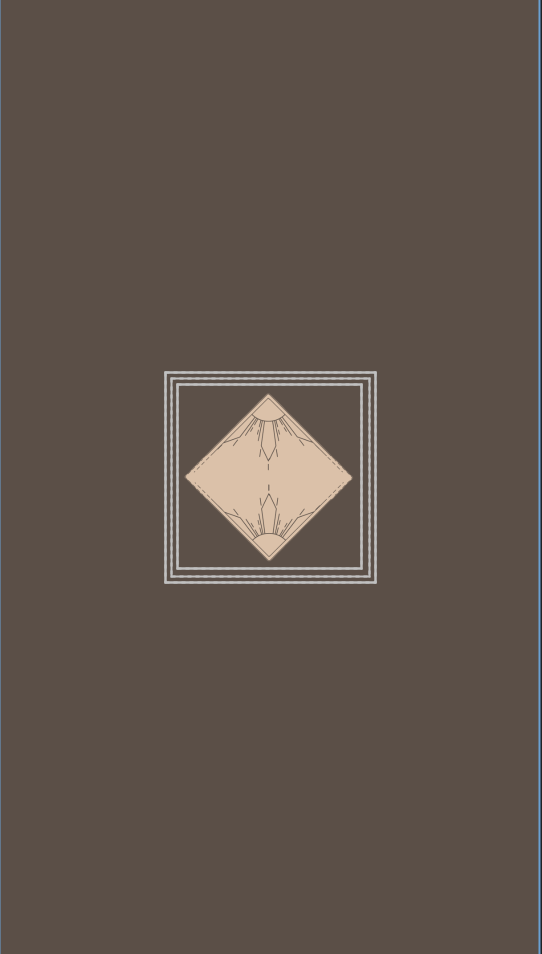
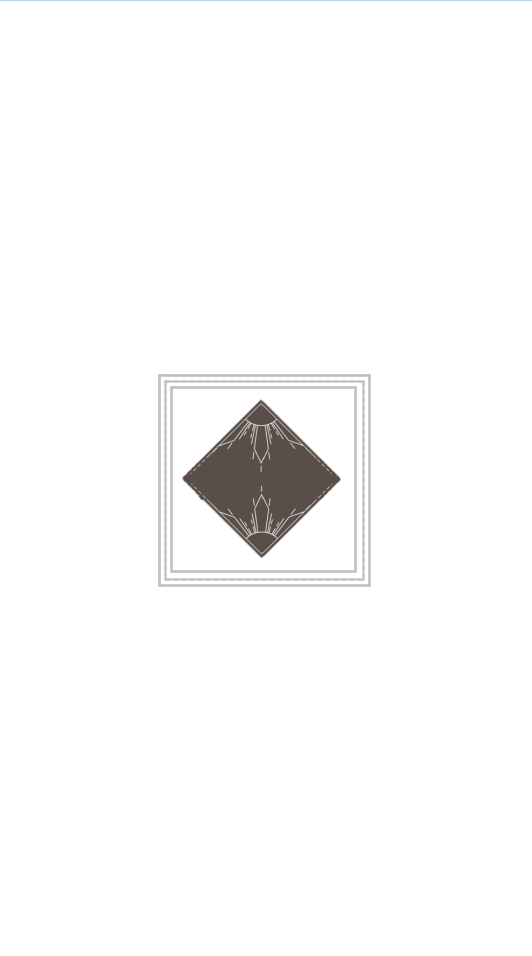
実行すると画像の1枚目から2枚目にかけて画像がアニメーションし、アニメーションが終わると次のActivityが開くような流れです。
参考サイト
https://developer.android.com/training/constraint-layout/motionlayout?hl=ja
https://www.youtube.com/watch?v=icmQOZp4p6I
https://qiita.com/TaigaNatto/items/0cb399206b35a719c22b

