Life is Tech ! #2 Advent Calendar 2020 1日目の記事です🎉
はじめに
- ゴディバです!
- 2020 LiT!#2アドベントカレンダー1日目はAndroidの記事になります!
- これを読めば誰でもMotionLayoutを使えるようになることを目指しました!
- いまさらMotionLayout・・・?
- はい!!!
なにやんの
- ようやく
ConstraintLayout 2.0が安定版になったこともあり、改めてMotionLayoutを使ったアニメーションの簡単なAndroidサンプルアプリを作ります - 「え、これでアニメーションできるの。ちょっとMotionLayout使ってやろうかな」って思ってくれたら僕の勝ちです
MotionLayoutとは
-
ConstraintLayout 2.0.0から使えるようになったレイアウト - 得意技はアニメーションとそのモーションの管理
-
ConstraintLayoutのサブクラスなので基本的にConstraintLayoutと同じように使えます - 詳しくはこちら
超ざっくりしたイメージ
- アニメーション前のレイアウトとアニメーション後のレイアウトを作ると、その間のアニメーションを勝手にやってくれる凄いやつです
- なのでやることとしてはレイアウトを2つ作るイメージです
実装!
依存追加
-
2.0.1でも使えますが、諸々のバグが修正された2.0.4でいきます
build.gradle
dependencies {
...
    androidx.constraintlayout:constraintlayout:2.0.4
}
該当レイアウトのGroupを変更
- アニメーションさせたいレイアウトのroot-viewを
MotionLayoutに変えます - とりあえずView2つくらい置いときます
- エラー出ると思いますが、後ほど作るモーションファイルを指定してないだけなので慌てなくて大丈夫です
activity_main.xml
<androidx.constraintlayout.motion.widget.MotionLayout
    xmlns:android="http://schemas.android.com/apk/res/android"
    xmlns:app="http://schemas.android.com/apk/res-auto"
    xmlns:tools="http://schemas.android.com/tools"
    android:id="@+id/root"
    android:layout_width="match_parent"
    android:layout_height="match_parent">

    <View
        android:id="@+id/black"
        android:layout_width="100dp"
        android:layout_height="100dp"
        android:background="#444444"
        app:layout_constraintBottom_toBottomOf="parent"
        app:layout_constraintLeft_toLeftOf="parent"
        app:layout_constraintRight_toRightOf="parent"
        app:layout_constraintTop_toBottomOf="@id/red" />

    <View
        android:id="@+id/red"
        android:layout_width="100dp"
        android:layout_height="100dp"
        android:background="#cc4444"
        app:layout_constraintBottom_toTopOf="@id/black"
        app:layout_constraintLeft_toLeftOf="parent"
        app:layout_constraintRight_toRightOf="parent"
        app:layout_constraintTop_toTopOf="parent" />

</androidx.constraintlayout.motion.widget.MotionLayout>
MotionSceneを作成
-
/res/xml/scene_main.xmlみたいなレイアウトファイルを作成します (名前は何でもいいです) - このレイアウトファイルでアニメーション前とアニメーション後のレイアウトをそれぞれ作るイメージです
scene_main.xml
<MotionScene xmlns:android="http://schemas.android.com/apk/res/android"
    xmlns:app="http://schemas.android.com/apk/res-auto">

    <Transition
        app:constraintSetEnd="@+id/end"
        app:constraintSetStart="@+id/start"
        app:duration="1000">
        <OnSwipe
            app:dragDirection="dragUp"
            app:touchAnchorId="@+id/black"
            app:touchAnchorSide="top" />
    </Transition>

    <ConstraintSet android:id="@+id/start">
        <Constraint
            android:id="@+id/black"
            android:layout_width="100dp"
            android:layout_height="100dp"
            app:layout_constraintBottom_toBottomOf="parent"
            app:layout_constraintLeft_toLeftOf="parent"
            app:layout_constraintRight_toRightOf="parent"
            app:layout_constraintTop_toBottomOf="@id/red" />

        <Constraint
            android:id="@+id/red"
            android:layout_width="100dp"
            android:layout_height="100dp"
            app:layout_constraintBottom_toTopOf="@id/black"
            app:layout_constraintLeft_toLeftOf="parent"
            app:layout_constraintRight_toRightOf="parent"
            app:layout_constraintTop_toTopOf="parent" />
    </ConstraintSet>

    <ConstraintSet android:id="@+id/end">
        <Constraint
            android:id="@+id/black"
            android:layout_width="100dp"
            android:layout_height="100dp"
            app:layout_constraintBottom_toTopOf="@id/red"
            app:layout_constraintLeft_toLeftOf="parent"
            app:layout_constraintRight_toRightOf="parent"
            app:layout_constraintTop_toTopOf="parent" />

        <Constraint
            android:id="@+id/red"
            android:layout_width="100dp"
            android:layout_height="100dp"
            app:layout_constraintBottom_toBottomOf="parent"
            app:layout_constraintLeft_toLeftOf="parent"
            app:layout_constraintRight_toRightOf="parent"
            app:layout_constraintTop_toBottomOf="@id/black" />
    </ConstraintSet>

</MotionScene>
- こんなレイアウトを作ってます

解説
-
<Transition>- レイアウトの動きを指定します
- 後述するレイアウトの状態のidを開始と終了でそれぞれ指定してます
-
durationは言わずもがな、アニメーション時間を指定してます(ms)
-
<OnSwipe>- ユーザの動きによってアニメーション開始させたい時に使います
- どのViewをどの方向にスワイプした時にアニメーションさせるかを指定しています
- もちろんコードからも動かせるので、無くても大丈夫です
scene_main.xml
...
<Transition
        app:constraintSetEnd="@+id/end"
        app:constraintSetStart="@+id/start"
        app:duration="1000">
        <OnSwipe
            app:dragDirection="dragUp"
            app:touchAnchorId="@+id/black"
            app:touchAnchorSide="top" />
    </Transition>
...
-
<ConstraintSet>- アニメーションでのレイアウトの状態をまとめます
- ここで指定したidを
<Transition>のconstraintSetStart/constraintSetEndで指定します - 各
ConstraintSetタグで囲まれてる部分でアニメーション開始時/終了時それぞれのレイアウトを組むイメージです
scene_main.xml
...
<ConstraintSet android:id="@+id/start">
...
-
<Constraint>- レイアウトの状態を指定します
- ここで指定するidでレイアウト上の要素が紐付きます
- id以外の要素を指定することでstart/endでアニメーションを補完してくれます
- width, height
- margins
- ConstraintLayoutの各種制約 (
layout_constraintBottom_toBottomOfとか) - alpha
- visibility
- elevation
- rotation, rotationX, rotationY
- translationX, translationY, translationZ
- scaleX, scaleY
scene_main.xml
...
<Constraint
            android:id="@+id/black"
            android:layout_width="100dp"
            android:layout_height="100dp"
            app:layout_constraintBottom_toBottomOf="parent"
            app:layout_constraintLeft_toLeftOf="parent"
            app:layout_constraintRight_toRightOf="parent"
            app:layout_constraintTop_toBottomOf="@id/red" />
...
作成したMotionSceneをレイアウトに設定
-
MotionLayoutのlayoutDescriptionで作成したレイアウトファイルを指定します
activity_main.xml
<androidx.constraintlayout.motion.widget.MotionLayout
    xmlns:android="http://schemas.android.com/apk/res/android"
    xmlns:app="http://schemas.android.com/apk/res-auto"
    xmlns:tools="http://schemas.android.com/tools"
    android:id="@+id/root"
    android:layout_width="match_parent"
    android:layout_height="match_parent"
    app:layoutDescription="@xml/scene_main">
...
実行
- 黒のViewをスワイプで赤のViewと入れ替わるようになったかと思います
-
scene_mainでそれぞれのconstraintBottom_toTopOfとconstraintTop_toBottomOfの制約を入れ替えたのでその間が補完されてアニメーションするようになってます
発展!
赤Viewもスワイプできるようにしたい
- モーションのトリガーが増えるので、赤Viewスワイプ用の
<Transition>を増やします - 今回はアニメーション開始時に赤Viewが上にあるので下スワイプ時にアニメーションするように
dragDirectionとtouchAnchorSideを設定します
scene_main.xml
...
<Transition
        app:constraintSetEnd="@+id/end"
        app:constraintSetStart="@+id/start"
        app:duration="1000">
        <OnSwipe
            app:dragDirection="dragDown"
            app:touchAnchorId="@+id/red"
            app:touchAnchorSide="bottom" />
</Transition>
...
コードから動かしたい
- ここまでレイアウトファイル完結でアニメーションさせましたが、実際のところコードで別の処理を走らせつつアニメーションさせることがほとんどかと思います
-
MotionLayout.transitionToEnd()で start -> end のアニメーション、MotionLayout.transitionToStart()でその逆を行うことができます - ほかにもいろいろ知りたいよって人はここ見るか自分でやってみて、良さげなのあったら記事にでもしてください
MainActivity.kt
class MainActivity : AppCompatActivity() {
    private var flg = true

    override fun onCreate(savedInstanceState: Bundle?) {
        super.onCreate(savedInstanceState)
        setContentView(R.layout.activity_main)

        root.setOnClickListener {
            if (flg) {
                root.transitionToEnd()
            } else {
                root.transitionToStart()
            }
            flg = !flg
        }
    }
}
-
OnClickListenerも設定する場合は<Transition>に<OnSwipe>を設定してるとタッチイベントを取られてしまうので取り除いてください - ちなみにConstraintLayoutのバグレポートの回答ではプログラムでいい感じにやってねと言われてるので当たり前ですがこれらのタッチイベントが手を取り合うことはないと思います
scene_main.xml
...
<Transition
        app:constraintSetEnd="@+id/end"
        app:constraintSetStart="@+id/start"
        app:duration="1000" />
...
余談
-
どのアニメーションにも言えることですが、細かいパーツに分けて考えるとアニメーションさせやすいですね
-
例えば某ロゴはこんな感じにパーツ分けすると作りやすいかと思います
(これFigmaでつくってる時が一番楽しかった)
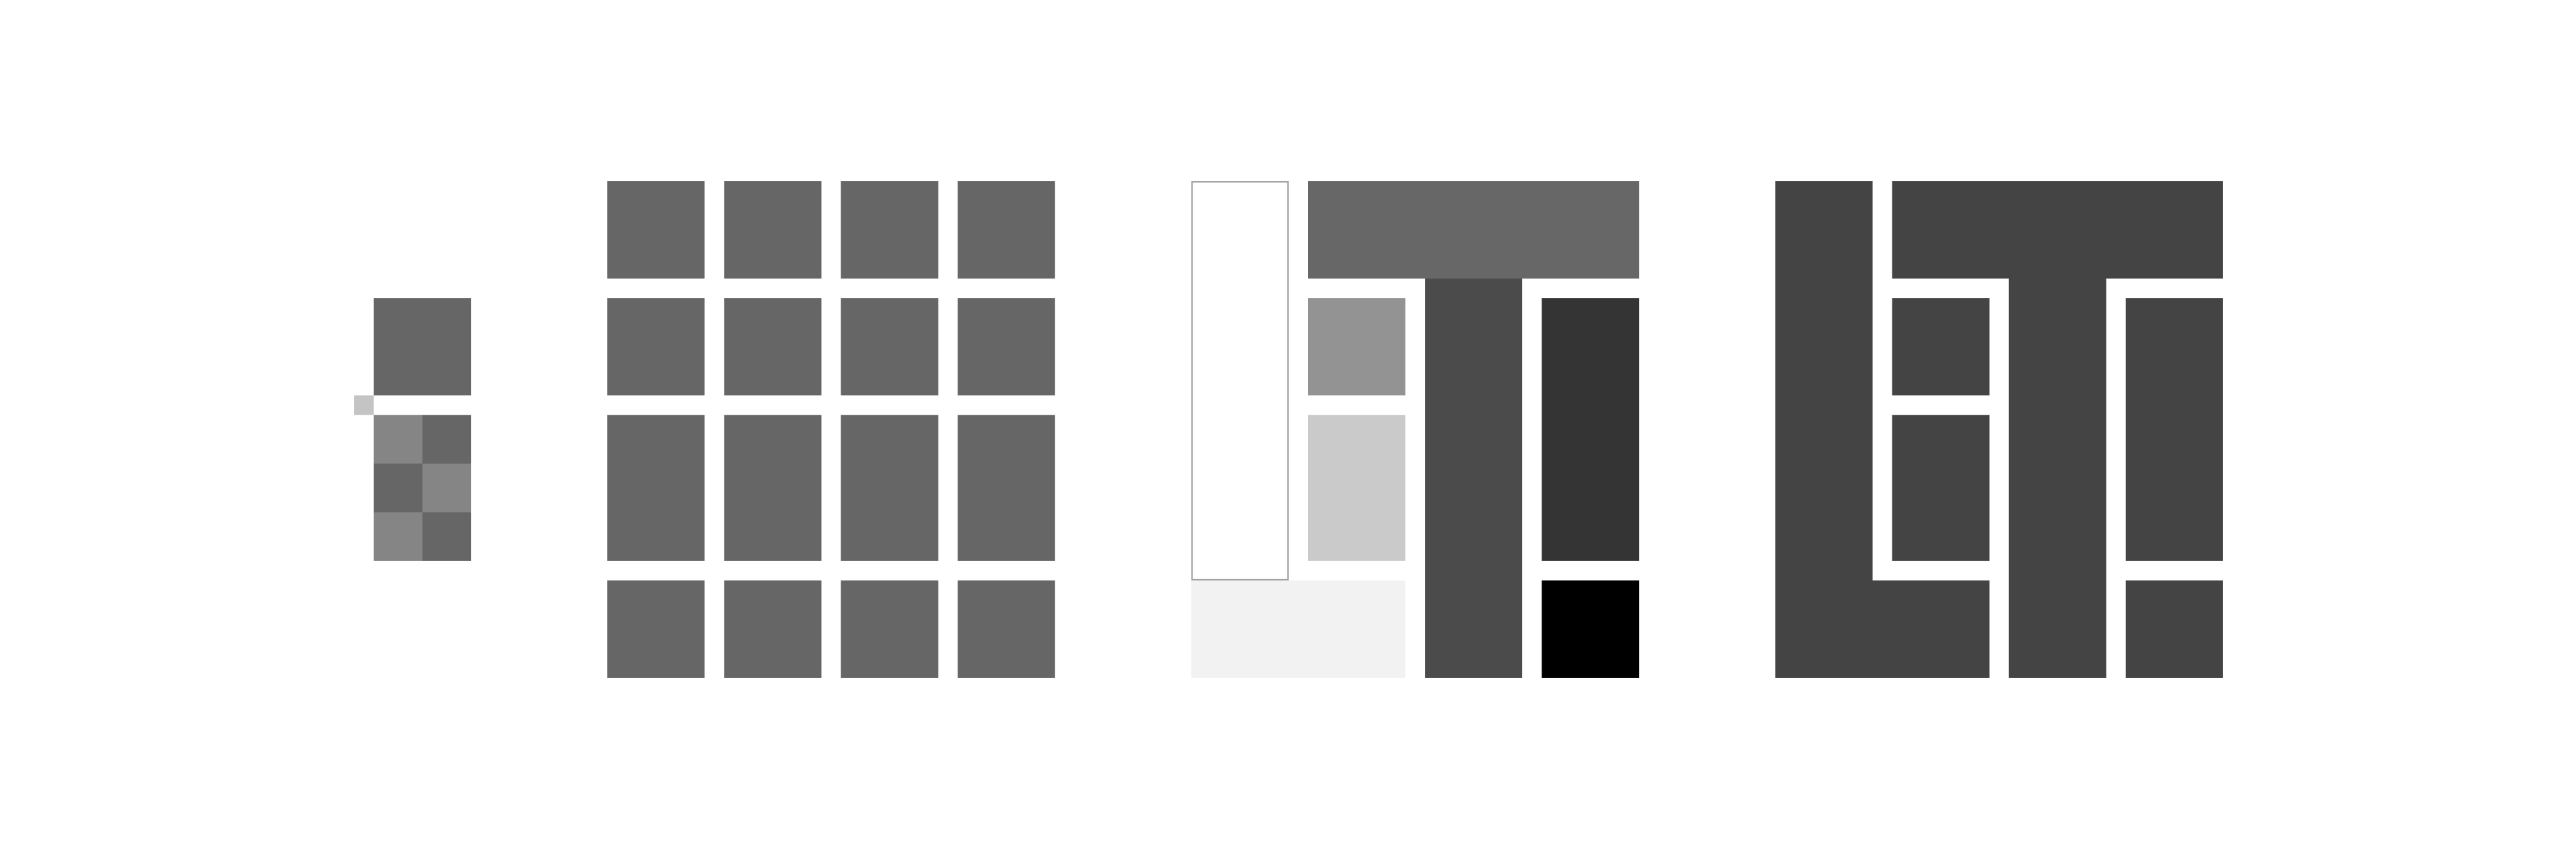
-
これも2つのレイアウトを作るだけでいいので、MotionLayoutで簡単にアニメーションさせられますね
-
ロゴのレイアウトが出来ていれば、アニメーション開始時のレイアウトを組み替えるだけでロゴのレイアウトに組み変わるアニメーションを自動でやってくれます
| 正方形 | 複数ブロック | 外枠 |
|---|---|---|
 |
 |
 |
おわりに
- レイアウトを2つ作ればアニメーションさせられると考えると、いろいろなことが簡単に出来そうですね
- ConstraintLayout 2.0が安定版になり、バグも修正されてきているのでこれを期に是非やってみてください!