はじめに
この投稿はZalando Researchが提供するFashion版MNISTのFashion-MNISTを使用した実験です。
この投稿ではFashion-MNISTをデータセットとして、TensorFlowで学習したモデルを構築し、ZOZOTOWNの商品画像のカテゴリ類推を行いました。
その手順と結果を記載します。
Fashion-MNISTとは
機械学習の精度評価に多く用いられるデータセットMNISTの形式をベースに、Zalando ResearchがFashion版に改良したもので、MNISTより複雑な画像認識を行う機械学習の精度評価に使用されています。
こちらのFashion-MNISTも機械学習の界隈ではかなり広く使用されているようで、KerasのデータセットにもMNISTと並んで組み込まれていました。
今回はこのデータセットを使ってモデルを構築し、ZOZOTOWNの商品画像のカテゴリを類推します。
類推できるカテゴリは以下の10種類で、上記学習データの3行文が各カテゴリに分類されているイメージです。
| カテゴリタイプ | カテゴリ名 |
|---|---|
| 0 | Tシャツ/トップス |
| 1 | ズボン |
| 2 | プルオーバー |
| 3 | ドレス |
| 4 | コート |
| 5 | サンダル |
| 6 | シャツ |
| 7 | スニーカー |
| 8 | バッグ |
| 9 | アンクルブーツ |
動作環境
ホスト側
- MacBookPro16 Sierra
- Docker for Mac
Dockerコンテナ側
- Keras
- TensorFlow(Docker版)
TensorFlowオフィシャルのDockerイメージにPython2,7, matplotlib, h5py, jupyterなど必要なライブラリがすべて入っているのでこれをベースにKerasを乗っけいきます。
事前準備
Keras+TensorFlowコンテナの立ち上げ
以下のDockerfileとDocker-compose.ymlを使いました。
# Dockerfile
FROM gcr.io/tensorflow/tensorflow

# Set up to dependency package
RUN pip install keras
version: '3'
services:
  app:
    build:
      context: ./
      dockerfile: Dockerfile
    networks:
      - default
    ports:
      - "8888:8888" # jupyterのdefault port
    environment:
      TZ: "Asia/Tokyo"
    volumes:
      - "./app:/opt/app" # 画像やモデルの保存先にはこのディレクトリを使用します

networks:
  default:
以下の構成のディレクトリを想定しています。
.
├─Dockerfile
├─docker-compose.yml
└─data─┬─fashion─┬─t10k-images-idx3-ubyte.gz # 学習データ(イメージ)
       │         ├─t10k-labels-idx1-ubyte.gz # 学習データ(ラベル)
       │         ├─train-images-idx3-ubyte.gz # テストデータ(イメージ)
       │         └─train-labels-idx1-ubyte.gz # テストデータ(ラベル)
       │
       └─zozo────┬─0_t-shirt
                  ├─1_trouser
                  ├─2_pullover
                    ├─3_dress
                   ├─4_coat
                   ├─5_sandal
                  ├─6_shirt
                   ├─7_sneaker
                   ├─8_bag
                   └─9_ankleboot
docker-compose upを行うとTensorFlow, Keras入りのコンテナが立ち上がります。
コンテナの起動に合わせてjupyterが立ち上がるのでdockerのログでjupyterのログインURLを見つけてログインしましょう。
以降、記述のコードはjupyter上で実装します。
データセットの用意
データセットはFashion-MNISTのリポジトリからダウンロードしてプログラムで読み出すか、Kerasのkeras.datasets.fashion_mnistを使えばデータセットのダウンロードと読み出しが可能です。
データはかなり大きいので、事前にリポジトリからダウンロードしておくことをオススメします。
ダウンロードしたデータはgzipの形式のまま./data/fashion/に置きましょう。
データの中身はMNISTと同じ28*28の画像の複合体で、Pythonを使って切り出しを行います。
Fashion-MNISTのデータをロードするための関数がFashion-MNISTのリポジトリに置いてあるのでそちらを実装しておきましょう。
# from https://github.com/zalandoresearch/fashion-mnist/blob/master/utils/mnist_reader.py
def load_mnist(path, kind='train'):
    import os
    import gzip
    import numpy as np

    """Load MNIST data from `path`"""
    labels_path = os.path.join(path,
                               '%s-labels-idx1-ubyte.gz'
                               % kind)
    images_path = os.path.join(path,
                               '%s-images-idx3-ubyte.gz'
                               % kind)

    with gzip.open(labels_path, 'rb') as lbpath:
        labels = np.frombuffer(lbpath.read(), dtype=np.uint8,
                               =8)

    with gzip.open(images_path, 'rb') as imgpath:
        images = np.frombuffer(imgpath.read(), dtype=np.uint8,
                               offset=16).reshape(len(labels), 784)

    return images, labels
ZOZOTOWNの商品画像の用意
ZOZOTOWNの商品から各カテゴリ7-10枚ほどの画像を用意しておきます。
Fashion-MNISTの画像が商品の平置き画像なので今回は手動で平置き画像を用意しました。
画像の置き場所は./data/zozo/下の各カテゴリフォルダです。
モデルの用意
CNNの実装
今回はFashion-MNISTに記載のある「2 Conv Layers with max pooling (Keras)」をそのまま実装します。
# from https://gist.github.com/kashif/76792939dd6f473b7404474989cb62a8
'''Trains a simple convnet on the Zalando MNIST dataset.
Gets to 81.03% test accuracy after 30 epochs
(there is still a lot of margin for parameter tuning).
3 seconds per epoch on a GeForce GTX 980 GPU with CuDNN 5.
'''

from __future__ import print_function
import numpy as np
import keras
from keras.models import Sequential
from keras.layers import Dense, Dropout, Flatten
from keras.layers import Conv2D, MaxPooling2D
from keras import backend as K

batch_size = 128
num_classes = 10
epochs = 30

# input image dimensions
img_rows, img_cols = 28, 28

# the data, shuffled and split between train and test sets
x_train, y_train = load_mnist('data/fashion', kind='train')
x_test, y_test = load_mnist('data/fashion', kind='t10k')

x_train = np.array(x_train)
y_train = np.array(y_train)
x_test = np.array(x_test)
y_test = np.array(y_test)

if K.image_data_format() == 'channels_first':
    x_train = x_train.reshape(x_train.shape[0], 1, img_rows, img_cols)
    x_test = x_test.reshape(x_test.shape[0], 1, img_rows, img_cols)
    input_shape = (1, img_rows, img_cols)
else:
    x_train = x_train.reshape(x_train.shape[0], img_rows, img_cols, 1)
    x_test = x_test.reshape(x_test.shape[0], img_rows, img_cols, 1)
    input_shape = (img_rows, img_cols, 1)

x_train = x_train.astype('float32')
x_test = x_test.astype('float32')
x_train /= 255
x_test /= 255
print('x_train shape:', x_train.shape)
print(x_train.shape[0], 'train samples')
print(x_test.shape[0], 'test samples')

# convert class vectors to binary class matrices
y_train = keras.utils.to_categorical(y_train, num_classes)
y_test = keras.utils.to_categorical(y_test, num_classes)

model = Sequential()
model.add(Conv2D(32, kernel_size=(3, 3),
                 activation='relu',
                 input_shape=input_shape))
model.add(Conv2D(64, (3, 3), activation='relu'))
model.add(MaxPooling2D(pool_size=(2, 2)))
model.add(Dropout(0.25))
model.add(Flatten())
model.add(Dense(128, activation='relu'))
model.add(Dropout(0.5))
model.add(Dense(num_classes, activation='softmax'))

model.compile(loss=keras.losses.categorical_crossentropy,
              optimizer=keras.optimizers.Nadam(),
              metrics=['accuracy'])

model.fit(x_train, y_train,
          batch_size=batch_size,
          epochs=epochs,
          verbose=1,
          validation_data=(x_test, y_test))
score = model.evaluate(x_test, y_test, verbose=0)
print('Test loss:', score[0])
print('Test accuracy:', score[1])
これを実行します。
x_train shape: (60000, 1, 28, 28)
60000 train samples
10000 test samples
Train on 60000 samples, validate on 10000 samples
Epoch 1/30
60000/60000 [==============================] - 330s 5ms/step - loss: 0.4871 - acc: 0.8274 - val_loss: 0.3037 - val_acc: 0.8899
Epoch 2/30
60000/60000 [==============================] - 2550s 43ms/step - loss: 0.3125 - acc: 0.8861 - val_loss: 0.2689 - val_acc: 0.8991
~(省略~)
Epoch 30/30
60000/60000 [==============================] - 317s 5ms/step - loss: 0.0771 - acc: 0.9708 - val_loss: 0.3108 - val_acc: 0.9328
Test loss: 0.310750996927
Test accuracy: 0.9328
Fashion-MNISTを学習したモデルは約93%の精度のようです。
この学習モデルをyaml形式で保存しておきます。
以下のコードで学習モデルを保存できるので /opt/app/に保存しておきましょう。
import os
yaml_string = model.to_yaml()
open(os.path.join('/opt/app/','cnn_model_withmaxpool.yaml'), 'w').write(yaml_string)
print('save weights')
model.save_weights(os.path.join('/opt/app/','cnn_model_weights_withmaxpool.hdf5'))
カテゴリ類推を行う
ZOZOTOWNの商品画像のカテゴリ類推
保存した学習モデルを読み込んで、商品画像のカテゴリ類推を行います。
元の学習用の画像が28*28,グレースケールの色反転なので読み込みと同時に画像を加工します。
from keras.preprocessing.image import load_img, img_to_array, list_pictures
from keras.models import model_from_yaml
from PIL import ImageOps

yaml_string = open(os.path.join('/opt/app/', 'cnn_model_withmaxpool.yaml')).read()
model = model_from_yaml(yaml_string)
model.load_weights(os.path.join('/opt/app/','cnn_model_weights_withmaxpool.hdf5'))
model.compile(loss=keras.losses.categorical_crossentropy,
              optimizer=keras.optimizers.Nadam(),
              metrics=['accuracy'])

zozoDir = "/opt/app/data/zozo/"
dirlist = os.listdir(zozoDir)
category = ["t-shirt","trouser","pullover","dress","coat","sandal","shirt","sneaker","bag","ankleboot"]

imgdir = {}
for index, name in enumerate(dirlist):
    if name == '.DS_Store':
        continue

    key = name[:name.find('_')]
    imgdir[key] = name


x_validate = []
y_validate = []
for key  in imgdir:
    for picture in list_pictures(os.path.join(zozoDir,  imgdir[key])):
        imgarray = img_to_array(ImageOps.invert(load_img(picture, target_size=(28, 28), grayscale=True))).astype('float32') / 255
        x_validate.append(imgarray.reshape(img.shape[0],  28, 28))
        y_validate.append(key)


    y_validate = keras.utils.to_categorical(y_validate, num_classes)
    x_validate = np.array(x_validate)
    score = model.evaluate(x_validate, y_validate, verbose=1)
    print("predict category:",category[int(key)])
    print("Test score:", score[0])
    print("Test accuracy:", score[1])
    print(score)
    x_validate = []
    y_validate = []
これを実行します。
10/10 [==============================] - 1s 118ms/step
predict category: trouser
Test accuracy: 0.699999988079

9/9 [==============================] - 0s 3ms/step
predict category: t-shirt
Test accuracy: 0.333333343267

9/9 [==============================] - 0s 4ms/step
predict category: dress
Test accuracy: 0.777777791023

7/7 [==============================] - 0s 4ms/step
predict category: pullover
Test accuracy: 0.285714298487

9/9 [==============================] - 0s 4ms/step
predict category: sandal
Test accuracy: 0.444444447756

10/10 [==============================] - 0s 4ms/step
predict category: coat
Test accuracy: 0.5

9/9 [==============================] - 0s 3ms/step
predict category: sneaker
Test accuracy: 0.444444447756

10/10 [==============================] - 0s 3ms/step
predict category: shirt
Test accuracy: 0.10000000149

7/7 [==============================] - 0s 3ms/step
predict category: ankleboot
Test accuracy: 0.0

11/11 [==============================] - 0s 3ms/step
predict category: bag
Test accuracy: 0.909090936184
全体的に精度が出ず。
AnkleBootに関しては用意した画像7枚全てが不正解・・・
AnkleBootの画像の類推結果を画像ごとにみる
以下のコードでどの商品画像がうまくいっていないかを1枚ずつチェックしていきましょう。
from keras.preprocessing.image import load_img, img_to_array, list_pictures
from keras.models import model_from_yaml
yaml_string = open(os.path.join('/opt/app/', 'cnn_model_withmaxpool.yaml')).read()
model = model_from_yaml(yaml_string)
model.load_weights(os.path.join('/opt/app/','cnn_model_weights_withmaxpool.hdf5'))
model.compile(loss=keras.losses.categorical_crossentropy,
              optimizer=keras.optimizers.Nadam(),
              metrics=['accuracy'])

category = ["t-shirt","trouser","pullover","dress","coat","sandal","shirt","sneaker","bag","ankleboot"]

zozoDir = "/opt/app/data/zozo/9_ankleboot/"
for picture in list_pictures(zozoDir):
        img = img_to_array(ImageOps.invert(load_img(picture, target_size=(28, 28), grayscale=True))).astype('float32') / 255
        img = img.reshape(img.shape[0], 1, 28, 28)
        plt.imshow(ImageOps.invert(load_img(picture, grayscale=True, target_size=(28,28))), cmap=plt.cm.gray)
        plt.show()
        predict_classes = model.predict_classes(img, batch_size=32)
        print("predicted:",category[int(predict_classes)])
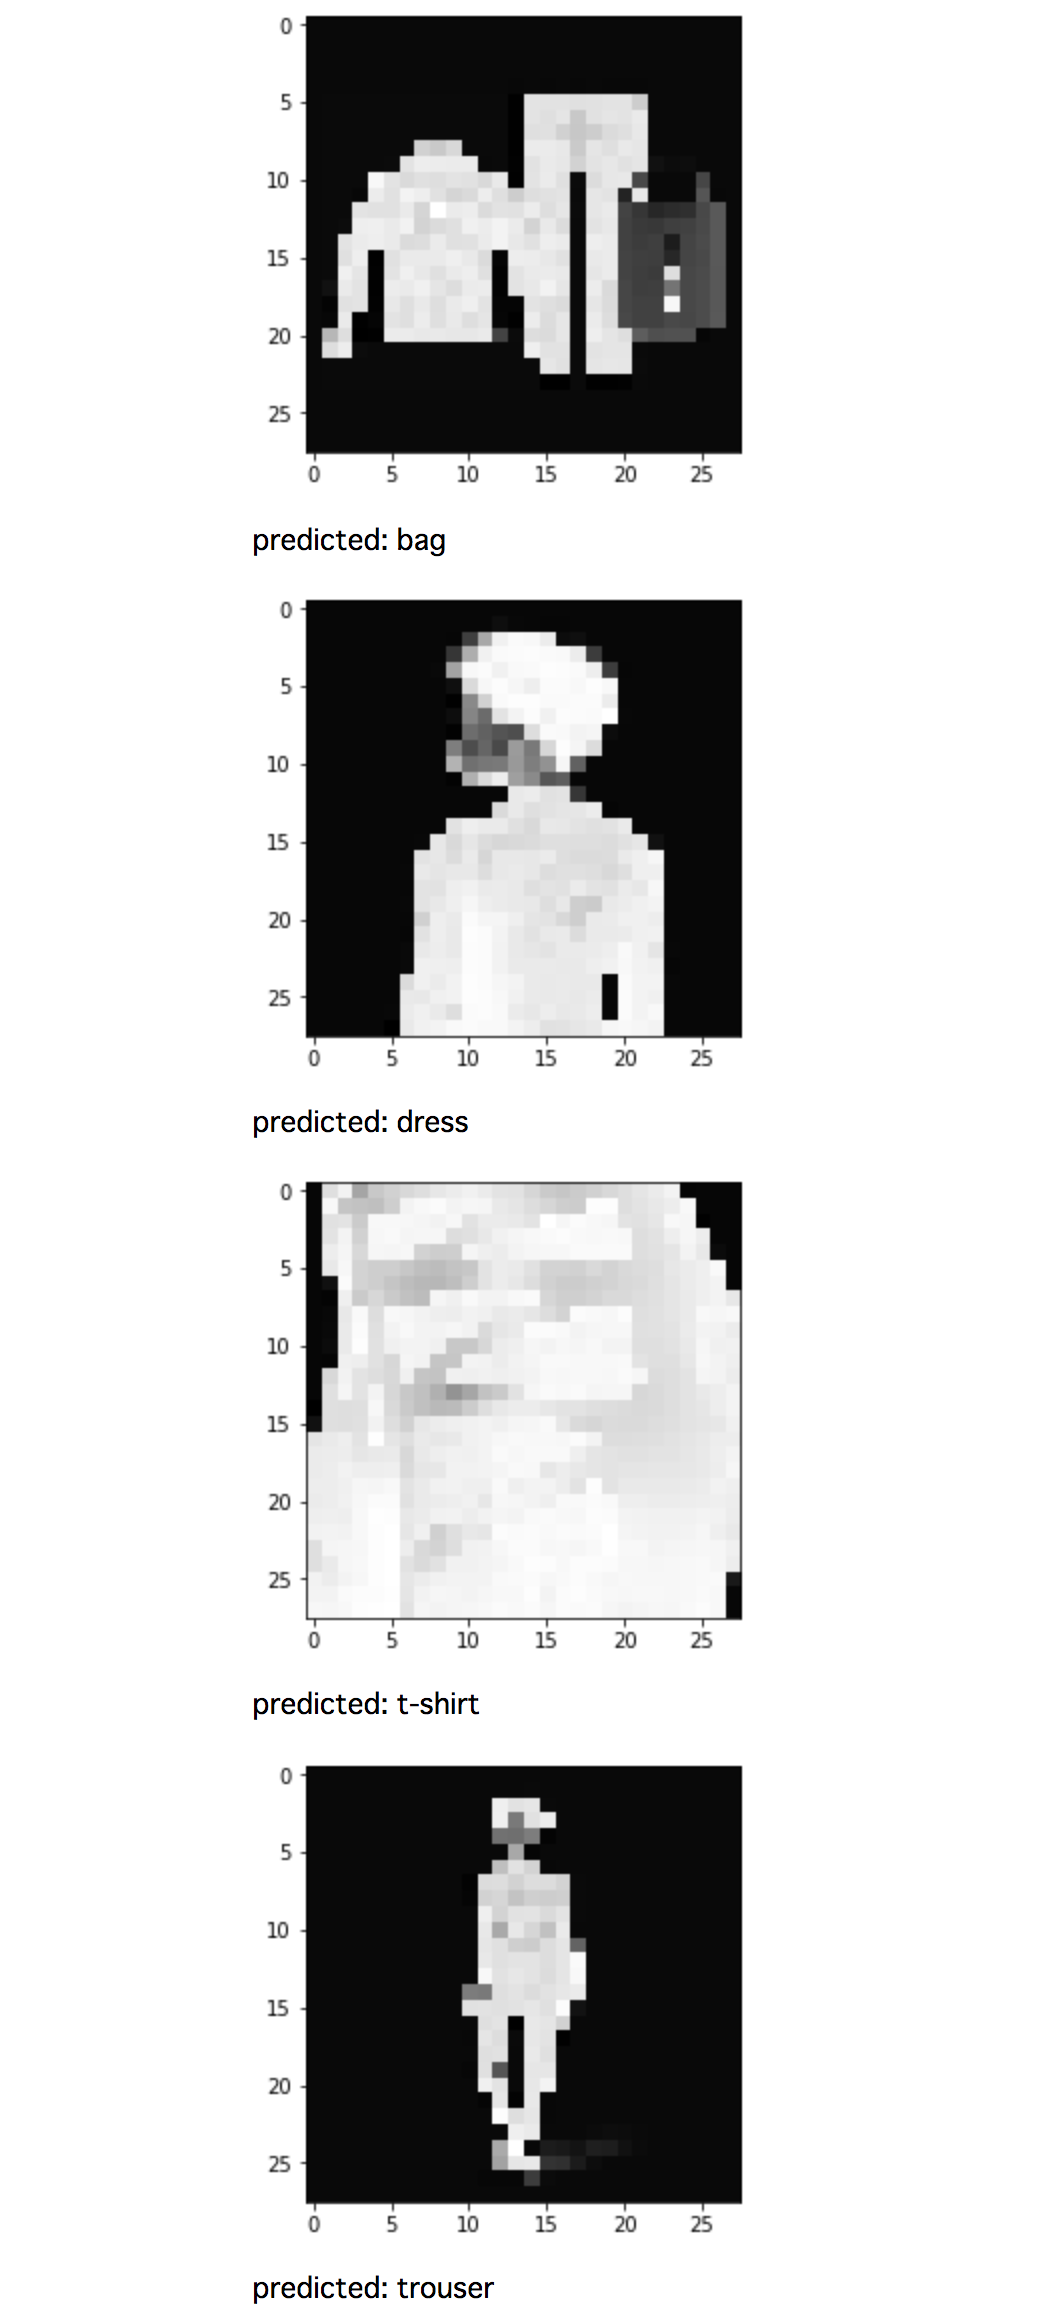
結果をみると7枚中4枚がsneaker, 3枚がbagと判定されました。
靴とブーツの見分けがあまり付いていないのですかね。
最後に
今回は時間切れでここまで。
平置き画像を集めたにも関わらず全体的にあまり高い精度が出ず、現時点の自分ではどの処理の問題なのか判断つきませんでした。
前処理なのか、学習のさせ方なのか・・・
さらにZOZOTOWN上の画像は着用画像が多く、平置き画像も置き方がバラバラなのでこのあたりも学習データに含めなければ実用レベルの学習モデル構築は難しいかもしれません。
ただ今回初めてKerasとjupyterの組み合わせを使いましたが、コードを動かすことに集中でき、今回のようなちょっとしたプロトタイピングに最適ですね。
何より画像加工をKerasでやれちゃうので画像だけ集めてしまえばいいところが強い。
今後、こちらのコードをベースに色々試してみます。
おまけ
ZOZOSUITも類推してみる
今なら無料配付中のZOZOSUITはZOZOTOWN上「採寸ボディースーツ」としてカテゴリされてますが、こちらもついでに類推してみます。
それっぽい。

