Oculus Rift Advent Calendar 2017の13日目の記事です!
HoloLensでデータ保存する際、皆さんどのような方法で保存していますか?
テキストをCSVのような形式で保存したり、クラウド上のDBに保存したりと、いろいろあるかと思います。
今回、SQLiteを使ったローカルDBの構築と読み書きを試してみましたので、その手順を紹介します。
作業時間は1時間程度の想定です。
SQLiteとは
パブリックドメインの組み込み用DBです。
詳細はWiki参照ください。
https://ja.wikipedia.org/wiki/SQLite
環境
OS:Windows 10 CreatersUpdate
Unity:2017.1.0f3
HoloToolKit:HoloToolkit-Unity-v1.2017.1.1
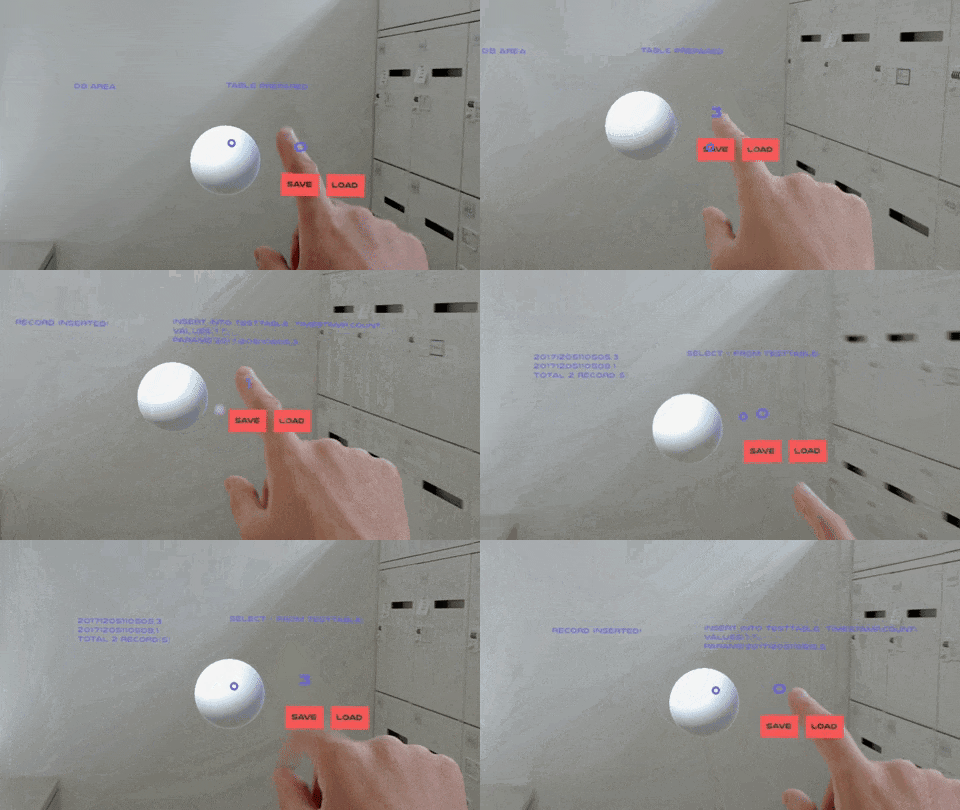
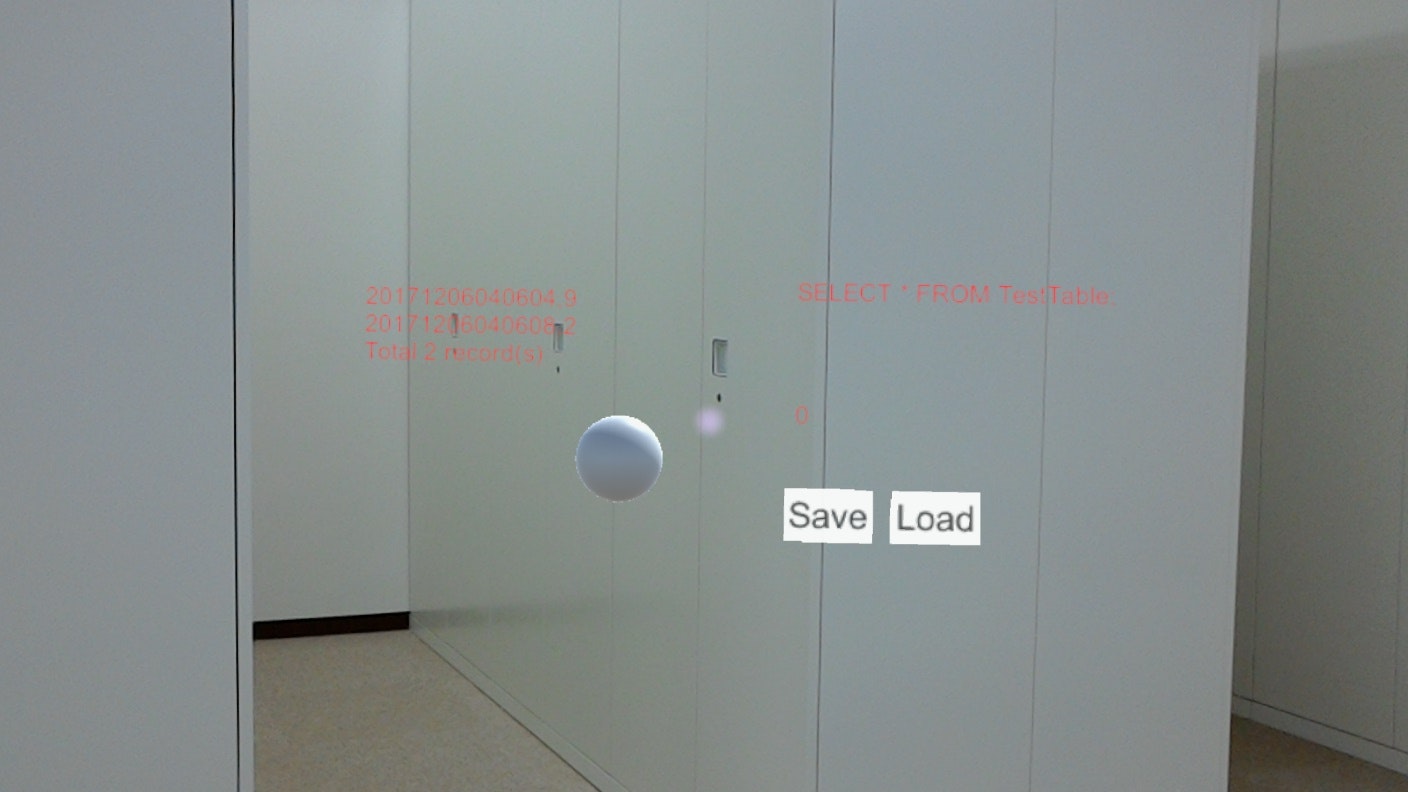
完成イメージ
流れ
1.SQLiteの準備
2.UI周りの実装
3.スクリプトの実装
4.HoloLensで実行確認
1.SQLiteの準備
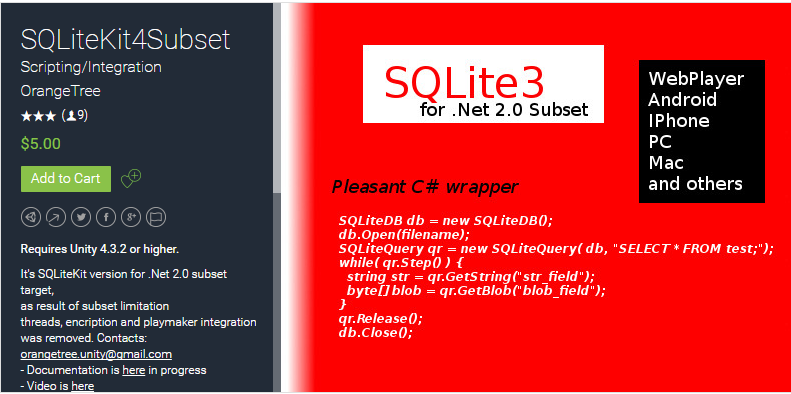
今回、私は下記のアセットを使用してSQLiteの実行を行いました。
SQLiteKit4Subset
※失敗した点※
初めはUnityアセットを使用せず、完全に無償版のSQLiteのみを使用しての構築を試みました。
下記のページを参考にしてDLLをUnityにコピーすると、Unity上では無事にDB操作が可能でした。
Database (SQLite) Setup for Unity - Unity Answers
しかしながら、このプロジェクトをUWPにスイッチプラットフォームしてビルドしようとすると、
error CS7069: Reference to type 'Component' claims it is defined in 'System', but it could not be found
error CS7069: Reference to type 'ICloneable' claims it is defined in 'mscorlib', but it could not be found
というエラーが出てしまい、なかなか先に進めませんでした。
結果、私はこの方法をあきらめ、Unityのアセットで対応しました。
その他、参考にしたサイトを下記に示しておきます。
Is SQLite compatible with HoloLens? — Windows Mixed Reality Developer Forum
Connecting SQLLite and Unity within Hololens - Unity Forum
SQLite for HoloLens - Unity Forum
こちらについては、ヒロムhi_rom_さんがアセット使用せずに構築しています。
「紆余曲折があった」そうなので、やはりすんなりとはいかないようです。。
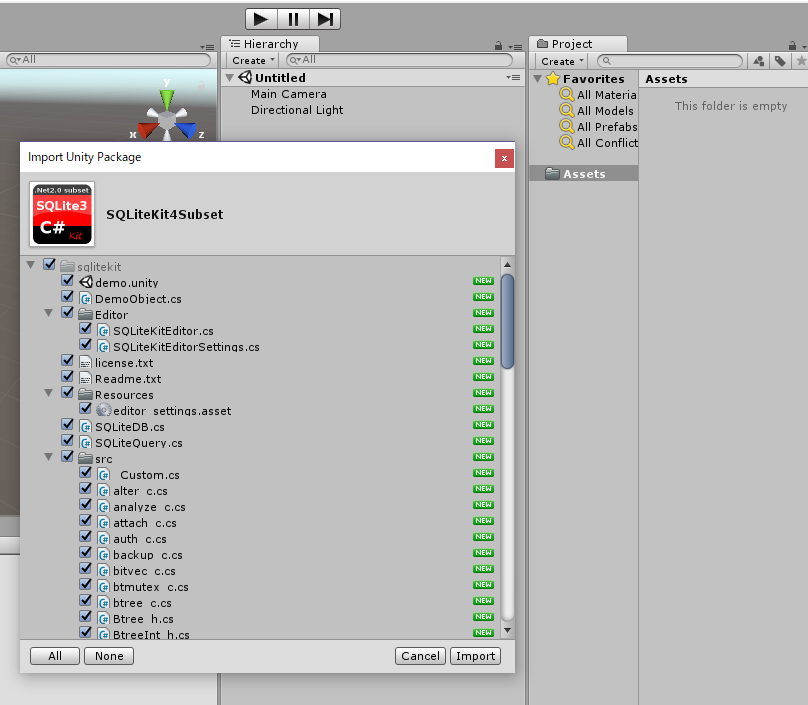
- 空のプロジェクトを新規作成し、SQLiteKit4Subsetをインポートします。
-
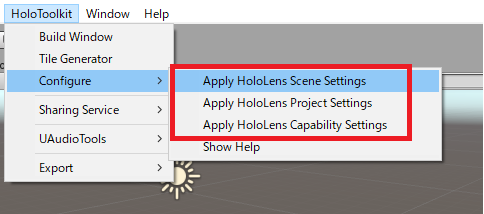
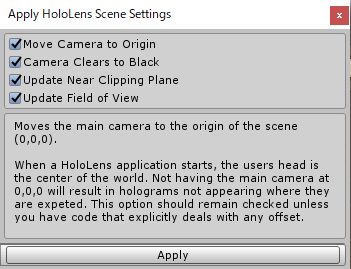
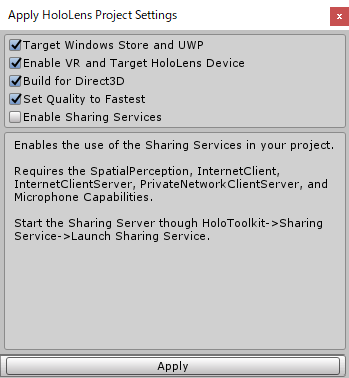
HoloToolkitをインポートし、プロジェクト設定を行います。
- さくっといつものHoloToolkitのInput類を入れます。 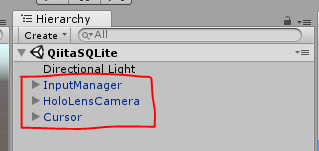
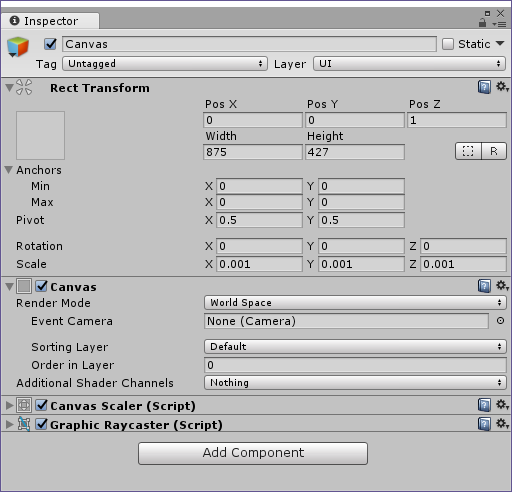
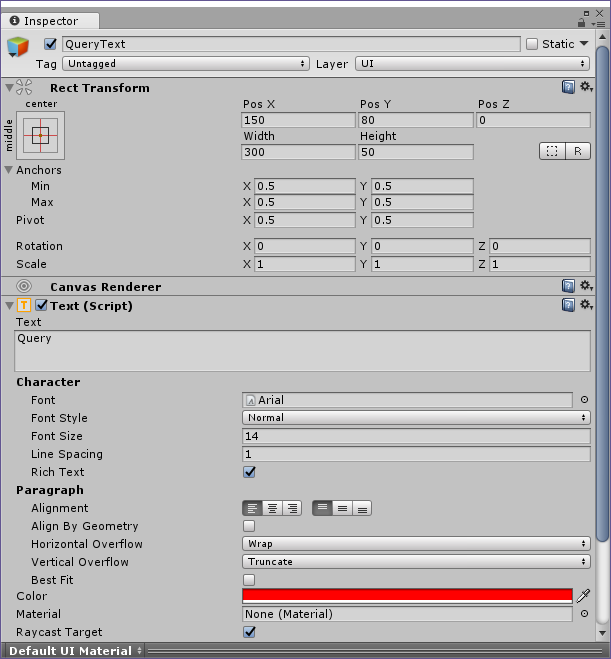
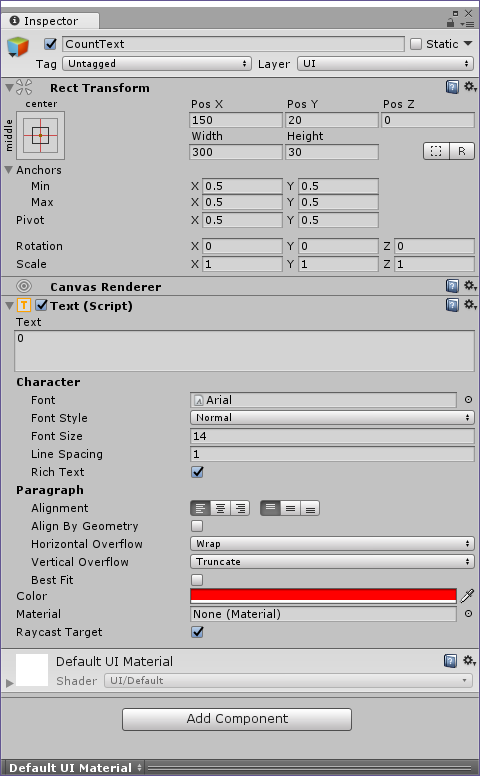
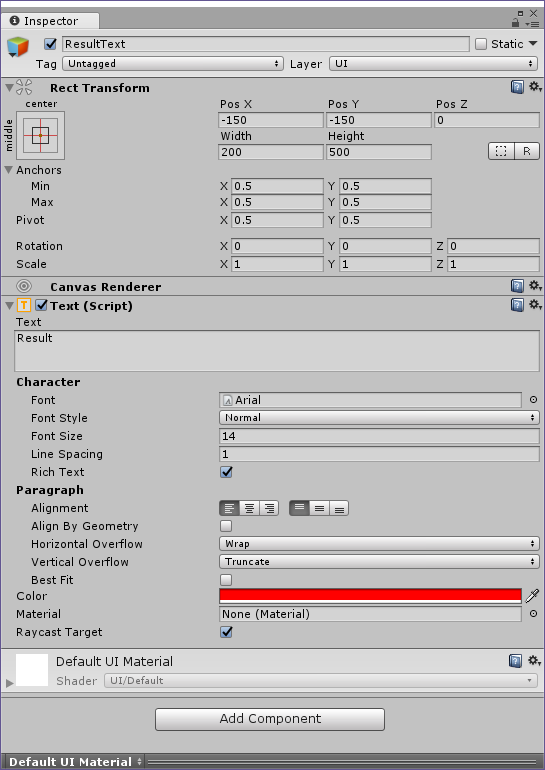
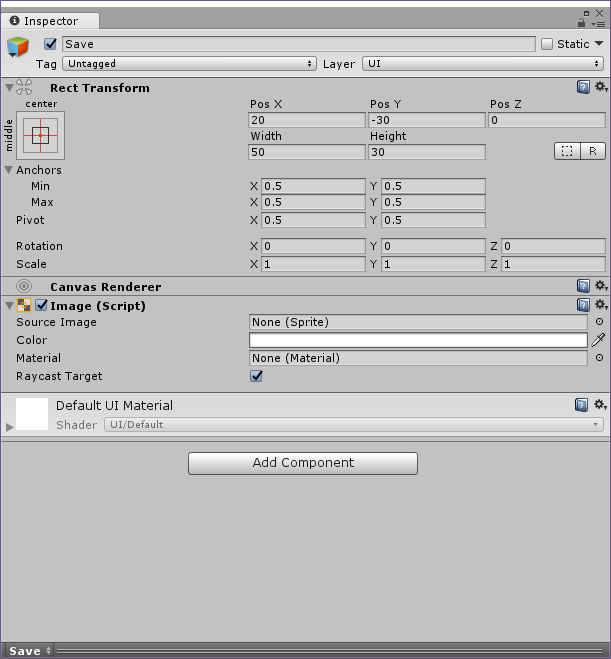
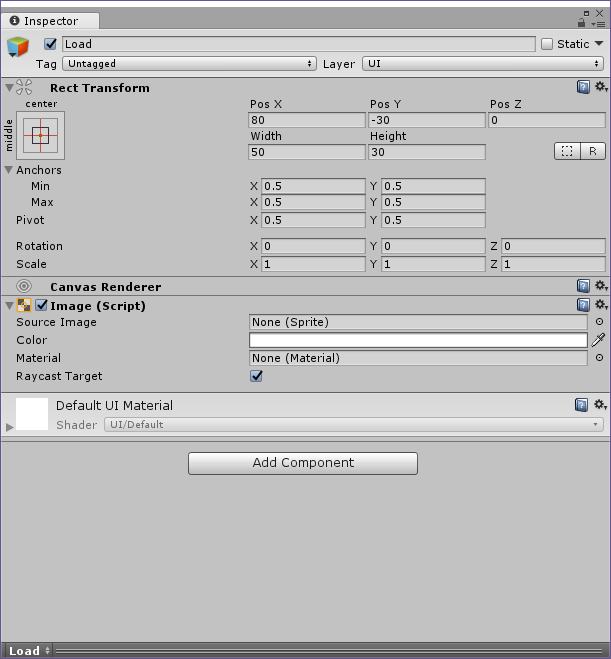
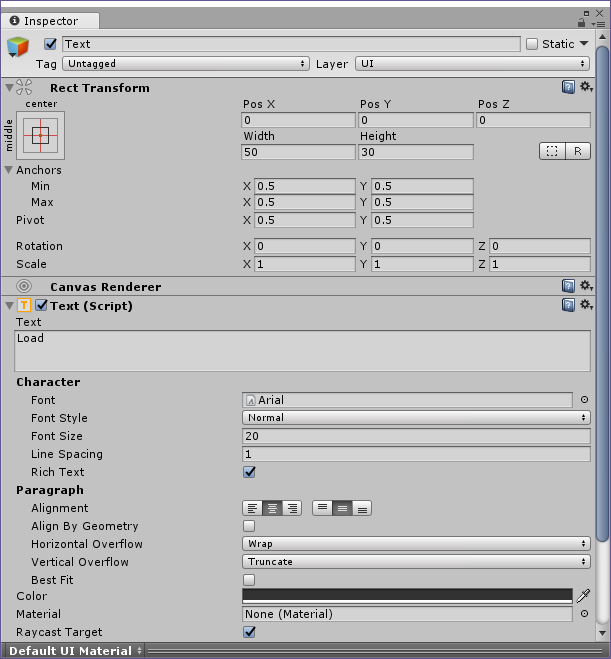
- 下記のようなイメージでUIを配置していきます。 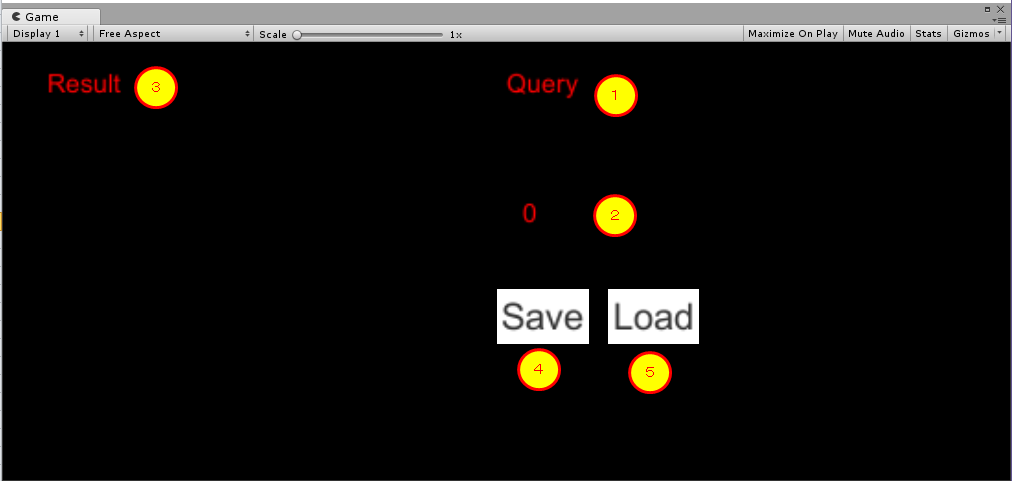
- Canvas直下にSphereを追加し、位置やサイズを調整します。 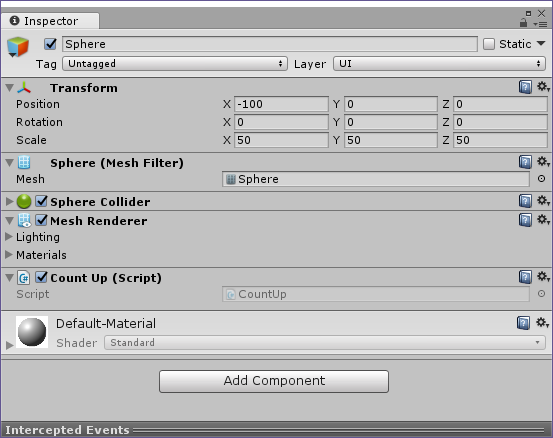
- CanvasにBillboardとTagAlongをアタッチします。
- Asset直下にScriptフォルダを作成し、CountUp.csというスクリプトを追加します。
これは、Sphereをエアタップするたびに回数をカウントアップするだけのスクリプトです。
CountUp.cs
using System.Collections;
using System.Collections.Generic;
using UnityEngine;
using HoloToolkit.Unity.InputModule;
using System;
using UnityEngine.UI;

public class CountUp : MonoBehaviour,IInputClickHandler {

    private Text text;

    public void OnInputClicked(InputClickedEventData eventData)
    {
        int clickCount = int.Parse(text.text);
        clickCount++;
        text.text = ""+clickCount;
    }

    // Use this for initialization
    void Start () {
        text = GameObject.Find("CountText").GetComponent<Text>();
    }
}
追加したスクリプトを先ほどのSphereにアタッチします。
- 空のGameObjectを作成し、名前をDBManagerに変更します。
DBManager.csというスクリプトを作成します。
このスクリプトにDB操作を集約しています。
外部から呼び出しやすいようSingletonとしました。
Startメソッド内でPrepareTableを呼び出し、DB・テーブルの準備を行います。
SaveDataではPKを生成した上で渡されたカウントをテーブルに登録します。
LoadDataはテーブルに登録されたレコードをまとめて取得してテキストエリアに表示します。DBManager.csusing HoloToolkit.Unity; using System; using UnityEngine; using UnityEngine.UI; public class DBManager : Singleton<DBManager> { private SQLiteDB db = null; private SQLiteQuery qr; private string queryDelete = "DELETE From TestTable;"; private string queryCreate = "CREATE TABLE IF NOT EXISTS TestTable (timestamp TEXT PRIMARY KEY, count INTEGER);"; private string queryInsert = "INSERT INTO TestTable (timestamp,count) VALUES(?,?);"; private string querySelect = "SELECT * FROM TestTable;"; private Text ResultText = null; private Text QueryText = null; void Start() { QueryText = GameObject.Find("QueryText").GetComponent<Text>(); ResultText = GameObject.Find("ResultText").GetComponent<Text>(); PrepareTable(); } void PrepareTable() { db = new SQLiteDB(); string filename = Application.persistentDataPath + "/test.s3db"; db.Open(filename); // // create table // qr = new SQLiteQuery(db, queryCreate); qr.Step(); qr.Release(); // // delete table if exists // qr = new SQLiteQuery(db, queryDelete); qr.Step(); qr.Release(); QueryText.text = "Table Prepared"; } public void DataInsert(int count) { db = new SQLiteDB(); string filename = Application.persistentDataPath + "/test.s3db"; db.Open(filename); // string timeString = DateTime.Now.ToString("yyyyMMddhhmmss"); // // レコードの登録 // qr = new SQLiteQuery(db, queryInsert); qr.Bind(timeString); qr.Bind(count); qr.Step(); qr.Release(); QueryText.text = queryInsert + "\nParams:" + timeString + "," + count + "\n"; ResultText.text = "record inserted!"; db.Close(); } public void DataLoad() { db = new SQLiteDB(); string filename = Application.persistentDataPath + "/test.s3db"; db.Open(filename); QueryText.text = querySelect; ResultText.text = ""; // // レコードを読み込む // string testStringFromSelect = ""; int testIntFromSelect; int recordCount = 0; qr = new SQLiteQuery(db, querySelect); while (qr.Step()) { testStringFromSelect = qr.GetString("timestamp"); testIntFromSelect = qr.GetInteger("count"); Debug.Log(testStringFromSelect + "," + testIntFromSelect); ResultText.text += testStringFromSelect + "," + testIntFromSelect + "\n"; recordCount++; } ResultText.text += "Total " + recordCount + " record(s)"; if (testStringFromSelect == "") { Debug.Log("No data in Table"); } qr.Release(); db.Close(); } }追加したスクリプトを先ほどのDBManagerにアタッチします。
- SaveData.csというスクリプトを作成します。
これはDBManagerのSaveDataメソッドを呼び出すだけの単純なスクリプトです。
SaveData.cs
using HoloToolkit.Unity.InputModule;
using UnityEngine;
using UnityEngine.UI;

public class SaveData : MonoBehaviour, IInputClickHandler
{
    private Text count;

    public void OnInputClicked(InputClickedEventData eventData)
    {
        DBManager.Instance.DataInsert(int.Parse(count.text));
        count.text = "0";
    }

    void Start()
    {
        count = GameObject.Find("CountText").GetComponent<Text>();
    }
}
追加したスクリプトをデータ保存用のパネル(Image)にアタッチします。
- LoadData.csというスクリプトを作成します。
これはDBManagerのLoadDataメソッドを呼び出すだけの極めて単純なスクリプトです。
LoadData.cs
using HoloToolkit.Unity.InputModule;
using UnityEngine;

public class LoadData : MonoBehaviour, IInputClickHandler
{
    public void OnInputClicked(InputClickedEventData eventData)
    {
        DBManager.Instance.DataLoad();
    }
}
追加したスクリプトをデータ読込用のパネル(Image)にアタッチします。
2.UI周りの実装
3.スクリプトの実装
4.HoloLensで実行確認
さあ!HoloLensにビルドしてみましょう!!
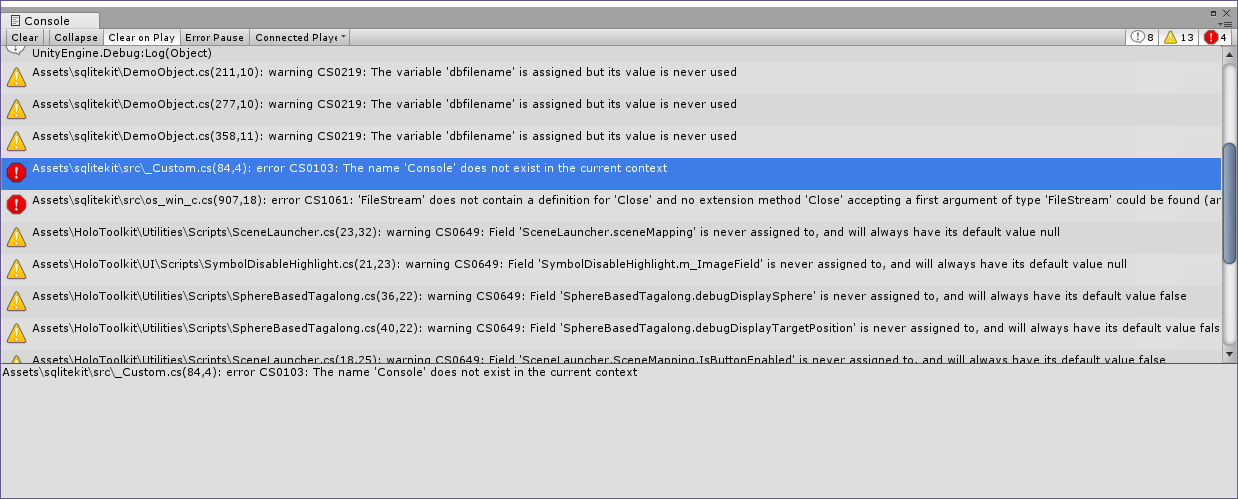
エラーが出ました!![]()
Assets\sqlitekit\src_Custom.cs(84,4): error CS0103: The name 'Console' does not exist in the current context
これはスクリプト内のプリプロセッサの記述がUnity5になっているせいです。
Unity2017に変更しましょう。
static void printf( string zFormat, params object[] ap )
{
# if UNITY_2017
  UnityEngine.Debug.Log(sqlite3_mprintf( zFormat, ap ));
# else
    Console.Out.Write( sqlite3_mprintf( zFormat, ap ) );
# endif
}
Assets\sqlitekit\src\os_win_c.cs(907,18): error CS1061: 'FileStream' does not contain a definition for 'Close' and no extension method 'Close' accepting a first argument of type 'FileStream' could be found (are you missing a using directive or an assembly reference?)
これはCloseメソッドをDisposeメソッドに変更してあげると直ります。
※下記もご参照ください。
https://answers.unity.com/questions/1204698/filestream-does-not-contain-a-definition-for-close.html
      do
      {
        pFile.fs.Dispose(); //←ここを直した
        rc = true;
        //  rc = CloseHandle(pFile.h);
        /* SimulateIOError( rc=0; cnt=MX_CLOSE_ATTEMPT; ); */
        //  if (!rc && ++cnt < MX_CLOSE_ATTEMPT) Thread.Sleep(100); //, 1) );
      } while ( !rc && ++cnt < MX_CLOSE_ATTEMPT ); //, 1) );
再度ビルドして実行してみましょう!
Sphereをエアタップするとカウントが上がっていきます。
Saveをエアタップするとレコードが1件登録され、カウントが0に戻ります。
Loadをエアタップすると今までに登録したレコードがすべて表示されます。
PKを年月日時分秒で生成しているので、1秒の間に複数回登録すると一意制約違反となってしまうのでご注意ください。
毎回起動時にレコードをすべて消去する仕様にしていますが、
DBManagerのPrepareTable()を修正すれば以前のデータを残すことも当然可能です。
以上でSQLiteを使用したHoloLensプロダクトの実装は完了です!
実に簡単ですね!!
ローカルにデータをDBの形で持たせる機会がどれくらい発生するかはわかりませんが、
セキュリティルール上、クラウドへのデータ格納が難しいケースなどもあるかと思います。
そういった際には、LAN内にデータ保存用サーバを立てたり、
今回のようにローカルへのデータ保存など検討することになるかと思います。
応用編
テーブルにBINARY型の列を追加すれば、画像のIN/OUTも可能です。
HoloLensのMRキャプチャを取得してそのまま格納し、後で読み込むようなことにも使えます。
バイナリデータもいける。 pic.twitter.com/ra4huLwFWC
— morio@12/16HoloLensMeetupVol.6 (@morio36) 2017年12月4日
こちらについては別途記事化する予定です!
