pytoshopというライブラリを使ってPSDファイルを作ります。
pytoshopで一旦psdファイルを読み込んで加工するのは結構他でも見つかりましたが、ゼロから作るのは見当たらなかったので公式ドキュメントみたりデバッグしなりしながら調べてみました。
基本的にPythonで一般的なOpenCVの画像データ(numpy配列)でレイヤーを構成して書き出す感じです。
必要なパッケージのインストール
pip install numpy scipy opencv-python Pillow six psd-tools3 pytoshop
スクリプト
main.py
# ! env python
# -*- coding: utf-8 -*-
import os
import sys
import cv2
import pytoshop
from pytoshop import layers
import numpy as np
import cv2
def main():
# レイヤー用画像
test_img = cv2.imread("test1.tif")
#
# 白紙のPSDファイルを作る
#
psd = pytoshop.core.PsdFile(num_channels=3, height=test_img.shape[0], width=test_img.shape[1])
# 255埋めの画像を作る(透明度用)
max_canvas = np.full(test_img.shape[:2], 255, dtype=np.uint8)
#
# レイヤーを作る
#
# 必要なレイヤーの枚数分行う
# 透明度 np.ndarray([], dtype=np.uint8)
# 255が不透明、0が透明になっており、グレースケールのマスク画像を設定することで、透明度を持ったレイヤーを作ることが出来る
layer_1 = layers.ChannelImageData(image=max_canvas, compression=1)
# RGB
layer0 = layers.ChannelImageData(image=test_img[:, :, 2], compression=1) # R
layer1 = layers.ChannelImageData(image=test_img[:, :, 1], compression=1) # G
layer2 = layers.ChannelImageData(image=test_img[:, :, 0], compression=1) # B
new_layer = layers.LayerRecord(channels={-1: layer_1, 0: layer0, 1: layer1, 2: layer2}, # RGB画像
top=0, bottom=test_img.shape[0], left=0, right=test_img.shape[1], # 位置
name="layer 1", # 名前
opacity=255, # レイヤーの不透明度
)
psd.layer_and_mask_info.layer_info.layer_records.append(new_layer)
#
# 書き出し
#
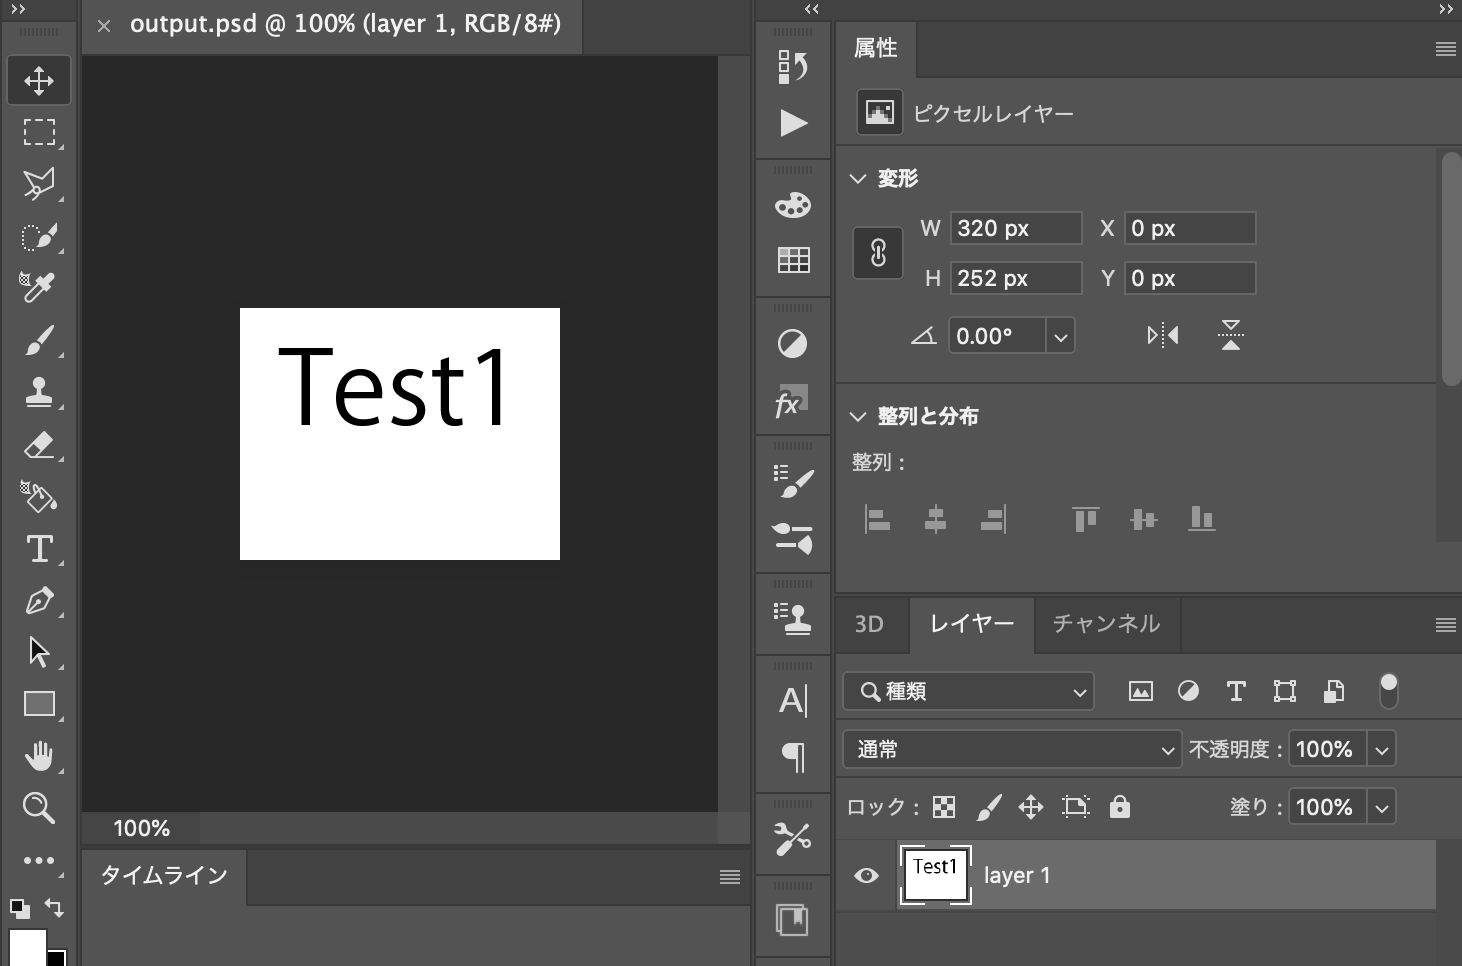
with open("output.psd", 'wb') as fd2:
psd.write(fd2)
return
if __name__ == '__main__':
main()