軽い動作検証を行う際に、気軽に使い捨てられるDockerコンテナを利用すると便利です。
例として、MySQLとクライアントツールphpMyAdminのコンテナを構築するdocker-compose.ymlをご紹介します。
docker-compose.ymlの例
docker-compose.yml
version: '3'
services:
  db:
    container_name: test_mysql
    image: mysql:5.6
    volumes:
      - ./.db:/var/lib/mysql
    restart: on-failure
    environment:
      MYSQL_ROOT_PASSWORD: root
      MYSQL_DATABASE: test_db
      MYSQL_USER: user
      MYSQL_PASSWORD: user
    ports:
      - 3306:3306
  phpmyadmin:
    container_name: phpmyadmin
    image: phpmyadmin/phpmyadmin
    restart: on-failure
    depends_on:
      - db
    links:
      - db
    environment:
      - PMA_ARBITRARY=1
      - PMA_HOST=db
      - PMA_USER=root
      - PMA_PASSWORD=root
    ports:
       - 8080:80
MySQLのdockerイメージはご利用したいバージョンを設定して下さい。
https://hub.docker.com/_/mysql
こちらのファイルを任意のディレクトリに配備し、docker-compose upを実行します。
実行後のディレクトリイメージ
.
├ .db
├ docker-compose.yml
.dbディレクトリにmysqlのデータが永続化されます。
コンテナを停止・削除しても、再度コンテナを作成すれば削除前の状態を保持しています。
phpMyadminでmysqlへアクセス
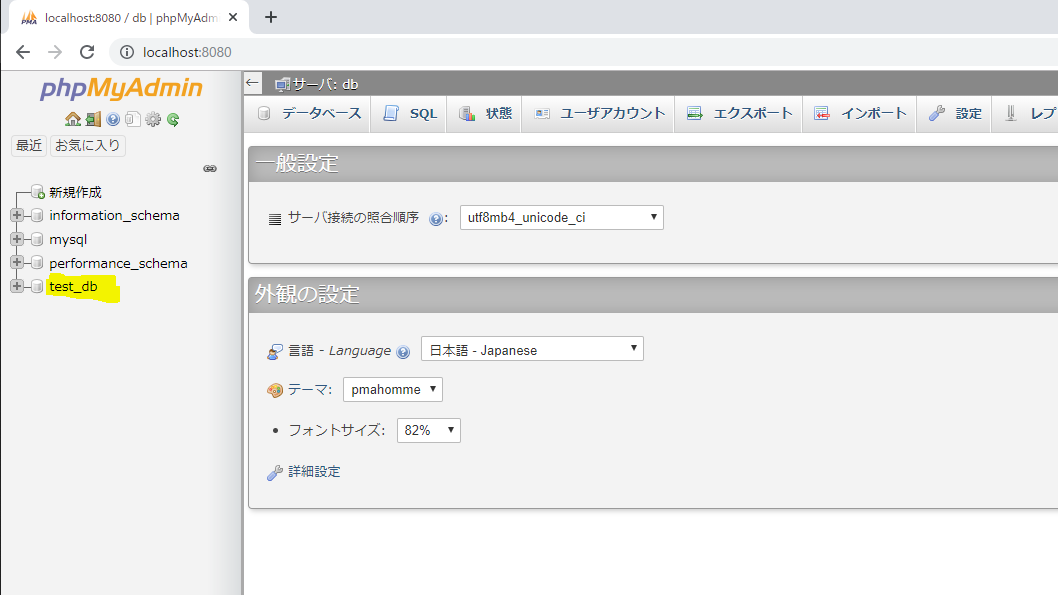
http://localhost:8080/ へアクセス。

データベースtest_dbが作成されています。