はじめに
SwiftUIでTabViewを作成し、それぞれのTabItemごとにViewを作る。
HomeViewにはListを表示し、前回作成したカード型のRowを呼び出すことを目的とする。
UIのデザインはcakesのnote風のデザインを参考にViewを作ります。
今後は今回作成したカードに前回までに実装した地図と都道府県市町村名を表示できるようにし、Firebaseで更新できるようにすることが目的です。
前回までの記事は以下を参考ください。
参考記事
【SwiftUi】経過時間の表示とListViewのセルデザイン
開発環境
OSX 10.15.7 (Catalina)
Xcode 12.2.0
CocoaPods 1.10.0
TabViewの作成とフォルダ管理
それぞれのViewはグループにまとめます。
大本のルートになるViewはContentViewです。
ContentViewの記載内容は以下のとおりです。
import SwiftUI

struct ContentView: View {

    var body: some View {
        // TabBarViewの呼び出し
        TabBarView()
    }

}
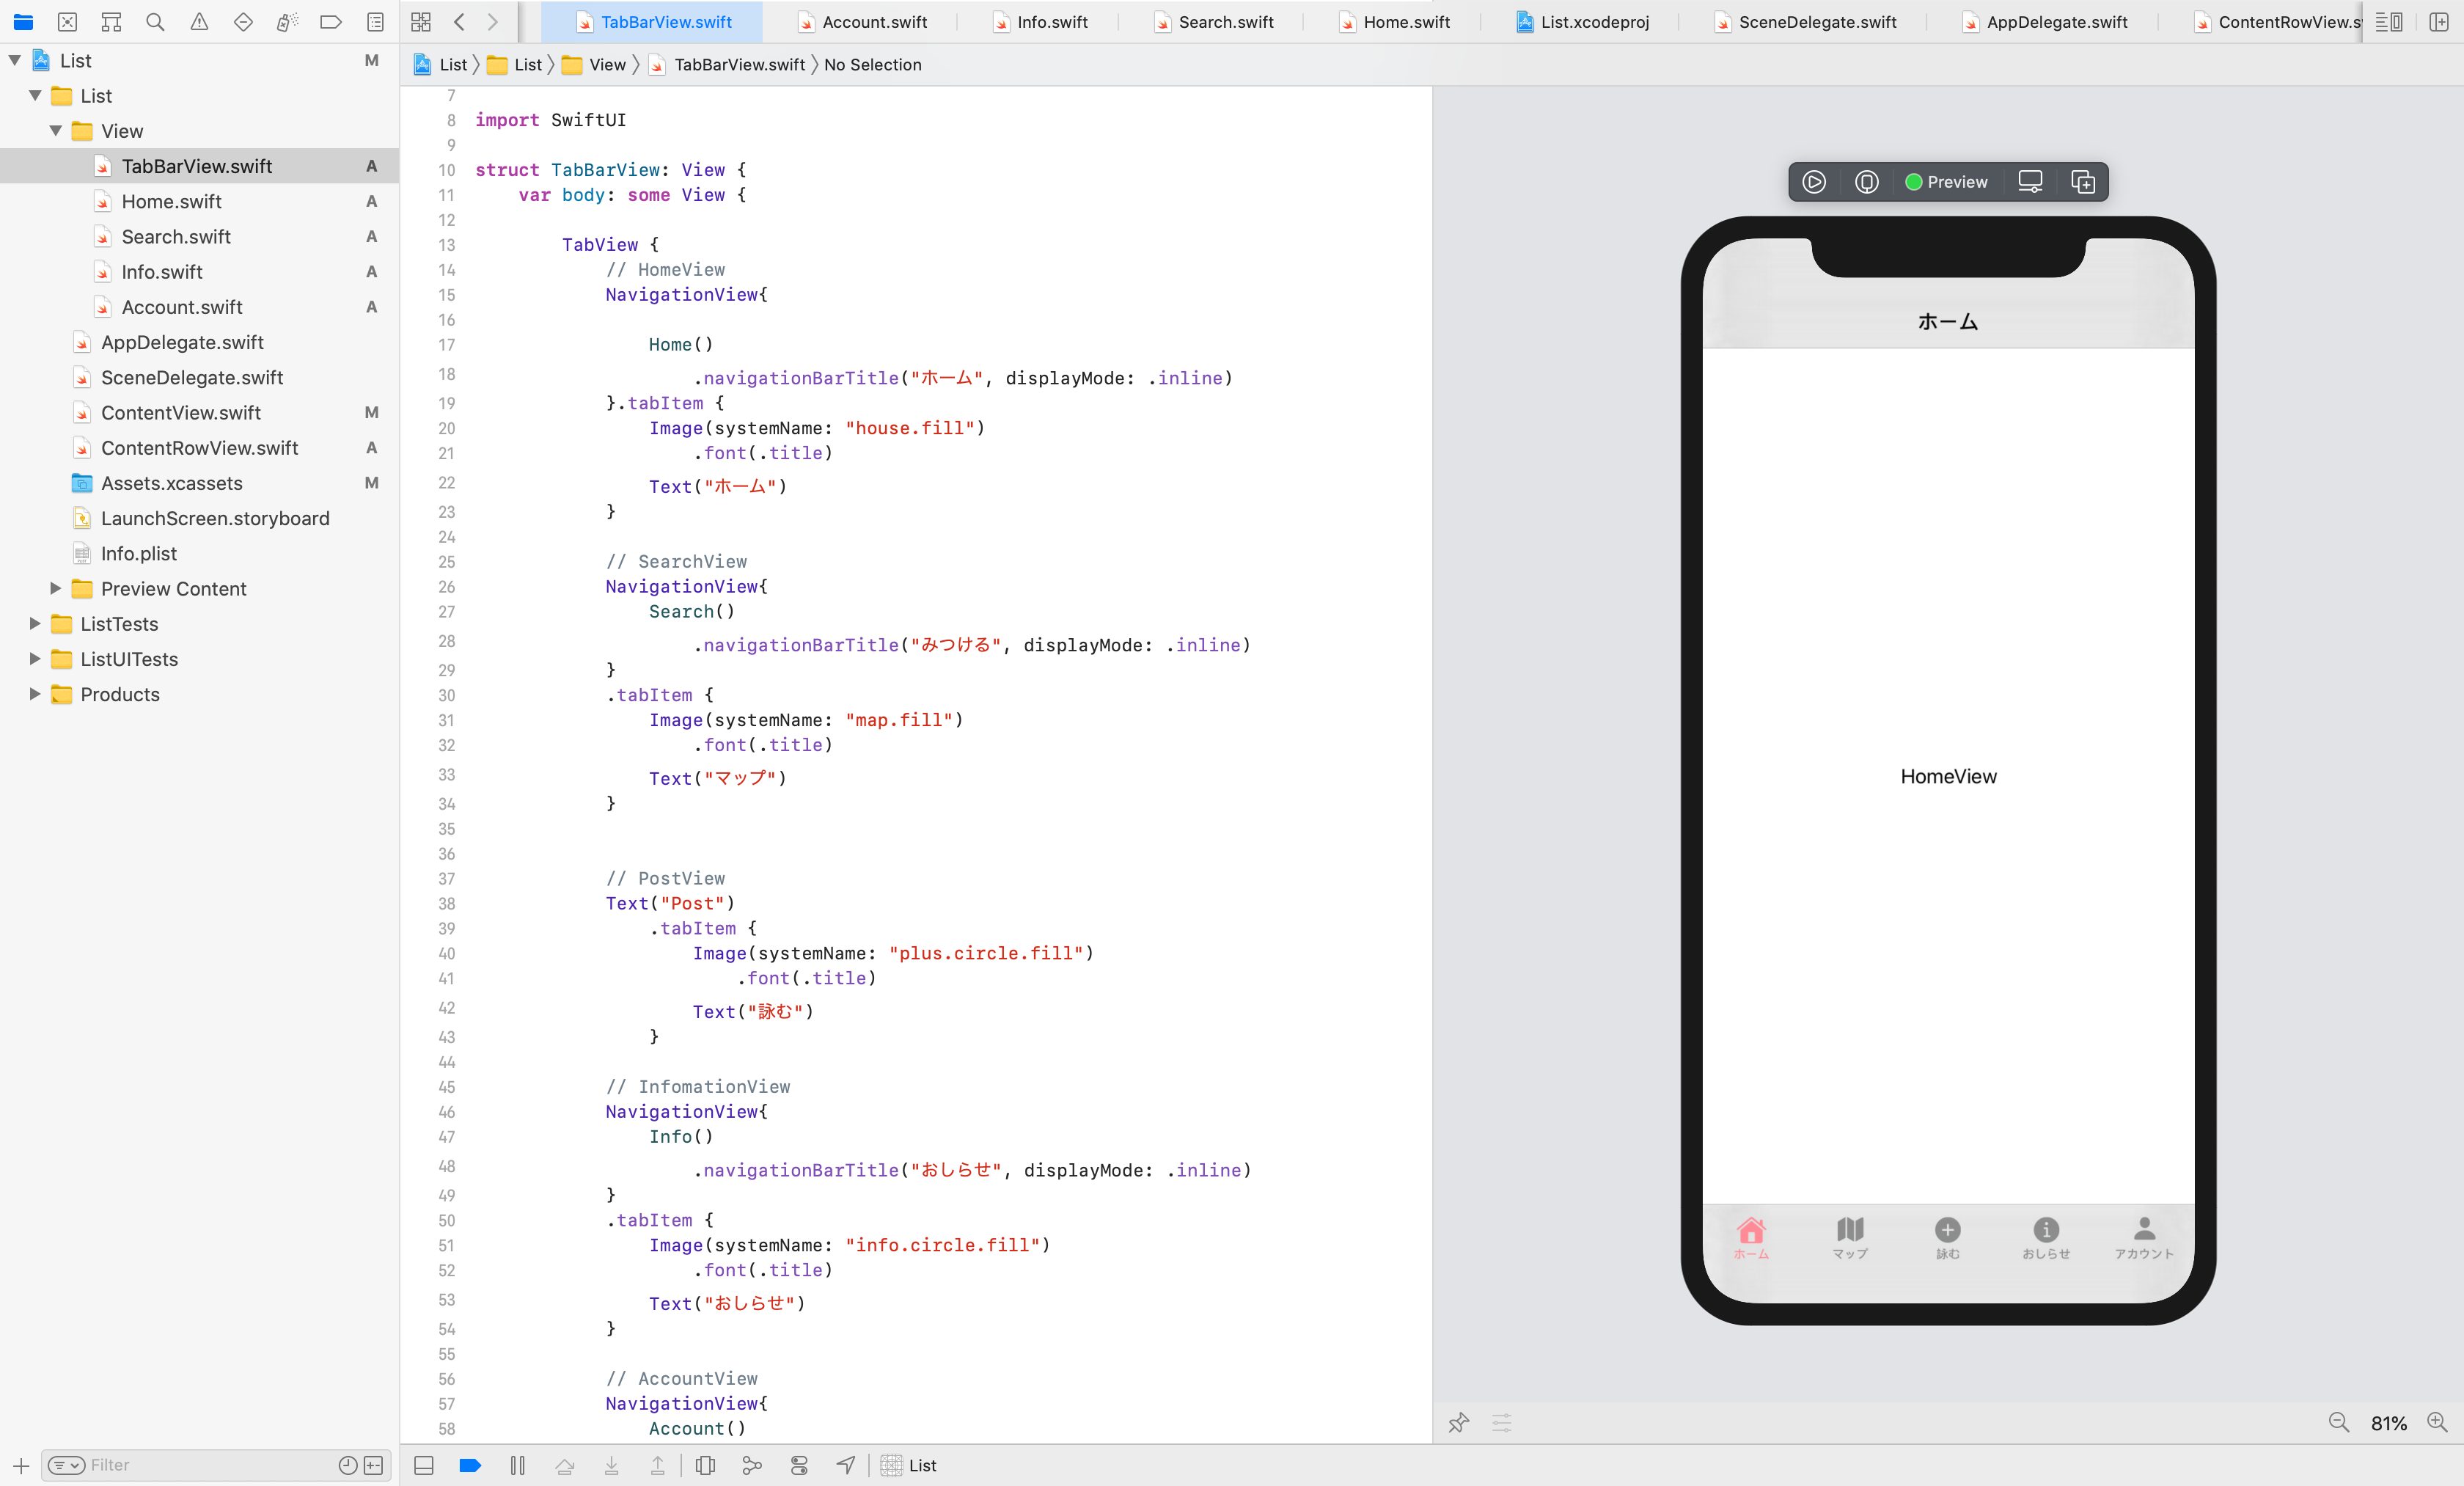
ContentviewではTabBarViewの呼び出しのみを行い、TabBarViewではHomeやSearch、Post、Info、AccountのそれぞれのViewを呼び出します。
import SwiftUI

struct TabBarView: View {
    var body: some View {

        TabView {
            // HomeView
            NavigationView{
                // HomeViewの呼び出し
                Home()
                    .navigationBarTitle("ホーム", displayMode: .inline)
            }.tabItem {
                Image(systemName: "house.fill")
                    .font(.title)
                Text("ホーム")
            }

            // SearchView
            NavigationView{
                // SearchViewの呼び出し
                Search()
                    .navigationBarTitle("みつける", displayMode: .inline)
            }
            .tabItem {
                Image(systemName: "map.fill")
                    .font(.title)
                Text("マップ")
            }


            // PostView
            Text("Post")
                .tabItem {
                    Image(systemName: "plus.circle.fill")
                        .font(.title)
                    Text("詠む")
                }

            // InfomationView
            NavigationView{
                // InfoViewの呼び出し
                Info()
                    .navigationBarTitle("おしらせ", displayMode: .inline)
            }
            .tabItem {
                Image(systemName: "info.circle.fill")
                    .font(.title)
                Text("おしらせ")
            }

            // AccountView
            NavigationView{
                // AccountViewの呼び出し
                Account()
                    .navigationBarTitle("アカウント", displayMode: .inline)
            }
            .tabItem {
                Image(systemName: "person.fill")
                    .font(.title)
                Text("アカウント")
            }
        }
        .accentColor(Color("pinkColor"))

    }
}
HomeViewにListを実装する
前回記事で作成したRowを呼び出します。
参考記事
【SwiftUi】経過時間の表示とListViewのセルデザイン
本来なら、ここのRow部分はFirebaseからデータベースを呼び出し更新できるように実装しますが、まだ実装できていないため、今回は同じ記事を出力しています。
また、今後はスクロールした際に記事を自動でロードできるようにする予定です。
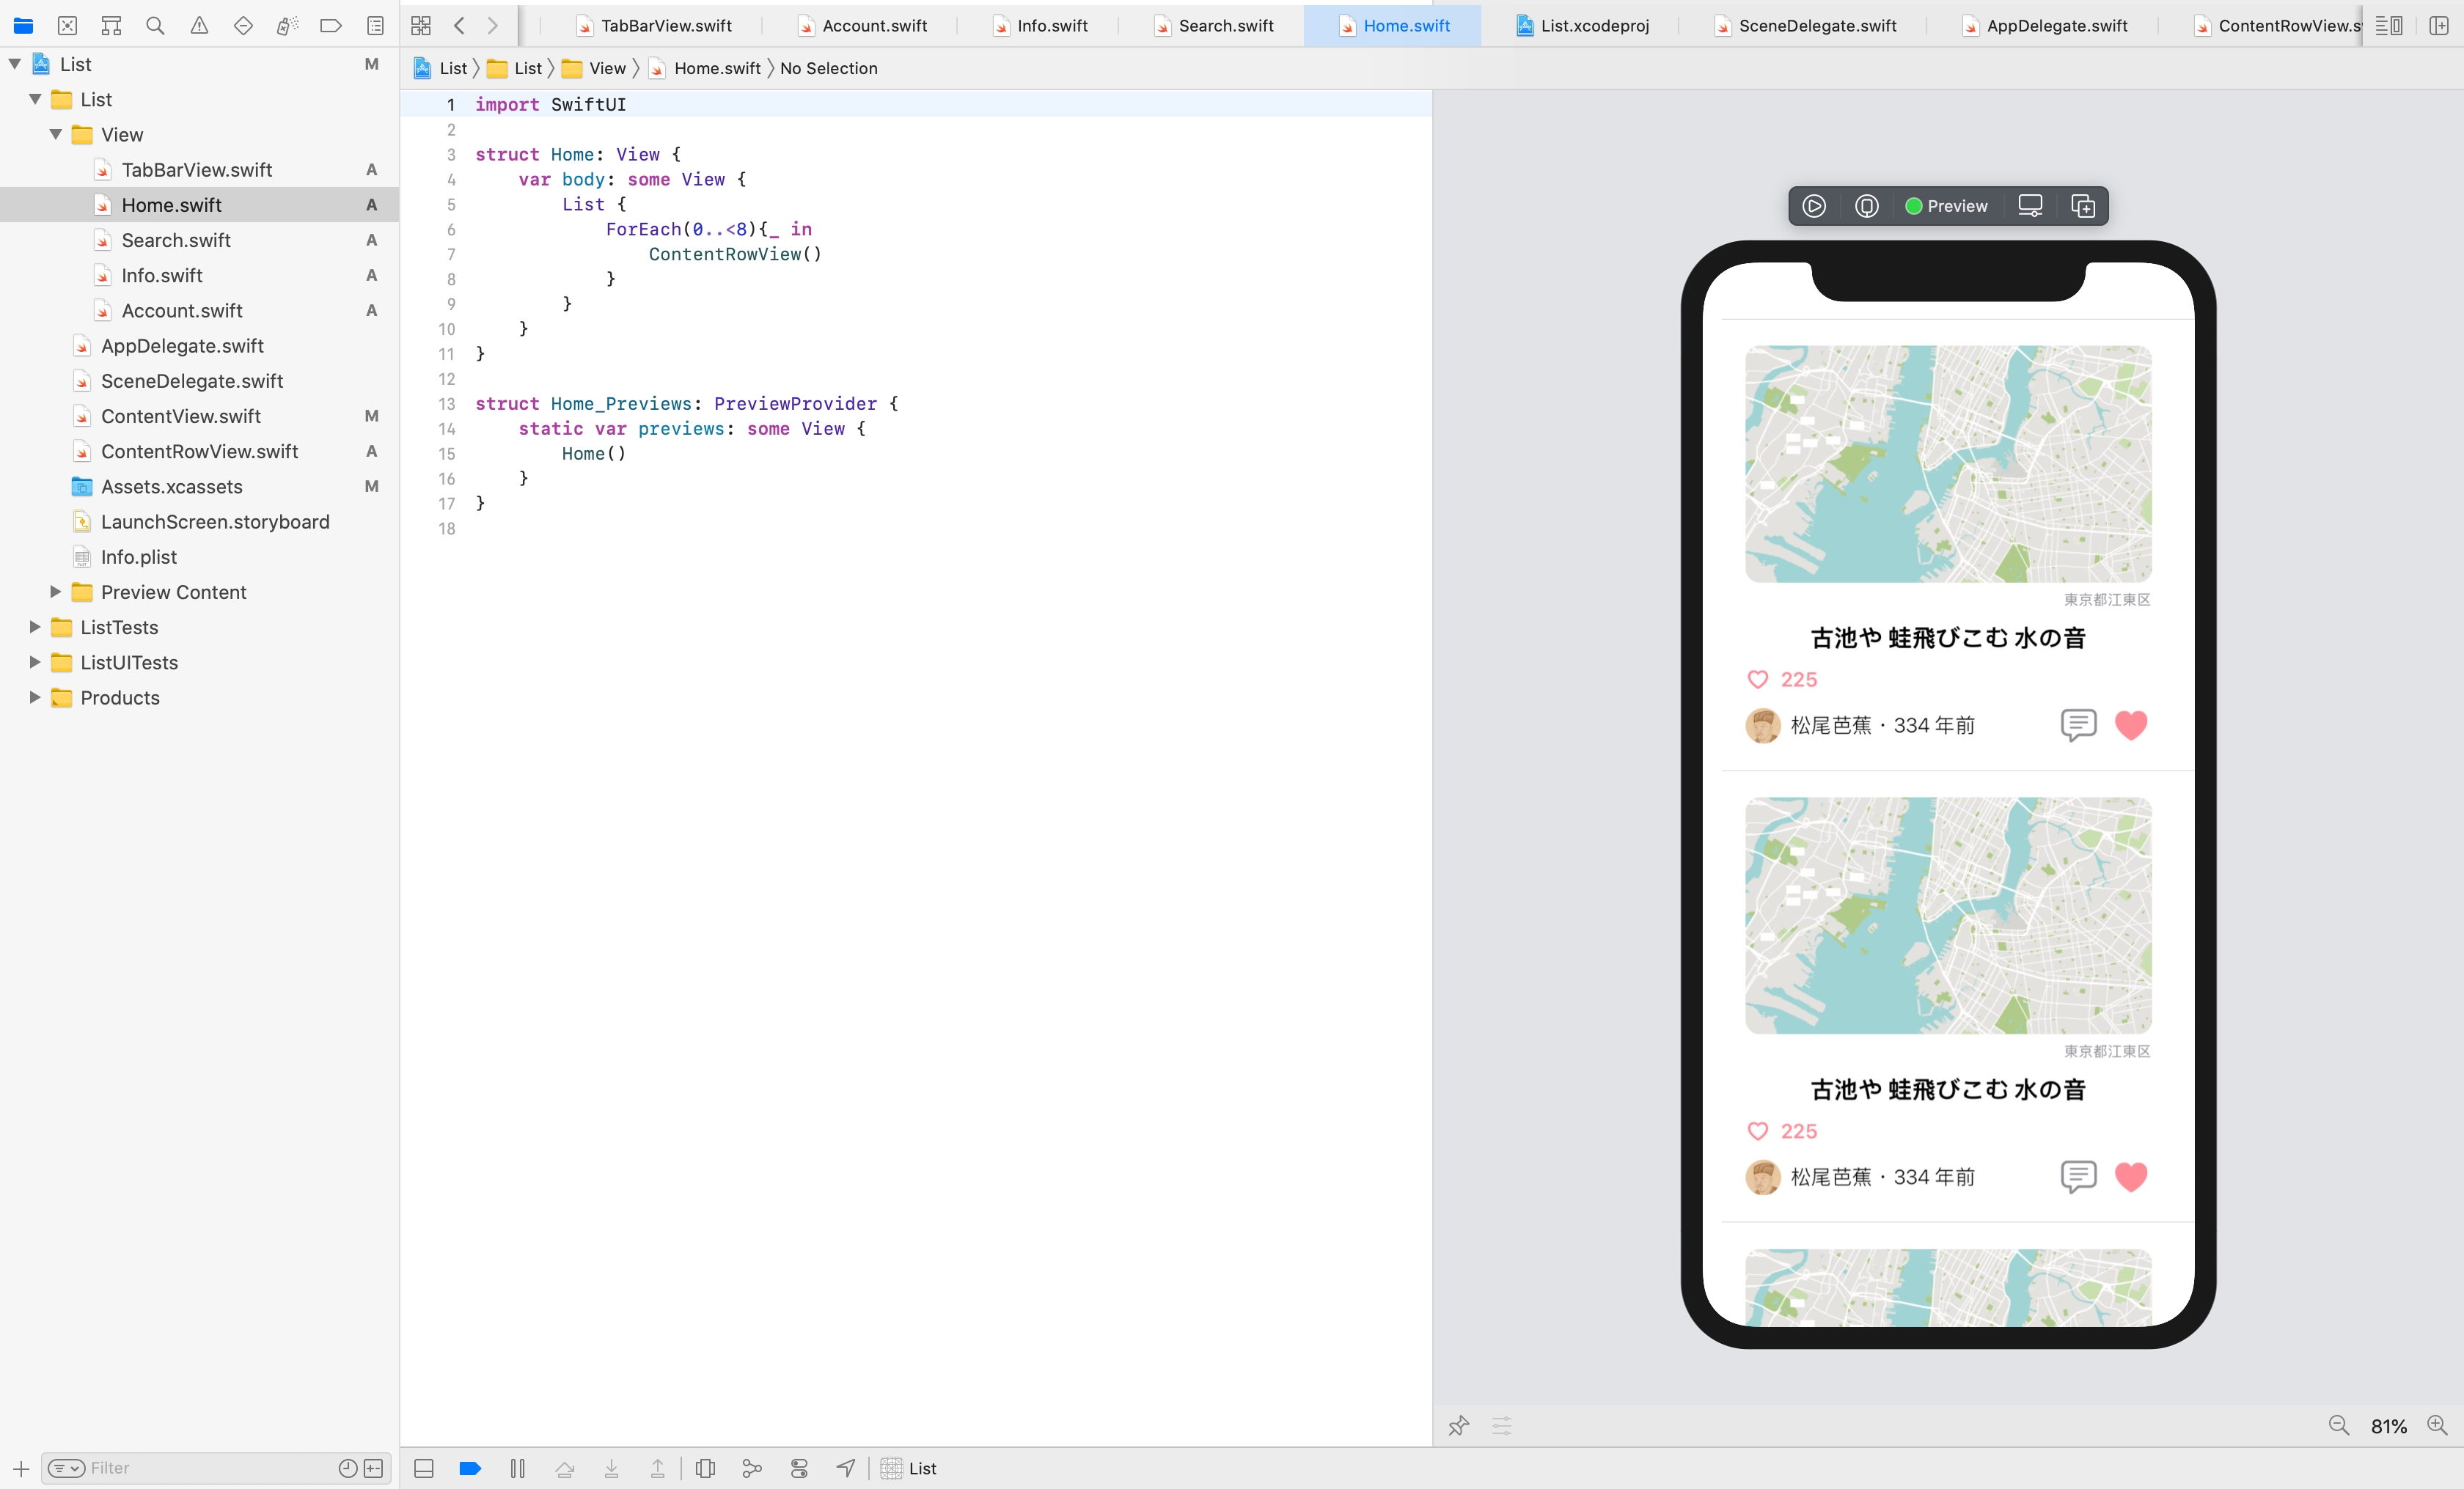
今回はListの出力の様子のみ確認します。
import SwiftUI

struct Home: View {
    var body: some View {
        List {
            ForEach(0..<8){_ in
                ContentRowView()
                    .listRowInsets(EdgeInsets())
            }
        }
    }
}
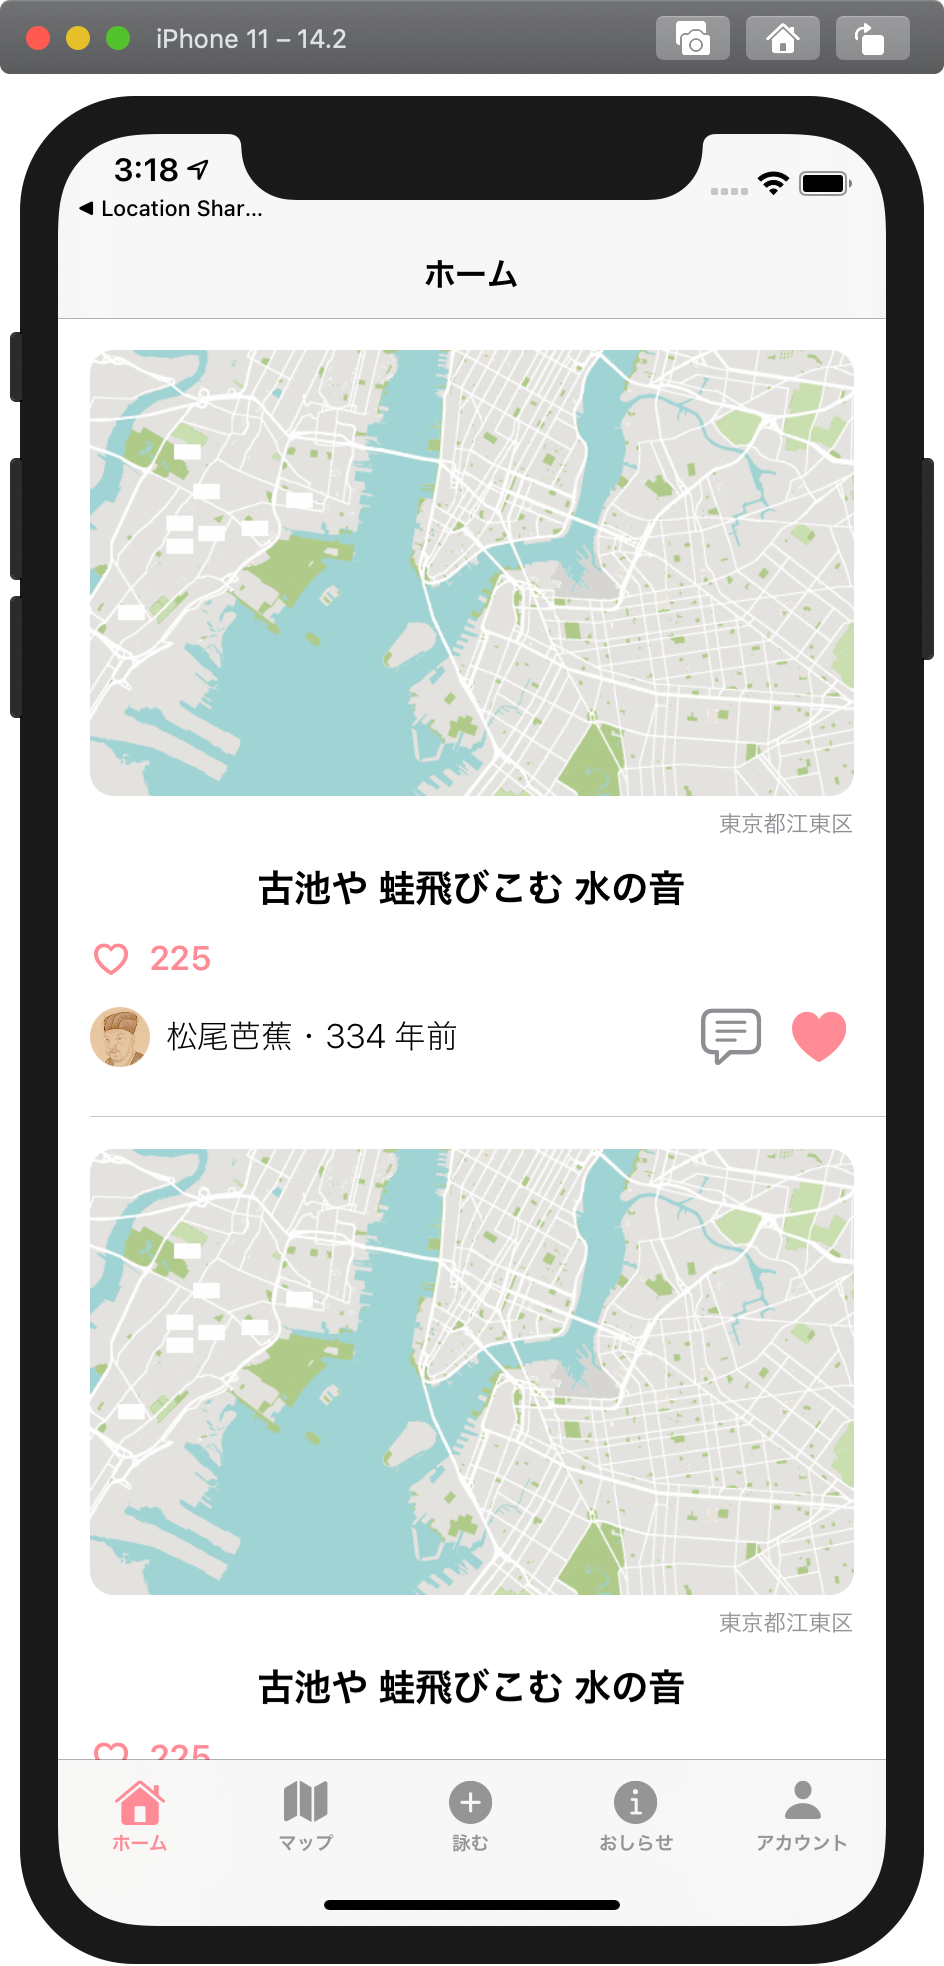
Simulatorで確認したところ、スムーズにスクロールができました。
また、navigationBarTitleもスクロールしても表示され続けているため、意図したとおりに実装できました。
できれば、ListのRowごとに出力されるボーターの左側の余白を消したいけど、実装の仕方を見つけられなかったため、次回修正します。
今後実装予定のもの
・HomeViewのList内のRow部分をFireBaseから更新できるようにする。
・Search、Post、Info、AccountのそれぞれのViewを実装する。
以上です。


