1.今回やること
・C++/WinRTでUWPその3 データバインディングその1 xamlでバインドできるView Modelでは{x:Bind}を使用して各UIとバインドさせましたが、今回は{Binding}を使用して各UIとバインドさせます。
・Bindingでバインドするのには以下の2点が必要になります。
①「INotifyPropertyChanged」を実装する。
②:DataContextを設定する
・この二つを行うと動的に変更できるBindingが使用できるようになります(詳しくはMSのHPのここ)。
・今回よりVisual Studioは2026へアップデートしました。まだの方はここから落としてください。
・「Bindingでバインド」は長いのでこれ以降は「バインバイン」、「x:Bindでバインド」は「エクスバイン」と呼びます。
2.エクスバインとバインバインの両方が可能なViewModelの作成
2-1ひな形の作成
・VS2026で新しくプロジェクトを追加します。名前は「Binding_1」とします。

・いつものようにMainWindow.idl、MainWindow.h、MainWindow.cppからいらないMyPropretyを削除します。
・今回はTextBoxへViewModelをバインドさせるので、MainWindow.xamlは以下のようにします。
<?xml version="1.0" encoding="utf-8"?>
<Window
    x:Class="Binding_1.MainWindow"
    xmlns="http://schemas.microsoft.com/winfx/2006/xaml/presentation"
    xmlns:x="http://schemas.microsoft.com/winfx/2006/xaml"
    xmlns:local="using:Binding_1"
    xmlns:d="http://schemas.microsoft.com/expression/blend/2008"
    xmlns:mc="http://schemas.openxmlformats.org/markup-compatibility/2006"
    mc:Ignorable="d"
    Title="Binding_1">

    <Grid>
        <StackPanel Orientation="Vertical" HorizontalAlignment="Center" VerticalAlignment="Center" Spacing="10">

            <TextBlock Text="エクスバインとバインバイン" Style="{StaticResource TitleTextBlockStyle}"/>

            <TextBox Header="エクスバイン"
                 Width="200"/>

            <TextBox Header="バインバイン1"
                 Width="200"/>

            <TextBox Header="バインバイン2"
                 Width="200"/>

        </StackPanel>


    </Grid>
</Window>
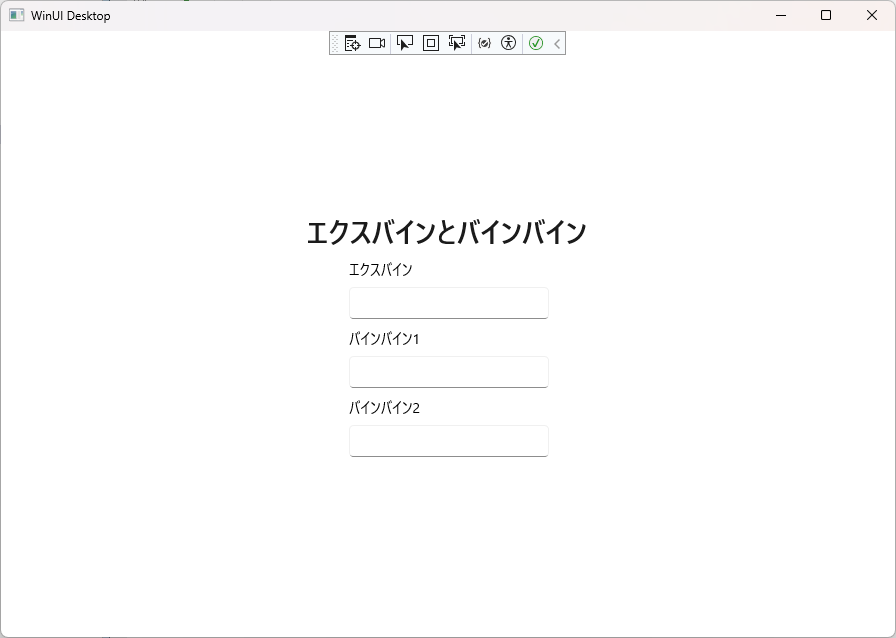
見た目はこんな感じ
2-2. エクスバインとバインバインの両方出来るViewModelの作成
・それでは「①「INotifyPropertyChanged」を実装する」を担当するViewModelを作成します。
・とは言え、何か難しい事をするわけでは無く、C++/WinRTでUWPその4 データバインディングその2 コントロールへの変更通知でやった変更通知を実装するだけです。
・「新しい項目の追加」からビューモデルと追加します。名前は「BindViewModel1」としておきます。
・これを以前やったStringViewModelと同じように変更していきます。まずは、MyPropertyとかいらないものを削除して、以下のように変更します。
・以前やったところなので、詳しい説明は省きます。
2-2-1. BindViewModel1.idl
・今回はTextBoxへバインドさせるだけなので、DataTextというString型のみ持ちます。
・以前とはnamespaceが異なるので、そこは注意です。
namespace Binding_1
{
    [bindable]
    [default_interface]
    runtimeclass BindViewModel1 : Microsoft.UI.Xaml.Data.INotifyPropertyChanged
    {
        BindViewModel1();
	    String DataText;
    }
}
2-2-2. BindViewModel1.h
・ヘッダーも簡単に実装しましょう。
#pragma once

#include "BindViewModel1.g.h"

namespace winrt::Binding_1::implementation
{
    struct BindViewModel1 : BindViewModel1T<BindViewModel1>
    {
        BindViewModel1();
		BindViewModel1(hstring const& dataText);

        //ゲッター
        hstring DataText();
        //セッター
        void DataText(hstring const& value);

        // INotifyPropertyChangedの実装
        winrt::event_token PropertyChanged(Microsoft::UI::Xaml::Data::PropertyChangedEventHandler const& handler);
        // イベントの登録解除
        void PropertyChanged(winrt::event_token const& token) noexcept;

    private:
        hstring m_dataText;

		// PropertyChangedイベント
        winrt::event<Microsoft::UI::Xaml::Data::PropertyChangedEventHandler> m_propertyChanged;
    };
}

namespace winrt::Binding_1::factory_implementation
{
    struct BindViewModel1 : BindViewModel1T<BindViewModel1, implementation::BindViewModel1>
    {
    };
}
2-2-2. BindViewModel1.cpp
・こちらも特に問題なく実装しましょう
・Github Copilotが入っていれば、ほとんど書いてくれて楽ができます。
・ちゃんと確認しないと、痛い目を見ますけどね。
#include "BindViewModel1.h"
#if __has_include("BindViewModel1.g.cpp")
#include "BindViewModel1.g.cpp"
#endif

namespace winrt::Binding_1::implementation
{
	BindViewModel1::BindViewModel1()
		: m_dataText(L"Hello, Bind1!")
	{
	}

	BindViewModel1::BindViewModel1(hstring const& dataText)
		: m_dataText(dataText)
	{
	}

	hstring BindViewModel1::DataText()
	{
		return m_dataText;
	}
	void BindViewModel1::DataText(hstring const& value)
	{
		m_dataText = value;
		m_propertyChanged(*this, Microsoft::UI::Xaml::Data::PropertyChangedEventArgs{ L"DataText" });
	}

	winrt::event_token BindViewModel1::PropertyChanged(Microsoft::UI::Xaml::Data::PropertyChangedEventHandler const& handler)
	{
		return m_propertyChanged.add(handler);
	}

	void BindViewModel1::PropertyChanged(winrt::event_token const& token) noexcept
	{
		m_propertyChanged.remove(token);
	}
}
これで「①「INotifyPropertyChanged」を実装する」の完了です。以前説明した通りにやれば、エクスバインもバインバインも両方可能なViewModelを作成可能です。簡単でしょう?
3. エクスバインとバインバイン
・バインバインにはDataContextの設定が必要となります。
・重要なポイントですが、DataContextには一つのオブジェクトしか入れることは出来ません。
・このため、「バインバイン1」はxamlからバインバイン、「バインバイン2」は.hからバインバインします。
(この方法以外にも、二つのViewModelをもつViewModelを作成し、DataContextに指定すると言う方法もあります。今回その説明はしません。)
3-1. MainWindow.xaml
・エクスバインについては以前説明したので説明は省きます。
・DataContextの設定ですが、xamlで設定するのならそれほど難しいことはありません。
・<grid>もしくは<StackPanel>において以下を行います。
①local:~でViewModel名を指定
②x:Name~でidlに登録されているオブジェクトを指定
・上記2点で終了です。
・今回はそれぞれが、①BindViewModel、②bindViewModelとするのでそれぞれを指定します。
・DataContextには一つのオブジェクトしか登録できないので、このStackPanelにおいてはbindViewModel1のみしか利用できません。
・DetaContextの指定は最初にやらないと、エラーが出るのでそこは注意してください。
・バインバイン2は.hでバインバインの設定を行うので、名前をつけました。
<?xml version="1.0" encoding="utf-8"?>
<Window
    x:Class="Binding_1.MainWindow"
    xmlns="http://schemas.microsoft.com/winfx/2006/xaml/presentation"
    xmlns:x="http://schemas.microsoft.com/winfx/2006/xaml"
    xmlns:local="using:Binding_1"
    xmlns:d="http://schemas.microsoft.com/expression/blend/2008"
    xmlns:mc="http://schemas.openxmlformats.org/markup-compatibility/2006"
    mc:Ignorable="d"
    Title="Binding_1">

    <Grid>
        <StackPanel Orientation="Vertical" HorizontalAlignment="Center" VerticalAlignment="Center" Spacing="10">

            <StackPanel.DataContext>
                <local:BindViewModel1 x:Name="bindViewModel1" />
            </StackPanel.DataContext>

            <TextBlock Text="エクスバインとバインバイン" Style="{StaticResource TitleTextBlockStyle}"/>

            <TextBox Header="エクスバイン"
                 Text="{x:Bind bindViewModel1.DataText, Mode=OneWay}"
                 Width="200"/>

            <TextBox Header="バインバイン1"
                     Text="{Binding DataText, Mode=OneWay}"
                 Width="200"/>

            <TextBox Header="バインバイン2"
                 x:Name="BinBin2"
                 Width="200"/>

        </StackPanel>


    </Grid>
</Window>
3-2. MainWindow.idl
・ここではバインバイン1で表示させるbindViewModel1とバインバイン2で表示させるbindViewModel2の二つのViewModelを持ちます。
・変更するつもりはないのでgetのみ。
import "BindViewModel1.idl";

namespace Binding_1
{
   [default_interface]
   runtimeclass MainWindow : Microsoft.UI.Xaml.Window
   {
       MainWindow();
       BindViewModel1 bindViewModel1{ get; };
       BindViewModel1 bindViewModel2{ get; };
   }
}
3-3. MainWindow.xaml.h
・idlで追加したメンバの実装と、C++でバインバインを実装を行います。
・24行目以降にC++でバインバインしていますが、xamlと同じことをC++で書いているだけです。UIへ直接色々な属性を付加するので、C++でバインバインする場合はDataContextの設定はありません。
・どちらかというと、DataContextには一つのオブジェクトしか登録できないので、二つ以上のオブジェクトを一つのgridやstackpanelへバインバインするためにC++で書いていると言った方が的確です。
#pragma once

#include "MainWindow.g.h"

#include "BindViewModel1.h"

namespace winrt::Binding_1::implementation
{
   struct MainWindow : MainWindowT<MainWindow>
   {
   	Binding_1::BindViewModel1 m_bindViewModel1{ nullptr };
       Binding_1::BindViewModel1 m_bindViewModel2{ nullptr };


       MainWindow()
       {
   		//これを忘れるとXAMLが読み込まれないでエラーになる
   		InitializeComponent();

           m_bindViewModel1 = winrt::make<Binding_1::implementation::BindViewModel1>();
   		m_bindViewModel2 = winrt::make<Binding_1::implementation::BindViewModel1>(L"Hello, Bind2!");


   		// TextBoxにBindingを設定。
           winrt::Microsoft::UI::Xaml::Data::Binding binbin2;
   		// Binding~で指定するプロパティ名の設定
   		binbin2.Path(winrt::Microsoft::UI::Xaml::PropertyPath{ L"DataText" });
   		// バインディングモードの設定
   		binbin2.Mode(winrt::Microsoft::UI::Xaml::Data::BindingMode::OneWay);
   		// データソースの変更を即座に反映させる設定
   		binbin2.UpdateSourceTrigger(winrt::Microsoft::UI::Xaml::Data::UpdateSourceTrigger::PropertyChanged);
   		// バインディング元のViewModelを設定
   		binbin2.Source(m_bindViewModel2);
   		// TextBoxにバインバイン
   		BinBin2().SetBinding(winrt::Microsoft::UI::Xaml::Controls::TextBox::TextProperty(), binbin2);
       }

       Binding_1::BindViewModel1 bindViewModel1()
       {
           return m_bindViewModel1;
   	}

       Binding_1::BindViewModel1 bindViewModel2()
       {
           return m_bindViewModel2;
       }

   };
}

namespace winrt::Binding_1::factory_implementation
{
   struct MainWindow : MainWindowT<MainWindow, implementation::MainWindow>
   {
   };
}
これでバインバインの説明は終了となります。 実行すると、以下のようになりxamlと.hで実装したとおりになっていることが確認できると思います。

.バインバインだと動的にViewModelを変更できるようになるのでRadioButtonで表示するViewModelを切り替えたい等に対応出来るようになります。
・xamlでバインバインする方法は他にもあるので、調べてみてください。