この記事は、Akashic Engine Advent Calendar の19日目の記事です。
はじめに
Akashic Engine は JavaScript で動作するマルチメディアライブラリです。ニコニコ生放送で動くゲームの開発に使われています。Akashic Engine で何ができるかは以下の入門を読むと分かります。
Akashic Engine はとてもプリミティブな機能しか用意されておらず、例えば線を描く機能はありません。そこで Akashic Engine に用意されている FilledRect を利用して線分を書く記事を書きました。
さらに線が描けるようになると次は面を塗りつぶしたくなってきます。そこで Akashic Engine に用意されている FilledRect を利用して三角形を書く記事を書きました。
線、面ときたら次は当然立体を描きたくなります。Akashic Engine で3D描画を行う記事は、すでにこのアドベントカレンダーにもいくつかありますが。ここでは、前回作った FilledRect で三角形を描画する方法で3D描画に挑戦します。
三角形描画の効率化
どのように3D描画をするかですが、3D空間に配置した三角形ポリゴンを2Dの画面に透視射影変換して、その三角形を FilledRect を使って描画します。3D描画では三角形をたくさん描画する必要があるので、全角作成した三角形描画を少しだけ効率化します。具体的には、FilledRect のエンティティを4つ作成する代わりに、カスタムエンティティを作成して、Rendererのメソッドを直接呼び出して描画します。以下がこの方法で作成した Triangle クラスです。
interface TriangleParameterObject extends g.CacheableEParameterObject {
    cssColor: string;
    x0: number;
    y0: number;
    x1: number;
    y1: number;
    x2: number;
    y2: number;
}

class Triangle extends g.CacheableE {
    public cssColor: string;
    public x0: number;
    public y0: number;
    public x1: number;
    public y1: number;
    public x2: number;
    public y2: number;

    constructor(params: TriangleParameterObject) {
        super(params);
        this.cssColor = params.cssColor;
        this.x0 = params.x0;
        this.y0 = params.y0;
        this.x1 = params.x1;
        this.y1 = params.y1;
        this.x2 = params.x2;
        this.y2 = params.y2;
        this._invalidateSelf();
    }

    invalidate(): void {
        this._invalidateSelf();
        super.invalidate();
    }

    renderCache(renderer: g.Renderer): void {
        if (!this._isFront()) return;
        renderer.save();
        renderer.setCompositeOperation(g.CompositeOperation.Copy);
        renderer.fillRect(0, 0, this.width, this.height, this.cssColor);
        renderer.setCompositeOperation(g.CompositeOperation.DestinationOut);
        renderer.translate(-this.x, -this.y);
        this._removeOutsideOfEdge(renderer, this.x0, this.y0, this.x1, this.y1);
        this._removeOutsideOfEdge(renderer, this.x1, this.y1, this.x2, this.y2);
        this._removeOutsideOfEdge(renderer, this.x2, this.y2, this.x0, this.y0);
        renderer.restore();
    }

    private _isFront(): boolean {
        if (this.x0 === this.x1) {
            return (this.y0 > this.y1 && this.x0  > this.x2) || (this.y0 <= this.y1 && this.x0  <= this.x2);
        } else {
            const y = this.y0 + (this.y1 - this.y0) / (this.x1 - this.x0) * (this.x2 - this.x0);
            return (y > this.y2 && this.x1 > this.x0) || (y <= this.y2 && this.x1 <= this.x0);
        }
    }

    private _removeOutsideOfEdge(renderer: g.Renderer, x1: number, y1: number, x2: number, y2: number): void {
        const dx = x2 - x1;
        const dy = y2 - y1;
        const angle = Math.atan2(dy, dx);
        const size = Math.sqrt(dx * dx + dy * dy);
        renderer.save();
        renderer.transform([Math.cos(angle), Math.sin(angle), -Math.sin(angle), Math.cos(angle), x1, y1]);
        renderer.fillRect(0, 0, size * 2, size, "red");
        renderer.restore();
    }

    private _invalidateSelf(): void {
        this.x = Math.min(this.x0, this.x1, this.x2);
        this.y = Math.min(this.y0, this.y1, this.y2);
        this.width = Math.max(this.x0, this.x1, this.x2) - this.x;
        this.height = Math.max(this.y0, this.y1, this.y2) - this.y;
    }
}
この方法で描画を行うと、前回の記事で行なったような rotate の中心座標を考えたり、あるいは度数とラジアンの変換等の計算を省略できます。また頂点の並びが反時計回りの時を表、時計回りの時を裏として、裏を向いているポリゴンは描画しないようにしています。
行列の計算
これから先、ベクトルや行列の計算がたくさん出てくるので、クラス Vector3d と Matrix4d を作成しました。この部分は本格的なプログラムを作成する場合は既存のライブラリを利用するのが良さそうです。基本的な演算を愚直に計算しています。例えば透視投影はこちらのサイトに書かれている行列を愚直に実装しています。
export class Matrix4d {
    public readonly mat: number[][];
...
    loadPerspective(fov: number, aspect: number, near: number, far: number): this {
        this.clear();
        const f = 1 / Math.tan(fov / 2);
        this.mat[0][0] = f / aspect;
        this.mat[1][1] = f;
        this.mat[2][2] = (far + near) / (near - far);
        this.mat[2][3] = -1;
        this.mat[3][2] = (2 * far * near) / (near - far);
        return this;
    }
...
}
これまでのコードを利用して立方体を描画します。立方体のデータは以下の記事からもって来ました。
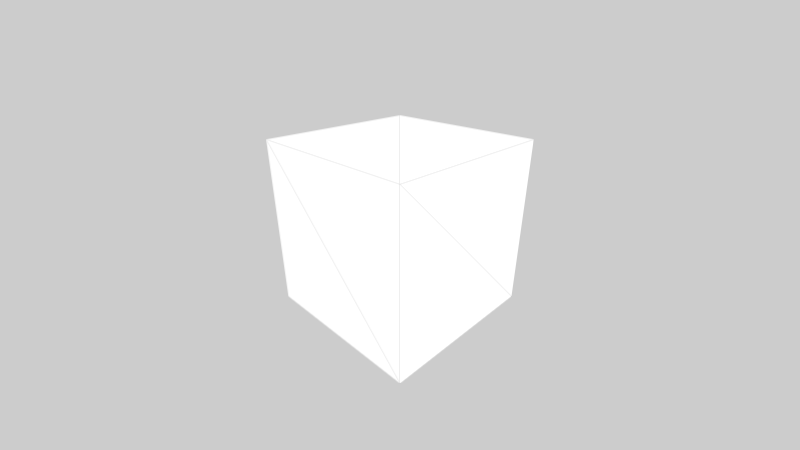
三角形の継ぎ目が見えてしまっていますが、それらしい表示が得られました。
ライティング
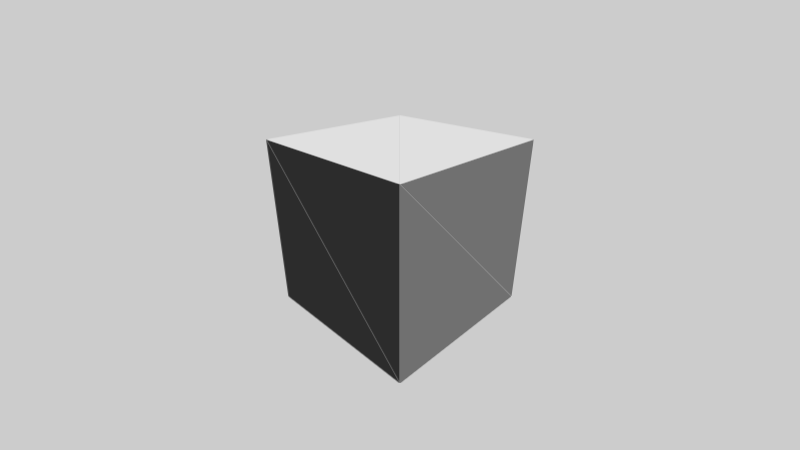
陰影をつけるためにランバート反射に基づいて三角形の色を決めます。ポリゴンの法線(外積を用いて計算)と光源の方向の内積をとって色を決定しています。AkashicEngine では cssColor で指定するので、rgb(64, 0, 32) のような文字列を作って渡しています。
        const normal = cross(subtract(p1, p0), subtract(p2, p0)).normalize();
        const brightness = Math.max(dot(this.modelMatrix.multiplyByVector3d(this.lightVec).normalize(), normal), 0) * 255;
        const r = Math.floor(color.x * brightness);
        const g = Math.floor(color.y * brightness);
        const b = Math.floor(color.z * brightness);
        const cssColor = `rgb(${r}, ${g}, ${b})`;
先ほどのモデルに陰影をつけると以下のようになりました。
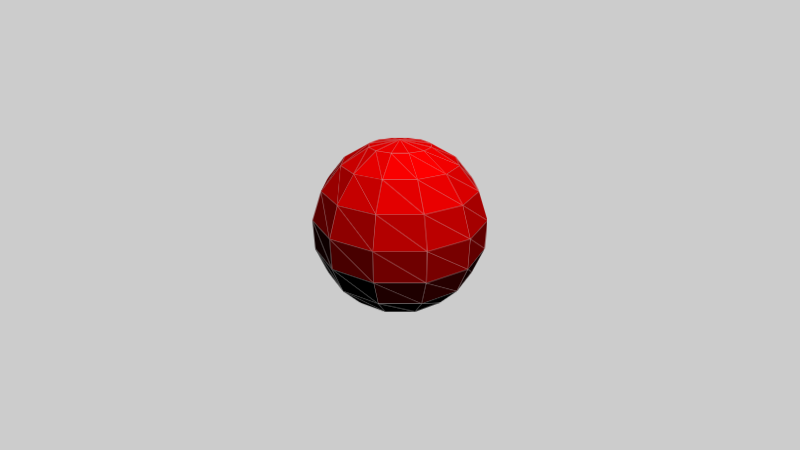
以下は同じコードで球体を表示したものです。
ソースコードと今後の課題
FilledRect を利用して立方体を出すことはできましたが、まだまだ課題があります。
- 三角形の形がうっすら見えているのを消す。
- ポリゴン数が増えると重くなるのでもっと軽量化する。
- 実はポリンゴンの前後判定(ソート)を実装していない。
- テクスチャを貼りたい
このあたりを上手に解決できれば Akashic 上で面白い絵を出すことができそうです。ここまでで作ったコードは以下に置いてあります。
以下のURLで実際に動くデモを試せます。