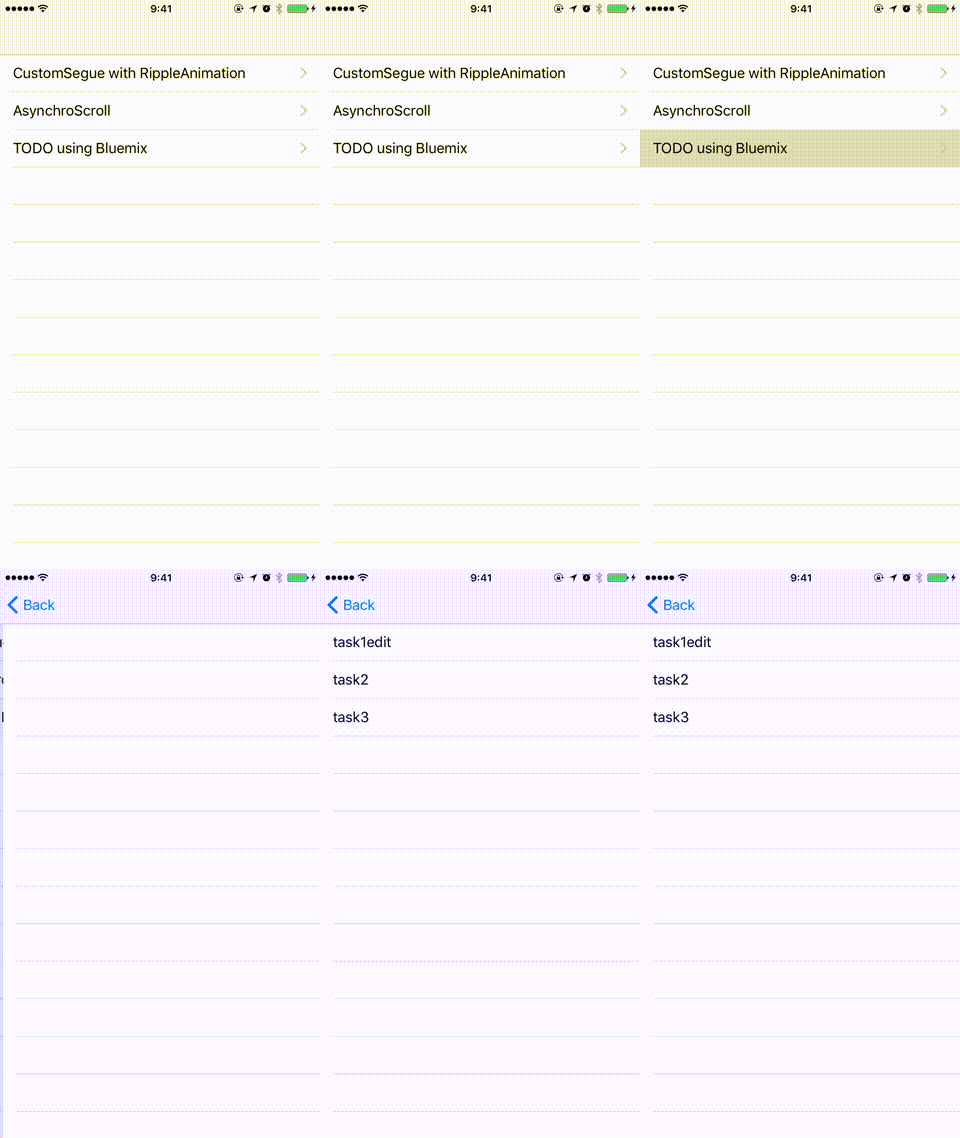
BluemixでバックエンドAPIを用意してiOSから呼び出す
前回はBluemixの初期設定などを行いました。
今回は前回モバイルアプリを用意した時にサンプルとして自動でできたTODOのWebアプリケーションのAPIをiOSで呼び出すためにiOS側の実装をメインに行っていきたいと思います。
Web側のAPIの確認
実はサンプルには既にAPIが自動で作られていてAPIの一覧は以下のように確認できます。
Nodejsをやられている方はご存知のフレームワークかと思いますが、アプリ作成時にLoopbackが自動で使われるようです。これがAPIをうまい具合に用意してくれるようですね。
Loopbackに関してはこちらの記事もご参照してみてください。
iOS側実装
今回、iOS側の実装は以下のような流れで進めていきます。
1. 非同期通信する用にAlamofireを導入する
2. TODOの表示できるiOSアプリを作る
3. 動作の確認
※TODOデータのiOS側からの登録、変更、削除は次回以降に回します。
Almofireを導入
既にXcodeプロジェクト作成までしてあるという前提で進めていきます。
まずxcodeプロジェクトにcocoapodsを導入します。
プロジェクトのディレクトリまで行って
% pod --version
0.39.0
% pod init
% vi Podfile
それで以下のようにPodfileを編集してください。
# Uncomment this line to define a global platform for your project
# platform :ios, '6.0'

target 'continuance' do
  source 'https://github.com/CocoaPods/Specs.git'
  platform :ios, '8.0'
  use_frameworks!

  pod 'Alamofire', '~> 3.0'

end
そしたらpod installします
% pod install
Updating local specs repositories

CocoaPods 1.0.0.beta.4 is available.
To update use: `sudo gem install cocoapods --pre`
[!] This is a test version we'd love you to try.

For more information see http://blog.cocoapods.org
and the CHANGELOG for this version http://git.io/BaH8pQ.

Analyzing dependencies
Downloading dependencies
Installing Alamofire (3.2.0)
Generating Pods project
Integrating client project

[!] Please close any current Xcode sessions and use `continuance.xcworkspace` for this project from now on.
Sending stats
Pod installation complete! There is 1 dependency from the Podfile and 1 total pod installed.
これでAlamofireの導入完了です。
Alamofireはswiftで書かれているので、BridgingHeaderを用意したり追記する必要はありません。
<プロジェクト名>.xcworkspaceからプロジェクトを開く事を忘れずに。。。
iOS側のTODOアプリを実装
こちらのソースもGithubにあげておきますので参考頂きながら進めて頂ければと思います。
TODOの表示
必要クラスなどの用意
シンプルにViewContorllerとUITableViewをストーリーボード上に追加、そしてToDoViewController.swiftを用意しました。

必要(便利)なcocoapodsライブラリを用意
JSONデータも扱うのでSwiftyJSONも入れときます。
参考:https://github.com/pdutourgeerling/Alamofire-SwiftyJSON-Podspec/blob/master/README.md
target 'continuance' do

  source 'https://github.com/CocoaPods/Specs.git'
  platform :ios, '8.0'
  use_frameworks!

  pod 'SwiftyJSON', :git => 'https://github.com/SwiftyJSON/SwiftyJSON.git'
  pod 'Alamofire', '~> 3.0'
  pod 'Alamofire-SwiftyJSON', :podspec => 'https://raw.githubusercontent.com/pdutourgeerling/Alamofire-SwiftyJSON-Podspec/master/Alamofire3-SwiftyJSON.podspec'

end
TODO一覧を取得して表示する
ViewControllerの実装
import UIKit
import Alamofire
import SwiftyJSON
import Alamofire_SwiftyJSON

class ToDoViewController: UIViewController {

  @IBOutlet weak var tableView: UITableView!
  var toDoList:Array<Task>?

  override func viewDidLoad() {
    super.viewDidLoad()

    tableView.delegate = self
    tableView.dataSource = self

    tableView.tableHeaderView?.hidden = true

    toDoList = Array()

    Alamofire.request(.GET, "http://kwnpanda-app.au-syd.mybluemix.net/api/Items"
      , parameters: nil
      , encoding:.JSON).responseSwiftyJSON({(request, response, json, error) in
        for var i = 0; i < json.count; i++ {
          let todo = json[i]

          let task = Task(id: todo["id"].int!
            , text: todo["text"].string!
            , isDone: todo["isDone"].bool!)
          self.toDoList?.append(task)
        }

        self.tableView.reloadSections(NSIndexSet(index: 0), withRowAnimation:UITableViewRowAnimation.Fade)

      })
  }

  override func didReceiveMemoryWarning() {

    super.didReceiveMemoryWarning()

  }
}

extension ToDoViewController: UITableViewDelegate,UITableViewDataSource {

  func tableView(tableView: UITableView, cellForRowAtIndexPath indexPath: NSIndexPath) -> UITableViewCell {

    let cell = UITableViewCell(style: .Default, reuseIdentifier: "TaskCell")
    if let _ = toDoList {

      cell.textLabel?.text = toDoList![indexPath.row].text

    }

    return cell

  }

  func tableView(tableView: UITableView, numberOfRowsInSection section: Int) -> Int {

    if let _ = toDoList {

      return toDoList!.count

    } else {

      return 0

    }

  }

}
modelも追加しています。
import UIKit

class Task: NSObject {

  var id: Int
  var text: String
  var isDone: Bool

  init(id:Int, text:String, isDone:Bool) {

    self.id = id
    self.text = text
    self.isDone = isDone

  }

}
ここまでやったらWeb側で適当にTODOを追加してみましょう。

ここまでで表示部分は完成です。
まとめ
今回はTODOの表示までを行いました。
次回は、一気に登録、編集、削除までやりたいと思います。
Github
cocoapodsライブラリも全部あげているのでcocoapodsが入っていなくても動くと思います。


