はじめに
この記事はこちらの公式ページを元にしてあります。(ってか内容は全く同じ)
こちらの公式ページはかなり丁寧に作られてるので、あまりつまずく点はありませんが、、、一応少しだけ追加情報を足しておきます。
(2021/7月 Capacitor3に対応した内容に更新しました!)
と言う訳で、Firebase Cloud Messagingを使ってプッシュ通知を実装します〜
前提条件
・Ionic + Angularのionicアプリが既にある
・FirebaseプロジェクトとIonicアプリが、既に紐ずけされてある
→Android用のgoogle-services.jsonと、iOS用のGoogleService-Info.plistが、ダウンロード済み!
3つアイコンあればOK!
・プッシュ通知をテストするには、iOSとAndroid共に実機でテストする必要があります。
→両方でやりたい人は、両方のデバイスが必要!
push.service.tsを作成
home.page.tsにプッシュ通知関連のコードをかくと、めちゃくちゃ長くなるので![]()
serviceにまとめちゃいます。
ionic g service service/push
これでserviceフォルダに、push.service.tsが作成されたかと。
Capacitor Push Notification APIを使用して、プッシュ通知に登録
import { Injectable } from '@angular/core';
import {
  ActionPerformed,
  PushNotificationSchema,
  PushNotifications,
  Token,
} from '@capacitor/push-notifications';

@Injectable({
  providedIn: 'root'
})
export class PushService {
  constructor() {}

  pushRegister() {
    console.log('Initializing HomePage');

     PushNotifications.requestPermission().then(result => {
      if (result.receive === 'granted') {
        // Register with Apple / Google to receive push via APNS/FCM
        PushNotifications.register();
        console.log('push通知の登録できました!');
      } else {
        console.log('push通知の登録できないよ・・');
      }
    });

    // On success, we should be able to receive notifications
    PushNotifications.addListener(
      'registration',
      (token: Token) => {
        alert('Push registration success, token: ' + token.value);
      }
    );

    // Some issue with our setup and push will not work
    PushNotifications.addListener('registrationError', (error: any) => {
      alert('Error on registration: ' + JSON.stringify(error));
    });

      // もしアプリが開いてる状態で通知を受け取ったら
    PushNotifications.addListener(
      'pushNotificationReceived',
      (notification: PushNotificationSchema) => {
        alert('プッシュ通知を受け取ったよ: ' + JSON.stringify(notification));
        console.log(
          'プッシュ通知を受け取ったよ: ' + JSON.stringify(notification)
        );
      }
    );

     // 通知がタップされた時に発動する
    PushNotifications.addListener(
      'pushNotificationActionPerformed',
      (notification: ActionPerformed) => {
        alert('実行されたプッシュアクション: ' + JSON.stringify(notification));
        console.log(
          '実行されたプッシュアクション: ' + JSON.stringify(notification)
        );
      }
    );
}
home.page.tsで呼び出す
import { PushService } from './../service/push.service';

constructor(
    private pushService: PushService
  ) { }

 async ngOnInit() {
    this.pushService.pushRegister();
  }
capacitor.config.json
これが何をしてるのかは、わかりません。。。
{
  "appId": "com.app.test",
  "appName": "push",
  "bundledWebRuntime": false,
  "npmClient": "npm",
  "webDir": "www",
  "plugins": {
    "PushNotifications": {
      "presentationOptions": [
        "badge",
        "sound",
        "alert"
      ]
    }
  }
}
iOSの設定
こちらの公式ページでも言われていますが、iOSの設定すげーややこしいです。。。
まず、下の記事を見てくださ。
iOS プッシュ通知に必要な証明書 p12とp8に関する疑問解消 (Firebase Cloud Messaging)
結論、p8の証明書を取りましょう!
Capacitorの公式ページでは、p12の証明書を取得する方法について解説されていました(解説と言う程では無いが、Apple公式ページのドキュメントへのリンクが貼られてある)
なのでこちらの記事を参考にして、p8の証明書を取ってください。
p8証明書を取得してFirebaseにアップロード
下の記事を参考に、p8証明書をFirebaseにアップロードしてください。
お手軽firebaseプッシュ通知証明書作成メモ
Apple Developer Member Centerの画面の見た目が、変わっているので気をつけましょう。
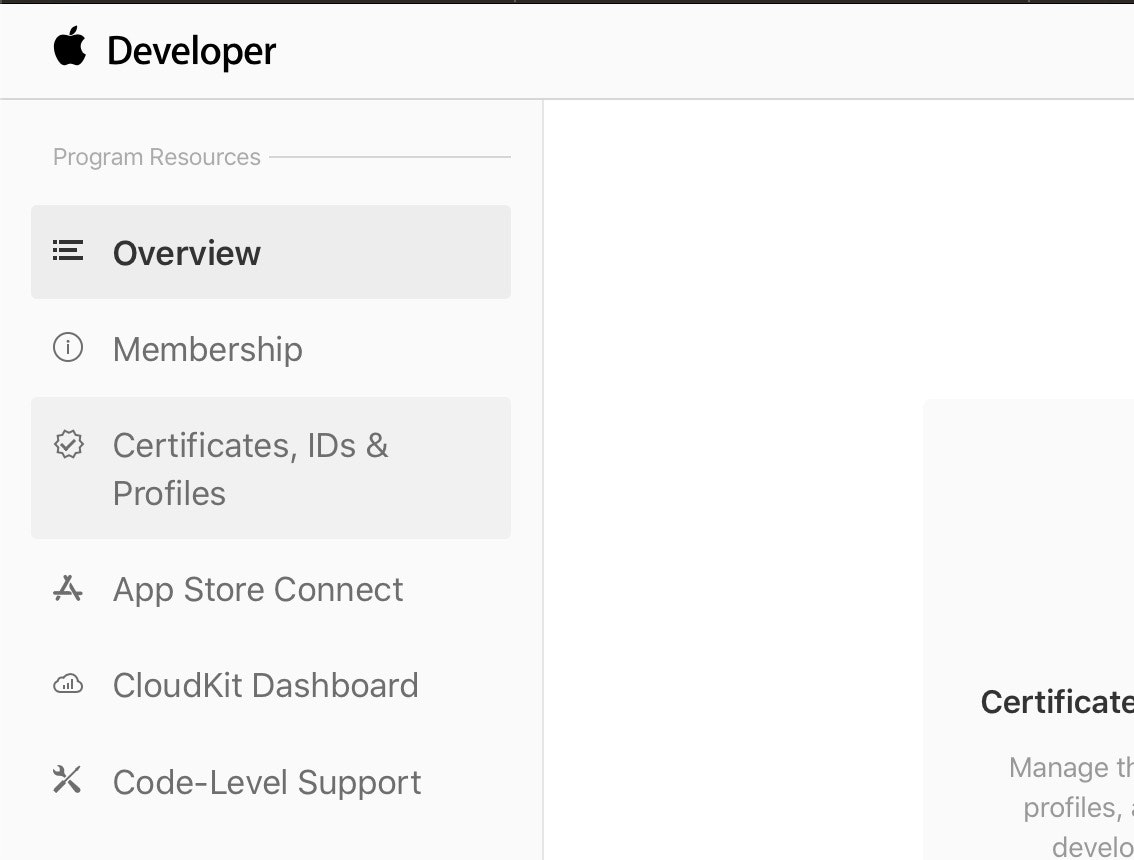
[Certificates, Identifiers & Profiles] に移動

[Keys]に移動

プラスボタンで作成
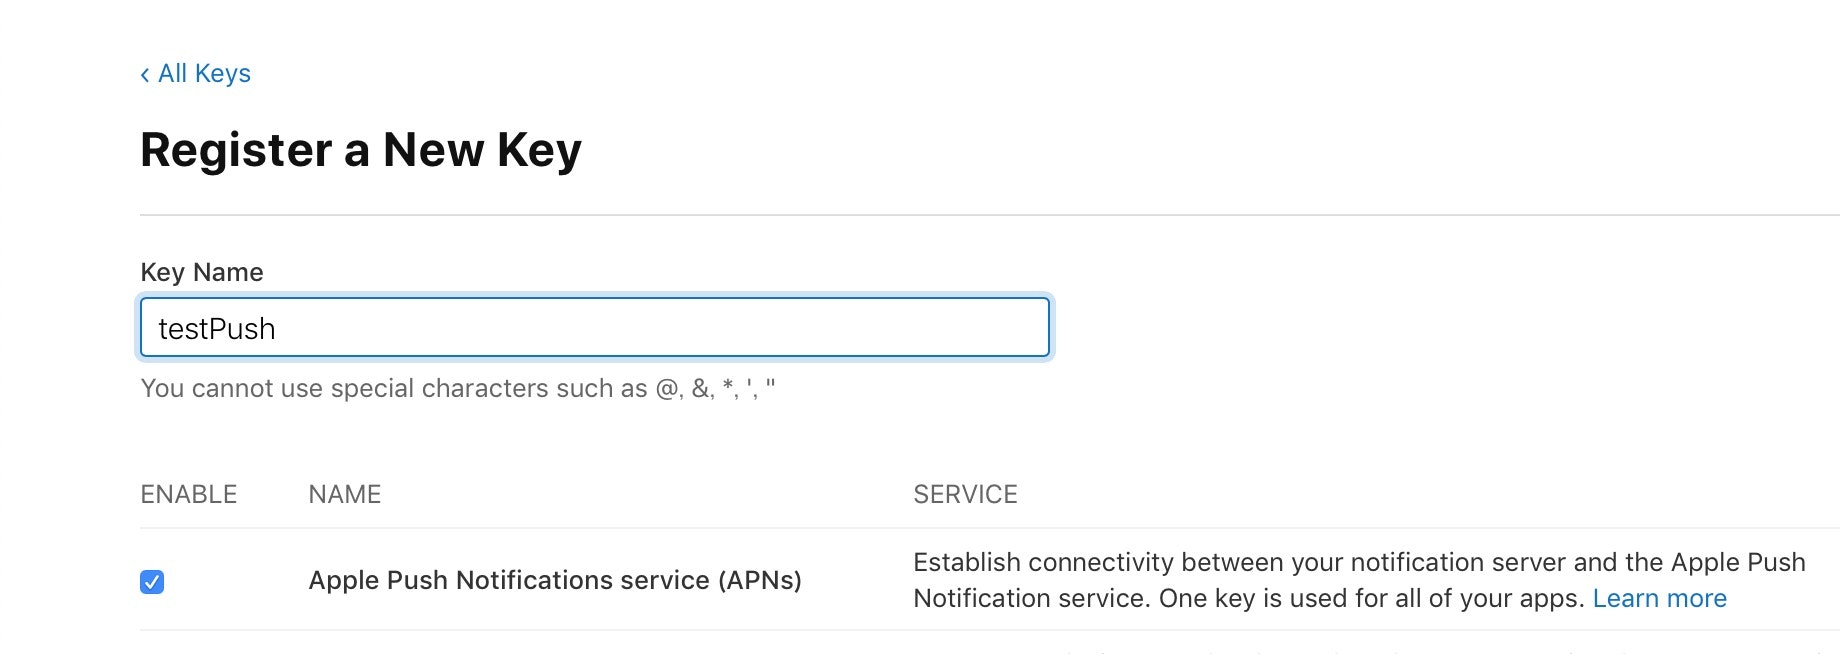
**Apple Push Notifications service (APNs)**を選択して、作成。
こちらを参考にして、Firebaseにp8証明書を設定します。
Xcodeでプッシュ通知を許可する
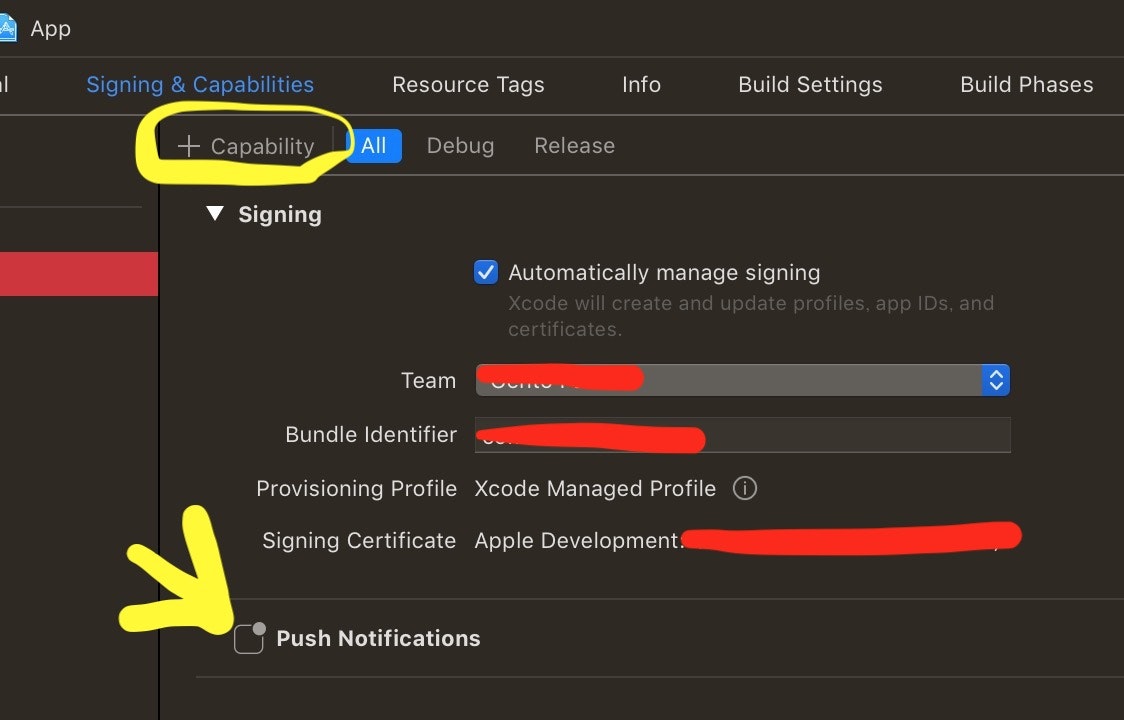
[+Capabilities]を押して、プッシュ通知を追加
GoogleService-Info.plistを移動
ios/App/App/の階層にGoogleService-Info.plistを移す。

Firebase SDKをCocoaPodsを使って追加

Pods/Podfileにpod 'Firebase/Messaging'を追加
platform :ios, '11.0'
use_frameworks!

# workaround to avoid Xcode 10 caching of Pods that requires
# Product -> Clean Build Folder after new Cordova plugins installed
# Requires CocoaPods 1.6 or newer
install! 'cocoapods', :disable_input_output_paths => true

def capacitor_pods
  # Automatic Capacitor Pod dependencies, do not delete
  pod 'Capacitor', :path => '../../node_modules/@capacitor/ios'
  pod 'CapacitorCordova', :path => '../../node_modules/@capacitor/ios'

  # Do not delete
end

target 'App' do
  capacitor_pods
  # Add your Pods here
  pod 'Firebase/Messaging' #追加
end
プロジェクトをアップデート
npx cap update ios
AppDelegate.swiftに初期化コードを追加
import UIKit
import Capacitor
import FirebaseMessaging //追加

@UIApplicationMain
class AppDelegate: UIResponder, UIApplicationDelegate {

  var window: UIWindow?


  func application(_ application: UIApplication, didFinishLaunchingWithOptions launchOptions: [UIApplication.LaunchOptionsKey: Any]?) -> Bool {
    // Override point for customization after application launch.
    FirebaseApp.configure() //追加
    return true
  }

//省略

func application(_ application: UIApplication, didRegisterForRemoteNotificationsWithDeviceToken deviceToken: Data) {
 //以下を追加
       Messaging.messaging().apnsToken = deviceToken
        Messaging.messaging().token(completion: { (token, error) in
            if let error = error {
                NotificationCenter.default.post(name: .capacitorDidFailToRegisterForRemoteNotifications, object: error)
            } else if let token = token {
                NotificationCenter.default.post(name: .capacitorDidRegisterForRemoteNotifications, object: token)
            }
          })
    }
Androidの設定
iOSに比べえらくシンプル
google-services.jsonを移動
 `android/app/`の階層に`google-services.json`を移す。
プッシュ通知のためのアイコンを用意
こちらによると、Androidはプッシュ通知アイコンを用意しないといけないみたいです。
下の記事を参考にやってみてください。
プッシュ通知を送る
FirebaseコンソールからCloud Messagingへ。

新しい通知を作成し、アプリを閉じた状態で待ってみる。
iOS

Android

自分の端末をテストデバイスとして登録
ユーザー全員にプッシュ通知を送れる状態ではテストできないので、自分のデバイスをテストデバイスとして登録しておきましょう!
// On success, we should be able to receive notifications
    PushNotifications.addListener(
      'registration',
      (token: PushNotificationToken) => {
        // alert('登録に成功, tokenはこちら: ' + token.value);
        console.log('登録に成功, tokenはこちら: ' + token.value);
      }
    );
アプリ起動時にtokenがコンソールに表示されるようにしておきましょう。
このコンソールに表示されたtokenをコピー。

テストメッセージを送信ボタンを押す

**[FCM 登録トークンを追加]**というラベルの付いたフィールドで、先ほどコピーした登録トークンを入力。
これで特定の端末にだけ、プッシュ通知を送ることができるようになりました〜!
発生したバグ
ここで1つ、私が遭遇したエラーを紹介。

上記の画像のように**could not build module 'GoogleDataTransport'**が大量に発生しました。。。
シュミレーターでは発生しなかったのに、実機で行うとこのエラーでビルドが失敗となりました。。
どうやって解決したかと言うと、こちらの記事で解説されているDerivedDataを削除してみる事で、不思議なことにエラーが消えました!!
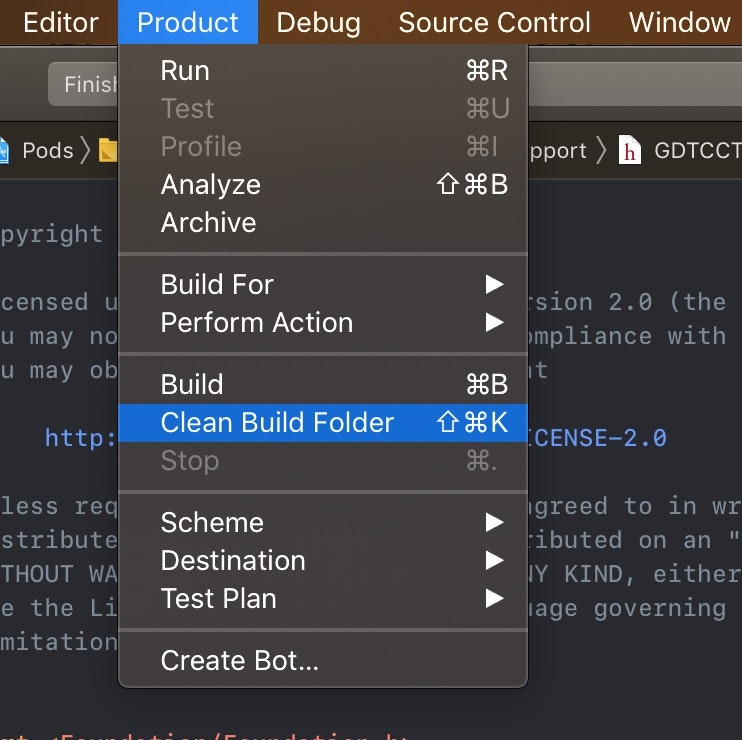
DerivedDataの削除は上部メニュー > [Product] > [Clean Build Folder]で実行できます。
DerivedData は、プロジェクトごとに生成されるキャッシュデータといいますか、インデックスやログや生成物の等の溜め場といいますか、中間データの類です。 ときにこれが悪さをして不穏な動きをさせてしまっていることもあるようです。
と言う事で、消しても問題なし。![]()