はじめに
本記事はwatsonx.ai + LlamaIndexのシンプルなサンプルコードの続きです。
前回はwatsonx.ai + LlamaIndexの組み合わせでシンプルなコードをご紹介しました。
今後何回かに分けてRAG環境したいと思います。
今回はwatsonx.ai + LlamaIndex + ChromaDBの構成でVectorDBを構築する方法をご紹介します。
このVectorDBを使用してRAGを実装するのは次回の予定です。
VectorDBの入出力にembedding モデル(LLM)を使用したベクトル処理が必要になります。
ポイントはRAGを構成する際にVectorDBやLLMフレームワーク(Langchain/LlamaIndex)がそれぞれ持つモデルを使用するのではなく、どれか一つのembeddingモデルを共通で使用することです。今回はwatsonx.aiの持つembed モデルをLlamaIndexとChromaDBで使用する方法をご紹介します。
前提
この記事はIBMクラウドのアカウントがありブラウザ上のwatsonx.aiでLLMが実行できていることを前提としています。もしまだLLMをブラウザ上で実行できていない場合は、こちらの記事を参考に使える準備をお願いします。
watsonx.aiのAPIを使うためにはクレデンシャルの方式がいくつかありますが、簡単に検証できるAPIキーを取得する方法で進めます。 APIキー、プロジェクトID、エンドポイントURLの3つの情報が必要です。
対象読者
- watsonx.aiを使ってLLMアプリケーションを作っている。
- watsonx.ai + LangChainは経験あるけど、LlamaIndexで動かしてみたい。
- watsonx.ai + ChromaDBのRAGを試したい。
Officialな情報
IBMのDocumentでLangChainとLlamaIndexは、watsonx.aiのPythonライブラリーを操作するサードパーティー製のツールとして紹介されています。以下のリンク内にはgithubのリンクが記載されており、サンプルコードを参照できます。
https://www.ibm.com/docs/ja/watsonx/saas?topic=solutions-python-library#llamaindex
また、LlamaIndexの公式ドキュメントにも"IBM watsonx.ai”の例が載っています。
https://docs.llamaindex.ai/en/stable/examples/embeddings/ibm_watsonx/
Chroma DBとの連携の例がLlamaIndexのドキュメントにも書かれていますので参考にしてください。
https://docs.llamaindex.ai/en/stable/examples/vector_stores/ChromaIndexDemo/
プログラムの構成
フォルダ構成
フォルダ構成は以下の様になっています。
./data/フォルダにデータ用のPDF,PPT,WORDのファイルを入れています。
./ChromaDB/フォルダにChromaDBのデータが入ります。
./logs/フォルダにはChromaDBサーバーのログ出力先として事前に作成しておきます。
llamaindex_RAG_sample
├── .venv
├── .env
├── ChromaDB
├── logs
├── data
│   └──  001018414.docx
├── requirement.txt
└── chromadb_dataload_cli.py
テストデータの準備
任意のテストデータでよいのですが、ここでは以下のリンクから総務省が公開しているモデル就業規則のワード文書(001018414.doc)をダウンロードしました。
https://www.mhlw.go.jp/stf/seisakunitsuite/bunya/koyou_roudou/roudoukijun/zigyonushi/model/index.html
./data/フォルダに配置してください。
複数のファイルを配置可能です。
環境変数は.envに記述
APIキー、プロジェクトID、エンドポイントURLをPython実行環境の環境変数に設定します。
手動で設定しても問題ありませんが、ここでは以下の様に".env"ファイルに書き込みpython-dotenvのload_dotenv()を使って読み込みます。
#IBM Cloudアカウントに紐づくAPI KEY.
API_KEY='<上を参照してAPIキーをここに入力>'
#watsonx.aiのPROJECT_ID
PROJECT_ID='<上を参照してここにプロジェクトIDを入力>'

#watsonx.aiを作成したインスタンスのエンドポイントURL。ここではダラスを指定
WATSONX_URL="https://us-south.ml.cloud.ibm.com/"
# WATSONX_URL="https://jp-tok.ml.cloud.ibm.com" <-Tokyoリージョンの場合はこちらを有効にする

# LLMのモデルの設定。生成時とEmbed時に使用するLLMモデルを設定する
EMBED_MODEL= "intfloat/multilingual-e5-large"
LLM_MODEL = "meta-llama/llama-3-405b-instruct"

# ChromaDBの設定
## ChromaDBのPath
VECDB_STORAGE_PATH=./Chroma
## import data folder
IMP_DATA_FOLDER=./data
## 使用状況のTelemetoryの収集を拒否
ANONYMIZED_TELEMETRY=False
パッケージの導入はrequirement.txtを使用
今回はたくさんのパッケージが必要です。
# LlamaIndex
llama-index-core>=0.12.8
llama-index-llms-ibm>=0.3.0
llama-index-embeddings-ibm>=0.3.0
llama-index-readers-file>=0.4.1
llama-index-vector-stores-chroma>=0.4.1

# Chromadb
chromadb>=0.5.23

# ファイル読み込み用
python-docx>=1.1.2
docx2txt>=0.8

# others
python-dotenv>=1.0.1
pandas>=2.1.4
pythonのバージョン
こちらのバージョンで動作しています。
$python -V
Python 3.12.4
requirement.txtを使って一括で導入する方法
以下のコマンドでrequirement.txtで指定したものを一括でインストールする方法は前回と同じです。
$pip install -r requirement.txt
ChromaDBサーバーの起動
事前に./logs フォルダを作成しておく
以下のコマンドを実行する。
$mkdir logs
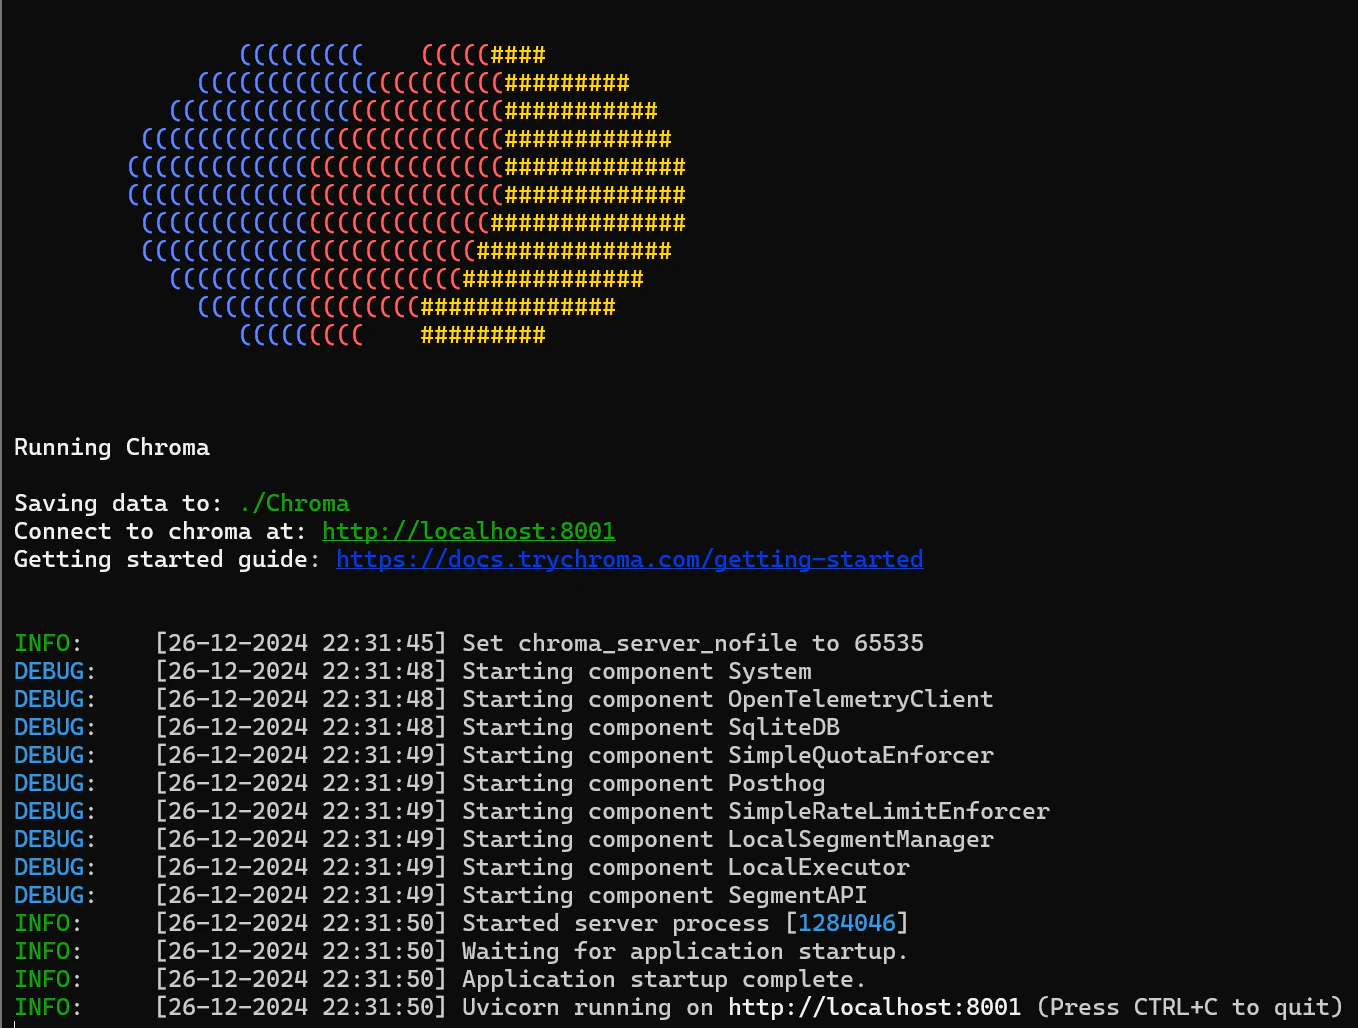
$chroma run --host localhost --port 8001 --path ./Chroma --log-path ./logs/chromaSrv.log
上記のコマンドを実行すると--pathは生成してくれますが、--log-pathのlogsパスは生成してくれずエラーになるので事前に作成が必要です。起動がうまくいくと以下のように表示されます。
ChromaDBは、インメモリ、ローカルファイル、クライアントサーバー形式、Dockerイメージ形式と実行方法の選択肢が多いです。このクライアントサーバー形式が比較的簡単なのではと思います。
VectorDBを作り直したいときは./Chromaフォルダを削除してサーバーを再起動すればリセットできます。
実行コード(全体)
chromadb_dataload_cli.pyでは以下を実施しています。
- ライブラリのimportと環境変数の設定
- LlamaIndexのSettingsの設定
- ChromaDB Httpクライアントの作成
- Collectionの作成
- データの読み込みと前処理の実行
- indexの作成
- ChromaDBのCollectionの確認
Python:chromadb_dataload_cli.pyのコード全体を見る場合はこちらをクリック
# --
# ChromaDBにLlamaIndexとwatsonx.aiのEmbeddingFunctionを利用してWORD/PDF/PPTのデータをベクトル化して格納します。
# Embedding Modelはwatsonx.aiに接続しベクトル化します。
#
# 事前にChromaDBサーバーを任意の場所で実行しておく必要があります。
# 以下のChromaDBサーバー起動コマンドを実行する前にlogsフォルダを作成しておくこと。
# $chroma run --host localhost --port 8001 --path ./Chroma --log-path ./logs/chromaSrv.log
# --

# --
# ライブラリのインポート
# --
import os
from dotenv import load_dotenv
import unicodedata  # 半角全角を修正

# CromaDB
import chromadb
from chromadb import EmbeddingFunction, Documents, Embeddings

# watsonx.ai + LlamaIndex
from llama_index.core import Settings as LlamaIdxSettings
from llama_index.core import SimpleDirectoryReader, VectorStoreIndex
from llama_index.core import StorageContext
from llama_index.core.base.embeddings.base import BaseEmbedding
from llama_index.core.schema import TextNode, TransformComponent
from llama_index.core.node_parser import SentenceSplitter  # 文の境界を尊重しながらテキストを分割する。
from llama_index.core.extractors import TitleExtractor
from llama_index.core.ingestion import IngestionPipeline

from llama_index.vector_stores.chroma import ChromaVectorStore
from llama_index.llms.ibm import WatsonxLLM
from llama_index.embeddings.ibm import WatsonxEmbeddings

# --
# 環境変数の設定
# --
load_dotenv()

api_key = os.getenv('API_KEY')
project_id = os.getenv('PROJECT_ID')
url = os.getenv('WATSONX_URL')

llm_model_id = os.getenv('LLM_MODEL')
embed_model_id = os.getenv('EMBED_MODEL')

chroma_db_path = os.getenv('VECDB_STORAGE_PATH')
data_folder = os.getenv('IMP_DATA_FOLDER')

# --
# LlamaIdxSettingsのインスタンスをセットアップ
# LlamaIndexのグローバルオブジェクトである、Seetingsの以下のオブジェクトをオーバーライドします。
# LlamaIdxSettings.llm
# LlamaIdxSettings.embed_model
# LlamaIdxSettings.node_parser
# --

# LLMのパラメータの設定
additional_params = {
    "decoding_method": "greedy",
    "max_new_tokens": 512,
    "min_new_tokens": 100,
    "repetition_penalt": 1.01,
}

# LLMにwatsonx.ai のLLMを設定
LlamaIdxSettings.llm = WatsonxLLM(
    model_id=llm_model_id,
    apikey=api_key,
    url=url,
    project_id=project_id,
    additional_params=additional_params,
)

# Embedding Modelにwatsonx.ai のembeddedモデルを設定
# truncate_input_tokens はテキストデータをベクトルに変換する際に、入力テキストの長さが上限を超えた場合に、その長さを調整するためのパラメータ。
LlamaIdxSettings.embed_model = WatsonxEmbeddings(
    model_id=embed_model_id,
    url=url,
    apikey=api_key,
    project_id=project_id,
    truncate_input_tokens=128,
    repetition_penalty=1.01,
)

# node_parserの設定。改行2回をパラグラフセパレーター。".!?。?!"をチャンキングセパレーターに。
LlamaIdxSettings.node_parser = SentenceSplitter(chunk_size=512, chunk_overlap=100, paragraph_separator="\n\n", secondary_chunking_regex='[^.!?。?!]+[.!?。?!]?')


# --
# Chroma Clientの作成。
# http経由でChromaDBに接続しindexを作成。サーバーを任意の場所に配置可能
# Serverの起動方法は以下の通り。"chroma run --help" でHelpを参照
# $chroma run --host localhost --port 8001 --path ./Chroma --log-path ./logs/chromaSrv.log
# --

# Chroma Clientの作成。http経由で接続。サーバーを任意の場所に配置可能
chroma_client = chromadb.HttpClient(host="localhost", port=8001)

# --
# Llamaindexで設定したEmbed_modelをChromaDBで使用するためのアダプタwatsonx.aiのEmbed.modelを利用するために必要。
# There are no compativility between Embedding Function(ChromaDB) and Embedding Model(llamaIndex).
# https://cookbook.chromadb.dev/integrations/llamaindex/embeddings/
# --


class ChromaDB_LlamaIndexEmbeddingAdapter(EmbeddingFunction):
    def __init__(self, ef: BaseEmbedding):
        self.ef = ef

    def __call__(self, input: Documents) -> Embeddings:
        return [node.embedding for node in
                self.ef([TextNode(text=doc) for doc in input])]


# collectionの作成。コレクションを作成またはアクセスする際にwatsonx.aiのembed modelを使う方法
collection = chroma_client.get_or_create_collection(
    name="my_sample_collection",
    embedding_function=ChromaDB_LlamaIndexEmbeddingAdapter(LlamaIdxSettings.embed_model),
    metadata={"hnsw:space": "cosine"})

# --
# データの読み込みと前処理の実行
# --

# フォルダにあるデータをDocumentコンテナに入れる。PDF,Word,PPT等Load可能. data folderは.envで設定
documents = SimpleDirectoryReader(data_folder).load_data()


# テキストの含まれる半角カナを全角カナ、全角数字を半角数字などに変換。
class TextNormalizer(TransformComponent):
    def __call__(self, nodes, **kwargs):
        for node in nodes:
            node.set_content(unicodedata.normalize('NFKC', node.get_content()))
            # node.set_content(unicodedata.normalize('NFKC', node.get_content().replace("\n", ""))) #改行を削除したい場合
        return nodes


pipeline = IngestionPipeline(
    transformations=[
        LlamaIdxSettings.node_parser,
        TextNormalizer(),
        # TitleExtractor(),
    ]
)

# pipeline処理を実行
nodes = pipeline.run(documents=documents)

# --
# ChromaDBのセットアップ
# LlamaIndex
# --

# ChromaVectorStoreのセットアップ。
vector_store = ChromaVectorStore(chroma_collection=collection)
storage_context = StorageContext.from_defaults(vector_store=vector_store)

# indexの作成
index = VectorStoreIndex(
    nodes,
    storage_context=storage_context,
    embed_model=LlamaIdxSettings.embed_model,
    show_progress=True,
)

# ChromaDBのCollectionの確認
print("collection.count() = ", collection.count())
print("collection.peek(limit=3) = ", collection.peek(limit=10))
出力結果は以下となります。
Collectionに1751件登録されたことが分かります。
collection.count() = 1751
2549-4922-ad17-8052d2c7edf2', '05dcddcb-94e6-480・・・<省略>
collection.peek(limit=3) =  {'ids': ['90b29572-08dc-4199-b266-27af8e232a25', '6def16ed-52bd-4250-8126-93948978e203', '8c39b6b2-95f0-4308-a15a-cf6058438e3f'], 'embeddings': array([[-<省略>
コード解説
簡単にコードを解説します。
ライブラリのimportと環境変数の設定
chromadbとllamaIndexのライブラリをインポートしています。
watsonx.aiのライブラリは、llama_index.llms.ibmからWatsonxLLMをインポートする形で利用しています。
必要な変数を.envにいれてload_dotenv()を使用して環境編素に設定し、変数を読み込んでいます。
# --
# ライブラリのインポート
# --
import os
from dotenv import load_dotenv
import unicodedata  # 半角全角を修正

# CromaDB
import chromadb
from chromadb import EmbeddingFunction, Documents, Embeddings

# watsonx.ai + LlamaIndex
from llama_index.core import Settings as LlamaIdxSettings
from llama_index.core import SimpleDirectoryReader, VectorStoreIndex
from llama_index.core import StorageContext
from llama_index.core.base.embeddings.base import BaseEmbedding
from llama_index.core.schema import TextNode, TransformComponent
from llama_index.core.node_parser import SentenceSplitter  # 文の境界を尊重しながらテキストを分割する。
from llama_index.core.extractors import TitleExtractor
from llama_index.core.ingestion import IngestionPipeline

from llama_index.vector_stores.chroma import ChromaVectorStore
from llama_index.llms.ibm import WatsonxLLM
from llama_index.embeddings.ibm import WatsonxEmbeddings

# --
# 環境変数の設定
# --
load_dotenv()

api_key = os.getenv('API_KEY')
project_id = os.getenv('PROJECT_ID')
url = os.getenv('WATSONX_URL')

llm_model_id = os.getenv('LLM_MODEL')
embed_model_id = os.getenv('EMBED_MODEL')

chroma_db_path = os.getenv('VECDB_STORAGE_PATH')
data_folder = os.getenv('IMP_DATA_FOLDER')
LlamaIndexのSettingsの設定
LlamaIndexにはSettingsというアプリケーション全体に依存するシングルトンオブジェクトがあります。
インデックスやクエリの段階で使われる特定のコンポーネントが明示的に使用されない場合、グローバルデフォルトとしてオブジェクトが提供されます。思わぬ動作が発生し悩むことになりますので、以下の3つをまず設定します。
Settingsだと、どのフレームワークのSettingsだ解らなくなるのでインポートの段階でLlamaIdxSettingsと名前を変更しています。
- LlamaIdxSettings.llm
- LlamaIdxSettings.embed_model
- LlamaIdxSettings.node_parser
VectorDBだけならばembed_modelの指定だけでもよさそうですが、LlamaIndexはSplitterやpipelineなどでいろいろなモジュールを使用でき、中にはこのグローバルのLLMを使用してベクトル化やランキングに対してより検索精度を上げるものがあります。いっしょに設定することをお勧めします。
WatsonxLLM()とWatsonxEmbeddings()はwatsonx.aiに接続するための情報とLLMを実行する際のパラメータを設定します。チューニングのポイントとなります。
node_parserには段落にノードを分ける事に適したSentenceSplitterを選択しています。単語Tokenサイズで区切りたい場合は、TokenTextSplitterを指定するとよいです。他にもいろいろなスプリッターが使用できます。以下を参照してください。
https://docs.llamaindex.ai/en/stable/api_reference/node_parsers/
# --
# LlamaIdxSettingsのインスタンスをセットアップ
# LlamaIndexのグローバルオブジェクトである、Seetingsの以下のオブジェクトをオーバーライドします。
# LlamaIdxSettings.llm
# LlamaIdxSettings.embed_model
# LlamaIdxSettings.node_parser
# --

# LLMのパラメータの設定
additional_params = {
    "decoding_method": "greedy",
    "max_new_tokens": 512,
    "min_new_tokens": 100,
    "repetition_penalt": 1.01,
}

# LLMにwatsonx.ai のLLMを設定
LlamaIdxSettings.llm = WatsonxLLM(
    model_id=llm_model_id,
    apikey=api_key,
    url=url,
    project_id=project_id,
    additional_params=additional_params,
)

# Embedding Modelにwatsonx.ai のembeddingモデルを設定
# truncate_input_tokens はテキストデータをベクトルに変換する際に、入力テキストの長さが上限を超えた場合に、その長さを調整するためのパラメータ。
LlamaIdxSettings.embed_model = WatsonxEmbeddings(
    model_id=embed_model_id,
    url=url,
    apikey=api_key,
    project_id=project_id,
    truncate_input_tokens=128,
    repetition_penalty=1.01,
)

# node_parserの設定。改行2回をパラグラフセパレーター。".!?。?!"をチャンキングセパレーターに。
LlamaIdxSettings.node_parser = SentenceSplitter(chunk_size=512, chunk_overlap=100, paragraph_separator="\n\n", secondary_chunking_regex='[^.!?。?!]+[.!?。?!]?')
ChromaDB Httpクライアントの作成
ChromaDBはインメモリ、ローカル、httpサーバー、Dockerといろいろな環境構築方法があります。
コード量が少なく本番を見据えたテスト環境を構築するのであればhttp server/Client形式が一番シンプルでお手軽だと思います。ここはお好みでお選びください。
# --
# Chroma Clientの作成。
# http経由でChromaDBに接続しindexを作成。サーバーを任意の場所に配置可能
# Serverの起動方法は以下の通り。"chroma run --help" でHelpを参照
# $chroma run --host localhost --port 8001 --path ./Chroma --log-path ./logs/chromaSrv.log
# --

# Chroma Clientの作成。http経由で接続。
chroma_client = chromadb.HttpClient(host="localhost", port=8001)
Collectionの作成
ChromaとLlamaIndexはどちらもEmbedding関数をもっていますが、異なるフレームワークのため互換性がありません。そこでアダプタークラスを作成し、互換性を持たせています。
# --
# Llamaindexで設定したEmbed_modelをChromaDBで使用するためのアダプタwatsonx.aiのEmbed.modelを利用するために必要。
# There are no compativility between Embedding Function(ChromaDB) and Embedding Model(llamaIndex).
# https://cookbook.chromadb.dev/integrations/llamaindex/embeddings/
# --


class ChromaDB_LlamaIndexEmbeddingAdapter(EmbeddingFunction):
    def __init__(self, ef: BaseEmbedding):
        self.ef = ef

    def __call__(self, input: Documents) -> Embeddings:
        return [node.embedding for node in
                self.ef([TextNode(text=doc) for doc in input])]


# collectionの作成。コレクションを作成またはアクセスする際にwatsonx.aiのembed modelを使う方法
collection = chroma_client.get_or_create_collection(
    name="my_sample_collection",
    embedding_function=ChromaDB_LlamaIndexEmbeddingAdapter(LlamaIdxSettings.embed_model),
    metadata={"hnsw:space": "cosine"})
データの読み込みと前処理の実行
LlamaIndexのSimpleDirectoryReaderは拡張子に基づいて最適なファイルリーダーを選択します。いろいろと便利なオプションがあり使用しやすいです。
ここでは、pipelineを作成し読み込んだデータを順次処理していきます。
ここでは、TextNormalizerというunicodeのテキスト処理を実施するクラスを作成して配置しています。
高度なVectorDB検索を作るためには読み込んだデータからメタデータを抽出して検索に活用する方法があります。
その場合もこちらのpipelineを使ってメタデータを抽出する処理を実施します。
https://docs.llamaindex.ai/en/stable/module_guides/indexing/metadata_extraction/
次のVectorStoreIndex実行時に引数としてこれらの処理を指定することも可能なようですが、デバッグのしやすさから私は外に出しています。お好みでどうぞ。
# --
# データの読み込みと前処理の実行
# --

# フォルダにあるデータをDocumentコンテナに入れる。PDF,Word,PPT等Load可能. data folderは.envで設定
documents = SimpleDirectoryReader(data_folder).load_data()


# テキストの含まれる半角カナを全角カナ、全角数字を半角数字などに変換。
class TextNormalizer(TransformComponent):
    def __call__(self, nodes, **kwargs):
        for node in nodes:
            node.set_content(unicodedata.normalize('NFKC', node.get_content()))
            # node.set_content(unicodedata.normalize('NFKC', node.get_content().replace("\n", ""))) #改行を削除したい場合
        return nodes


pipeline = IngestionPipeline(
    transformations=[
        LlamaIdxSettings.node_parser,
        TextNormalizer(),
        # TitleExtractor(),
    ]
)

# pipeline処理を実行
nodes = pipeline.run(documents=documents)
indexの作成
ここで初めてChromaDBにベクトル変換されたデータが格納されます。
VectorStoreIndex.from_documents(documents)の様なハイレベルで便利な関数があり、もっとコードを短くすることも可能です。
# --
# ChromaDBのセットアップ
# LlamaIndex
# --

# ChromaVectorStoreのセットアップ。
vector_store = ChromaVectorStore(chroma_collection=collection)
storage_context = StorageContext.from_defaults(vector_store=vector_store)

# indexの作成
index = VectorStoreIndex(
    nodes,
    storage_context=storage_context,
    embed_model=LlamaIdxSettings.embed_model,
    show_progress=True,
)
ChromaDBのCollectionの確認
ChromaDBのオブジェクトであるcollectionにデータが入ったかを件数と一部を見ることで確認できます。
# ChromaDBのCollectionの確認
print("collection.count() = ", collection.count())
print("collection.peek(limit=3) = ", collection.peek(limit=10))
まとめ
少し長くなりましたが、LlamaIndexは、RAGを構築するためにハイレベルな関数がありいろいろと便利ですが、中でなにをしているのか?こういうのをするためにはどうすればよいのか?というのを調べるためには紐解いていく必要があります。よって少しだけ分解してコードを書いてみました。
さてここまででやっとwatsonx.aiのEmbed LLMを使用してChromaDBにデータを入れることができました。
次回は本ChromaDBを使って質問した内容を検索をした結果をLLMが回答をするRAGのコア部分をご紹介したいと思います。