※ こちら、あくまで実験的に動かせたレベルの話ですので、本番での利用を保証するものではありません。ご了承ください。
Nextjsで、iOS、Androidのアプリを開発する方法を紹介します。
ウェブビューを表示するだけでなく、カメラの起動や通知などモバイル専用の機能を利用してアプリを構築できます。
Server Actions等のモダンなウェブ技術を活用してモバイルアプリを開発できるようになります。
Nextjsでモバイルアプリを作れる仕組み
capacitor.jsというライブラリを用いて、Nextjsをネイティブアプリに変換します。
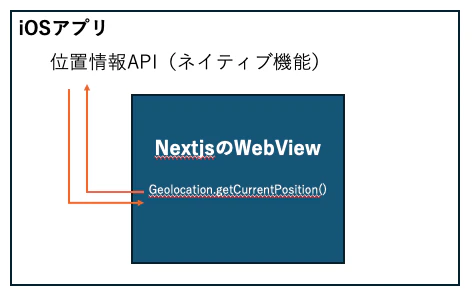
ざっくりとした仕組みは、モバイルアプリの中でWebViewを表示して、WebViewからネイティブ機能にアクセスできるようにするというものです。
ハンズオン
今回はネイティブのGPS機能を用いて、ウォーキングを記録するミニアプリを作ります。
こんな感じのシンプルなアプリです。
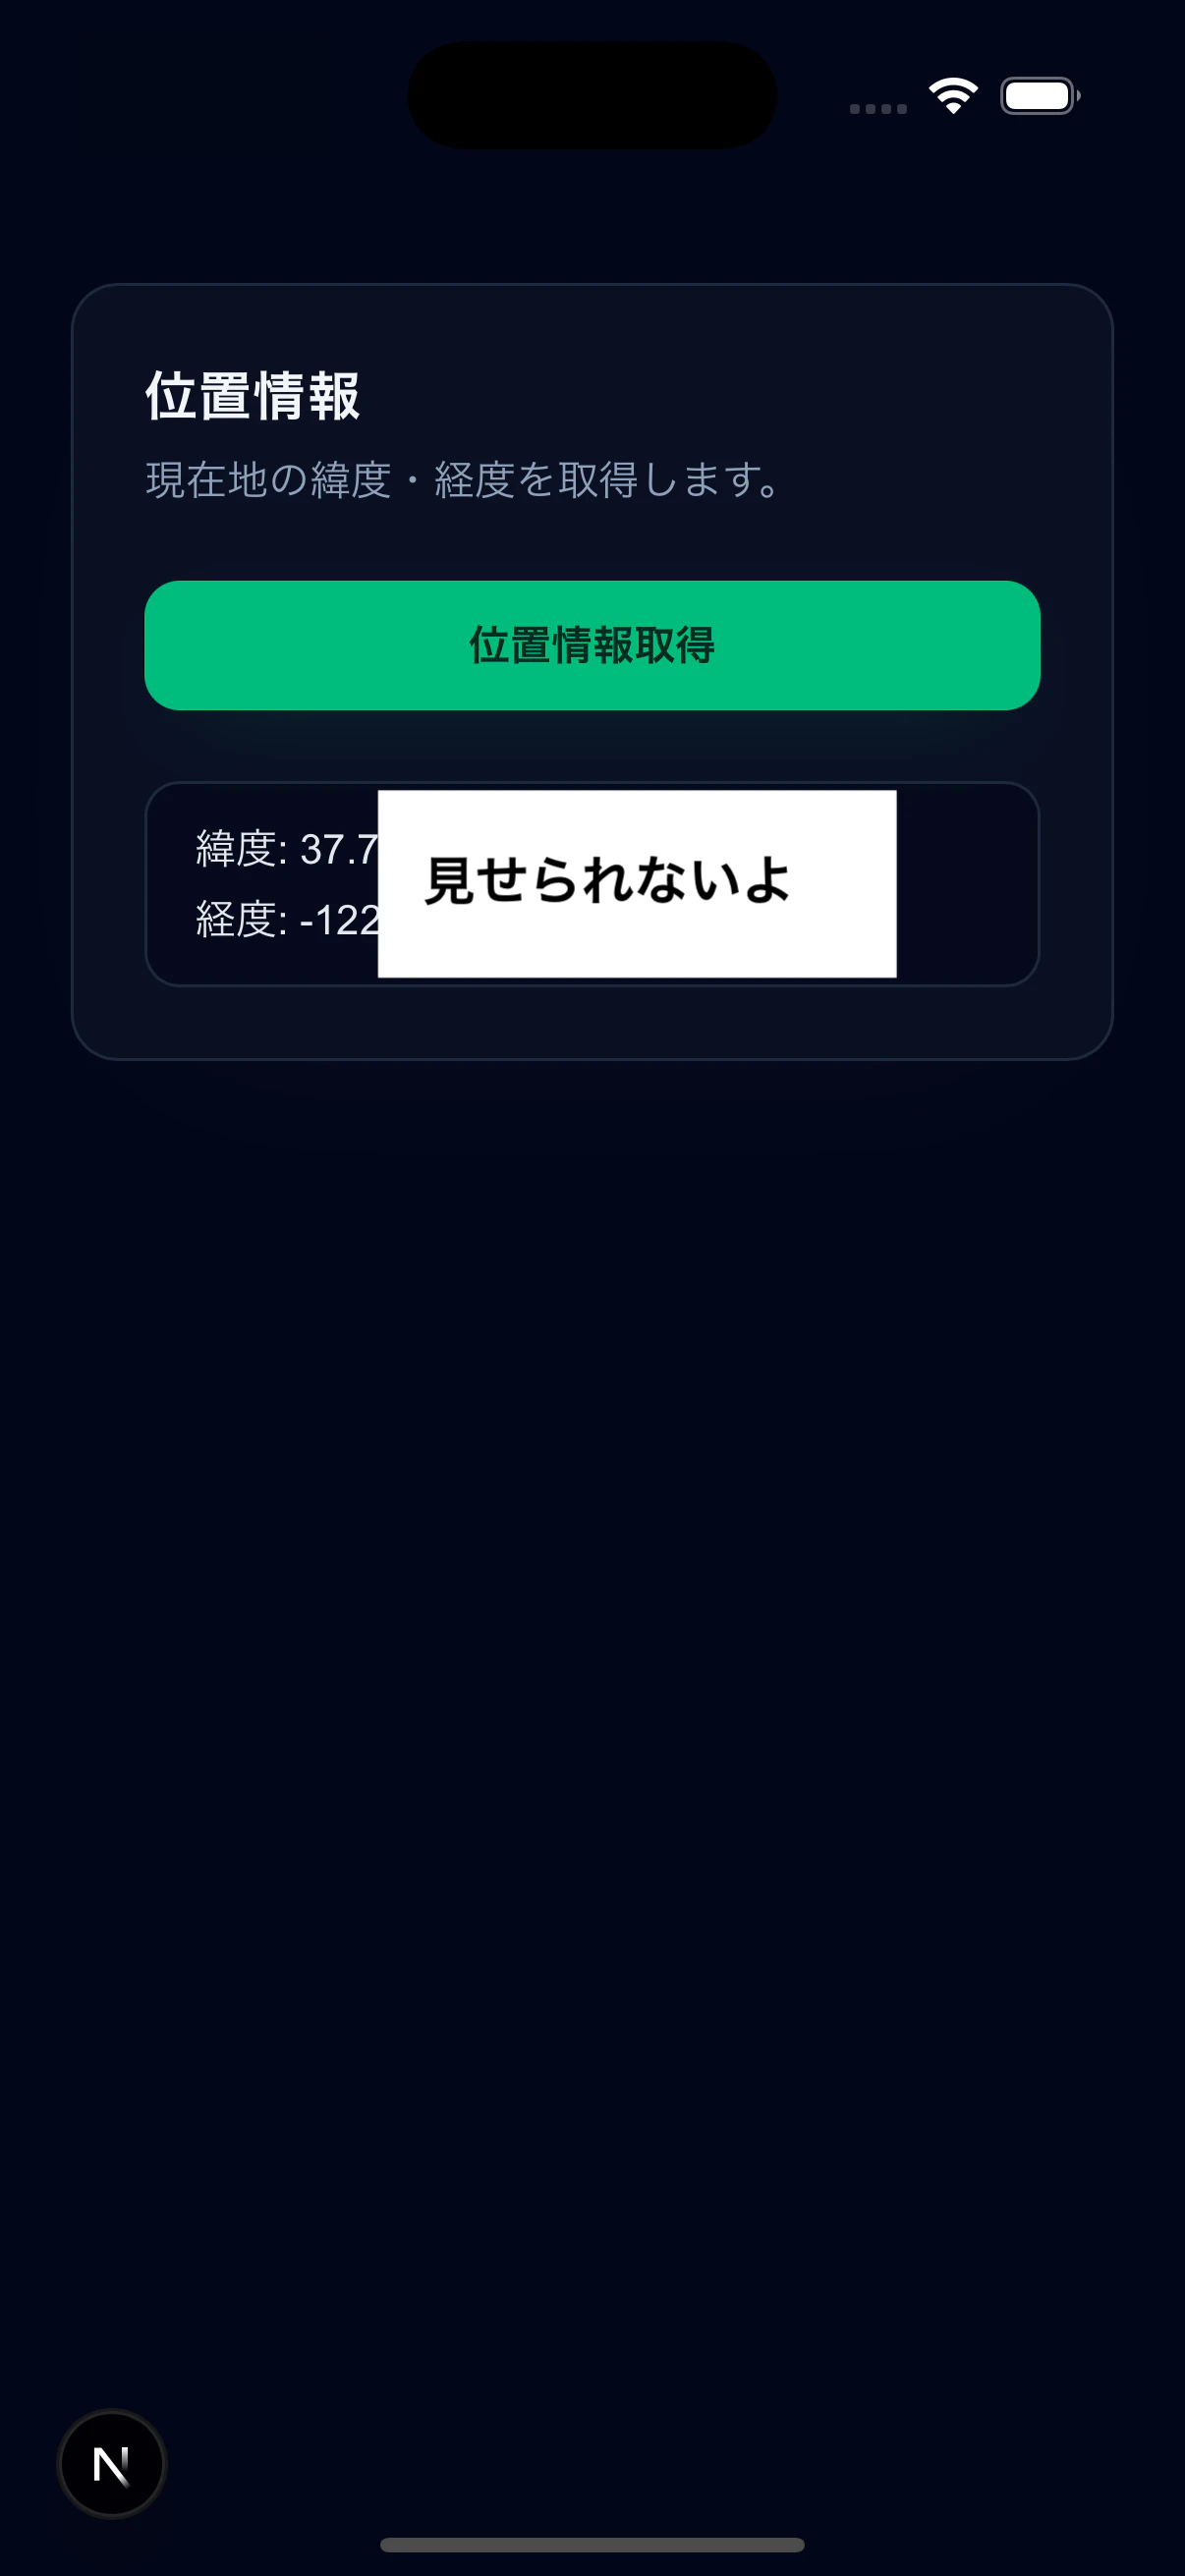
ボタンを押したら位置情報を取得できる単純なものですが、これを発展させると、ランニングの記録アプリなども構築できるかと思います。
セットアップ
nextjsのプロジェクトを作成します。(既存のものでもOK)
npx create-next-app@latest
capacitorを入れます。2025/12現在、v8が最新版ですが、私の環境が悪いのかうまく動作しなかったので、v7を指定します。
npm i "@capacitor/core@^7"
npm i -D "@capacitor/cli@^7"
以下を実行。設定はそのままでOKかと。
npx cap init
生成されたcapacitor.config.tsを以下のように変更します。
serverのurlがキモです。webビューのurlを指定しています。nextjsの開発環境かデプロイのurlを指定してください。・
import type { CapacitorConfig } from '@capacitor/cli';

const config: CapacitorConfig = {
  appId: 'com.example.app',
  appName: 'capacitor-test', // 好きな名前に変更
  webDir: 'dist', // これはなんでもOK。使われません。
  server: {
    url: "http://localhost:3000" // もしくはnextjsのデプロイURLに変更
  }
};

export default config;
iOS、Android用のパッケージを入れます。(今回のデモではiOSだけ使います)
pnpm add @capacitor/android @capacitor/ios
このコマンドでルートディレクトリ直下にiosディレクトリを生やし、iOSアプリを生成します。
npx cap add ios
xcodeで開きます。
npx cap open ios
ビルドしようとすると怒られるので、Termを変えます。スクショでNoneになってる部分を変更してください。
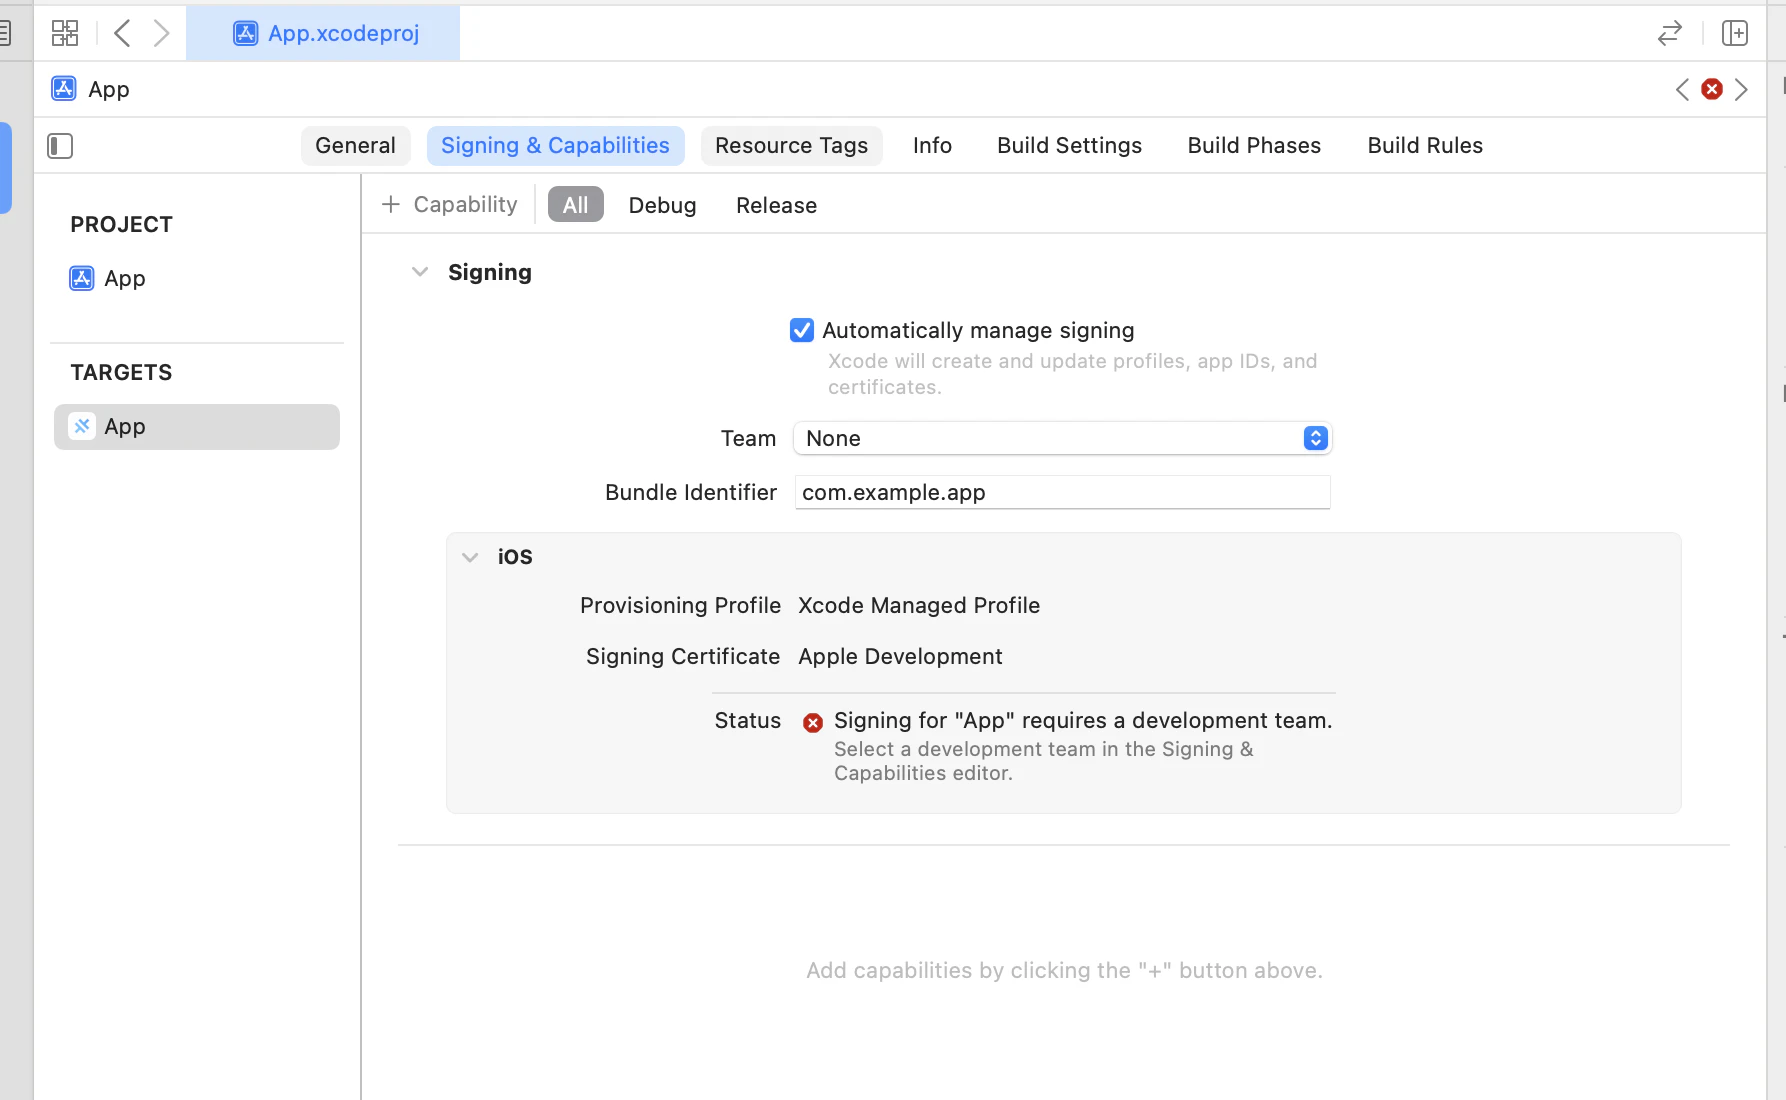
再生ボタンを押してシミュレータを起動すると、Nextjsの初期画面が描画されます。

無事にNextjsでアプリを作れましたね。
これでセットアップが完了しました。
現状ですとまだ単純なwebビューの表示に過ぎず、PWAと変わりありません。
続いて、GPSやバックグラウンド処理など、ネイティブな機能をつけて、ネイティブアプリらしくしていきます。
NextJSでネイティブ機能を利用
続いて、Nextjsのコンポーネントからネイティブ機能にアクセスする方法を説明します。
Capacitorを使えば、javascriptからモバイルのネイティブ機能にアクセスできます。
カメラ、位置情報、音声等の各種機能がプラグインとして配布されており、importして使えます。
今回は、@capacitor/geolocationを利用して、GPS機能を使って座標を取得してみます。
まずはこちらを読んで導入します。
https://capacitorjs.com/docs/v7/apis/geolocation
以下を実行します。
npm install @capacitor/geolocation@latest-7
npx cap sync
次に、info.plistに以下の権限を追加します。
NSLocationAlwaysAndWhenInUseUsageDescription (Privacy - Location Always and When In Use Usage Description)
NSLocationWhenInUseUsageDescription (Privacy - Location When In Use Usage Description)
これで準備完了です。
ここまでくると、クライアントコンポーネント上で、Geolocationの各種機能をつかってGPS情報(緯度経度等)を取得できます。
import { Geolocation } from "@capacitor/geolocation";
// ...
const updateCoords = async() => {
    // 位置情報の利用を許可するかユーザーに聞くモーダルを表示
    await Geolocation.requestPermissions()
    // 緯度経度の取得
    const position = await Geolocation.getCurrentPosition();
    const { latitude, longitude } = position.coords;
    setCoords({latitude, longitude})
}
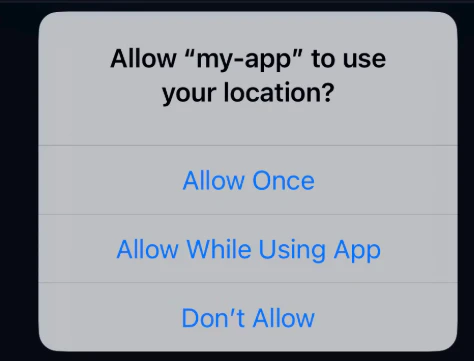
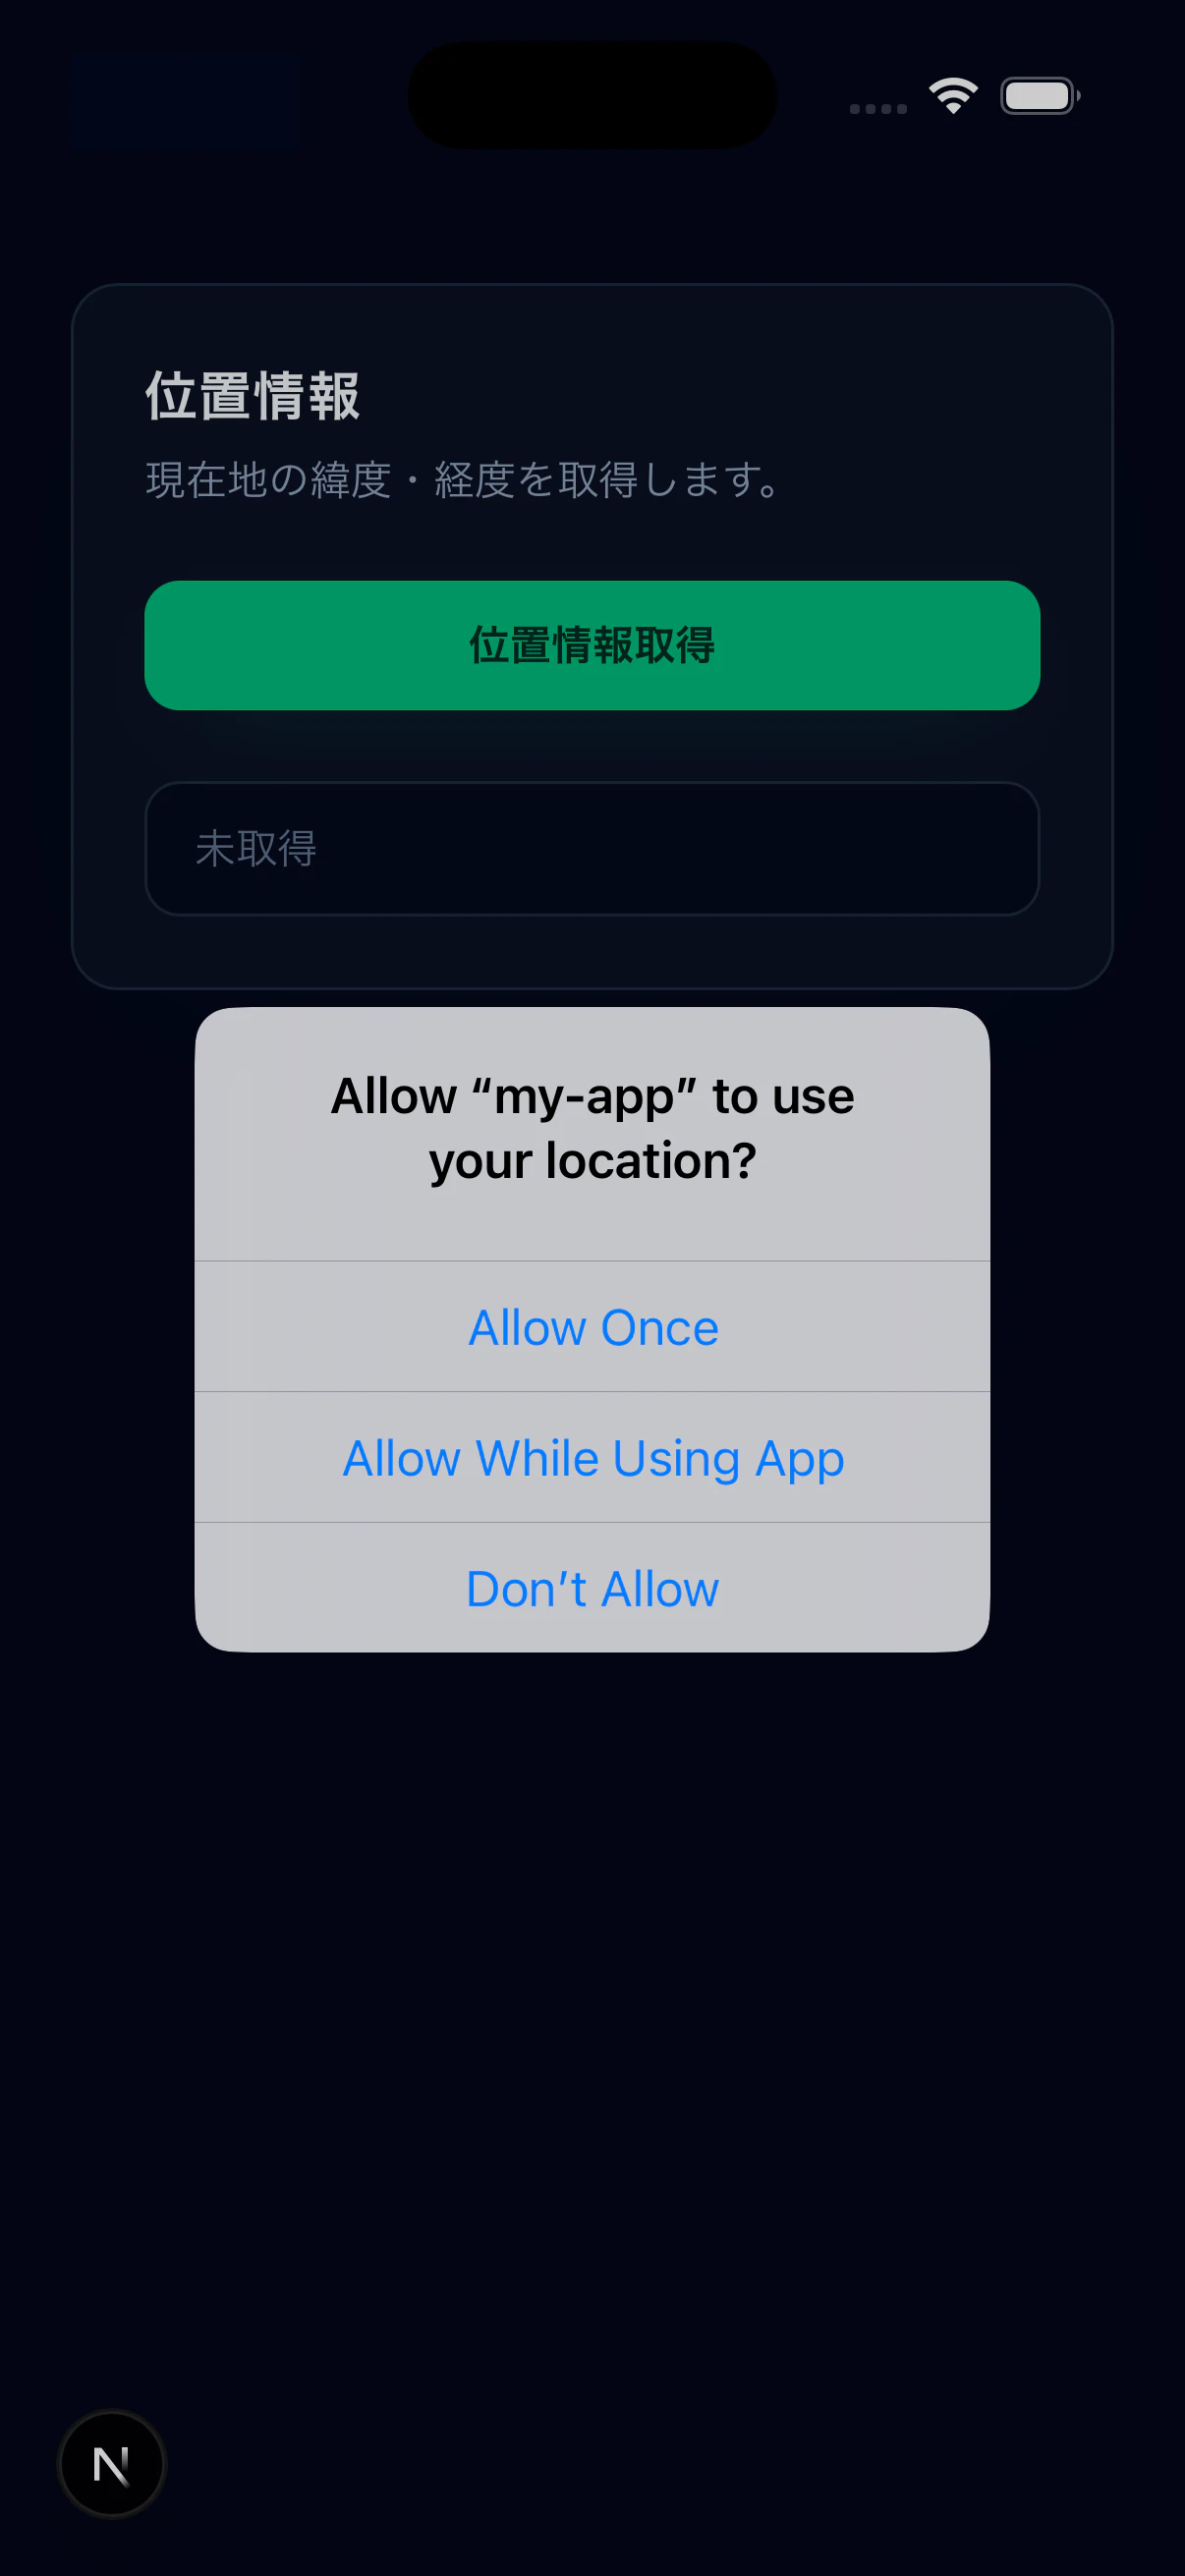
上記コードのawait Geolocation.requestPermissions()は、「あなたの位置情報を利用してもいいですか?」というダイアログを出す関数です。許可された時のみに次のステップの処理が成功します。
ボタンを押すと緯度経度を拾って描画するコンポーネントを作ってみました。
"use client"
import { Geolocation } from "@capacitor/geolocation";
import { useState } from "react";
const LocationViewer = () => {
const [coords, setCoords] = useState<{latitude:number, longitude: number}>()
const updateCoords = async() => {
await Geolocation.requestPermissions()
const position = await Geolocation.getCurrentPosition();
const { latitude, longitude } = position.coords;
setCoords({latitude, longitude})
}
return <div className="min-h-screen bg-slate-950 px-6 py-24 text-slate-100">
<div className="mx-auto w-full max-w-md rounded-2xl border border-slate-800 bg-slate-900/60 p-6 shadow-[0_20px_60px_-40px_rgba(15,23,42,0.9)]">
<h1 className="text-lg font-semibold tracking-wide text-slate-100">位置情報</h1>
<p className="mt-1 text-sm text-slate-400">現在地の緯度・経度を取得します。</p>
<button
onClick={updateCoords}
className="mt-6 w-full rounded-xl bg-emerald-500 px-4 py-3 text-sm font-semibold text-emerald-950 shadow-[0_10px_30px_-20px_rgba(16,185,129,0.9)] transition hover:bg-emerald-400 active:scale-[0.99]"
>
位置情報取得
</button>
<div className="mt-6 rounded-xl border border-slate-800 bg-slate-950/60 px-4 py-3 text-sm text-slate-200">
{coords ? (
<div className="flex flex-col gap-1">
<span>緯度: {coords.latitude}</span>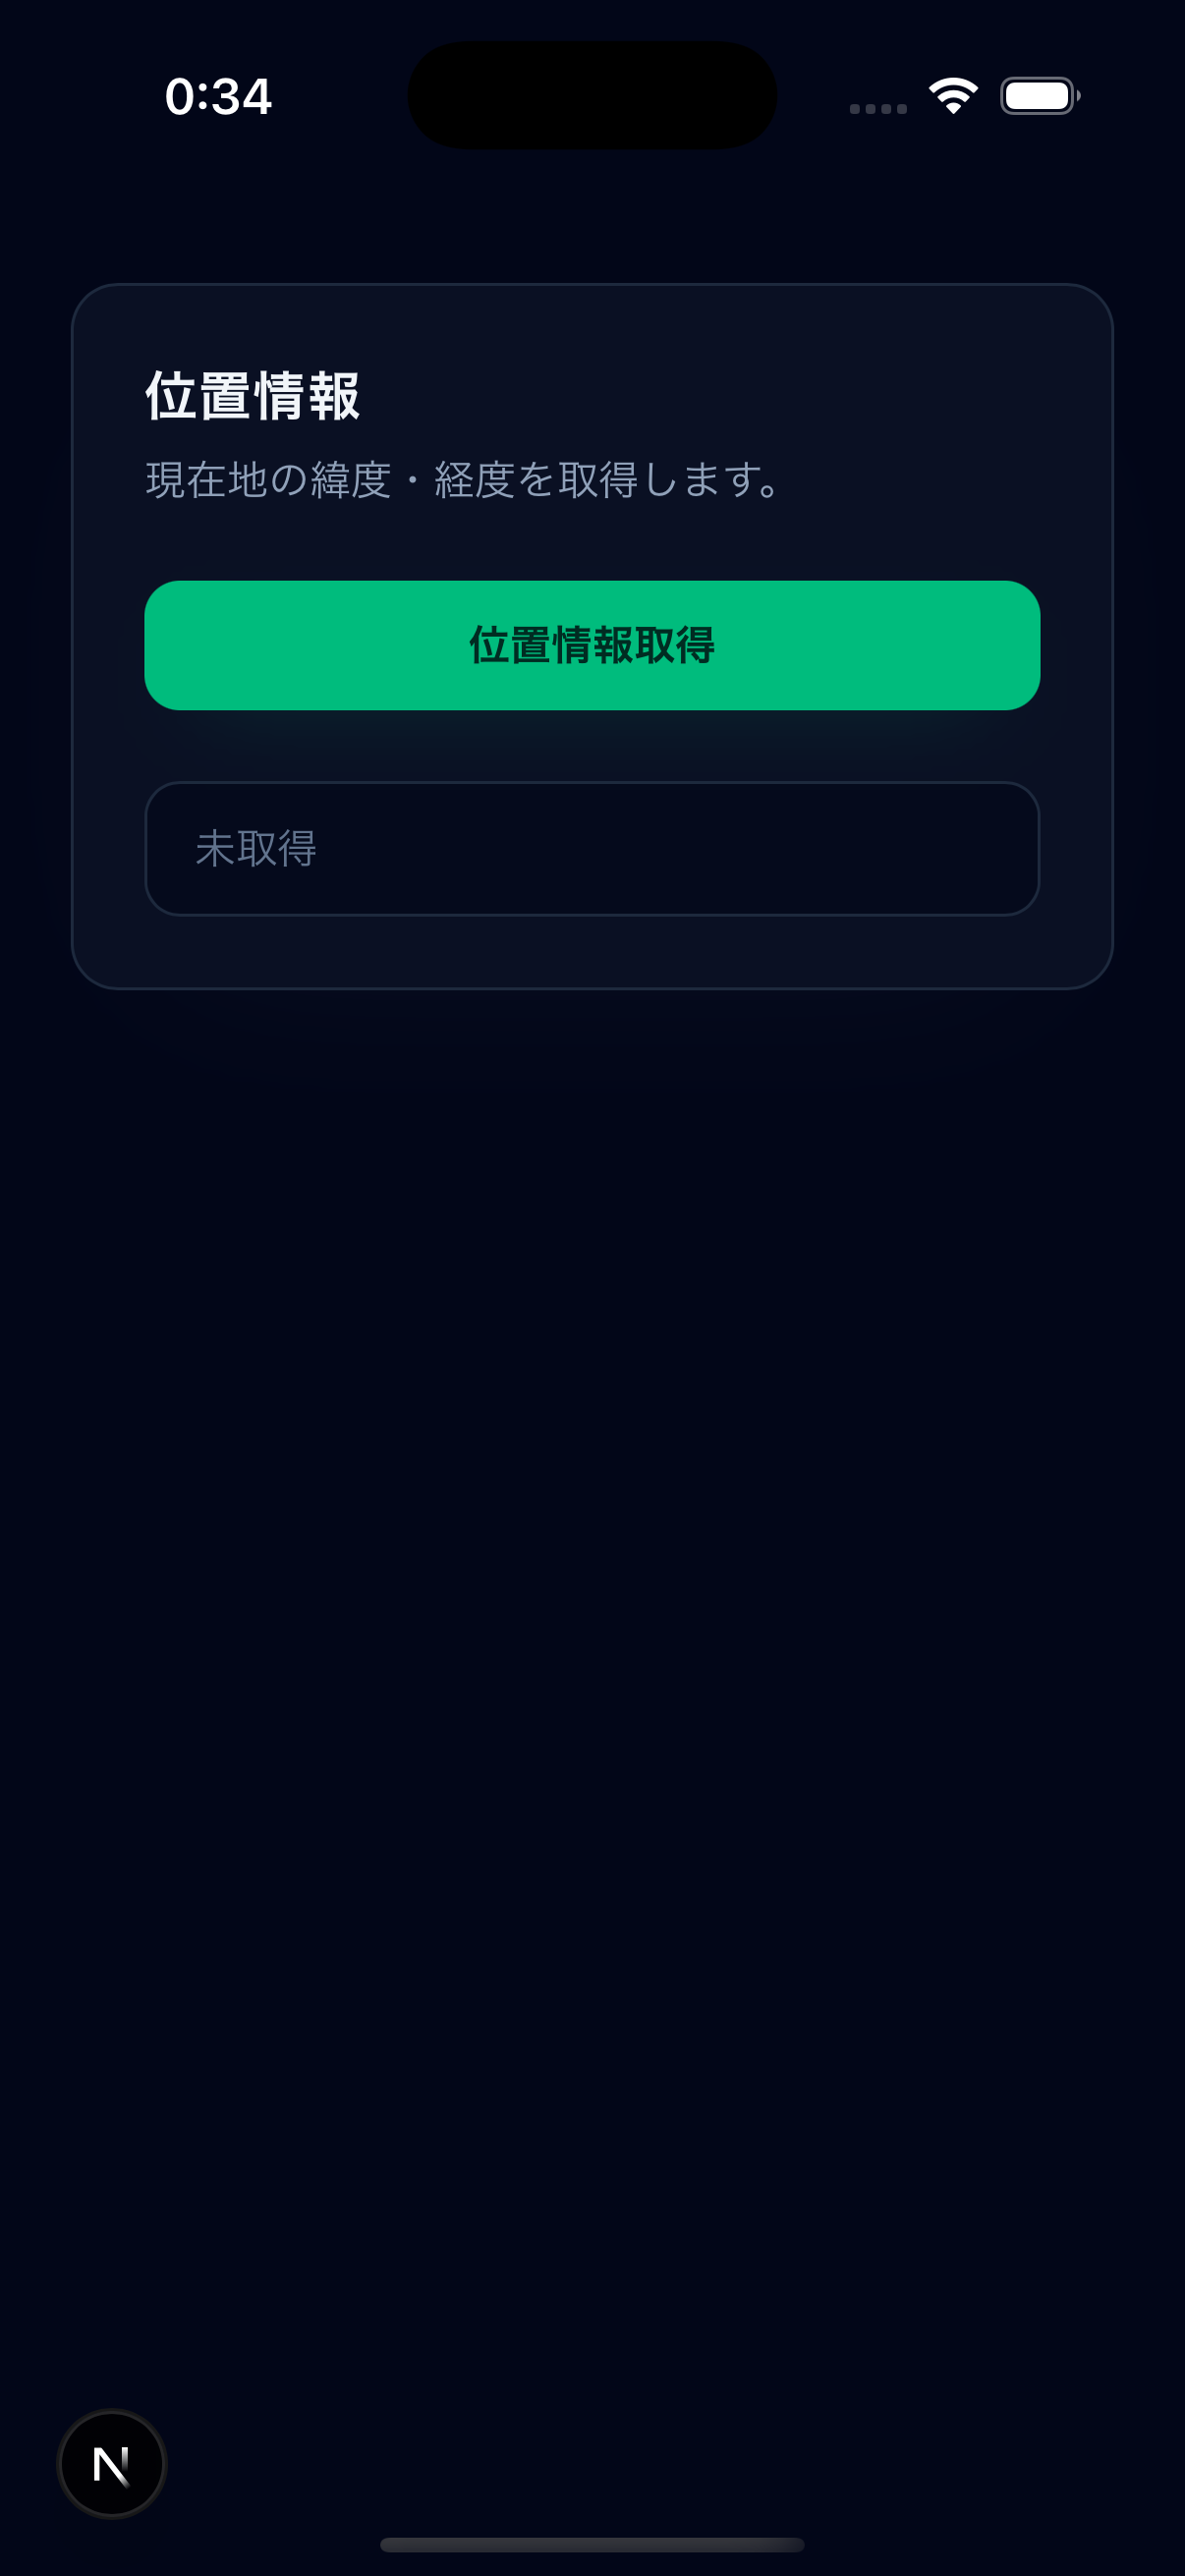
<span>経度: {coords.longitude}</span>
</div>
) : (
<span className="text-slate-500">未取得</span>
)}
</div>
</div>
</div>
}
export default LocationViewer
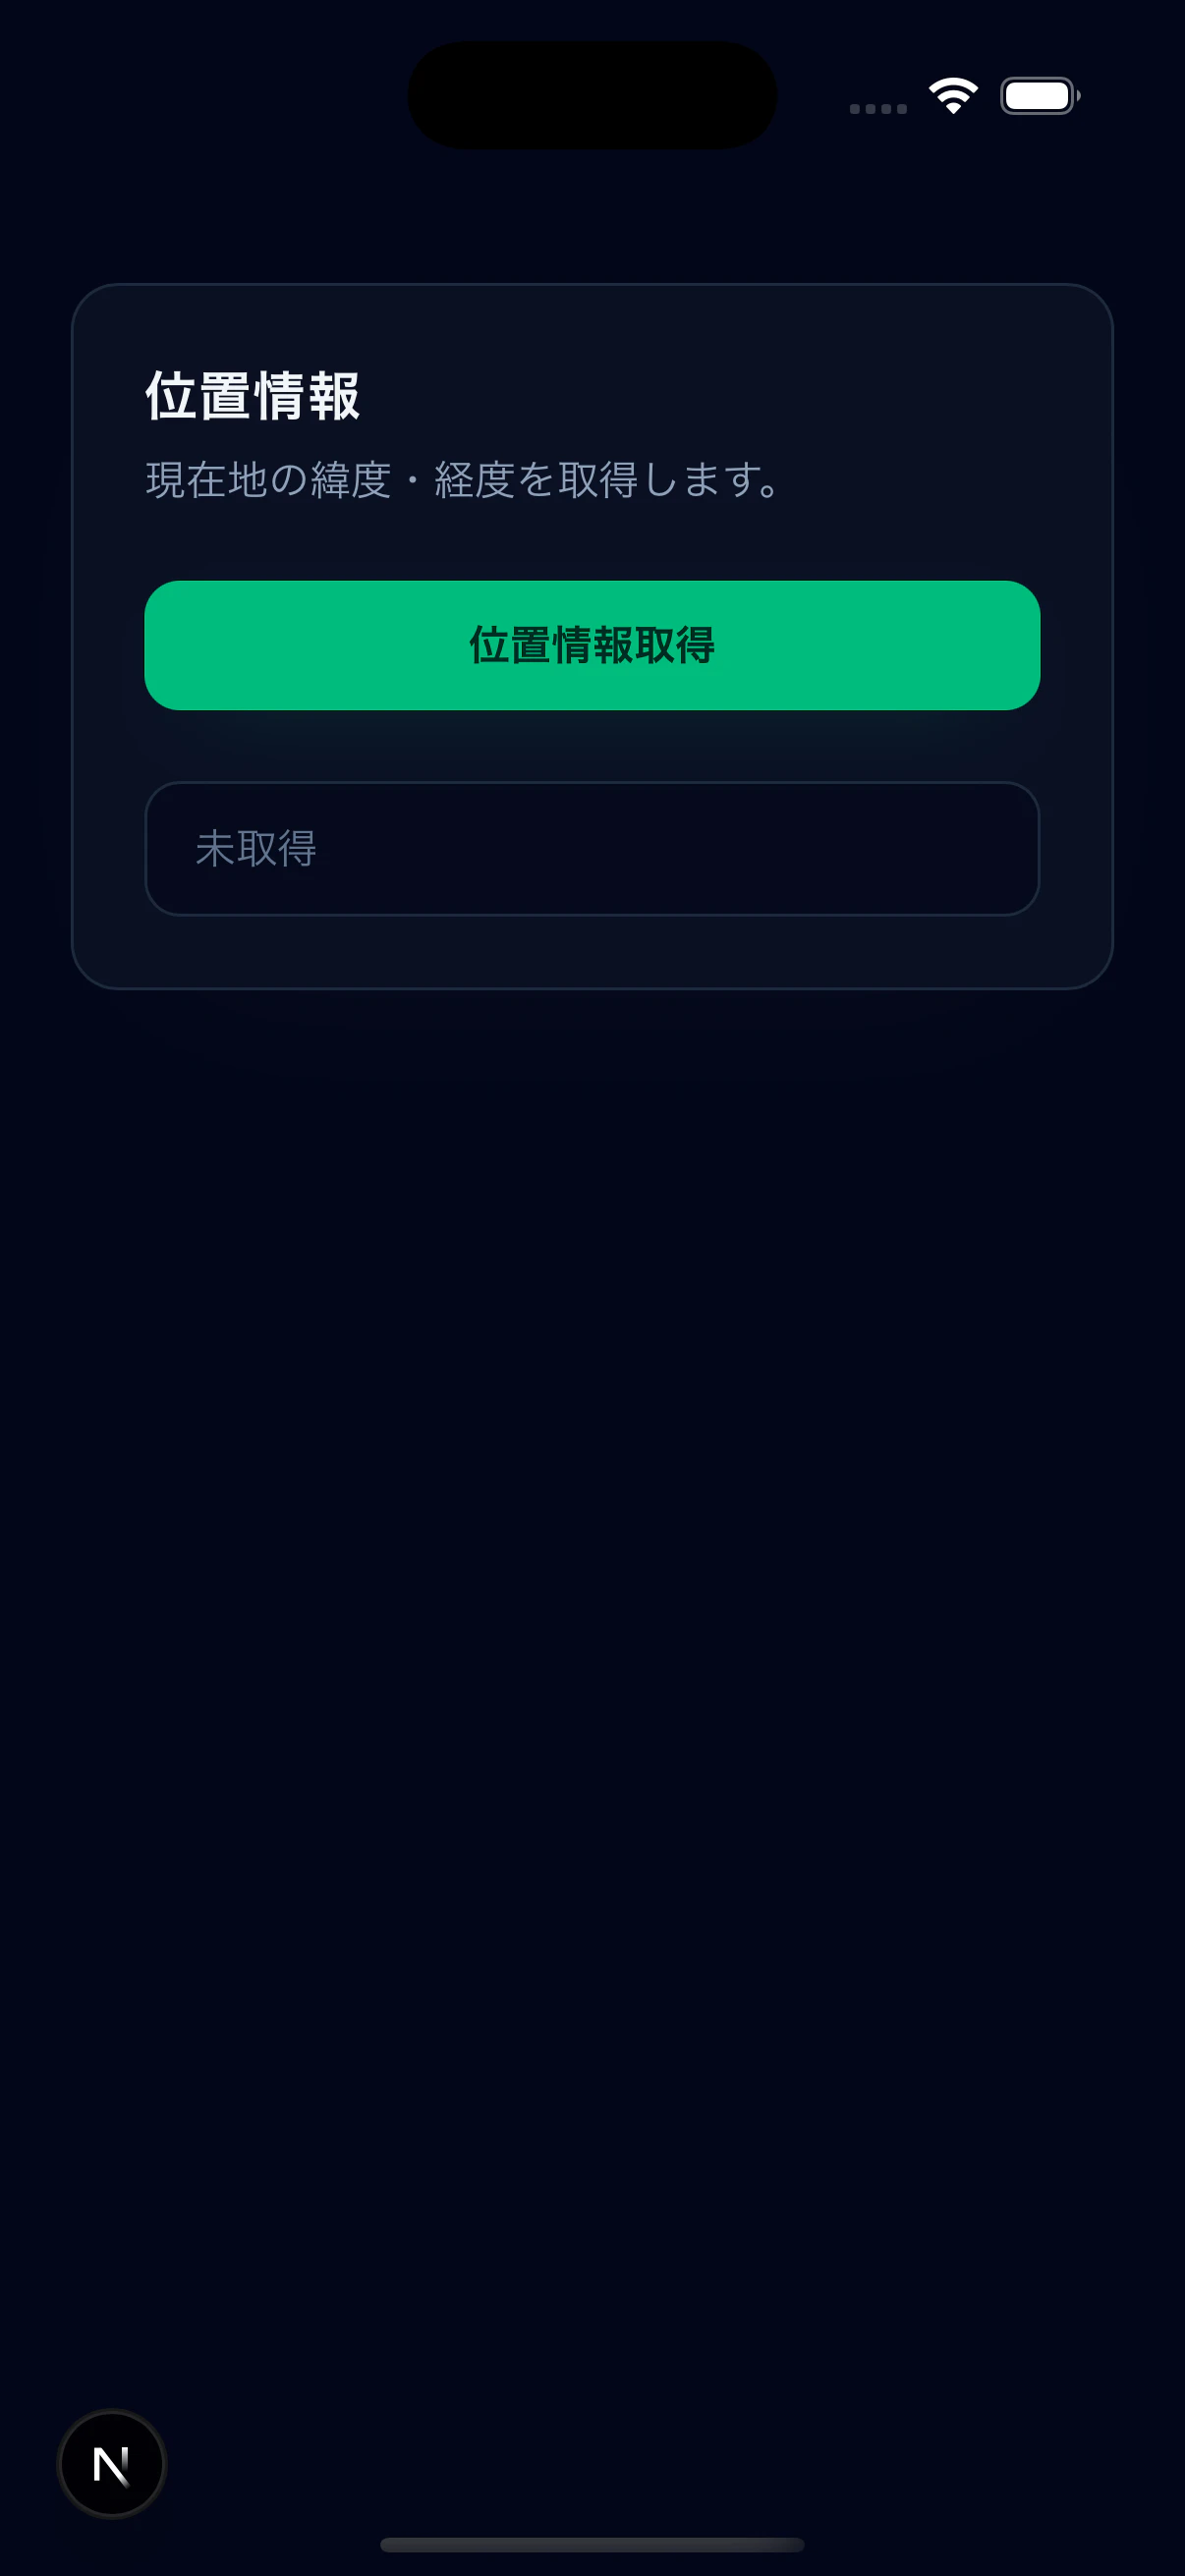
アプリで表示した時の画面です。
-
初期画面
-
位置情報の利用許諾
-
位置情報の表示
Server Actionsと併用しても問題なし
試しに処理の末尾にServer Actionsをつけてみましたが問題はありませんでした。
"use server"

export async function testAction() {
    return "test"
}

"use client"
// ...
const updateCoords = async() => {
    await Geolocation.requestPermissions()
    const position = await Geolocation.getCurrentPosition();
    const { latitude, longitude } = position.coords;
    setCoords({ latitude, longitude })
    const actionResult = await testAction();
    console.log(actionResult) // xcodeのコンソールでtestと表示されました。
}
ということは、DBなどの外部サービスと連携できますね。
最後に・注意点
Nextjsでネイティブアプリを開発する方法を書きました。
今回、iOSの場合を取り上げましたが、Androidの場合もほぼ同じやり方でできます。
今回のチュートリアルではボタンを押したら位置情報を取得できる単純なものでしたが、バックグラウンドでの位置情報の取り込みも可能です。ですので、ランニングの記録アプリなどもNext.jsで構築できるかと思います。
私もこの技術の検討を進めていきます。
正直、プロダクションでどれだけ事故なく使えるかまでは知見がないので、試された方がいたら共有していただけると幸いです。
最後まで読んでいただきありがとうございます。