Reactアプリの作成
$ create-react-app <アプリ名>
必要なパッケージのインストール
- redux
- react-redux
- @material-ui/core
- @material-ui/icons
- firebase
$ yarn add redux react-redux @material-ui/core @material-ui/icons firebase
Firebaseの設定
公式サイト:Firebase
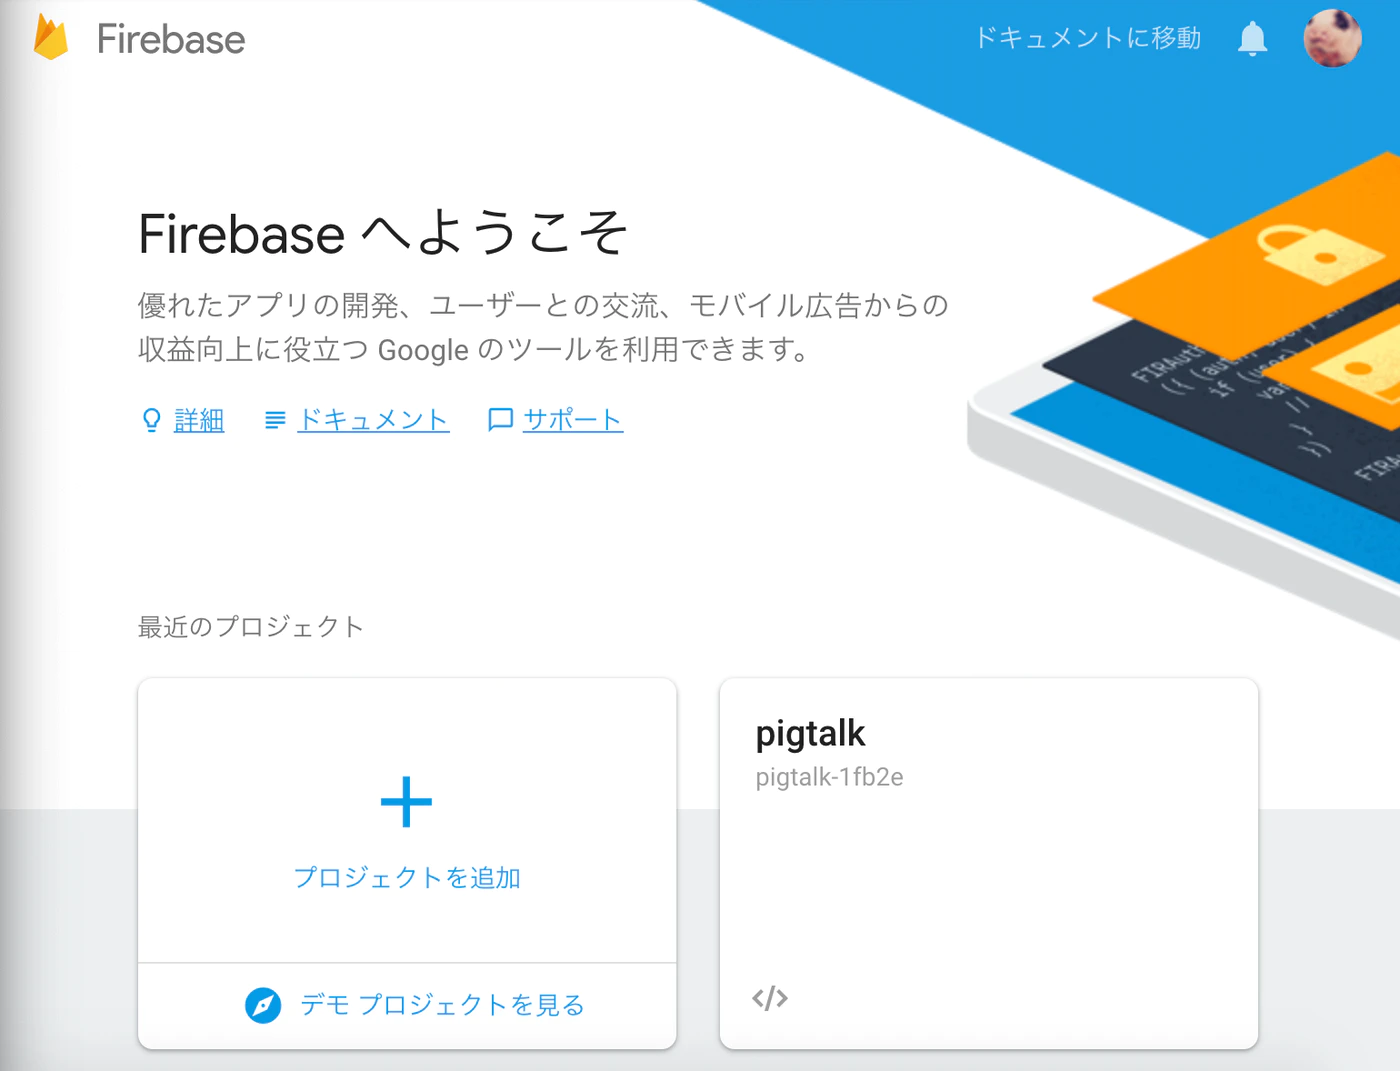
① Firebaseにアクセスし、アカウントでログインし、コンソール画面に移動する。

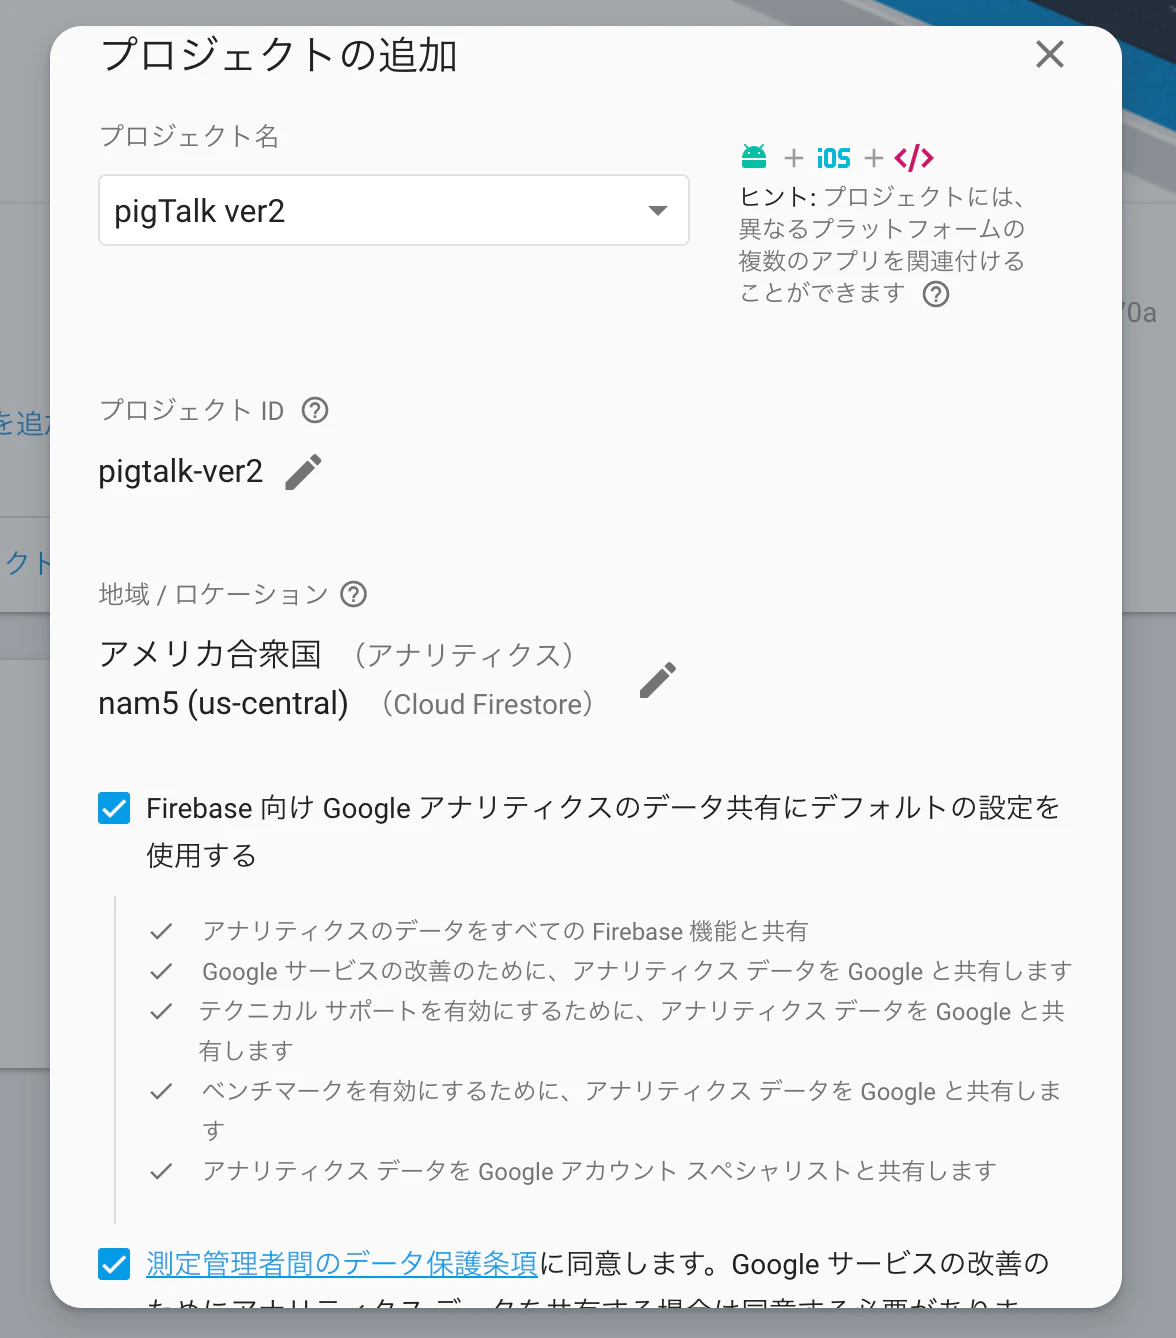
②プロジェクトの追加を押して、プロジェクト名を入力する。

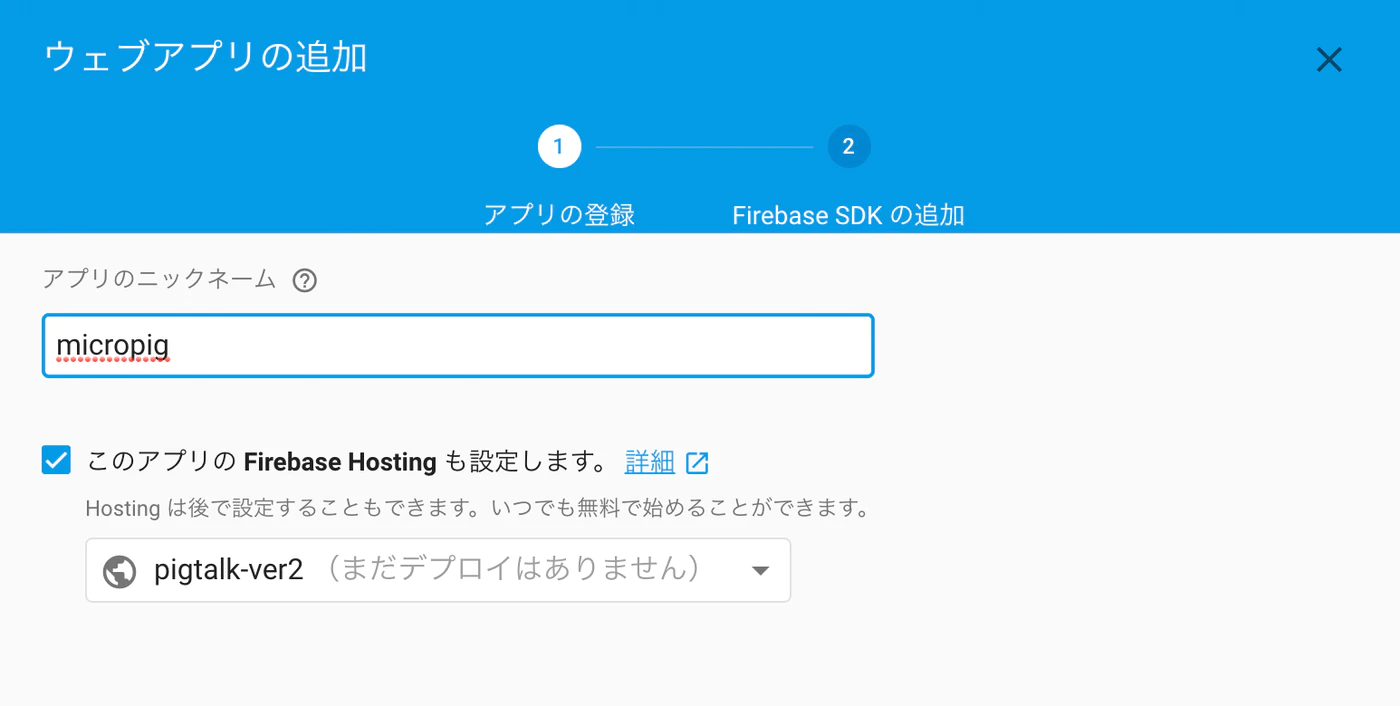
③ウェブアプリを追加するために、ニックネームを入力する。
Firebase Realtime Databaseとの紐付け
firebase/config.jsを作成し、Firebaseとの接続情報を記載する。
export const firebaseConfig = {
  apiKey: "****************",
  authDomain: "****************",
  databaseURL: "****************",
  projectId: "****************",
  appId: "****************",
  storageBucket: "****************",
  messagingSenderId: "****************"
};
firebase/index.jsでデータベース参照用のインスタンスを作成する。
このファイルをインポートすることで、どこからでもデータベースにアクセスすることができる。
import firebase from 'firebase';
import {firebaseConfig} from './config.js';

export const firebaseApp = firebase.initializeApp(firebaseConfig);
export const firebaseDb = firebaseApp.database();
ComponentをMaterial-UIから探す
公式:[Material-UI]
(Material-UI)
[ヘッダー]
(https://mui.com/components/app-bar/#app-bar)

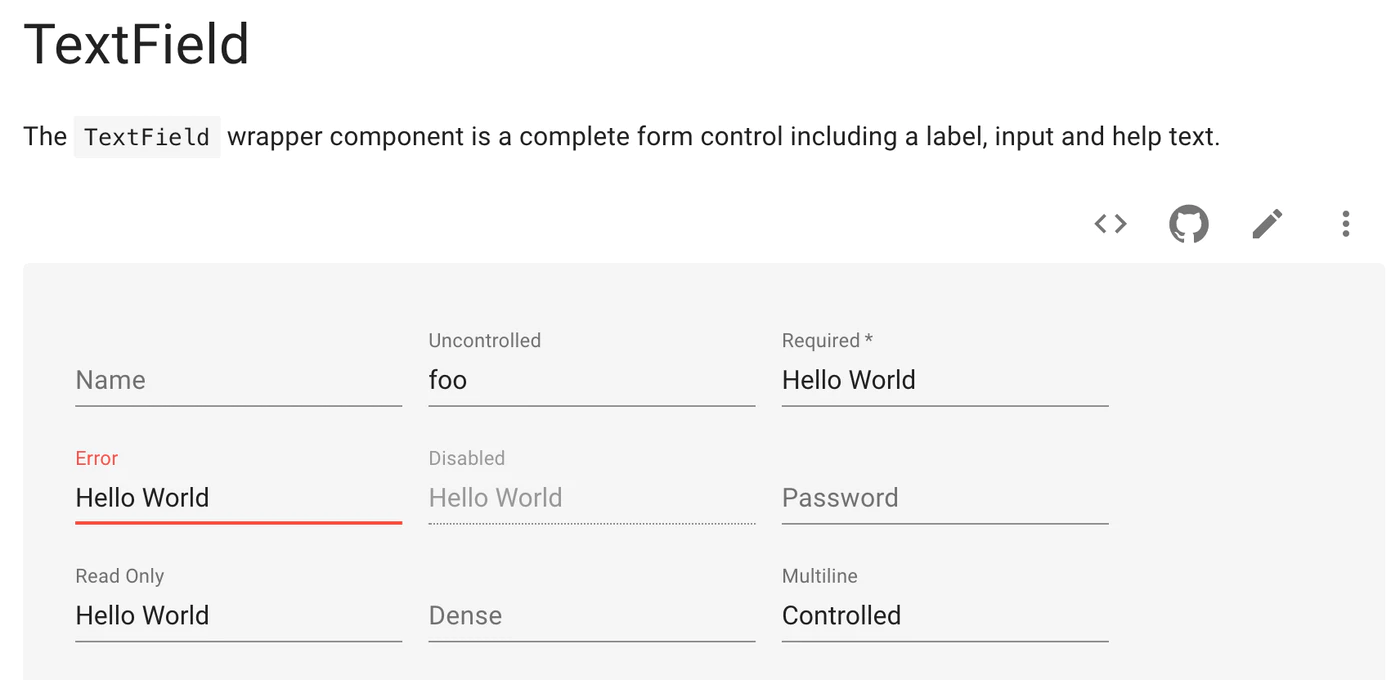
[メッセージ入力欄]
(https://mui.com/components/text-fields/#textfield)
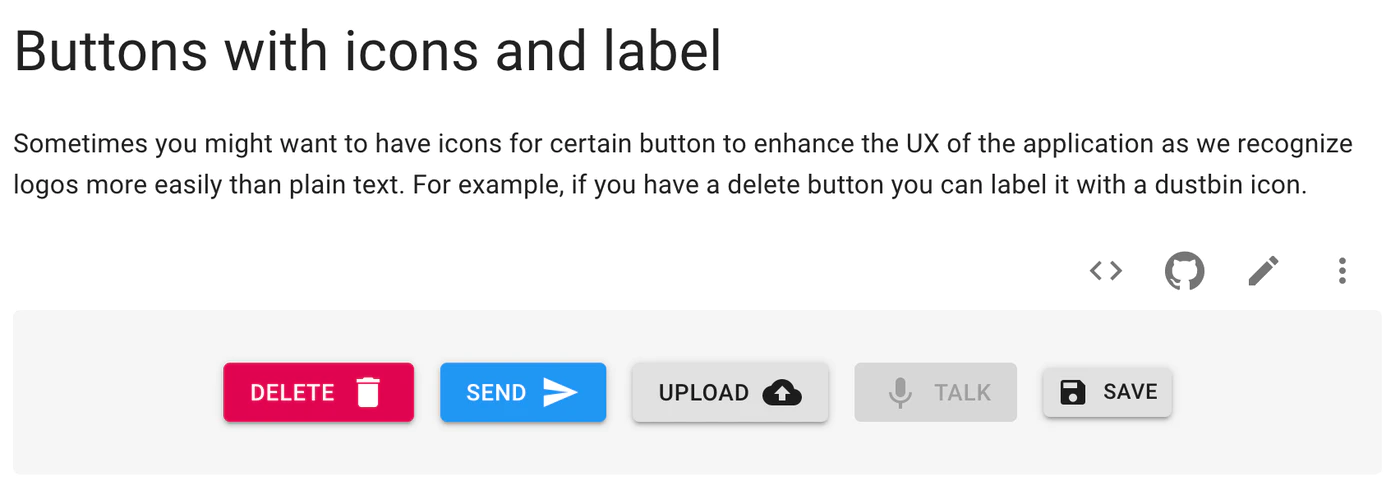
[メッセージ送信ボタン]
(https://mui.com/components/buttons/#buttons)
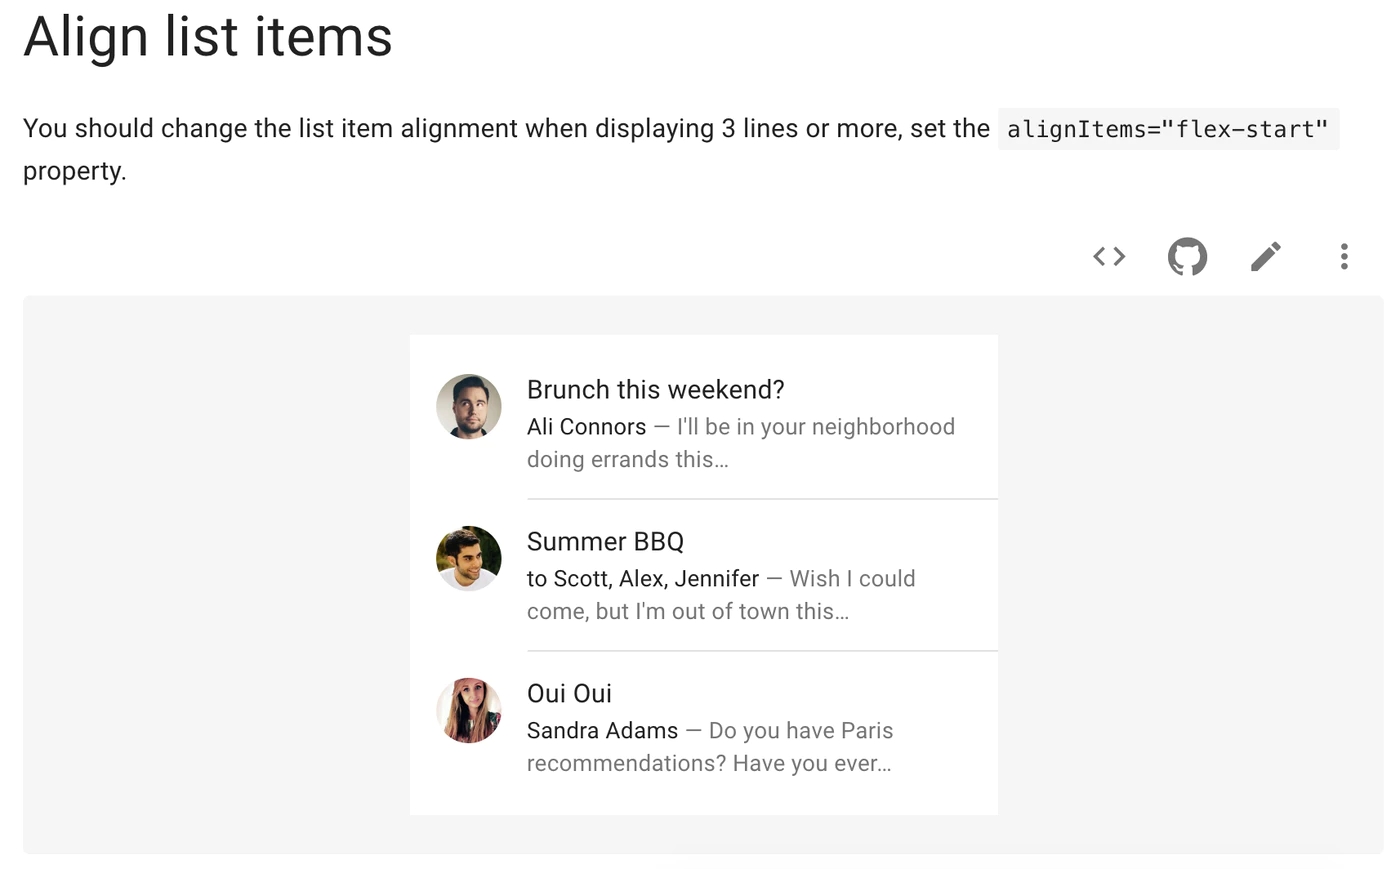
[メッセージ表示欄]
(https://mui.com/components/lists/#lists)
##Material-UIのComponentを編集する
####ページ全体
import React, {Component} from 'react';
import {connect} from 'react-redux';
import AlignItemsList from './components/AlignItemsList';
import ButtonAppBar from './components/ButtonAppBar.js';
import TextInput from './components/TextInput.js';
import {firebaseDb} from './firebase';
import './styles/App.css';

const messagesRef = firebaseDb.ref('messages');

class App extends Component {
  render() {
    return (
      <React.Fragment>
        <ButtonAppBar />
        <div className="App">
          <AlignItemsList />
          <TextInput value="メッセージを入力" />
        </div>
      </React.Fragment>
    );
  }
}

export default App;
.App{
  margin: 0 auto;
  max-width: 500px;
}

@media screen and (max-width:520px) {
  /* 画面サイズが520pxからはここを読み込む */
  .App{
    margin: 0 20px;
  }
}

.App ul {
  margin: 10px auto;
}

.App ul li {
  padding-left: 0;
  display: flex;
  align-items: center;
}

.App ul .MuiDivider-inset{
  margin-left: 57px;
}

.App ul li .MuiListItemAvatar-alignItemsFlexStart {
  margin-top: 0;
}
ヘッダー
import React from 'react';
import {makeStyles} from '@material-ui/core/styles';
import AppBar from '@material-ui/core/AppBar';
import Toolbar from '@material-ui/core/Toolbar';
import Typography from '@material-ui/core/Typography';
import Button from '@material-ui/core/Button';
import IconButton from '@material-ui/core/IconButton';
import MenuIcon from '@material-ui/icons/Menu';
import '../styles/ButtonAppBar.css';

const useStyles = makeStyles(theme => ({
  root: {
    flexGrow: 1,
  },
  menuButton: {
    marginRight: theme.spacing(2),
  },
  title: {
    flexGrow: 1,
  },
}));

function ButtonAppBar() {
  const classes = useStyles();

  return (
    <div className={classes.root}>
      <AppBar position="static">
        <Toolbar>
          <IconButton
            edge="start"
            className={classes.menuButton}
            color="inherit"
            aria-label="Menu">
            <MenuIcon />
          </IconButton>
          <Typography variant="h4" className={classes.title}>
            PigTalk
          </Typography>
          <Button color="inherit">Login</Button>
        </Toolbar>
      </AppBar>
    </div>
  );
}

export default ButtonAppBar;
h4 {
    text-align: center;
}
メッセージ入力欄
import React, {Component} from 'react';

import TextField from '@material-ui/core/TextField';
import '../styles/TextInput.css';
import SendButtons from './SendButton';

import {bindActionCreators} from 'redux';
import {connect} from 'react-redux';

class TextInput extends Component {
  render() {
    return (
      <React.Fragment>
        <form className="wrap" noValidate autoComplete="off">
          <TextField
            id="standard-text"
            label="メッセージを入力"
            className="text"
            margin="normal"
          />
          <SendButtons />
        </form>
      </React.Fragment>
    );
  }
}
export default TextInput;
.wrap {
    display: flex;
    justify-content: center;
}

.wrap .text {
    width: 80%;
}

.wrap button {
    margin-top: 24px;
    margin-right: 0;
    width: 20%;
}
メッセージ送信ボタン
import React from 'react';

import Button from '@material-ui/core/Button';
import {makeStyles} from '@material-ui/core/styles';
import Icon from '@material-ui/core/Icon';

const useStyles = makeStyles(theme => ({
  button: {
    margin: theme.spacing(1),
  },
  leftIcon: {
    marginRight: theme.spacing(1),
  },
  iconSmall: {
    fontSize: 20,
  },
}));

function SendButtons() {
  const classes = useStyles();

  return (
    <Button variant="contained" color="primary" className={classes.button}>
      <Icon>send</Icon>
    </Button>
  );
}
export default SendButtons;
メッセージ表示欄
import React from 'react';
import {makeStyles} from '@material-ui/core/styles';
import List from '@material-ui/core/List';
import ListItem from '@material-ui/core/ListItem';
import Divider from '@material-ui/core/Divider';
import ListItemText from '@material-ui/core/ListItemText';
import ListItemAvatar from '@material-ui/core/ListItemAvatar';
import Avatar from '@material-ui/core/Avatar';

const useStyles = makeStyles(theme => ({
  root: {
    backgroundColor: theme.palette.background.paper,
  },
  inline: {
    display: 'inline',
  },
}));

function AlignItemsList() {
  const classes = useStyles();

  return (
    <List className={classes.root}>
      <ListItem alignItems="flex-start">
        <ListItemAvatar>
          <Avatar
            alt="Remy Sharp"
            src="https://hellogiggles.com/wp-content/uploads/2015/03/11/micro-pig-LondonPignic.jpg"
          />
        </ListItemAvatar>
        <ListItemText primary="Hello World" />
      </ListItem>
      <Divider variant="inset" component="li" />
    </List>
  );
}
export default AlignItemsList;
##送信ボタンのIconを使うために
<head>
    ...
    <!-- Google Icon -->
    <link
      rel="stylesheet"
      href="https://fonts.googleapis.com/icon?family=Material+Icons"
    />
    ...
</head>
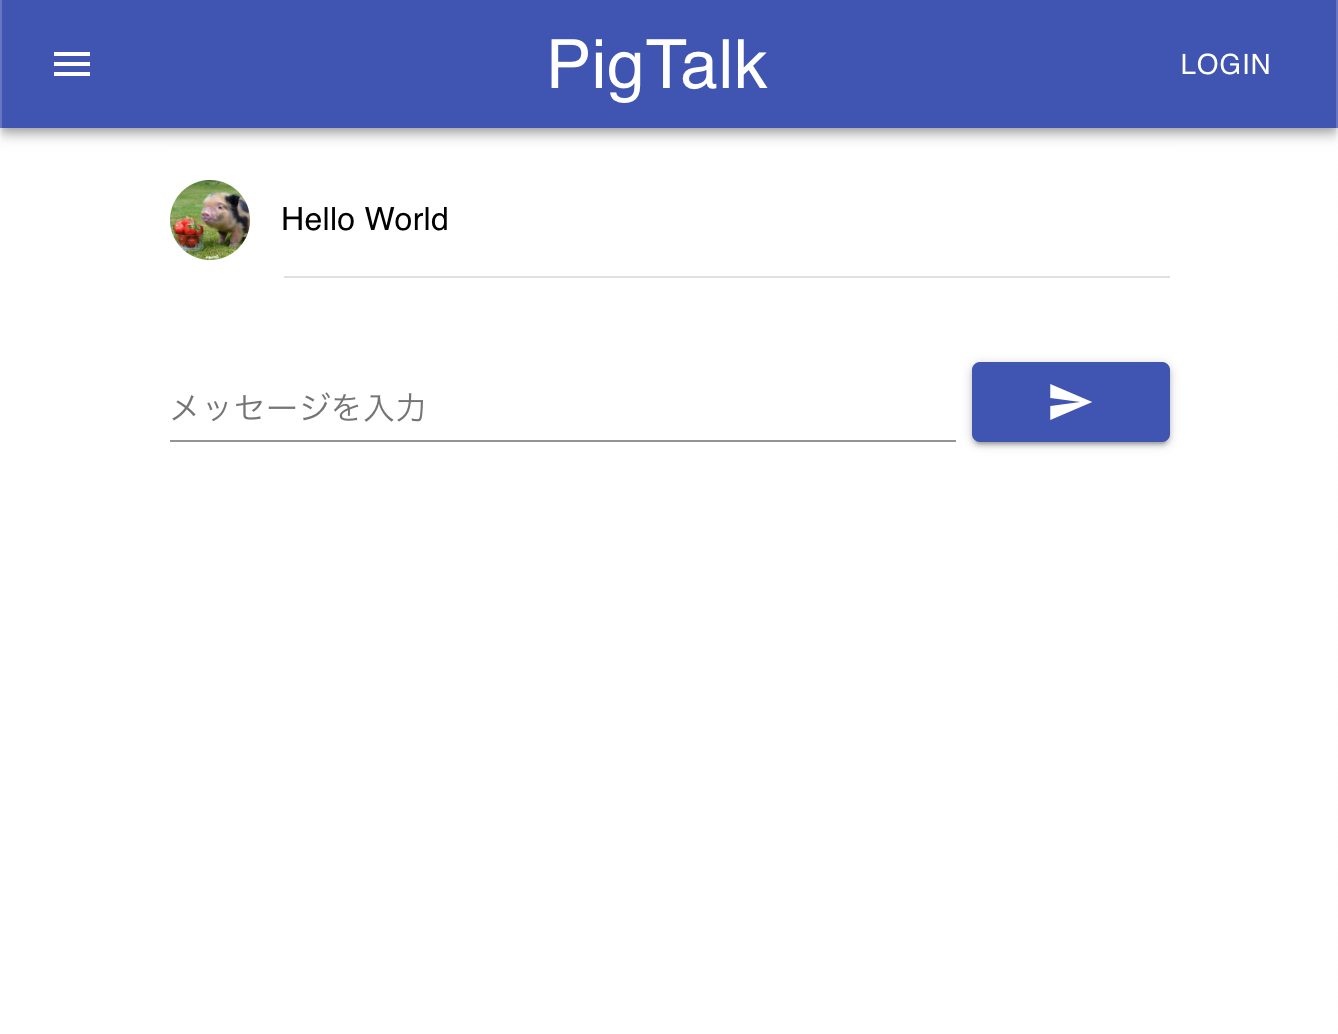
実装完了
redux-actions
redux-actionsとは、reduxでの状態管理のガイドライン(Flux Standard Action)を引き、その実装を助けてくれるライブラリのこと。
- actionの記述を楽にする『createAction(s)』
- reducerの記述を楽にする『handleAction(s)』
- 同じreducerの処理をする際に、複数のactionをまとめる『combineActions』
の3つがある。
createAction(s)
createActionsを使って、まとめてアクション(クリエイター)を生成する。
import {createActions} from 'redux-actions';

import {firebaseDb} from '../../firebase';

const messagesRef = firebaseDb.ref('messages');

const {messages} = createActions({
  messages: {
    submit(value, image) {
      const payload = value;
      if (payload === '') {
        alert('メッセージを入力してください');
        return false;
      }

      messagesRef.push({
        image: image,
        text: payload,
      });

      return payload;
    },
    change(value) {
      const payload = value;
      return payload;
    },
  },
});

export {messages};
『submit』は入力されたメッセージをfirebaseに送信する際に生成されるactionで、『change』はtextareaに文字が入力される度に生成されるactionである。
また messagesRef.pushにてfirebaseにデータを送信する。
##handleAction(s)
handleActionsを使って、まとめてreducerを定義する
import {handleActions} from 'redux-actions';

import {actions} from '../actions';
import {repos} from '../repos';
import {initialState} from '../store/initialState';

const messages = handleActions(
  {
    [`${actions.messages.submit}`](state, action) {
      return repos.messages.addMessage(state, action.payload);
    },
    [`${actions.messages.change}`](state, action) {
      return repos.messages.changeText(state, action.payload);
    },
  },
  initialState
);

export {messages};
このファイルの中では状態遷移に関する記述はせず、以下のrepos/messages.jsにて『immer』を用いて状態遷移を行うようにする。
immer
immerは現在のstateを渡すと下書き状態であるdraftが渡されそれに対して変更を行うと、変更が反映された新しいオブジェウトを返却してくれる。変更は通常のJSオブジェクトと同様に行うことができる。
import produce from 'immer';

export const addMessage = (state, payload) => {
  const newState = produce(state, draftState => {
    draftState.value = '';
    draftState.text = payload;
  });

  return newState;
};

export const changeText = (state, payload) => {
  const newState = produce(state, draftState => {
    draftState.value = payload;
  });

  return newState;
};
参考サイト
『React』 +『Redux』 + 『Firebase』でLINE風のChat機能を作ろう! 【準備編】
『React』 +『Redux』 + 『Firebase』でLINE風のChat機能を作ろう! 【Component編】
『React』 +『Redux』 + 『Firebase』でLINE風のChat機能を作ろう! 【状態管理編】