この記事はRaspberry Pi 4でKubernetesクラスターを構築する【ハードウェア編】の続きです。
組み立て済みのデバイス

この記事でできるようになること
【ソフトウェア編】を読むと、Kubernetes(以下k8s)のクラスターを、Raspberry Pi上に構築できるようになります。
(ルーター等の解説は割愛)
クラスターは下記の構成で構築していきます。
- Master Node * 1
- Kubernetes v1.18
- Pod Network: Flannel
- Kubernetes v1.18
- Worker Node * 2
OSのインストール
Macを用いてセットアップしていきます。
下記の作業を3台分行います。
OSイメージのダウンロード
Downloads Raspbianから Raspbian Buster Liteをダウンロードします。
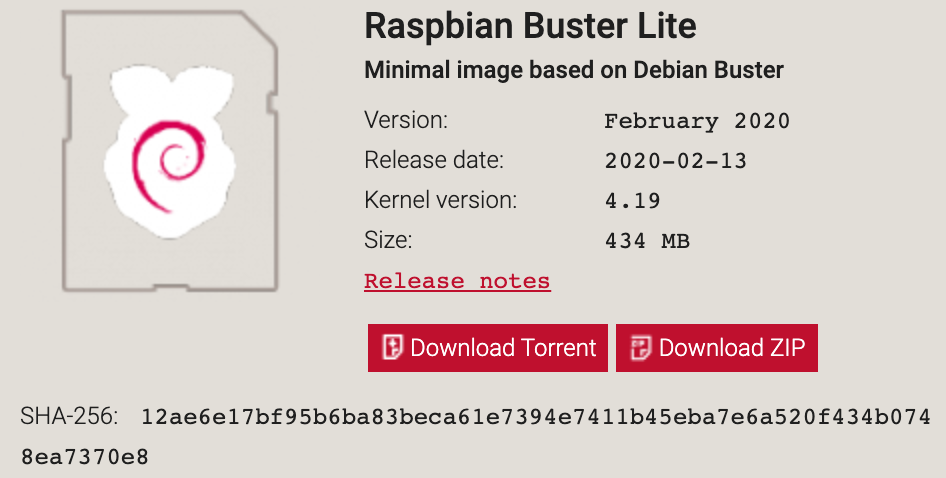
(Desktop版でもOKです)
$ cd ~/Downloads

# zipファイルを解凍
$ unzip 2020-02-13-raspbian-buster-lite.zip
Archive:  2020-02-13-raspbian-buster-lite.zip
  inflating: 2020-02-13-raspbian-buster-lite.img
microSDにOSを焼く
SDカードリーダーが必要です。
私はたまたま持っていた、Anker PowerExpand Direct 7-in-2を使用しました。
詳しい手順は、Copying an operating system image to an SD card using Mac OSに記載されています。
# マウント先の特定
$ diskutil list
/dev/disk0 (internal, physical):
   #:                       TYPE NAME                    SIZE       IDENTIFIER
   0:      GUID_partition_scheme                        *500.3 GB   disk0
   1:                        EFI EFI                     314.6 MB   disk0s1
   2:                 Apple_APFS Container disk1         500.0 GB   disk0s2

/dev/disk1 (synthesized):
   #:                       TYPE NAME                    SIZE       IDENTIFIER
   0:      APFS Container Scheme -                      +500.0 GB   disk1
                                 Physical Store disk0s2
   1:                APFS Volume Macintosh HD - Data     157.8 GB   disk1s1
   2:                APFS Volume Preboot                 79.4 MB    disk1s2
   3:                APFS Volume Recovery                528.1 MB   disk1s3
   4:                APFS Volume VM                      5.4 GB     disk1s4
   5:                APFS Volume Macintosh HD            11.1 GB    disk1s5

/dev/disk2 (external, physical):
   #:                       TYPE NAME                    SIZE       IDENTIFIER
   0:     FDisk_partition_scheme                        *31.9 GB    disk2
   1:             Windows_FAT_32 boot                    268.4 MB   disk2s1
   2:                      Linux                         31.6 GB    disk2s2
上記のコマンドで/dev/disk2がmicroSDだと分かりました。
# microSDをアンマウントする
$ diskutil unmountDisk /dev/disk2
Unmount of all volumes on disk2 was successful
次にイメージをmicroSDに焼きます。
注意してほしいのは、対象を間違えるとMac本体のデータが消えてしまうので、必ずmicroSDの番号に対して実行してください。
# OSイメージを焼く
$ sudo dd bs=1m if=2020-02-13-raspbian-buster-lite.img of=/dev/rdisk2; sync
1780+0 records in
1780+0 records out
1866465280 bytes transferred in 93.421984 secs (19978866 bytes/sec)
SSHを有効にする
Raspberry Piは、デフォルトではSSHができないようになっているので、有効にします。
microSDを挿し直してから実行してください。
$ cd /Volumes/boot

# 空のファイルを作成する
$ touch ssh
cgroupsの設定
enabling cgroup memory doesn't take effect
$ cd /Volumes/boot/
$ vim cmdline.txt
cgroup_enable=cpuset cgroup_enable=memory cgroup_memory=1を下記のように追加します。
dwc_otg.lpm_enable=2 console=serial0,115200 console=tty1 root=PARTUUID=7ee80803-02 rootfstype=ext4 cgroup_enable=cpuset cgroup_memory=memory cgroup_memory=1 elevator=deadline fsck.repair=yes rootwait quiet init=/usr/lib/raspi-config/init_resize.sh
Raspberry Piの起動
基盤の裏側にmicroSDスロットがあります。
挿入したら、USB Type-Cケーブルを挿し、給電します。
ここまでの作業を計3回行ってください。
各ソフトウェアのインストール
Macのターミナル等から、下記のコマンドを実行して、各Raspberry Piに割り当てられたIPアドレスを取得します。
下記の作業を3台分行います。
$ arp -a
? (192.168.13.1) at 58:27:8c:25:11:ea on en0 ifscope [ethernet]
? (192.168.13.2) at dc:a6:32:72:b9:50 on en0 ifscope [ethernet]
? (192.168.13.3) at dc:a6:32:72:73:9f on en0 ifscope [ethernet]
? (192.168.13.5) at dc:a6:32:72:ba:4 on en0 ifscope [ethernet]
下3つがRaspbery PiのIPアドレスです。(一番上はトラベルルーターのIPアドレス)
sshログイン
Raspbian OSはデフォルトでユーザー: pi パスワード: raspberry のユーザーが作成されています。
$ ssh pi@192.168.13.2
ユーザーを作成し、piユーザーを削除
piユーザーはパスワードが公開されているので、同じ権限の別のユーザーを作成し、piユーザーを削除します。
# ユーザー作成
$ sudo adduser butter

# piユーザーの権限を確認
$ groups pi
pi : pi adm dialout cdrom sudo audio video plugdev games users input netdev pi spi i2c gpio

# 作成したユーザーに同じ権限を付与
$ sudo usermod -G pi,adm,dialout,cdrom,sudo,audio,video,plugdev,games,users,input,netdev,spi,i2c,gpio butter

# 作成したユーザーに切り替える
$ su - butter

# piユーザーの削除
$ sudo userdel -r pi
Dockerのインストール
インストール方法の詳細はDocker公式ドキュメントをご覧下さい。
# 必要なパッケージのインストール
$ sudo apt-get update
$ apt-get install \
    apt-transport-https \
    ca-certificates \
    curl \
    gnupg-agent \
    software-properties-common

# GPGキーの追加
$ curl -fsSL https://download.docker.com/linux/debian/gpg | sudo apt-key add -

# リポジトリの追加
$ echo "deb [arch=armhf] https://download.docker.com/linux/$(. /etc/os-release; echo "$ID") \
    $(lsb_release -cs) stable" | \
    sudo tee /etc/apt/sources.list.d/docker.list

# Dockerエンジンのインストール
$ sudo apt-get update
$ sudo apt-get install docker-ce
Kubernetesのインストール
kubeadm, kubelet, kubectlをインストールします。
インストール方法の詳細はKubernetes公式ドキュメントをご覧下さい。
$ sudo apt-get update && sudo apt-get install -y apt-transport-https curl
$ curl -s https://packages.cloud.google.com/apt/doc/apt-key.gpg | sudo apt-key add -
$ cat <<EOF | sudo tee /etc/apt/sources.list.d/kubernetes.list
deb https://apt.kubernetes.io/ kubernetes-xenial main
EOF

$ sudo apt-get update
$ sudo apt-get install -y kubelet kubeadm kubectl
$ sudo apt-mark hold kubelet kubeadm kubectl
Swapの無効化
Swapが有効になっているとKubeletが起動しないため、Swapを無効化しておきます。
$ sudo swapoff -a
ここまでの作業を3台分繰り返してください。
これでクラスター構築の準備は完了と言っていいでしょう。
Kubernetesクラスターの構築
ここからはMasterNodeとWorkerNodeで別の作業をしていきます。
Master Nodeの構築
CNIプラグインはFlannelを使用します。
Flannelを使用する場合、--pod-network-cidr=10.244.0.0/16を指定する必要があります。
$ sudo kubeadm init --pod-network-cidr=10.244.0.0/16
W1228 06:06:27.607623    2273 validation.go:28] Cannot validate kube-proxy config - no validator is available
W1228 06:06:27.607962    2273 validation.go:28] Cannot validate kubelet config - no validator is available
[init] Using Kubernetes version: v1.17.0
[preflight] Running pre-flight checks
    [WARNING IsDockerSystemdCheck]: detected "cgroupfs" as the Docker cgroup driver. The recommended driver is "systemd". Please follow the guide at https://kubernetes.io/docs/setup/cri/
[preflight] Pulling images required for setting up a Kubernetes cluster
[preflight] This might take a minute or two, depending on the speed of your internet connection
[preflight] You can also perform this action in beforehand using 'kubeadm config images pull'
[kubelet-start] Writing kubelet environment file with flags to file "/var/lib/kubelet/kubeadm-flags.env"
[kubelet-start] Writing kubelet configuration to file "/var/lib/kubelet/config.yaml"
[kubelet-start] Starting the kubelet
[certs] Using certificateDir folder "/etc/kubernetes/pki"
[certs] Generating "ca" certificate and key
[certs] Generating "apiserver" certificate and key
[certs] apiserver serving cert is signed for DNS names [k8s-master kubernetes kubernetes.default kubernetes.default.svc kubernetes.default.svc.cluster.local] and IPs [10.96.0.1 192.168.13.101]
[certs] Generating "apiserver-kubelet-client" certificate and key
[certs] Generating "front-proxy-ca" certificate and key
[certs] Generating "front-proxy-client" certificate and key
[certs] Generating "etcd/ca" certificate and key
[certs] Generating "etcd/server" certificate and key
[certs] etcd/server serving cert is signed for DNS names [k8s-master localhost] and IPs [192.168.13.101 127.0.0.1 ::1]
[certs] Generating "etcd/peer" certificate and key
[certs] etcd/peer serving cert is signed for DNS names [k8s-master localhost] and IPs [192.168.13.101 127.0.0.1 ::1]
[certs] Generating "etcd/healthcheck-client" certificate and key
[certs] Generating "apiserver-etcd-client" certificate and key
[certs] Generating "sa" key and public key
[kubeconfig] Using kubeconfig folder "/etc/kubernetes"
[kubeconfig] Writing "admin.conf" kubeconfig file
[kubeconfig] Writing "kubelet.conf" kubeconfig file
[kubeconfig] Writing "controller-manager.conf" kubeconfig file
[kubeconfig] Writing "scheduler.conf" kubeconfig file
[control-plane] Using manifest folder "/etc/kubernetes/manifests"
[control-plane] Creating static Pod manifest for "kube-apiserver"
[control-plane] Creating static Pod manifest for "kube-controller-manager"
W1228 06:08:56.859476    2273 manifests.go:214] the default kube-apiserver authorization-mode is "Node,RBAC"; using "Node,RBAC"
[control-plane] Creating static Pod manifest for "kube-scheduler"
W1228 06:08:56.868671    2273 manifests.go:214] the default kube-apiserver authorization-mode is "Node,RBAC"; using "Node,RBAC"
[etcd] Creating static Pod manifest for local etcd in "/etc/kubernetes/manifests"
[wait-control-plane] Waiting for the kubelet to boot up the control plane as static Pods from directory "/etc/kubernetes/manifests". This can take up to 4m0s
[kubelet-check] Initial timeout of 40s passed.
[apiclient] All control plane components are healthy after 48.007975 seconds
[upload-config] Storing the configuration used in ConfigMap "kubeadm-config" in the "kube-system" Namespace
[kubelet] Creating a ConfigMap "kubelet-config-1.17" in namespace kube-system with the configuration for the kubelets in the cluster
[upload-certs] Skipping phase. Please see --upload-certs
[mark-control-plane] Marking the node k8s-master as control-plane by adding the label "node-role.kubernetes.io/master=''"
[mark-control-plane] Marking the node k8s-master as control-plane by adding the taints [node-role.kubernetes.io/master:NoSchedule]
[bootstrap-token] Using token: ul0n5s.x4ukjc7en79vt4o7
[bootstrap-token] Configuring bootstrap tokens, cluster-info ConfigMap, RBAC Roles
[bootstrap-token] configured RBAC rules to allow Node Bootstrap tokens to post CSRs in order for nodes to get long term certificate credentials
[bootstrap-token] configured RBAC rules to allow the csrapprover controller automatically approve CSRs from a Node Bootstrap Token
[bootstrap-token] configured RBAC rules to allow certificate rotation for all node client certificates in the cluster
[bootstrap-token] Creating the "cluster-info" ConfigMap in the "kube-public" namespace
[kubelet-finalize] Updating "/etc/kubernetes/kubelet.conf" to point to a rotatable kubelet client certificate and key
[addons] Applied essential addon: CoreDNS
[addons] Applied essential addon: kube-proxy

Your Kubernetes master has initialized successfully!

To start using your cluster, you need to run the following as a regular user:

  mkdir -p $HOME/.kube
  sudo cp -i /etc/kubernetes/admin.conf $HOME/.kube/config
  sudo chown $(id -u):$(id -g) $HOME/.kube/config

You should now deploy a pod network to the cluster.
Run "kubectl apply -f [podnetwork].yaml" with one of the options listed at:
  https://kubernetes.io/docs/concepts/cluster-administration/addons/

You can now join any number of machines by running the following on each node
as root:

  kubeadm join 192.168.13.2:6443 --token vpmuze.ina6swjhlxh57lds --discovery-token-ca-cert-hash sha256:fcda1034ebb1374f0a0b487cd349b29ac1c253e83e6344b4d567cf61123a509c
kubectlの設定
$ mkdir -p $HOME/.kube
$ sudo cp -i /etc/kubernetes/admin.conf $HOME/.kube/config
$ sudo chown $(id -u):$(id -g) $HOME/.kube/config
Pod Network Addonのインストール
$ kubectl apply -f https://raw.githubusercontent.com/coreos/flannel/2140ac876ef134e0ed5af15c65e414cf26827915/Documentation/kube-flannel.yml
podsecuritypolicy.policy/psp.flannel.unprivileged created
clusterrole.rbac.authorization.k8s.io/flannel created
clusterrolebinding.rbac.authorization.k8s.io/flannel created
serviceaccount/flannel created
configmap/kube-flannel-cfg created
daemonset.apps/kube-flannel-ds-amd64 created
daemonset.apps/kube-flannel-ds-arm64 created
daemonset.apps/kube-flannel-ds-arm created
daemonset.apps/kube-flannel-ds-ppc64le created
daemonset.apps/kube-flannel-ds-s390x created
Worker Nodeの構築
Master Nodeを構築したときに出力されたコマンドをそのまま使用します。
$ sudo kubeadm join 192.168.13.2:6443 --token vpmuze.ina6swjhlxh57lds --discovery-token-ca-cert-hash sha256:fcda1034ebb1374f0a0b487cd349b29ac1c253e83e6344b4d567cf61123a509c
W1228 06:21:59.043224    3046 join.go:346] [preflight] WARNING: JoinControlPane.controlPlane settings will be ignored when control-plane flag is not set.
[preflight] Running pre-flight checks
    [WARNING IsDockerSystemdCheck]: detected "cgroupfs" as the Docker cgroup driver. The recommended driver is "systemd". Please follow the guide at https://kubernetes.io/docs/setup/cri/
[preflight] Reading configuration from the cluster...
[preflight] FYI: You can look at this config file with 'kubectl -n kube-system get cm kubeadm-config -oyaml'
[kubelet-start] Downloading configuration for the kubelet from the "kubelet-config-1.17" ConfigMap in the kube-system namespace
[kubelet-start] Writing kubelet configuration to file "/var/lib/kubelet/config.yaml"
[kubelet-start] Writing kubelet environment file with flags to file "/var/lib/kubelet/kubeadm-flags.env"
[kubelet-start] Starting the kubelet
[kubelet-start] Waiting for the kubelet to perform the TLS Bootstrap...

This node has joined the cluster:
* Certificate signing request was sent to apiserver and a response was received.
* The Kubelet was informed of the new secure connection details.

Run 'kubectl get nodes' on the control-plane to see this node join the cluster.
この作業をWorkerNode数分繰り返してください。
構築確認
Master Nodeで下記のコマンドを実行。
$ kubectl get nodes
NAME              STATUS   ROLES    AGE     VERSION
rp-kube-master    Ready    master   12m     v1.18.2
rp-kube-worker1   Ready    <none>   2m13s   v1.18.2
rp-kube-worker2   Ready    <none>   43s     v1.18.2
Worker NodeのROLESが<none>になっているので、ラベルを追加します。
$ kubectl label node rp-kube-worker1 node-role.kubernetes.io/worker=worker
node/rp-kube-worker1 labeled
$ kubectl label node rp-kube-worker2 node-role.kubernetes.io/worker=worker
node/rp-kube-worker2 labeled

$ kubectl get nodes
NAME              STATUS   ROLES    AGE     VERSION
rp-kube-master    Ready    master   12m     v1.18.2
rp-kube-worker1   Ready    worker   2m13s   v1.18.2
rp-kube-worker2   Ready    worker   43s     v1.18.2
これでクラスターの構築は完了です。
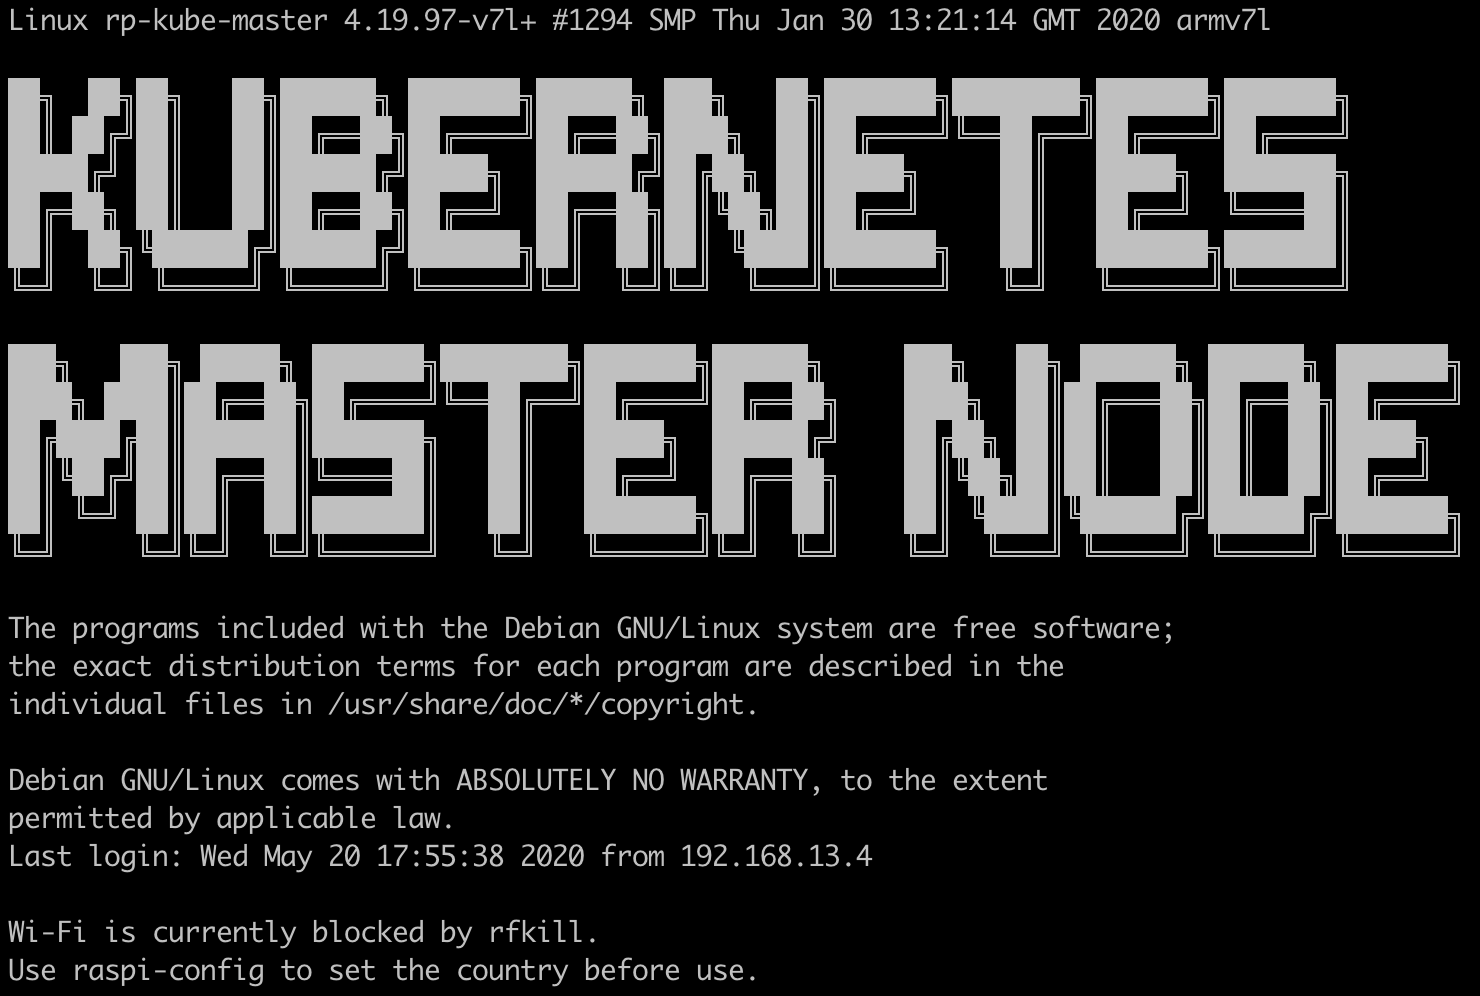
最終的な状態
Master Nodeにログインしたとき
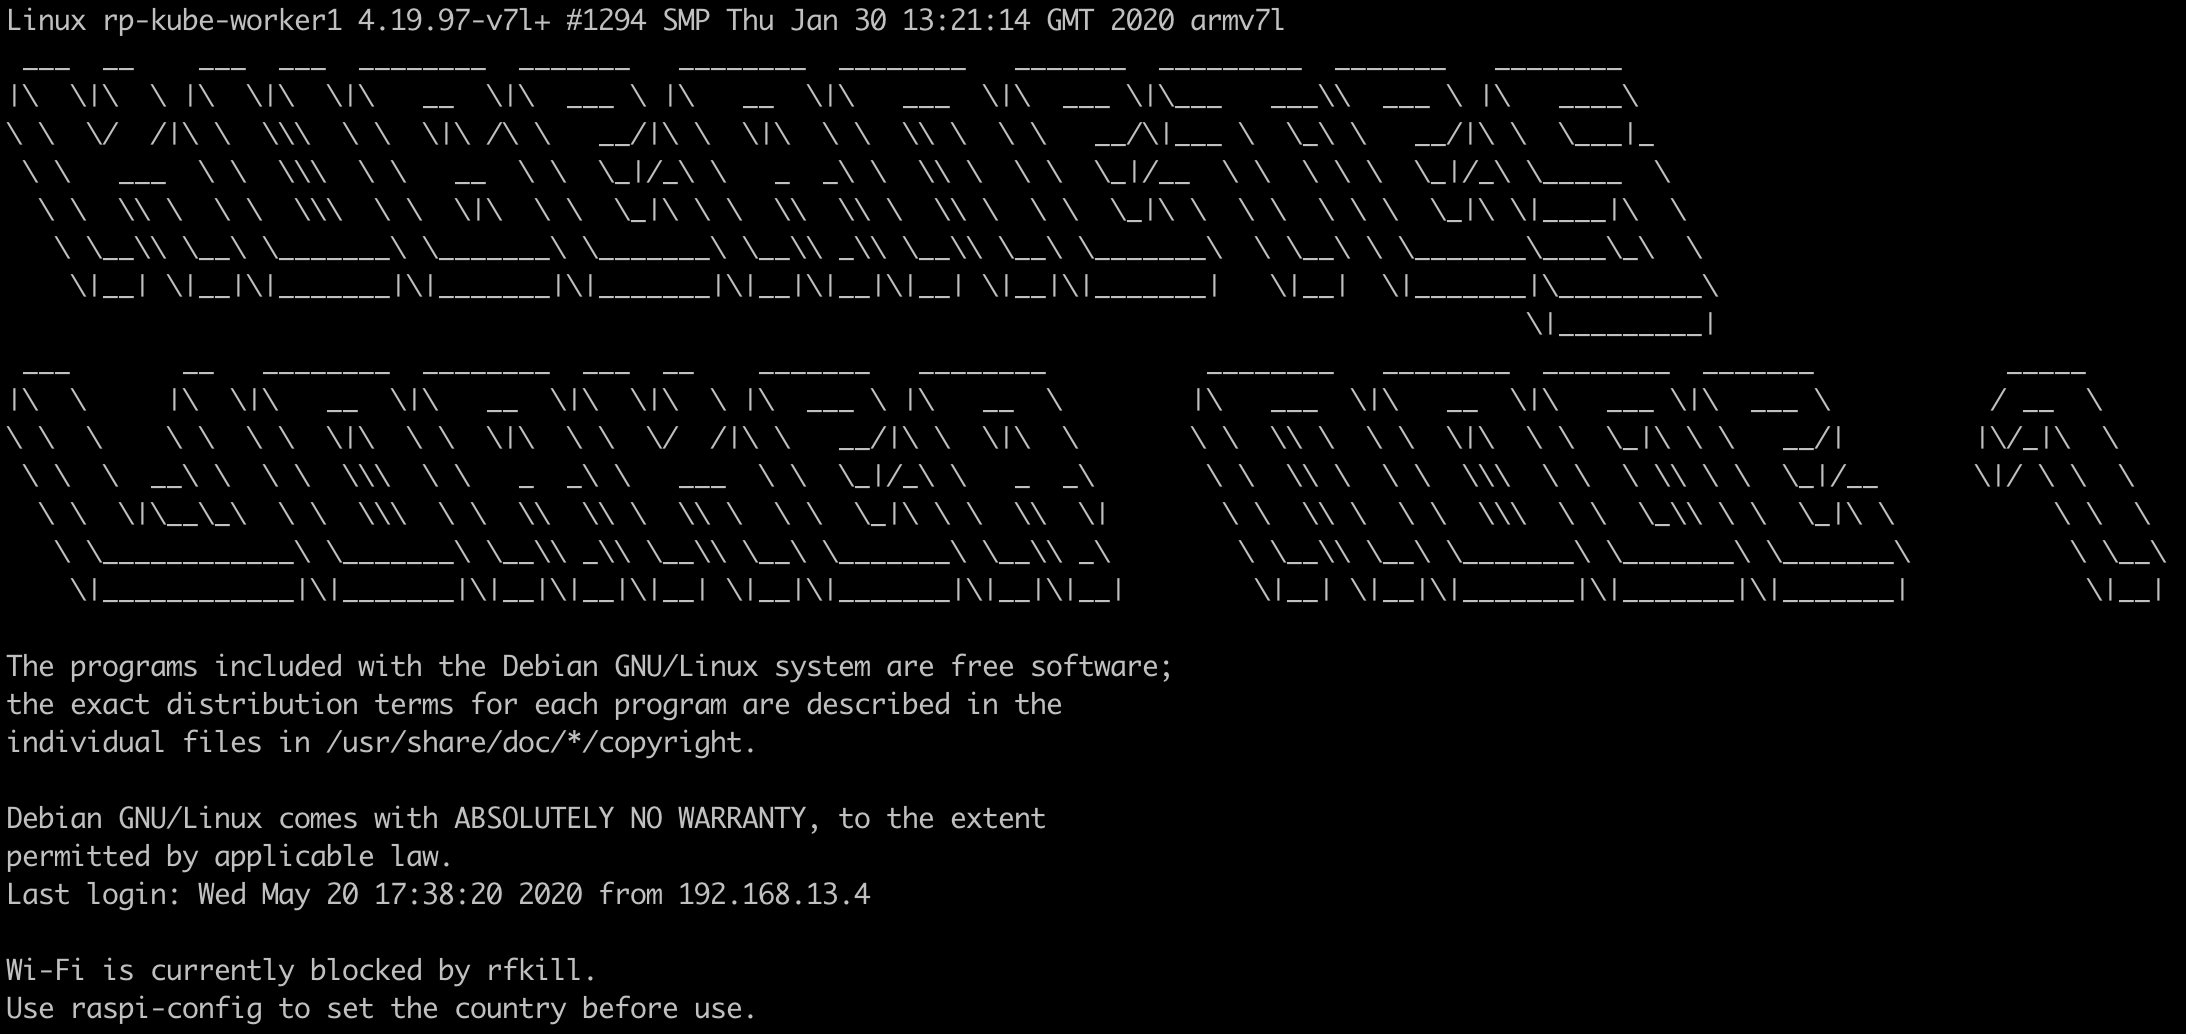
Worker Nodeにログインしたとき
また、それぞれに静的IPアドレスを割り当てて、再起動等を繰り返してもIPが変わらないようにしたり、host名を変更したりしました。
まとめ
k8sのクラスター構築は初めてやったので、手順通りにやっただけではあるものの、かなり勉強になることが多かったです。
これから本格的に触れていこうと思うので、今後もk8sに関する記事を書いていければと思います。
参考記事
Raspberry PiでおうちKubernetes構築【論理編】
Raspberry Pi 4 でおうちKubernetesを作ろう(Raspbian Buster Lite対応版)
ラズパイ4で作るディスプレイ付きKubernetesクラスター
ラズパイでKubernetesクラスタを構築する