はじめに
次世代のPython Notebookとして「Marimo」が登場しました。
marimoについて参考:
- https://note.com/currypurin/n/n6f9b9b05be5f
- https://qiita.com/Oukaria/items/f13619fcc878df06674e
- https://qiita.com/__Kat__/items/0970eb96d62f1ba9dc12
Visual Studio Codeの拡張機能として使うことができるということで、環境構築から試してみました。
今後使用を重ねていく中で更新を加えます。(予定)
環境
- Windows11
- Visual Studio Code 1.102.3
- Rye 0.44.0(Pythonパッケージ管理ツール)
- Python 3.11
Marimoをインストール
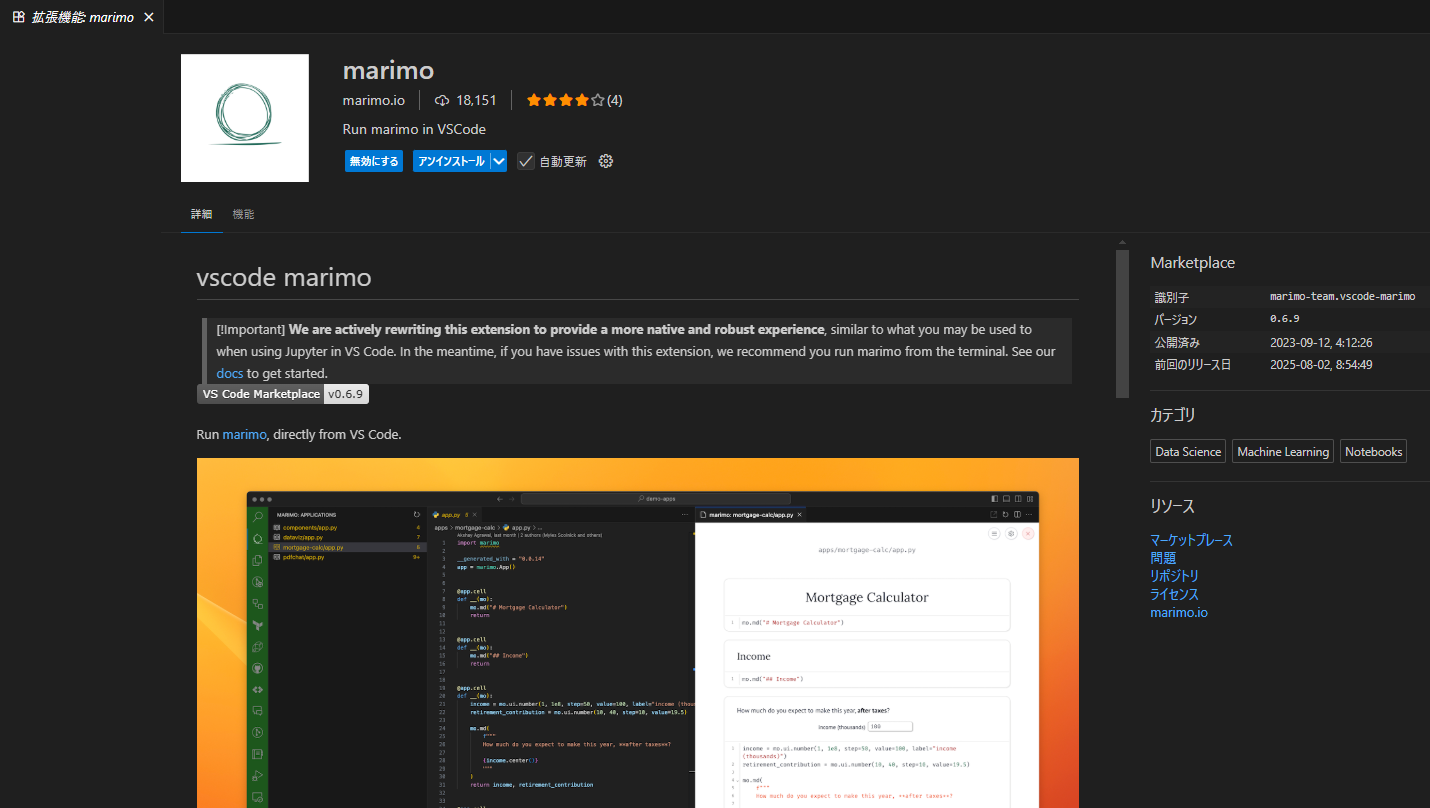
VS Codeの拡張機能
VS Codeの拡張機能で「marimo」と検索し、インストールする。
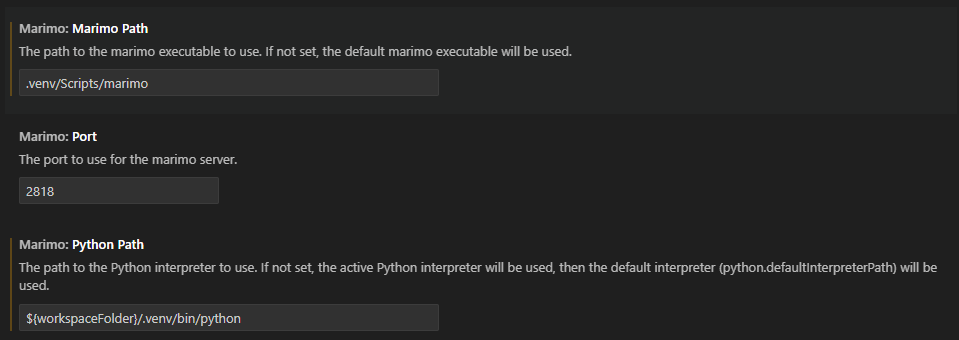
VS Code上で「Ctrl」+「,」から設定を開き、
"Marimo Path"に環境のMarimoのパスを、"Python Path"に環境のPythonのパスを設定する。
Marimoのpythonパッケージ
MarimoのPythonパッケージを環境にインストールする。
Ryeの場合は以下のようなコマンド。
rye add marimo
Notebookを作成・実行
VS CodeのサイドバーのMarimoを開く。
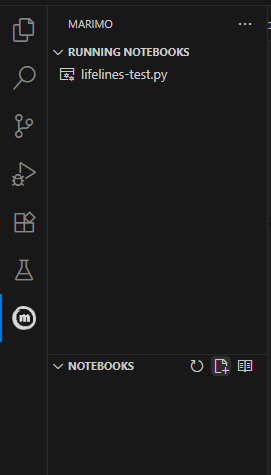
NOTEBOOKSから「crate new marimo notebook」を選択し、notebookを作成する。

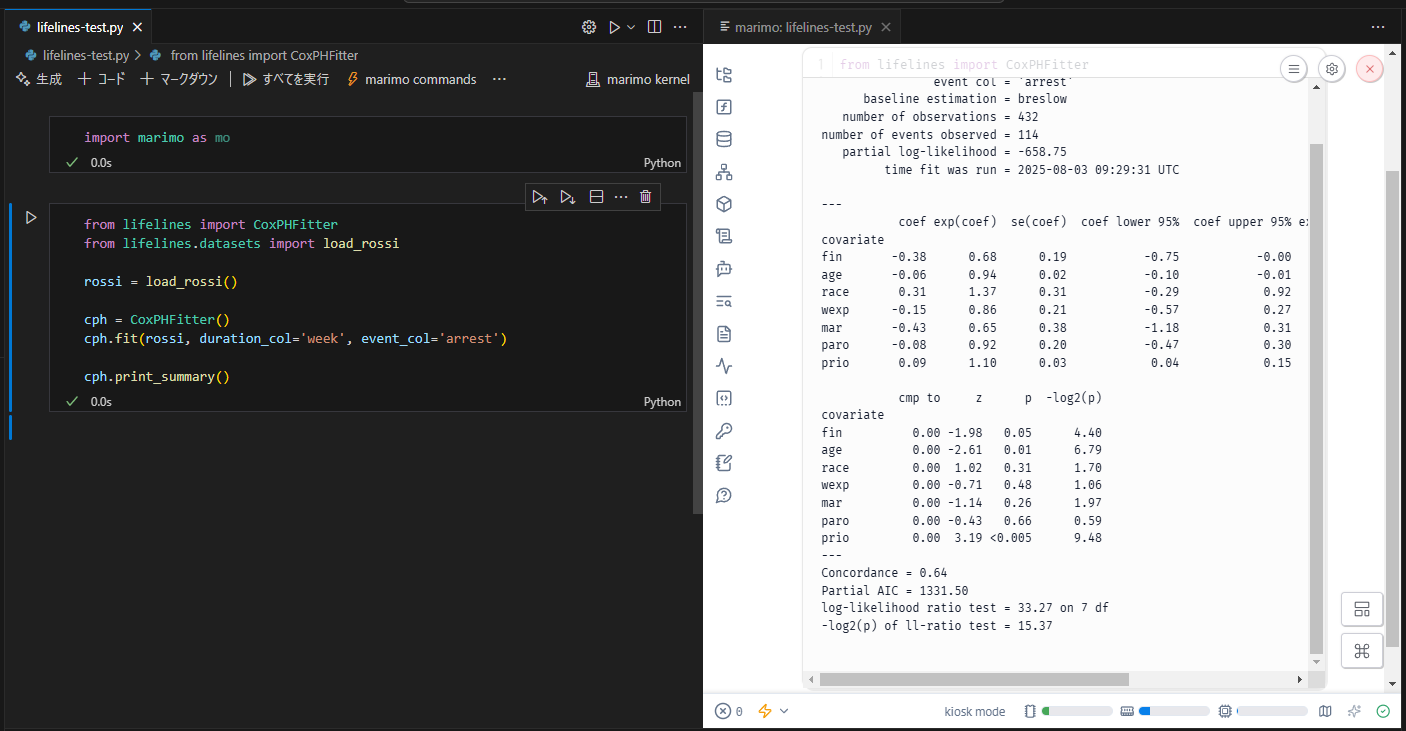
コードやテキストを書いて、Jupyter Notebookと同じように実行する。
※コードは勉強がてらにこちらからお借りしたものです。
良いところ
.py拡張子で保存される
このように.pyで保存されるため、Gitなどテキスト差分管理がしやすい。

ブラウザからnotebookの作成・編集ができる
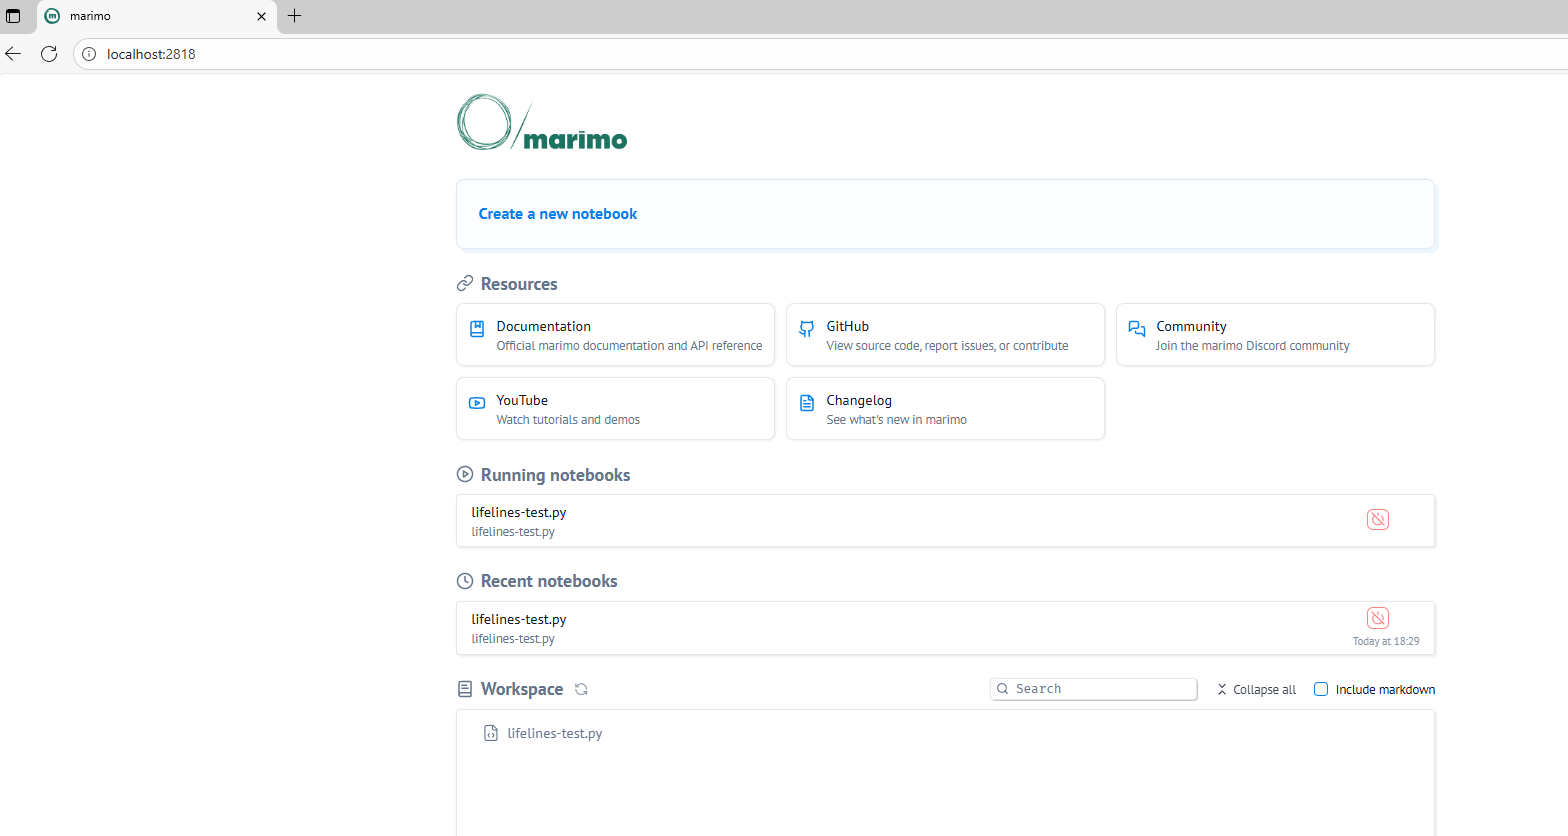
起動時にこのようにmarimoが実行される。
(ポートなどは初期設定のまま)

ブラウザのURLに「localhost:2818」と入れることで、ブラウザからMarimoが表示できる。
UIを使うことができる
こちらに少しサンプルを載せました。
UIを駆使することで、python実装されたツールをブラウザ利用で提供することができそう。
気になったこと
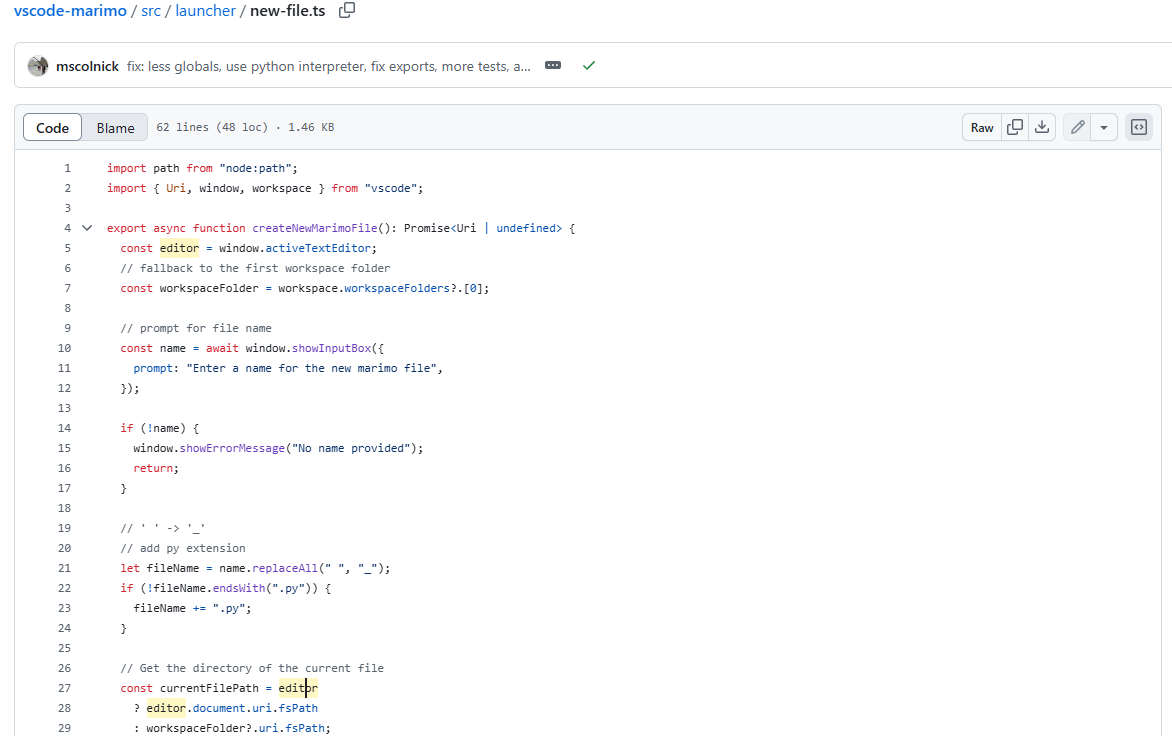
NOTEBOOKが意図しない場所に作成される
notebookを作成するときに、ワークスペースフォルダの一つ上階層に作成されることがありました。
拡張機能の実装を見ると、ワークスペースフォルダではなく、現在フォーカスされているタブのフォルダパスが採用されるようです。