はじめに
Delphi を使って Python の GUI を簡単に作成できるようなので、実際に試してみました。
以下に Jim McKeeth 氏の LearnDelphi 動画およびスライドの説明があります。今回はこれを元にインストールとサンプルを実施します。(今のところ他にこの情報は少ないようです)
この LearnDelphi は part1 と part2 に分かれていて、それぞれ VCL と FMX を使った説明になってます。
基本的な操作方法は同じのため、本記事ではまとめて記載します。
・part1 DelphiVCL
・part2 DelphiFMX
前提条件
予め以下の Delphi と Python の開発環境をしておきます。(カッコは実行時のバージョン)
・Delphi (11 Alexandria)
・Python (3.10.8)
・pip (22.3)
・PyScripter
(PyScripter は Python IDE の一つで、簡単に Python を実行できます。VSCode でもプラグインを入れることによって容易に実行できます。どちらでも可)
PyScripter download
Delphi VCL for Python / Delphi FMX for Python のインストール
VCL
pip 経由で delphivcl をインストールします。
pypi.org/project/delphivcl/
PowerShell で実行
pip install delphivcl
サンプルコードなどを実施するため、下記コードを Local にコピーするかクローンしておきます。
github.com/Embarcadero/DelphiVCL4Python
FMX
pip 経由で delphifmx をインストールします。
pypi.org/project/delphifmx/
PowerShell で実行
pip install delphifmx
サンプルコードなどを実施するため、下記コードを Local にコピーするかクローンしておきます。
github.com/Embarcadero/DelphiFMX4Python
サンプル Hello World の実行
GitHub で取得したコードにサンプルがあります。
VCL
DelphiVCL4Python\samples\HelloWorld
・hellodelphivcl.py
from delphivcl import *

class MainForm(Form):

    def __init__(self, owner):
        self.Caption = "A VCL Form..."
        self.SetBounds(10, 10, 500, 400)
        self.Position = "poScreenCenter"

        self.lblHello = Label(self)
        self.lblHello.SetProps(Parent=self,
            Caption="Hello DelphiVCL for Python")
        self.lblHello.SetBounds(10, 10, 300, 24)

        self.OnClose = self.__on_form_close

    def __on_form_close(self, sender, action):
        action.Value = caFree

def main():
    Application.Initialize()
    Application.Title = "Hello Python"
    Main = MainForm(Application)
    Main.Show()
    FreeConsole()
    Application.Run()
    Main.Destroy()

main()
import で delphivcl が指定されてます。
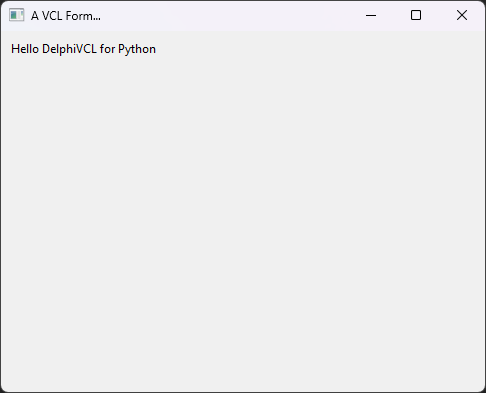
これを実行すると下記の様なフォームがでます。
FMX
DelphiFMX4Python-main\samples
・Simplest.py
from delphifmx import *

Application.Initialize()
Application.Title = "Hello Delphi FMX"
Application.MainForm = Form(Application)
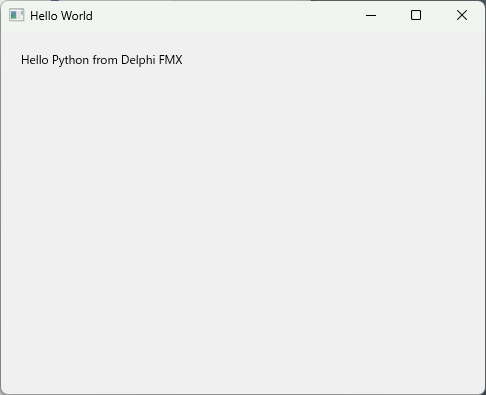
Application.MainForm.SetProps(Caption = "Hello World")
msg = Label(Application.MainForm)
msg.SetProps(Parent = Application.MainForm,
    Text = "Hello Python from Delphi FMX",
    Position = Position(PointF(20, 20)),
    Width = 200)
Application.MainForm.Show()
Application.Run() # This is the main loop
Application.MainForm.Destroy()
import で delphivcl が指定されてます。
これを実行すると下記の様なフォームがでます。
その他のサンプル
他にも幾つかのサンプルがあります。ここではファイルパスと画像のみを記載しますので、実際のコードは GitHub で取得したコードをご確認ください。
VCL
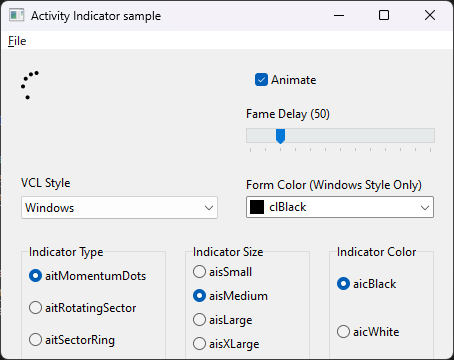
■ VCL.ActivityIndicator Sample
DelphiVCL4Python\samples\ActivityIndicator
・activityindicator.py
FMX
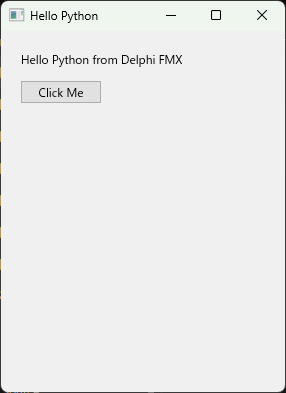
■ Hello World (An Object Oriented example)
DelphiFMX4Python-main\samples
・HelloDelphiFMX.py
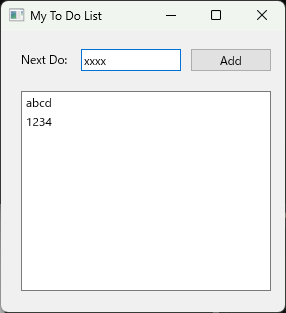
■ ToDo App (Starting to get useful….)
DelphiFMX4Python-main\samples
・ToDoList.py
■ With Style (And more controls)
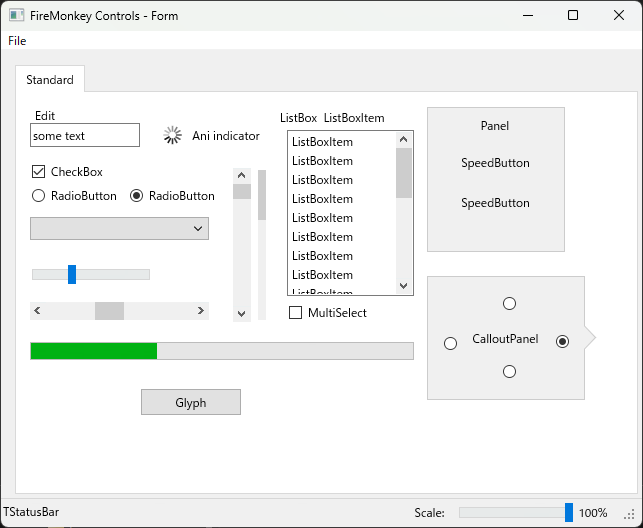
DelphiFMX4Python-main\samples\samples\ControlsDesktop
・controlsdemo.py
Delphi のフォームを Python から使う
今回一番のポイントとなる機能です。
Delphi でフォームを作成し、Python で使用できるようにフォームをエクスポートします。その後の実処理は Python でコードを書きます。(Delphi では画面の器を作成するイメージです)
Delphi4PythonExporter の導入
以下にコード一式があり、説明もあります。
実際の導入は Delphi IDE の GetItパッケージマネージャー から Delphi4PythonExporter をインストールします。

Delphi4PythonExporter の使い方サンプル
GitHub で取得したコードにサンプルがあるため、それを使用します。
基本的な使い方は VCL / FMX で同じです。
VCL
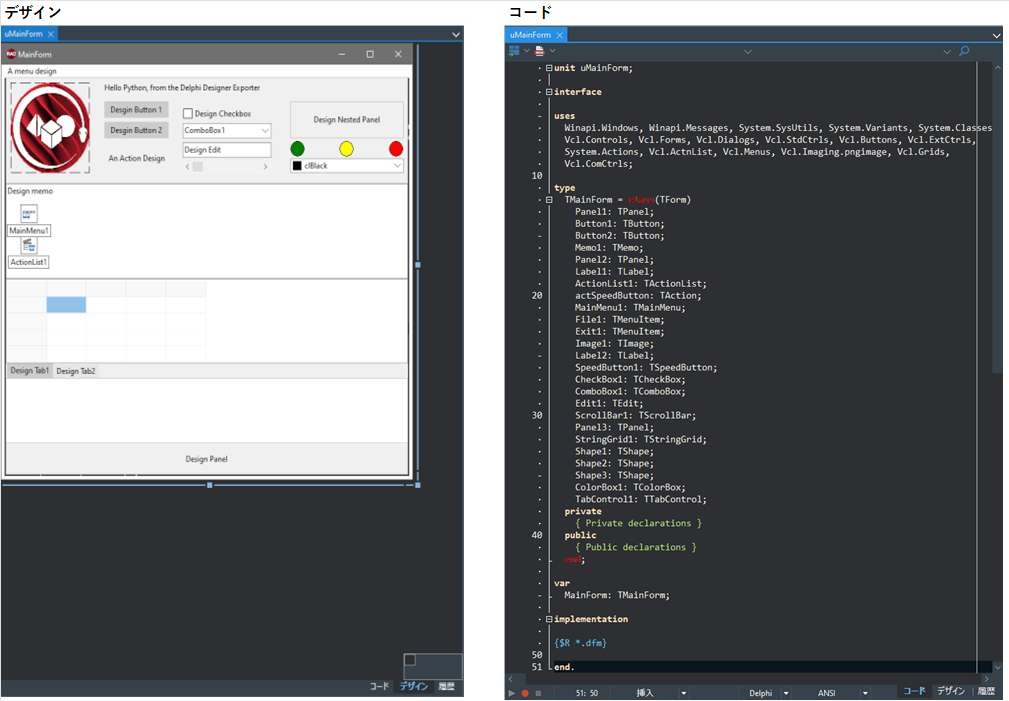
DelphiVCL4Python\samples\DesignExport\SampleForm
のプロジェクトを開きます (SampleFormDesignExport.dproj)
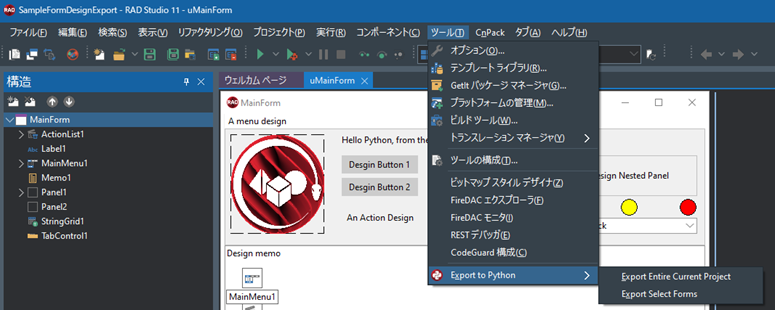
・[ツール] から [Export to Python] を選択
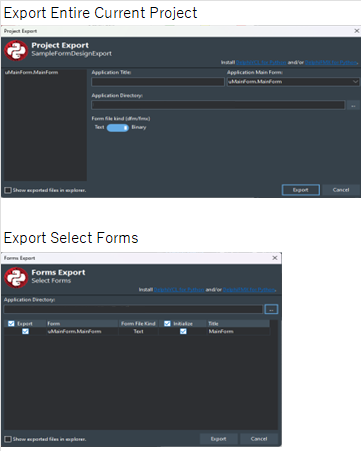
どちらかを選んで Export すると以下のファイルができます。
(ここでは Export Select Forms を選びました)

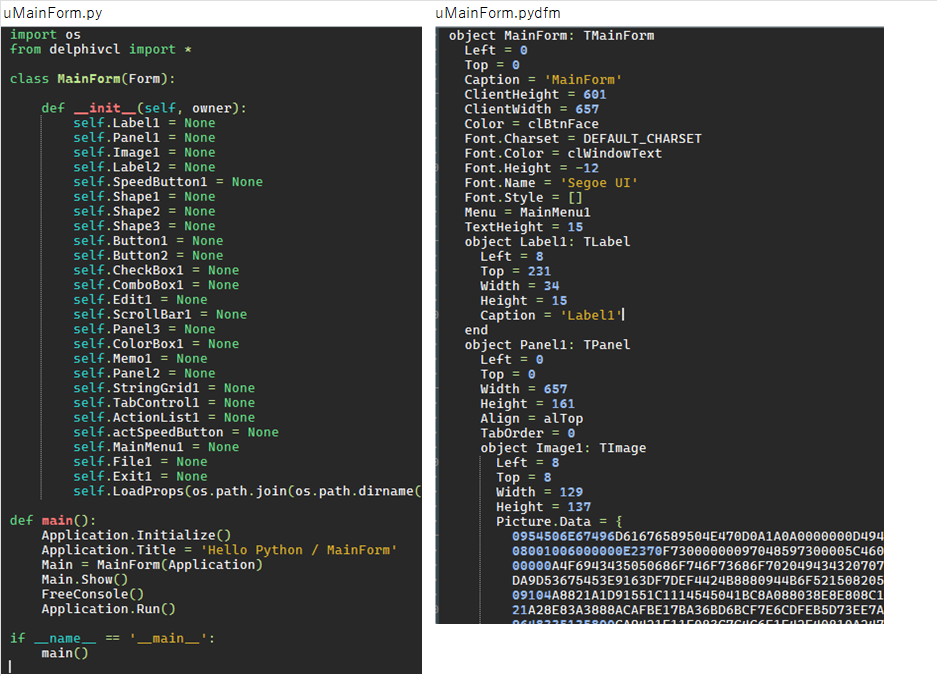
ファイルの中身(Python のコードと Delphi の .dfm の様な内容)
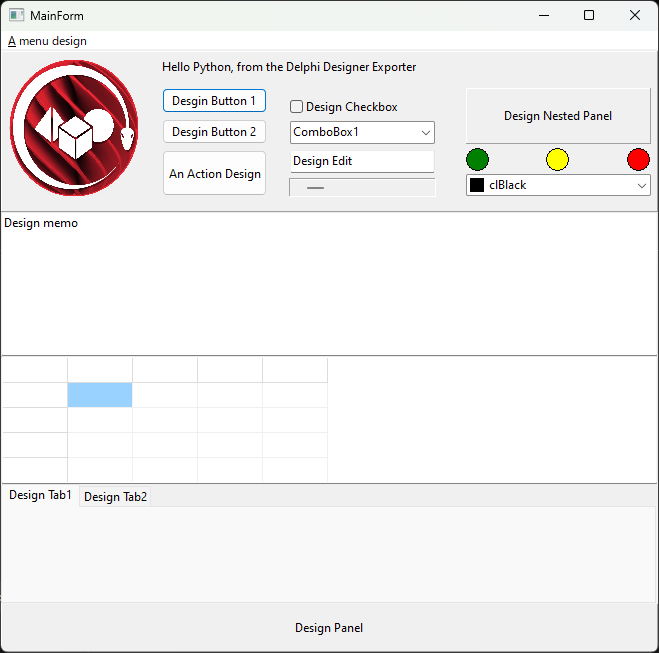
この「uMainForm.py」を実行すると下記のフォームがでます。
実際の処理は uMainForm.py に記述する必要があります。
FMX
基本的な使い方は VCL と同様です。
(ここでは Delphi4PythonExporter 内のサンプルを使用します)
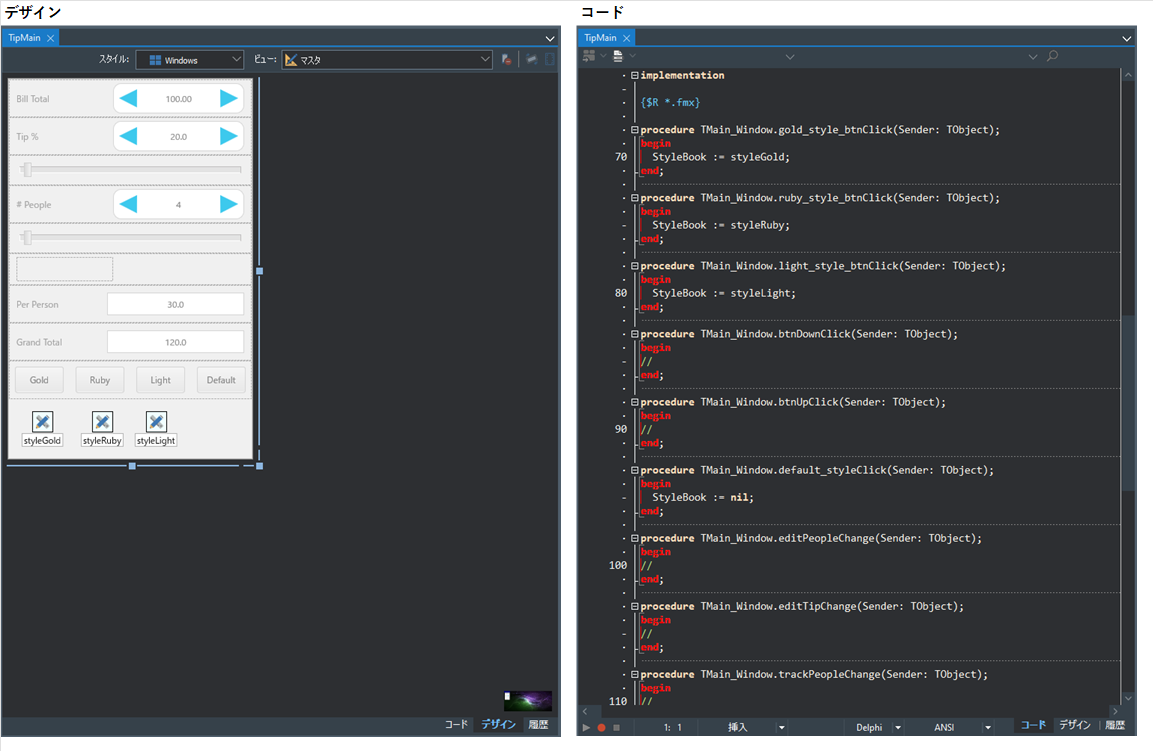
Delphi4PythonExporter\Samples\TipCalculator
のプロジェクトを開きます(TipCalculator.dproj)
ボタンイベントが空で実装されてます。これは後述の Export で作成した Python のコードに実処理を追加する必要があるからです。
[ツール] から [Export to Python] で Export します。
(ここでは Export Entire Current Project を選びました)
ファイルの中身(Python のコードと Delphi の .dfm の様な内容)
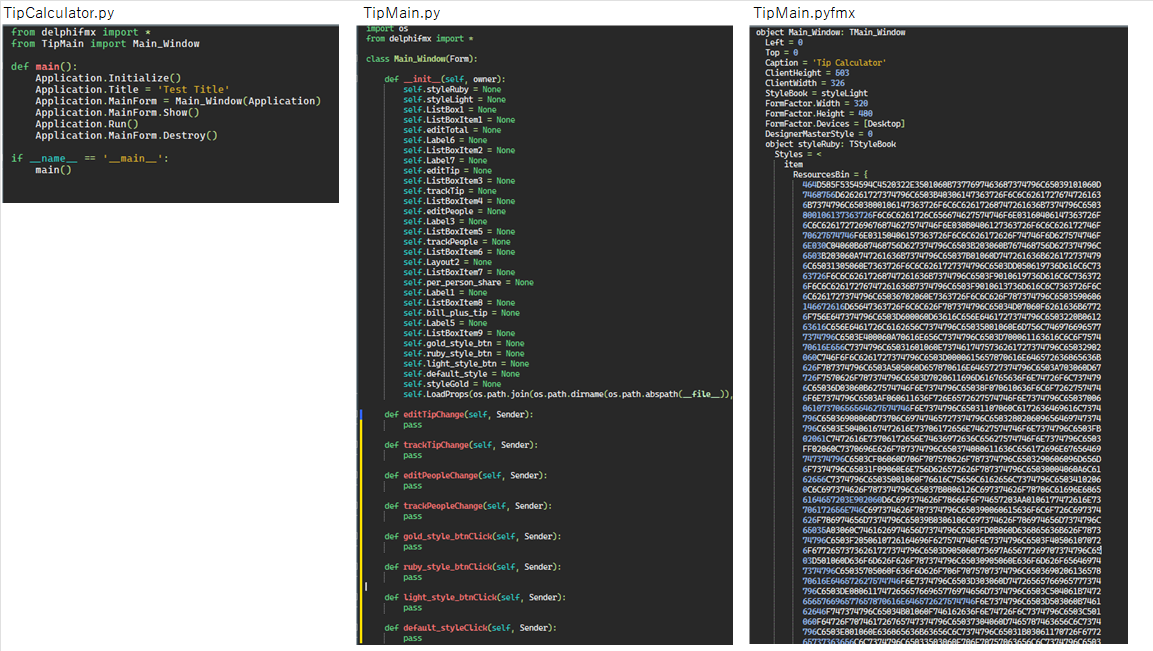
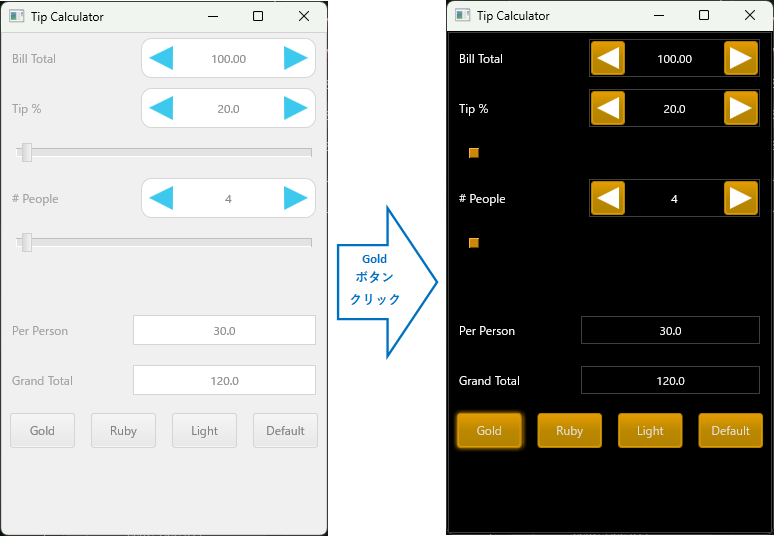
左側の TipMain.py 内の処理が何もないため、ボタン等を押しても機能しません。
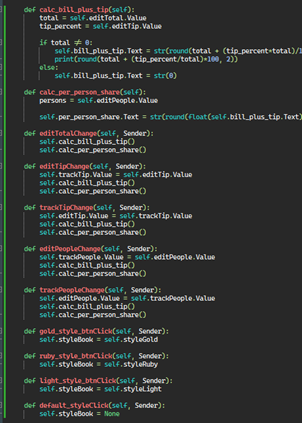
そのため、以下の様にコードを追記してから実行します。
追記した TipMain.py のコードです
import os
from delphifmx import *

class Main_Window(Form):

    def __init__(self, owner):
        self.styleRuby = None
        self.styleLight = None
        self.ListBox1 = None
        self.ListBoxItem1 = None
        self.editTotal = None
        self.Label6 = None
        self.ListBoxItem2 = None
        self.Label7 = None
        self.editTip = None
        self.ListBoxItem3 = None
        self.trackTip = None
        self.ListBoxItem4 = None
        self.editPeople = None
        self.Label3 = None
        self.ListBoxItem5 = None
        self.trackPeople = None
        self.ListBoxItem6 = None
        self.Layout2 = None
        self.ListBoxItem7 = None
        self.per_person_share = None
        self.Label1 = None
        self.ListBoxItem8 = None
        self.bill_plus_tip = None
        self.Label5 = None
        self.ListBoxItem9 = None
        self.gold_style_btn = None
        self.ruby_style_btn = None
        self.light_style_btn = None
        self.default_style = None
        self.styleGold = None
        self.LoadProps(os.path.join(os.path.dirname(os.path.abspath(__file__)), "TipMain.pyfmx"))
        self.editTotal.OnChange = self.editTotalChange
        self.editTotal.Value = 100
        self.editTip.Value = 20
        self.editPeople.Value = 4

    def calc_bill_plus_tip(self):
        total = self.editTotal.Value
        tip_percent = self.editTip.Value

        if total != 0:
            self.bill_plus_tip.Text = str(round(total + (tip_percent*total)/100, 2))
            print(round(total + (tip_percent/total)*100, 2))
        else:
            self.bill_plus_tip.Text = str(0)

    def calc_per_person_share(self):
        persons = self.editPeople.Value

        self.per_person_share.Text = str(round(float(self.bill_plus_tip.Text) / persons, 2))

    def editTotalChange(self, Sender):
        self.calc_bill_plus_tip()
        self.calc_per_person_share()

    def editTipChange(self, Sender):
        self.trackTip.Value = self.editTip.Value
        self.calc_bill_plus_tip()
        self.calc_per_person_share()

    def trackTipChange(self, Sender):
        self.editTip.Value = self.trackTip.Value
        self.calc_bill_plus_tip()
        self.calc_per_person_share()

    def editPeopleChange(self, Sender):
        self.trackPeople.Value = self.editPeople.Value
        self.calc_bill_plus_tip()
        self.calc_per_person_share()

    def trackPeopleChange(self, Sender):
        self.editPeople.Value = self.trackPeople.Value
        self.calc_bill_plus_tip()
        self.calc_per_person_share()

    def gold_style_btnClick(self, Sender):
        self.styleBook = self.styleGold

    def ruby_style_btnClick(self, Sender):
        self.styleBook = self.styleRuby

    def light_style_btnClick(self, Sender):
        self.styleBook = self.styleLight

    def default_styleClick(self, Sender):
        self.styleBook = None
その他のサンプル
今までに出てきた GitHub で取得したコード内の Samples フォルダに幾つかサンプルがありますので、必要の応じて確認してください。
まとめ
以上のように、「簡単なフォーム」については Delphi IDE でコントロールをドラッグアンドドロップで追加して画面を作成し、Python 用に出力することにより、容易に Python UI を作成できました。
しかし、今回使用した LearnDelphi で出てきた Delphi プロジェクトは単純なフォーム(一つのUnit)でしたので、実際に作られるような複数の Form や Frame, Unit などがあるアプリについて、どこまで Python UI にできるかは、更なる検証が必要かと思いました。
今回はあまり情報の少ない Delphi for Python について、「使えるかも」という確認でした。
補足
①ドキュメントについて
参考サイトのスライドについては、取得した GitHub 内の tutorials フォルダに PDF ファイルがあります。
DelphiVCL4Python\tutorials\Introduction to Python GUI Development with Delphi for Python Part 1 - Delphi VCL for Python.pdf
DelphiFMX4Python\tutorials\Python-on-Android_with-DelphiFMX.pdf
②使用可能なコントロールについて
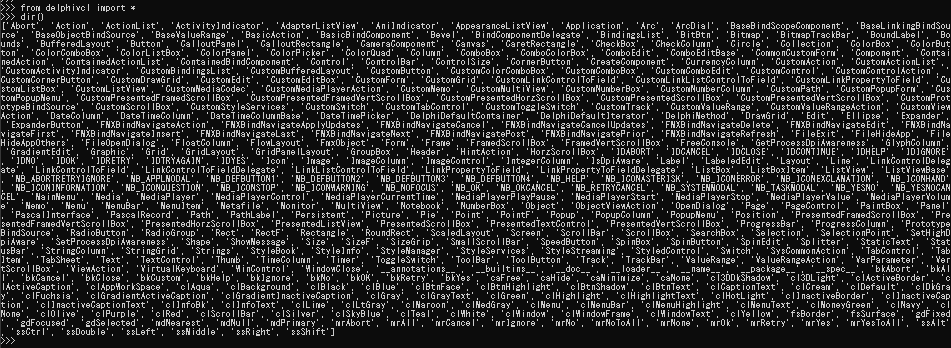
コマンドで DelphiVCL, DelphiFMX の利用可能なコントロールが確認できます。
VCL
> python
>>> from delphivcl import *
>>> dir()
FMX
> python
>>> from delphifmx import *
>>> dir()
現段階で例えば「TSaveDialog」を用いた Delphi を Export すると Python の実行でエラーになる様子。
NameError: name 'TSaveDialog' is not defined
