以下は、SearXNG MCP Server を Windows に Docker Desktop を使って構築する手順をまとめたものです。
Braive Search を用いて、Web検索機能を持たせる方法が流行っていますが、SearXNG はAPIを必要とせず無制限で利用できるメリットがあります。
OpenWebUI にWeb検索機能を与えるためにも使われています。
1. 事前準備
1.1 ソフトウェアのインストールとClaude の開発者モードを有効化
未実施の場合は以下を参照してください。
Claude Desktop に Docker を使って MCP Server を構築する方法 ~①Systemfile編~
1.2 SearXNG コンテナの立ち上げ
作業ディレクトリに、docker-compose.ymlを配置します。
※ 私は以下に配置しました。
C:/Users/username/mcp_projects/searxng/docker-compose.yml
services:
  searxng:
    image: searxng/searxng:latest
    ports:
      - "8080:8080"
    volumes:
      - ./searxng:/etc/searxng
    environment:
      SEARXNG_HOSTNAME: "localhost:8080/"
    restart: unless-stopped
    cap_drop:
      - ALL
    cap_add:
      - CHOWN
      - SETGID
      - SETUID
      - DAC_OVERRIDE
    logging:
      driver: "json-file"
      options:
        max-size: "1m"
        max-file: "1"
docker compose up -dを実行し、コンテナを立ち上げます。
コンテナが完全に立ち上がったら、docker compose downで一旦落とします。
docker-compse.ymlと同じ階層に、searxng ディレクトリが新たに生成されているので、中に入ってsettings.ymlを編集し、- jsonを追記します。
  # remove format to deny access, use lower case.
  # formats: [html, csv, json, rss]
  formats:
    - html
+    - json
その後、もう一度docker compose up -dを実行し、コンテナを立ち上げます。
powershellで以下コマンドを実行すると、SearXNG Server が正常に動作しているかチェックできます。
curl "http://localhost:8080/search?q=SearXNG&format=json"
2. SearXNG MCP server のソースコードの取得
SearXNG MCP server のソースコードを取得します。
git clone https://github.com/ihor-sokoliuk/mcp-searxng
cd mcp-searxng
※私は以下のディレクトリで実行しました。
C:/Users/username/mcp_projects
3. SearXNG MCP server の Docker イメージのビルド
先ほど取得した SearXNG MCP server のソースをビルドし、Docker イメージを作成します。
docker build -t mcp-server-searxng:latest -f Dockerfile .
4. Claude Desktop用設定ファイルの編集
Claude Desktop が SearXNG MCP Serer をハンドリングできるように設定ファイルを変更します。

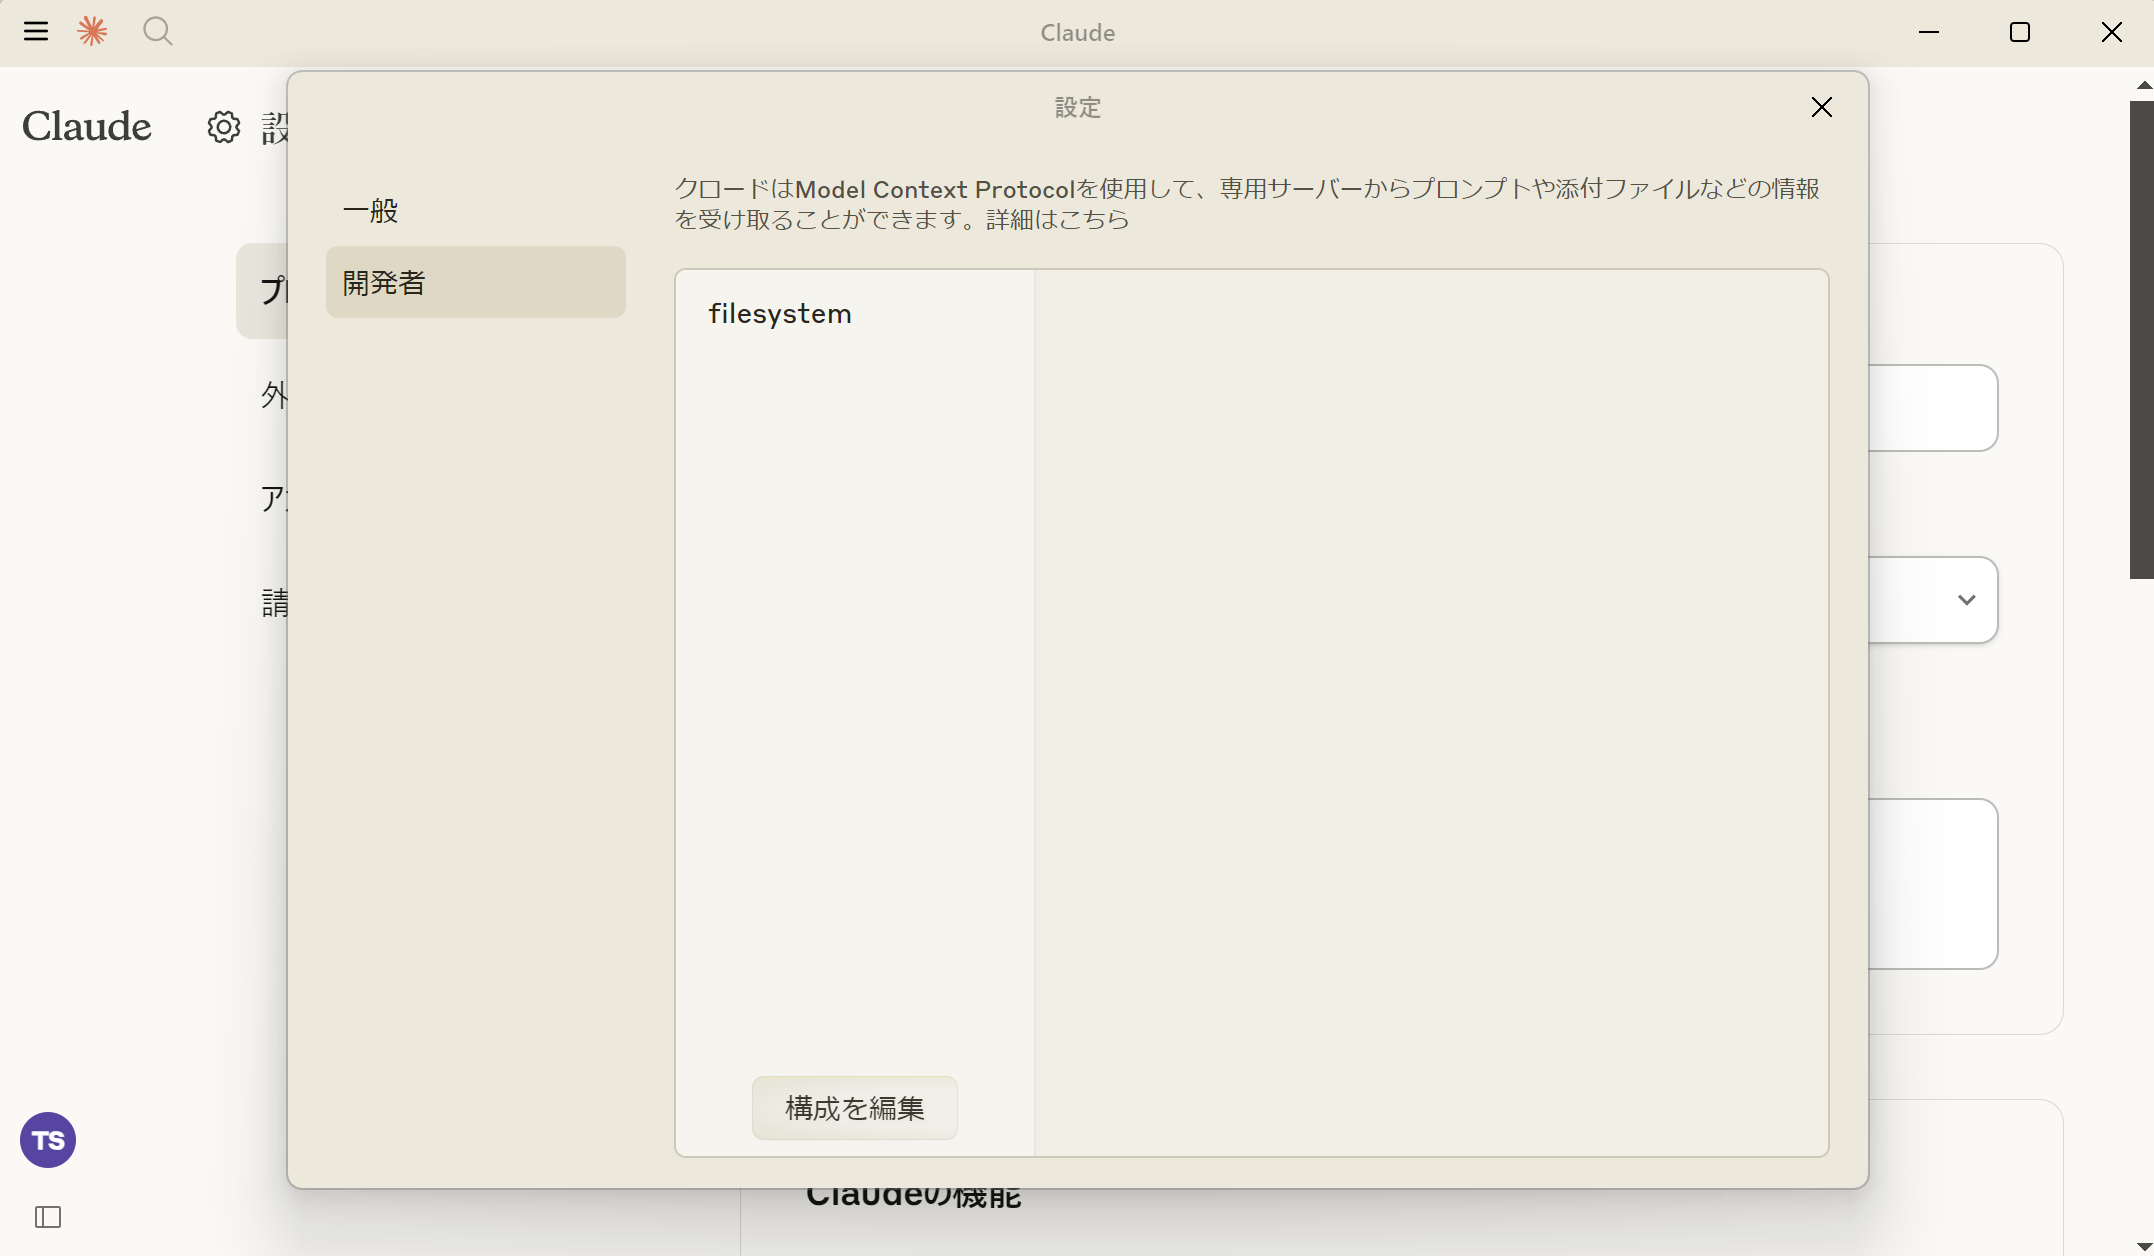
Claude Desktopの設定ファイル(例: claude_desktop_config.json)に以下を追記します。
{
  "mcpServers": {
    "filesystem": {
      "command": "docker",
      "args": [
        "run",
        "-i",
        "--rm",
        "--mount", "type=bind,src=<YOUR_LOCAL_PATH>,dst=/projects/<MOUNT_POINT>",
        "mcp/filesystem",
        "/projects"
      ]
+    },
+    "searxng": {
+      "command": "docker",
+      "args": [
+        "run",
+        "-i",
+        "--rm",
+        "-e",
+        "SEARXNG_URL",
+        "mcp-server-searxng:latest"
+      ],
+      "env": {
+        "SEARXNG_URL": "http://host.docker.internal:8080"
      }
    }
  }
}
※ SEARXNG_URLは、コンテナtoコンテナなので、localhostでなく、host.docker.internalを使います。
5. 動作確認
Claude Desktopを再起動します。
※ ウィンドウを閉じるだけでなく、以下から完全に終了させます。
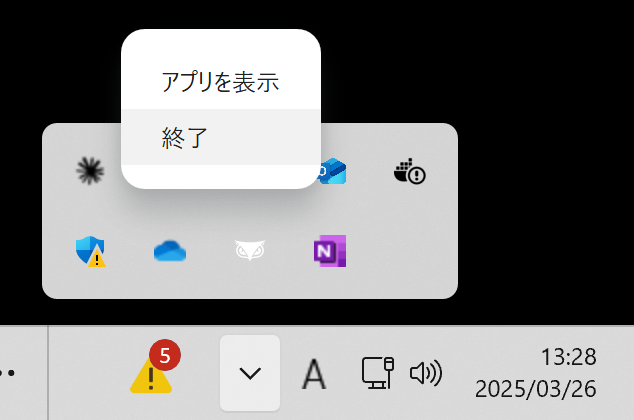
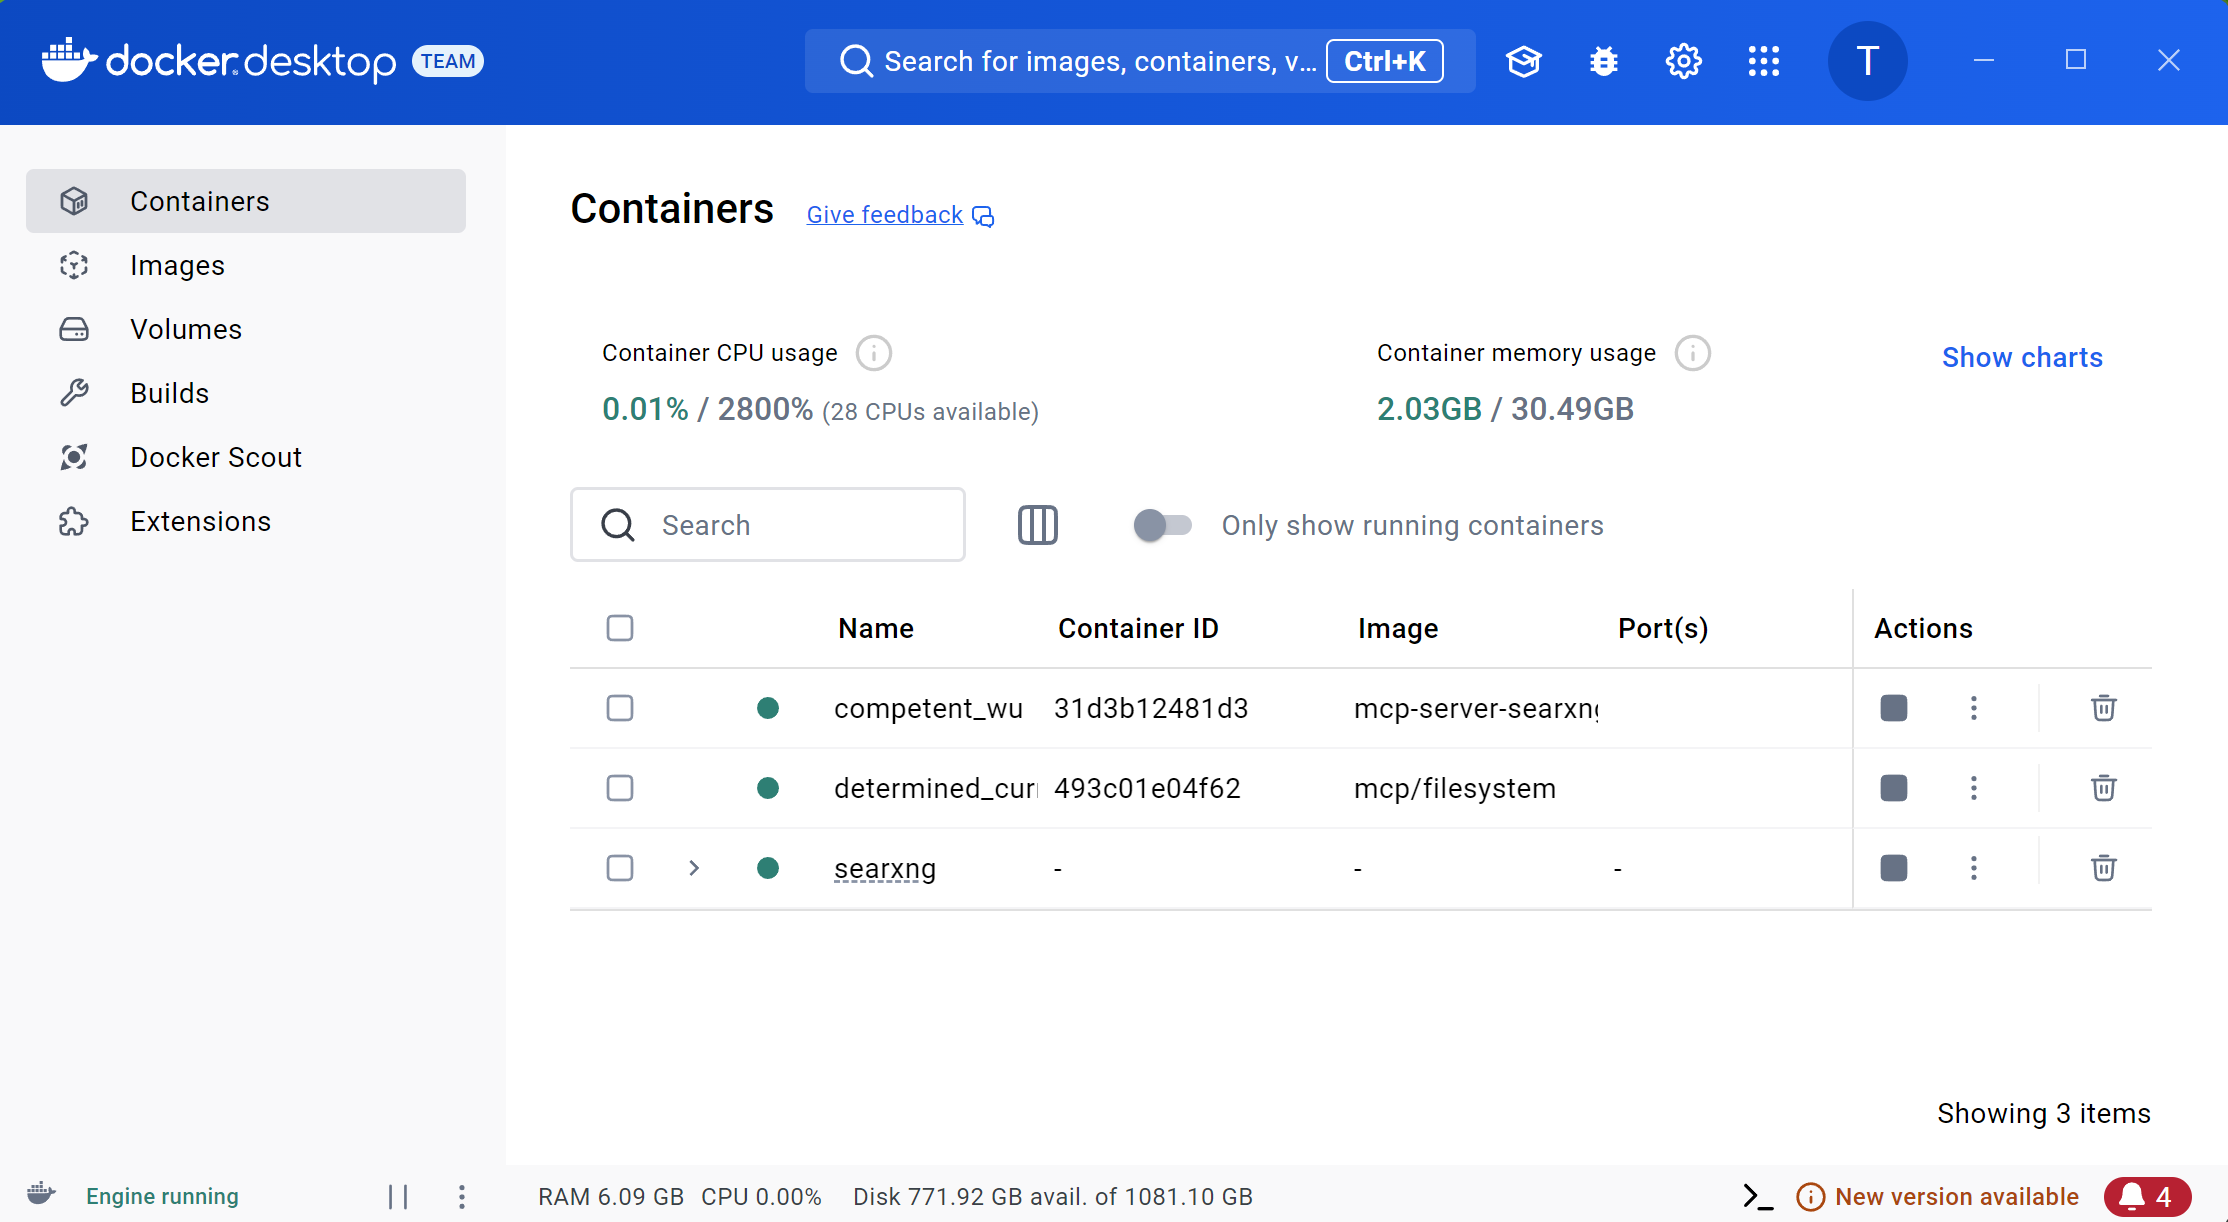
Claude Desktop 再起動時に、Filesystem MCP Server のコンテナが自動で立ち上がります。
Claude に次のようなプロンプトを送って動作確認します:
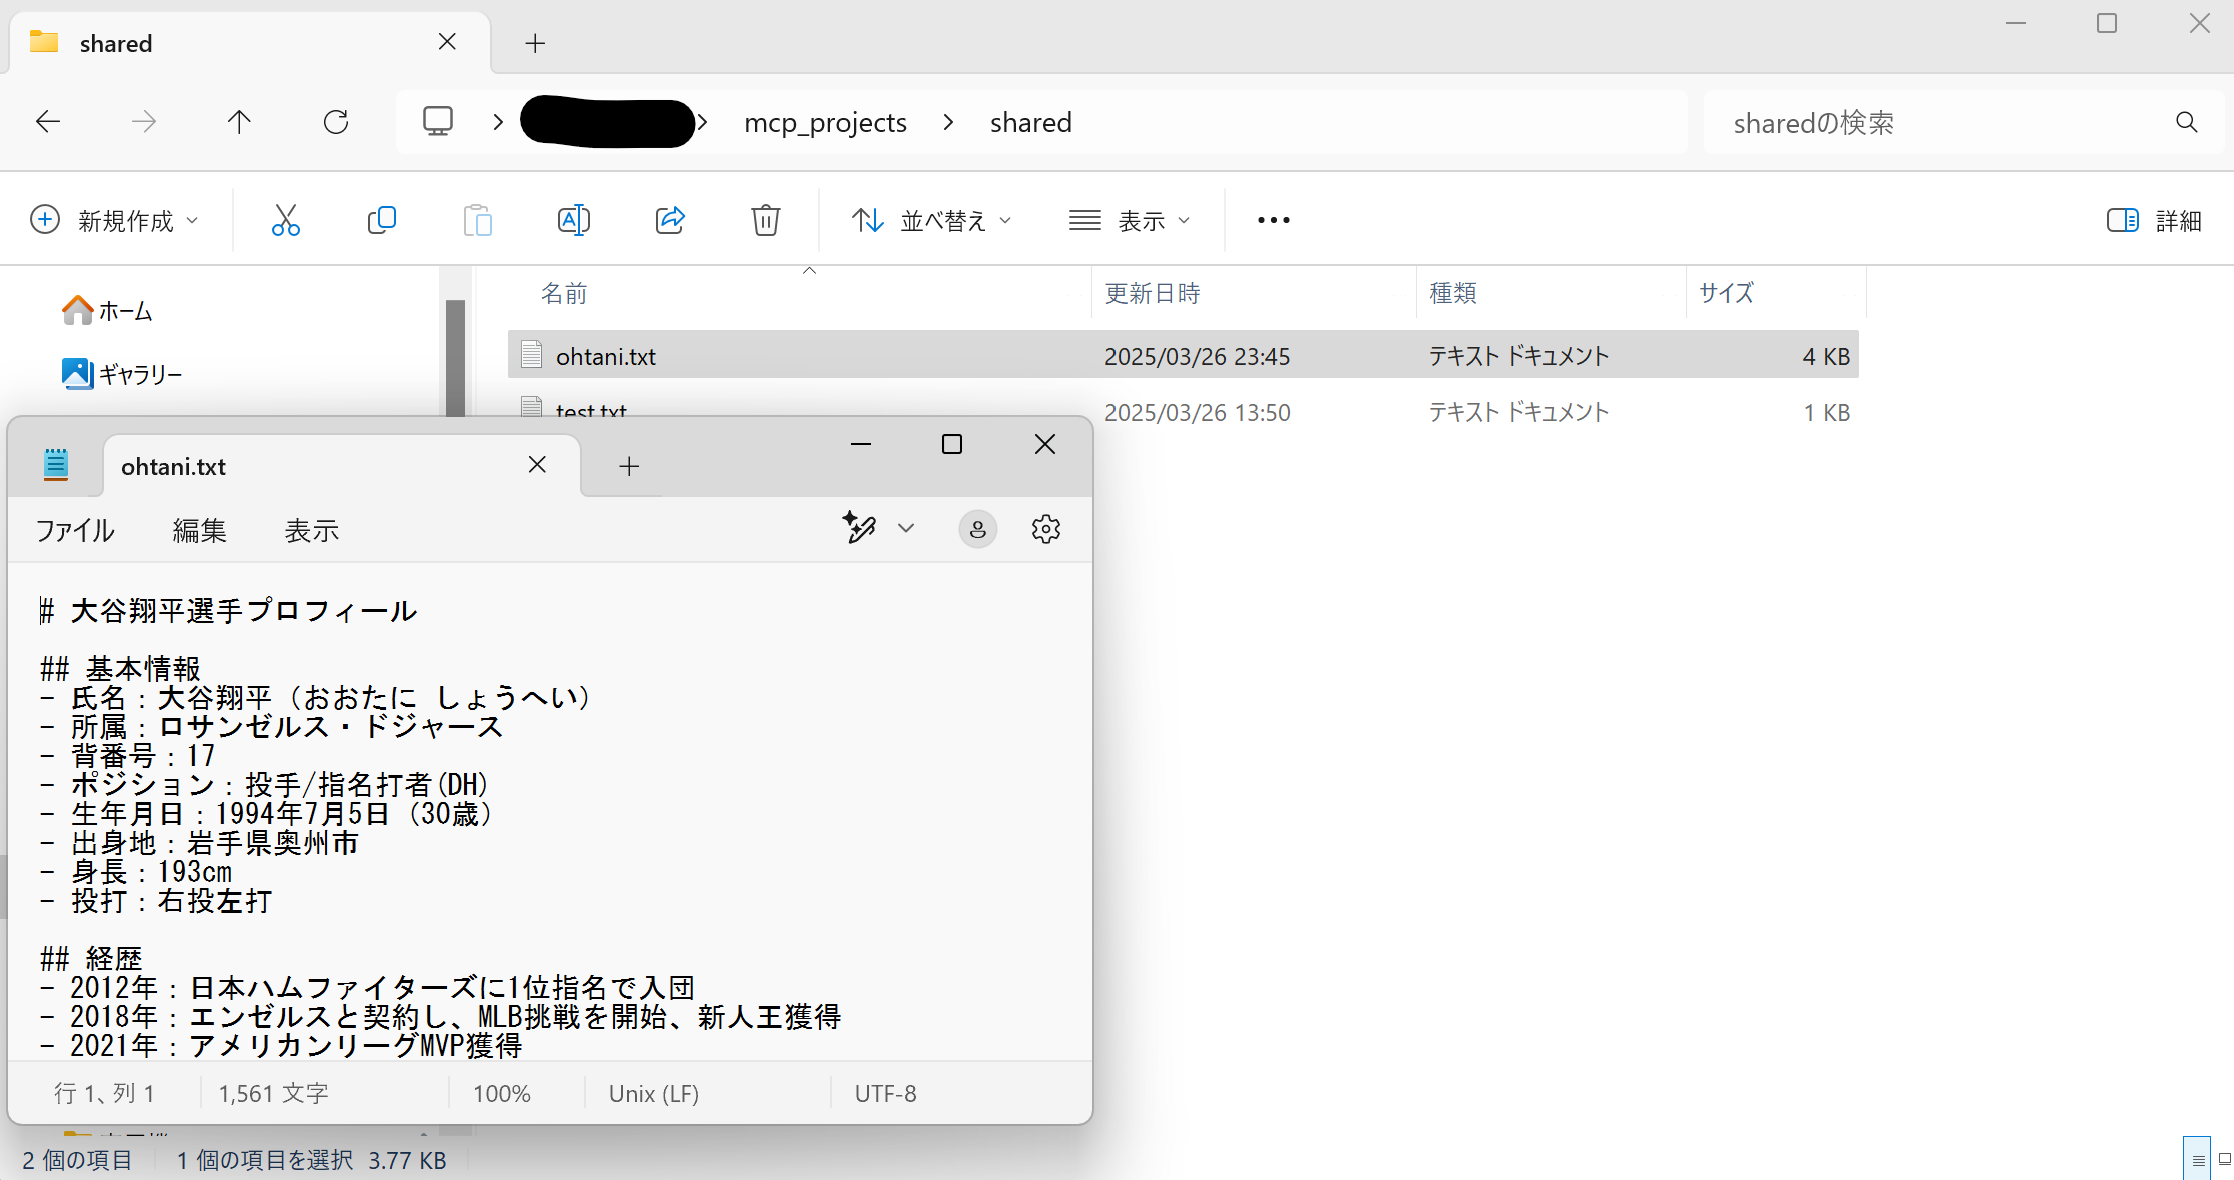
SearXNGで大谷翔平について調べて、/projects/shared/ohtani.txt に まとめた内容を記載し出力して。
ツールを使用するか確認が入るので、許可して継続します。
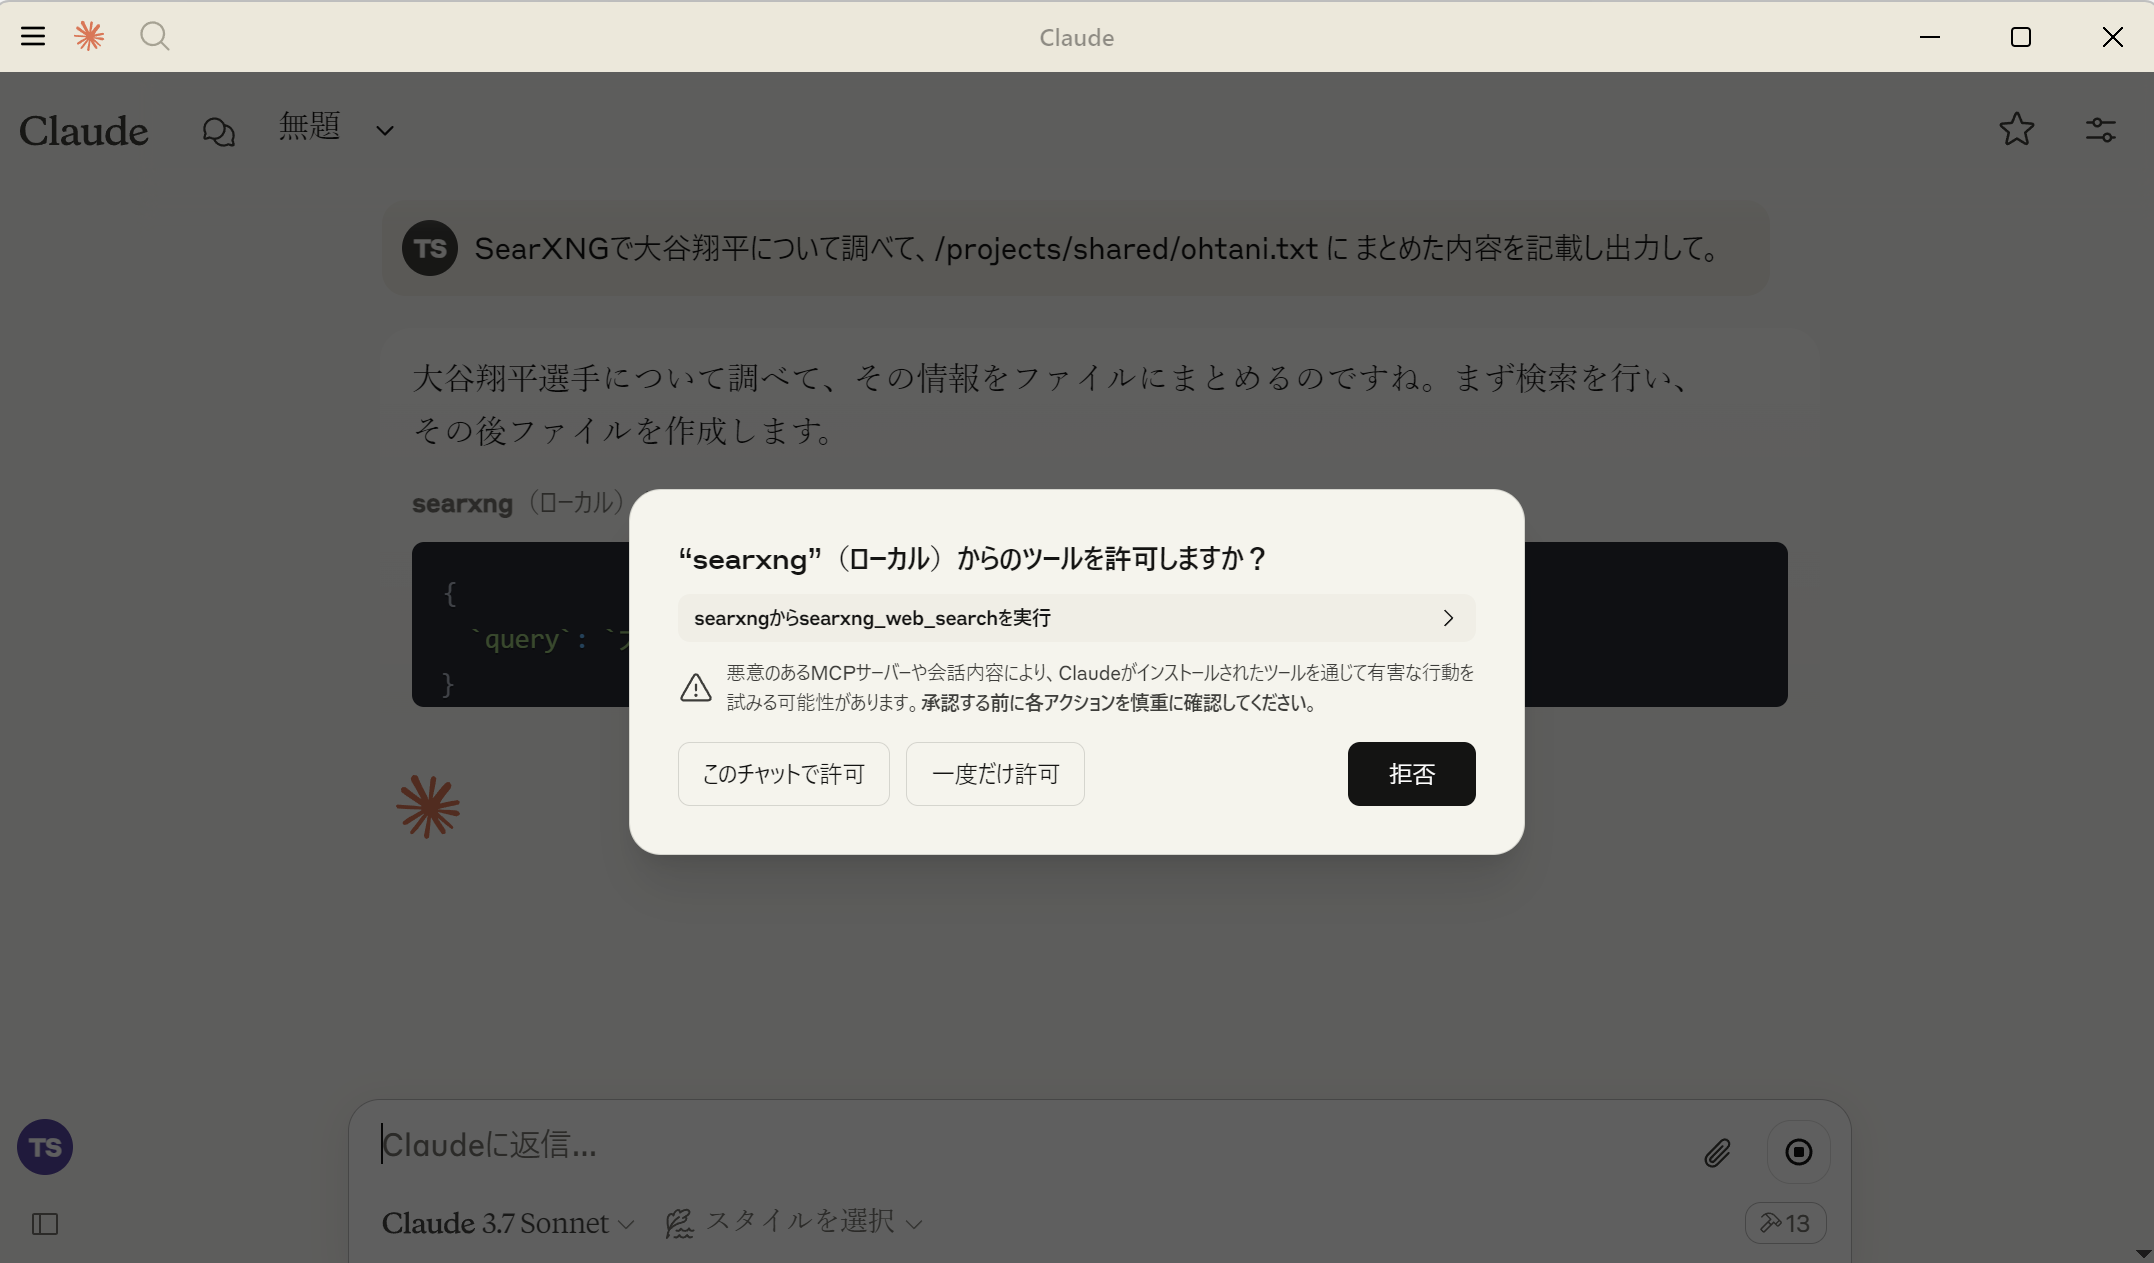
ohtaniファイルが生成されれば成功です。
YouTubeTranscript編に続く...
Claude Desktop に Docker を使って MCP Server を構築する方法 ~③YouTubeTranscript編~