気になっていたKubernetesをDocker for Macでローカル実行できると聞いて、入門してみました。
Docker for Macの公式ドキュメントに準じてやっていきます。
Get started with Docker for Mac #Kubernetes | Docker Documentation
Deploy on Kubernetes | Docker Documentation
Kubernetesって何?という方は以下の記事を読んでみてください。
Docker(コンテナ型仮想化)と Kubernetes についての簡単な紹介
今さら人に聞けない Kubernetes とは?
3分で分かった気になる、Kubernetes とは?
実行環境
- macOS High Sierra(10.13.4)
- Docker for Mac (edge) 18.05.0-ce
Dockerインストール
今回初めて知りましたが、Docker for Macは安定版(Stable)と実験版(Edge) の2種類リリースされています。
Docker公式のアナウンスによると、Kubernetesはまだ、Edge版にしか含まれていないため、Stable版を使用している人でも新しくインストールする必要があるようです。
Kubernetes is only available in Docker for Mac 17.12 CE and higher, on the Edge channel. Kubernetes support is not included in Docker for Mac Stable releases. To find out more about Stable and Edge channels and how to switch between them, see General configuration.
引用元: docker docs: Deploy on Kubernetes
以下リンクからEdge版をDL&インストールしましょう。
Docker Store
既にDocker for MacのStable版を使用されている方は、アプリを置き換えると、imageやコンテナが初期化されてしまうので、注意してください。

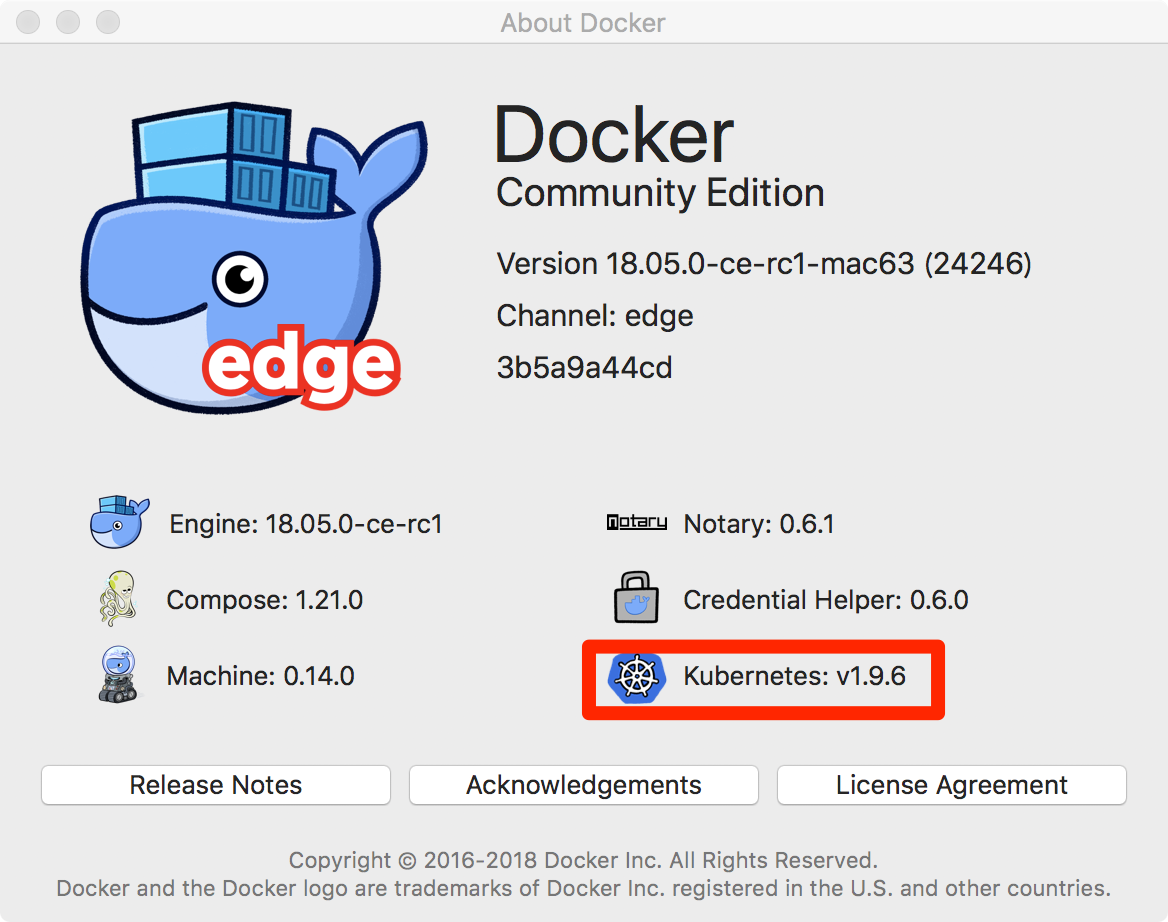
無事インストール後、About Dockerを開くと以下のように、Kubernetesが含まれているのが分かるかと思います。

Kubernetes有効化
PreferenceからKubernetesを選択し、有効化しましょう。
以下のように、Enable Kubernetesにチェックを入れ、Applyします。

有効化すると、数分Kubernetesのインストールが走ります。
インストール完了後に、ターミナルを開きます。
Kubernetes 操作用のkubectlというコマンドが使用できるようになっています。
$ which kubectl
/usr/local/bin/kubectl
※homebrewなどでインストール済みの場合はコンフリクトが発生するようです。
そのため、/usr/local/bin/kubectlをKubernetesインストール前に削除しておく必要があります。
Kubernetesクラスタ設定
以下のコマンドで使用するクラスタがdocker-for-desktopになっているかを確認します。
CURRENT欄に*がついているものが現在使用対象となるクラスタになります。
$ kubectl config get-contexts
CURRENT   NAME                 CLUSTER                      AUTHINFO             NAMESPACE
*         docker-for-desktop   docker-for-desktop-cluster   docker-for-desktop
この場合は、このままで大丈夫ですが、今回の方法以外で既にkubectlを使用していた場合はminikubeなど他のクラスタになっている場合があるそうです。
その時は、以下のコマンドを使ってdocker-for-desktopに切り替えましょう。
$ kubectl config use-context docker-for-desktop
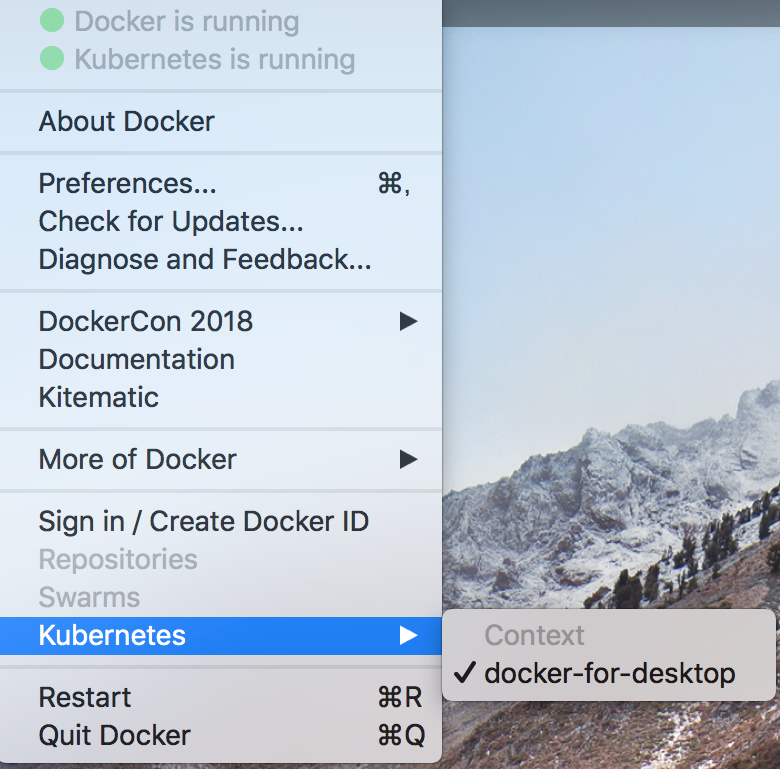
なお、Dockerのメニューからも切り替えができるようです。

確認
ノード一覧を呼び出すと、master(作業中のPC上)で、docker-for-desktopが走っているのがわかります。
これで、Kubernetesを使用できるようになりました。
$ kubectl get nodes
NAME                 STATUS    ROLES     AGE       VERSION
docker-for-desktop   Ready     master    3h        v1.9.6
docker composeでデプロイ
それでは、Kubernetesを使ってアプリをデプロイしていきましょう!
方法としては以下の2種類だそうです
- docker-compose.ymlを使う
- Kubernetes用の記法で書かれたマニフェストファイル(*.yml)を使う
まずはdocker-compose.ymlでやりましょう。
version: '3.3'

services:
  web:
    build: web
    image: dockerdemos/lab-web
    ports:
     - "80:80"

  words:
    build: words
    image: dockerdemos/lab-words
    deploy:
      replicas: 5
      endpoint_mode: dnsrr
      resources:
        limits:
          memory: 16M
        reservations:
          memory: 16M

  db:
    build: db
    image: dockerdemos/lab-db
ファイルを作ったら、デプロイします。
$ docker stack deploy --compose-file ./docker-compose.yml mystack
Ignoring unsupported options: build

Stack mystack was updated
Waiting for the stack to be stable and running...
 - Service db has one container running
 - Service words has one container running
 - Service web has one container running
Stack mystack is stable and running
以下コマンドでデプロイできているか確認しましょう。
$ docker stack services mystack
ID                  NAME                MODE                REPLICAS            IMAGE                   PORTS
9427fd5a-4dc        mystack_db          replicated          1/1                 dockerdemos/lab-db
942d4cd9-4dc        mystack_web         replicated          0/0                 dockerdemos/lab-web     *:80->80/tcp
942d4cd9-4dc        mystack_web         replicated          0/0                 dockerdemos/lab-web     *:80->80/tcp
942d4cd9-4dc        mystack_web         replicated          0/0                 dockerdemos/lab-web     *:80->80/tcp
9444649f-4dc        mystack_words       replicated          5/5                 dockerdemos/lab-words
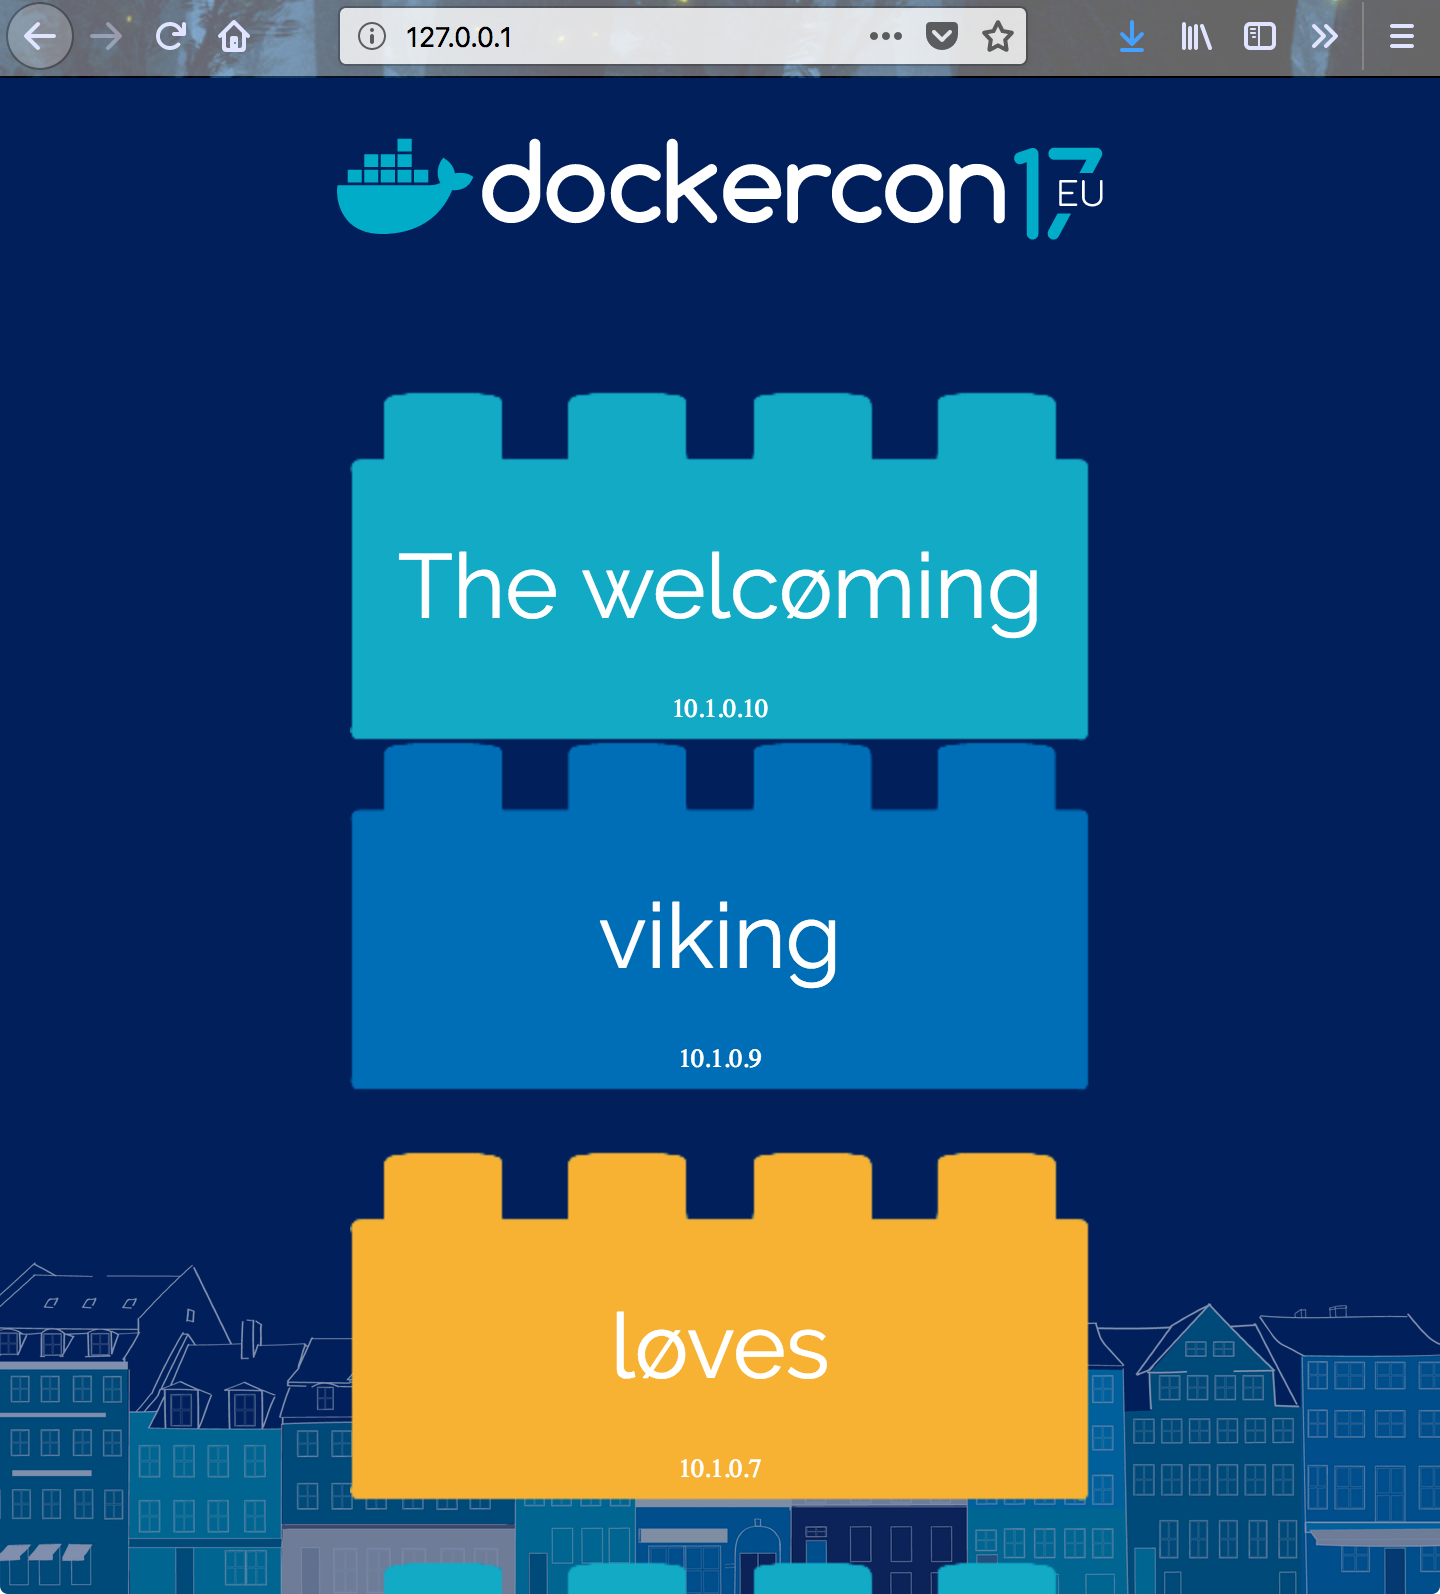
無事立ち上がっているようなので、アクセスしましょう。
http://127.0.0.1
Kubernetesのマニフェストファイルでデプロイ
今度はKubernetesのマニフェストファイルを使うやり方です。
ここは、Dockerの公式ドキュメントに載っていなかったため、先程のアプリとは異なりますが、Githubにサンプルがあったので、そちらを使います。
GitHub - kubernetes/dashboard: General-purpose web UI for Kubernetes clusters
$  kubectl apply -f https://raw.githubusercontent.com/kubernetes/dashboard/master/src/deploy/recommended/kubernetes-dashboard.yaml
secret "kubernetes-dashboard-certs" created
serviceaccount "kubernetes-dashboard" created
role "kubernetes-dashboard-minimal" created
rolebinding "kubernetes-dashboard-minimal" created
deployment "kubernetes-dashboard" created
service "kubernetes-dashboard" created

$ kubectl proxy
Starting to serve on 127.0.0.1:8001
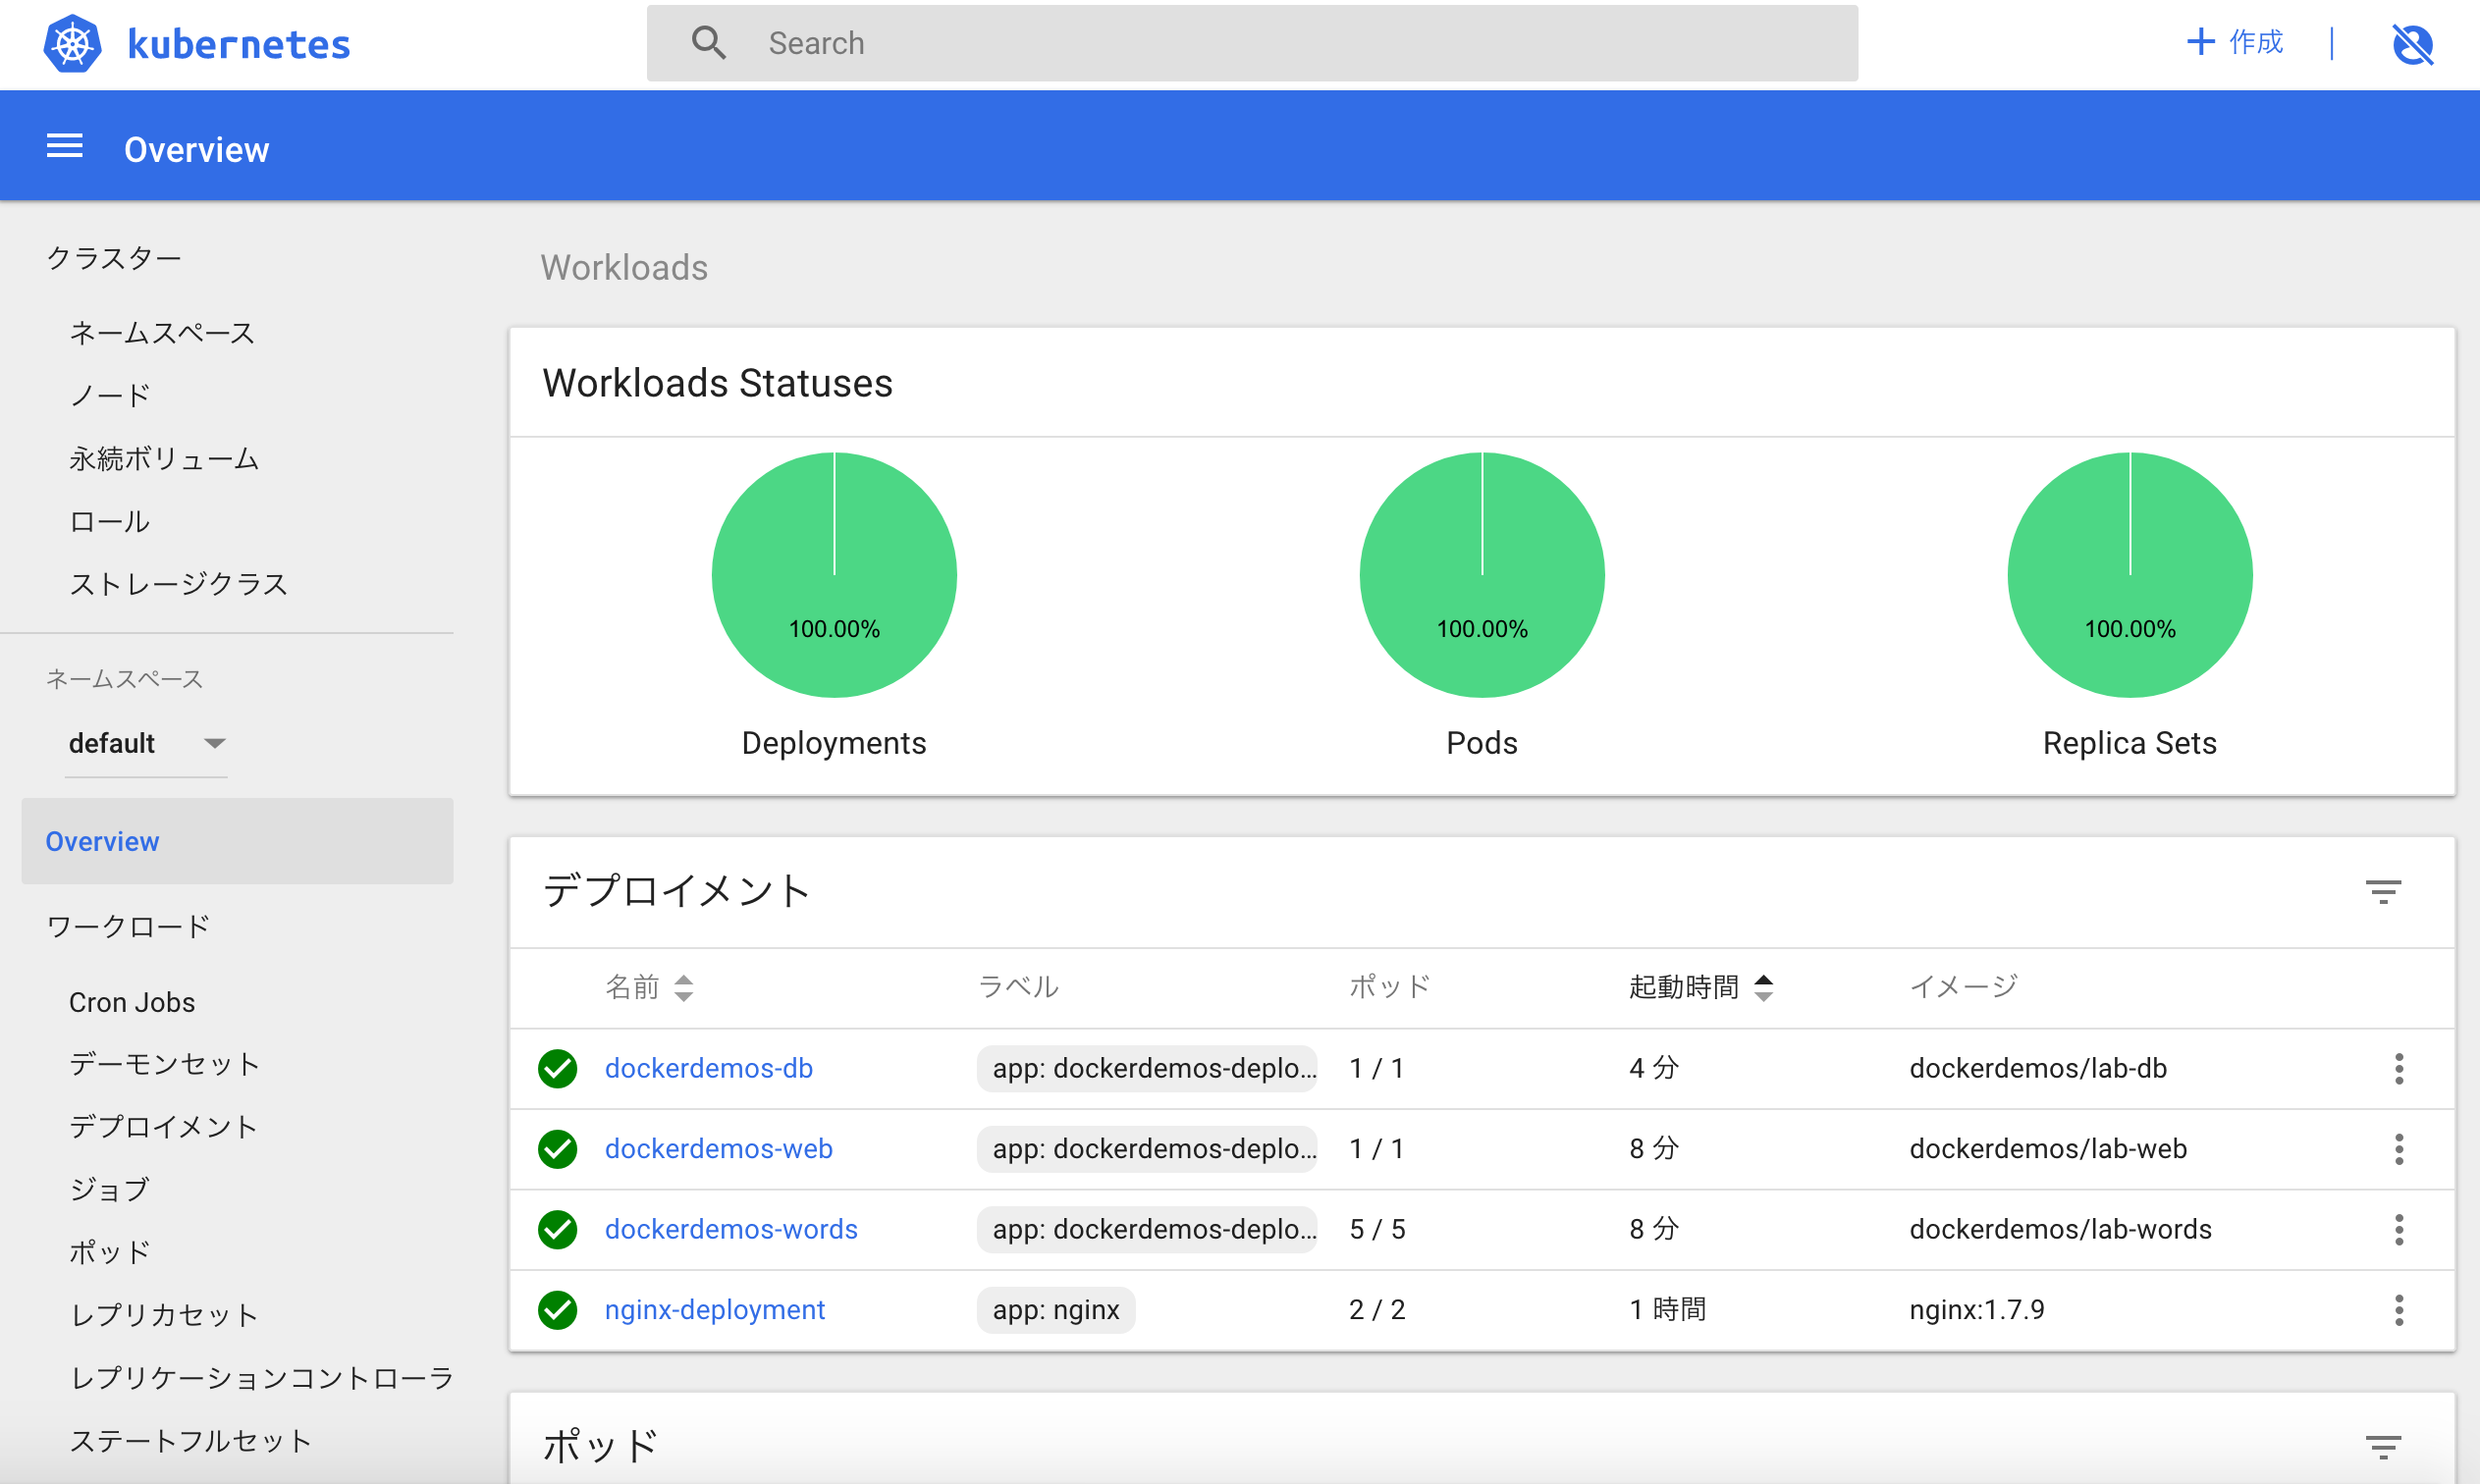
成功していれば、以下URLからローカルのKubernetesをダッシュボード化したアプリを確認できます。
http://localhost:8001/api/v1/namespaces/kube-system/services/https:kubernetes-dashboard:/proxy/

最後に
色々なサイトを参考にしながら、簡単なアプリをKubernetes上で動かすところまでやってみました。
Kubernetes自体骨太なので、理解するのにはまだまだ触る必要があると感じました。
参考リンク
Kubernetes公式サイト
Kubernetes: Deployment の仕組み
和訳 デスクトップ向けDockerでのDocker ComposeとKubernetes #docker #kubernetes #k8s
Docker for MacでKubernetes インストールからデプロイまで
