[MRTK 立体オーディオのチュートリアル](https://docs.microsoft.com/ja-jp/windows/mixed-reality/develop/unity/tutorials/unity-spatial-audio-ch1)をスクショ付きでやりました。MRTKの立体オーディオのチュートリアルやりました。
— 原口昂弥 (@k_haraguchi55) April 20, 2021
空間に動画が表示できた時は感動しました!#HoloLens2 #MRTK pic.twitter.com/GyZCya5TMv
全部で4記事です。
【MRTK】HoloLens2 空間オーディオのチュートリアルのやり方 その1
【MRTK】HoloLens2 空間オーディオのチュートリアルのやり方 その2
【MRTK】HoloLens2 空間オーディオのチュートリアルのやり方 その3
【MRTK】HoloLens2 空間オーディオのチュートリアルのやり方 その4
開発環境
- HoloLens2
- Windows 10 pc
- Unity 2019.4.1f1
プロジェクトの作成と準備
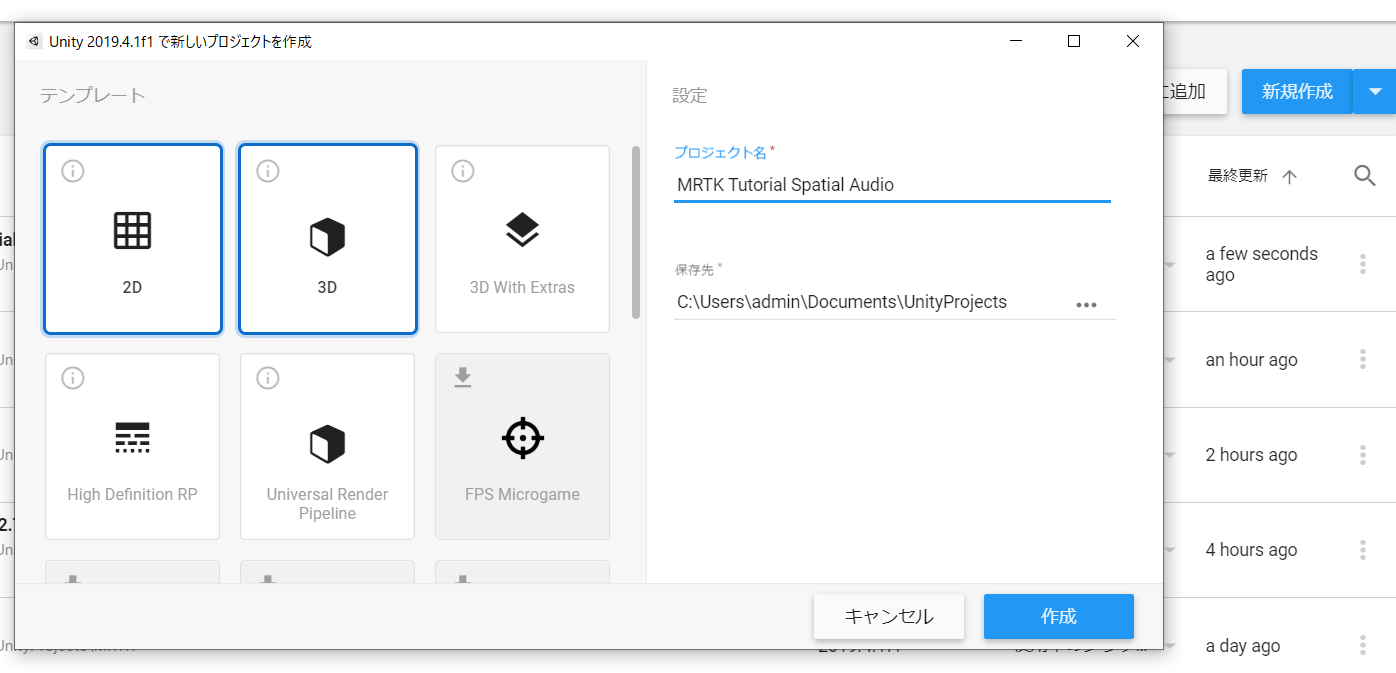
プロジェクトを作成
MicrosoftMixedRealityFeatureToolを起動
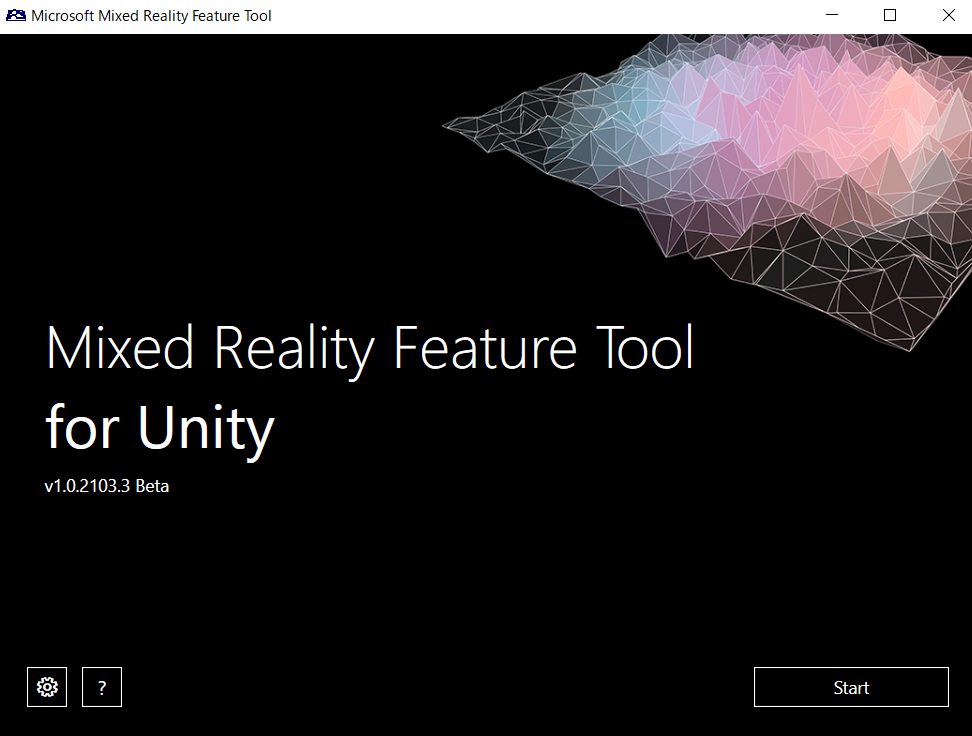
持っていない人は下記リンクからダウンロード
https://docs.microsoft.com/ja-jp/windows/mixed-reality/develop/unity/welcome-to-mr-feature-tool
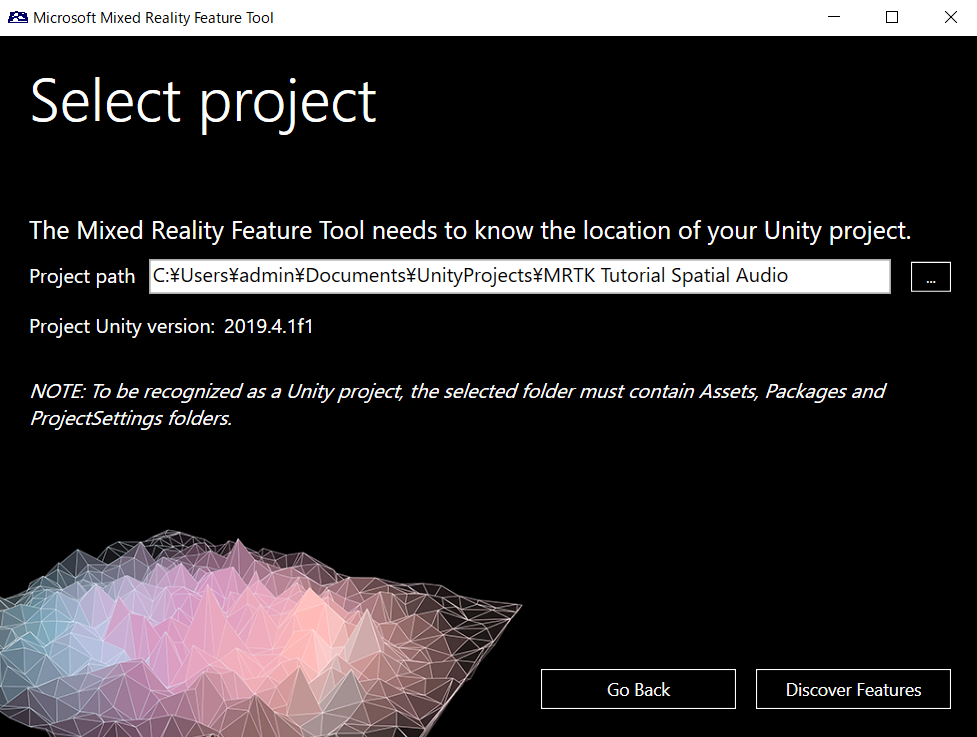
先ほど作成したプロジェクトパスを指定
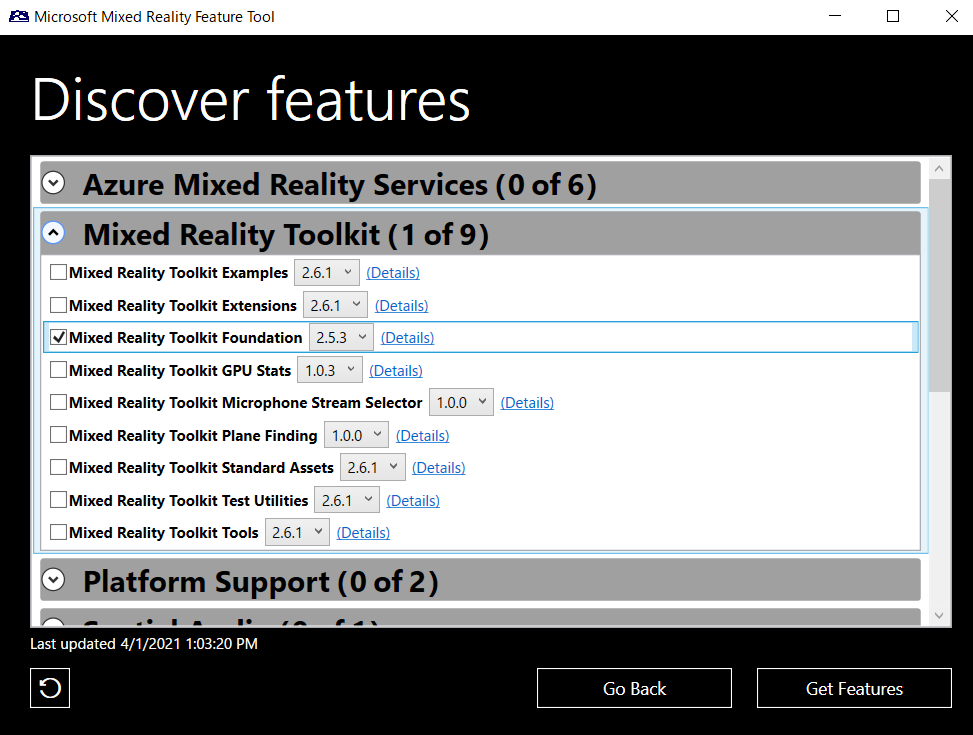
Mixed Reality Toolkit Foundation をインポート
Mixed Reality Toolkit Foundation を選択した後 GetFeatures をクリック
Importをクリック
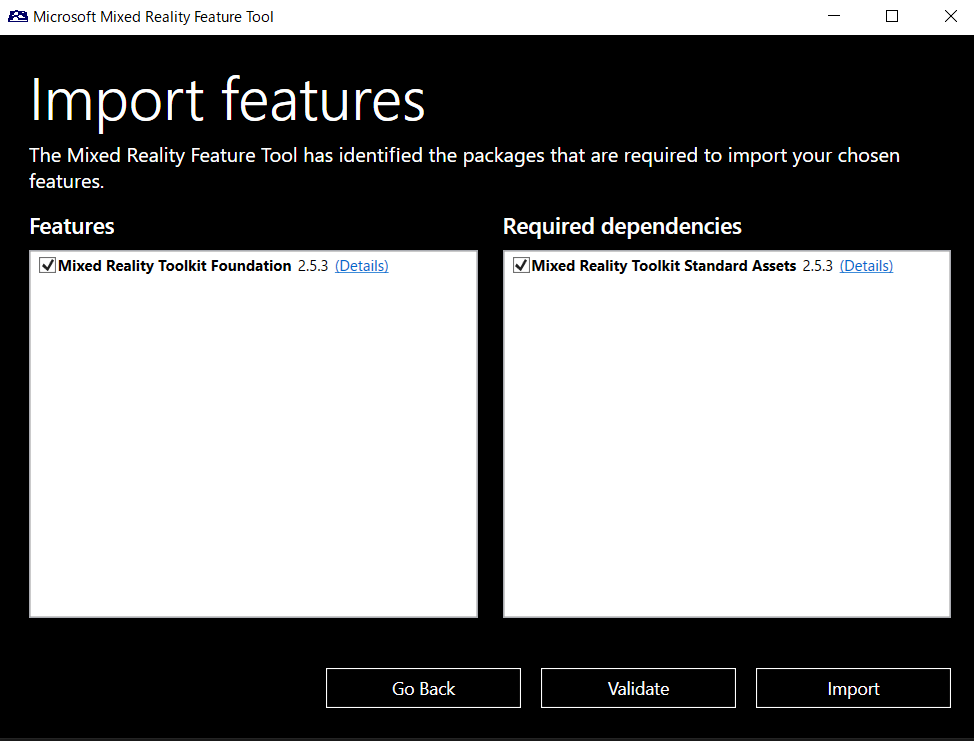
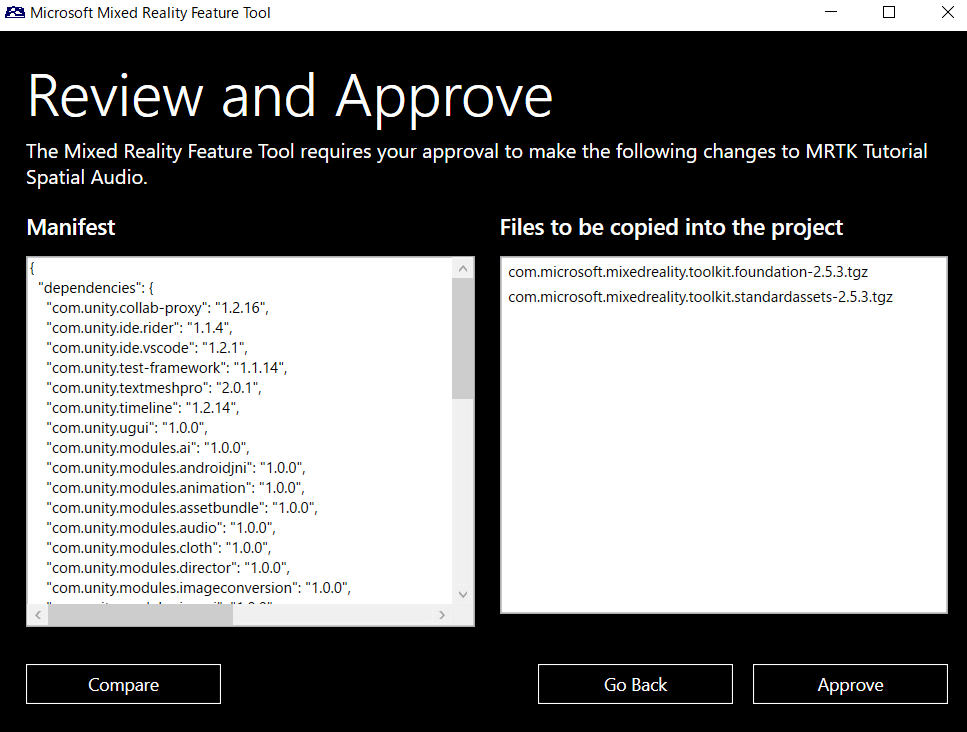
Approveをクリック
その後Unityでインポートが終わると下の画面が表示されるのでApplyをクリック
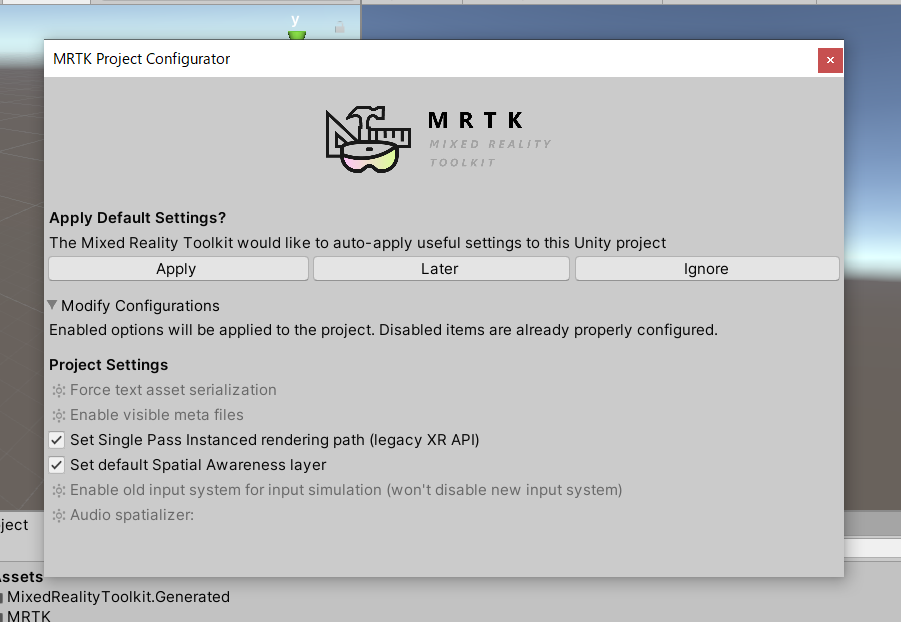
※以後この画面が表示されたらApplyをクリックしてください。
設定変更
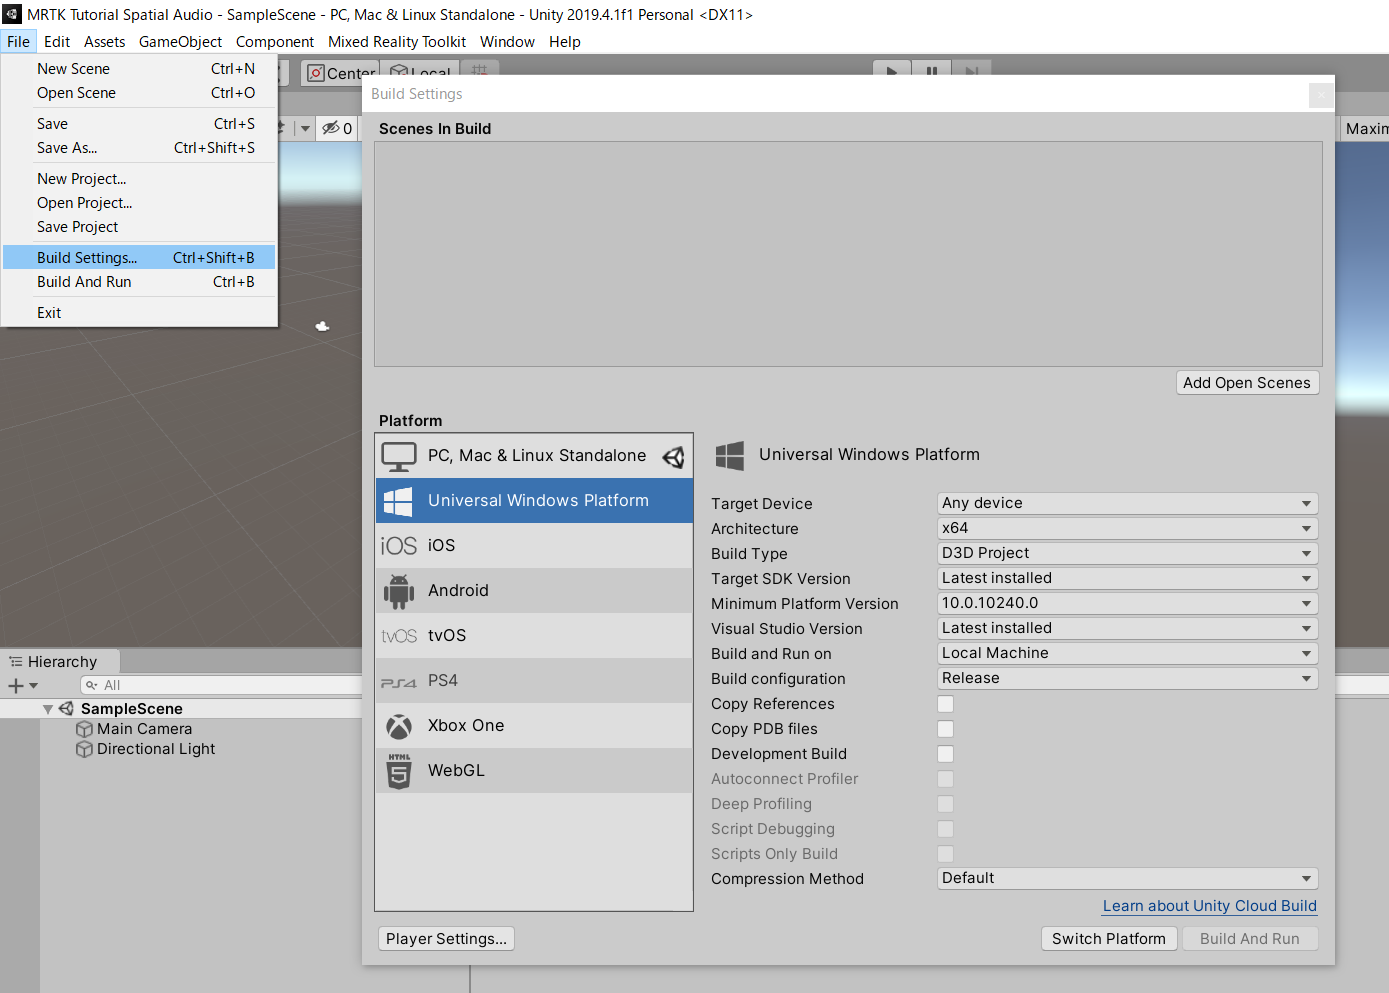
左上から File > Build Settings を選択
BuildSettings で Universal Windows Platformを選択し、Switch Platformを クリック
プラットフォームの切り替えが完了したら左下のPlayer Settingsをクリック
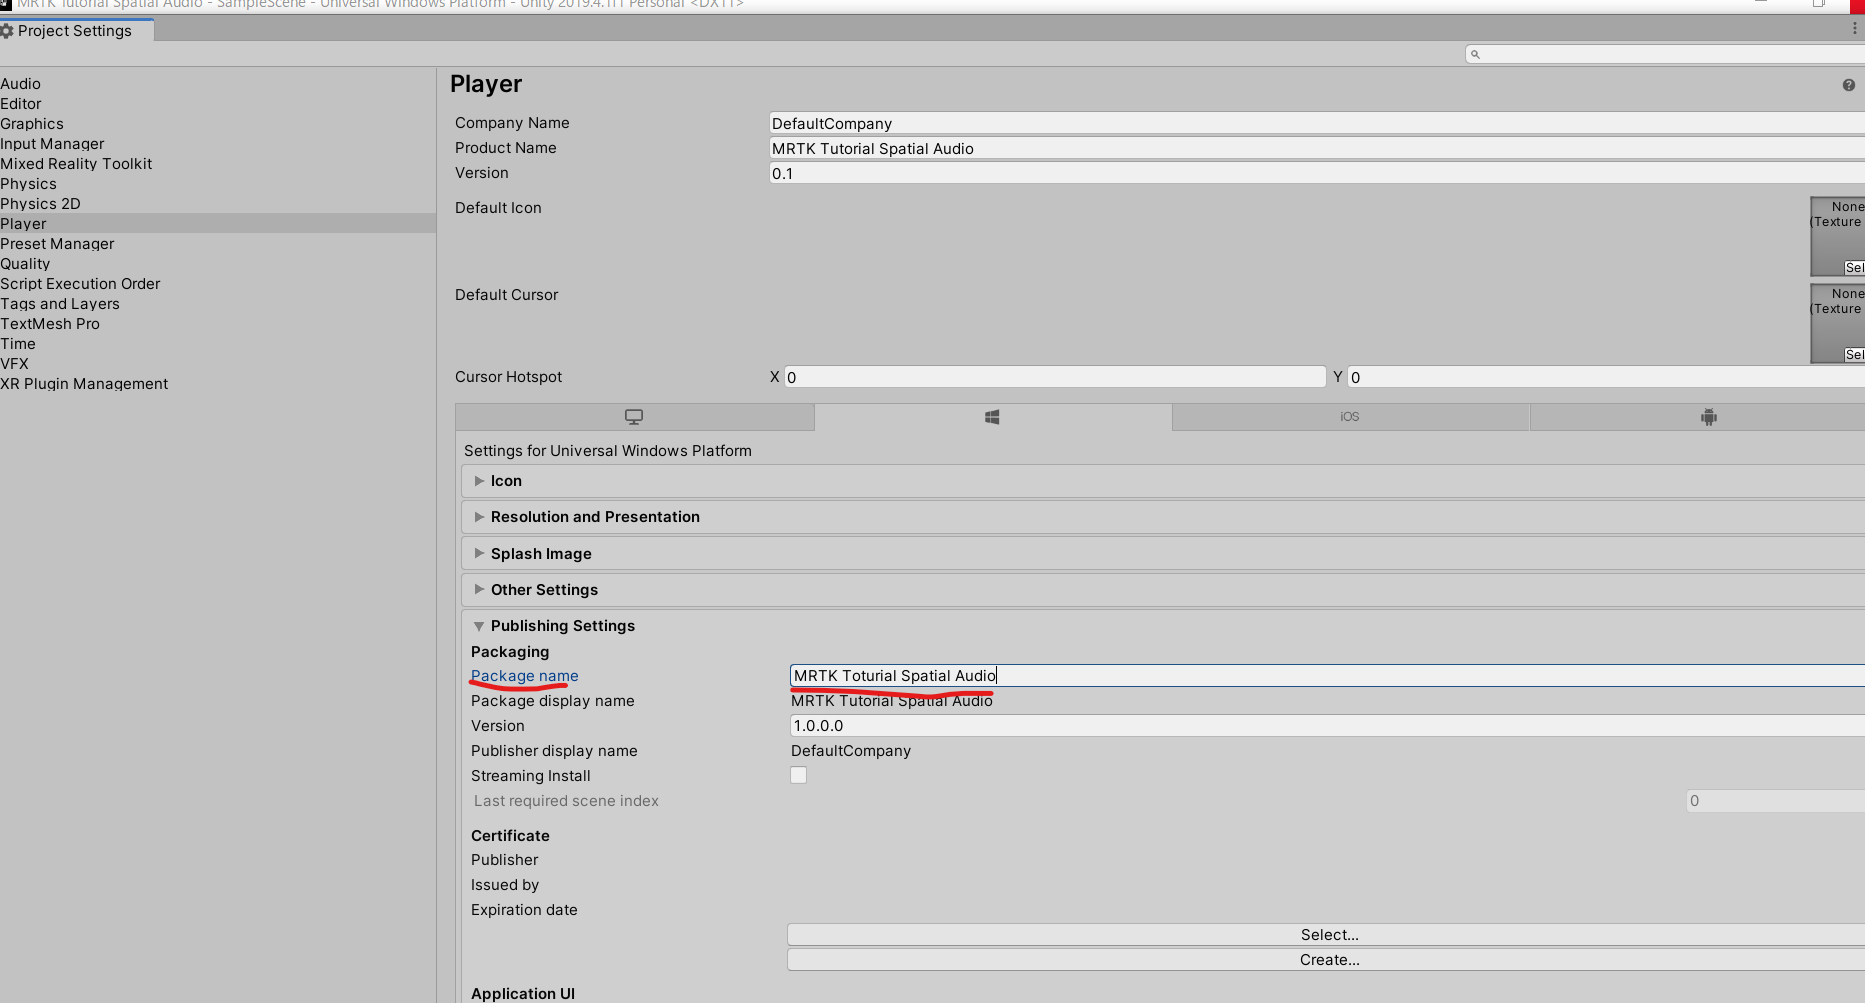
Player > Publishing Settings > package name を適切な任意の名前に変更
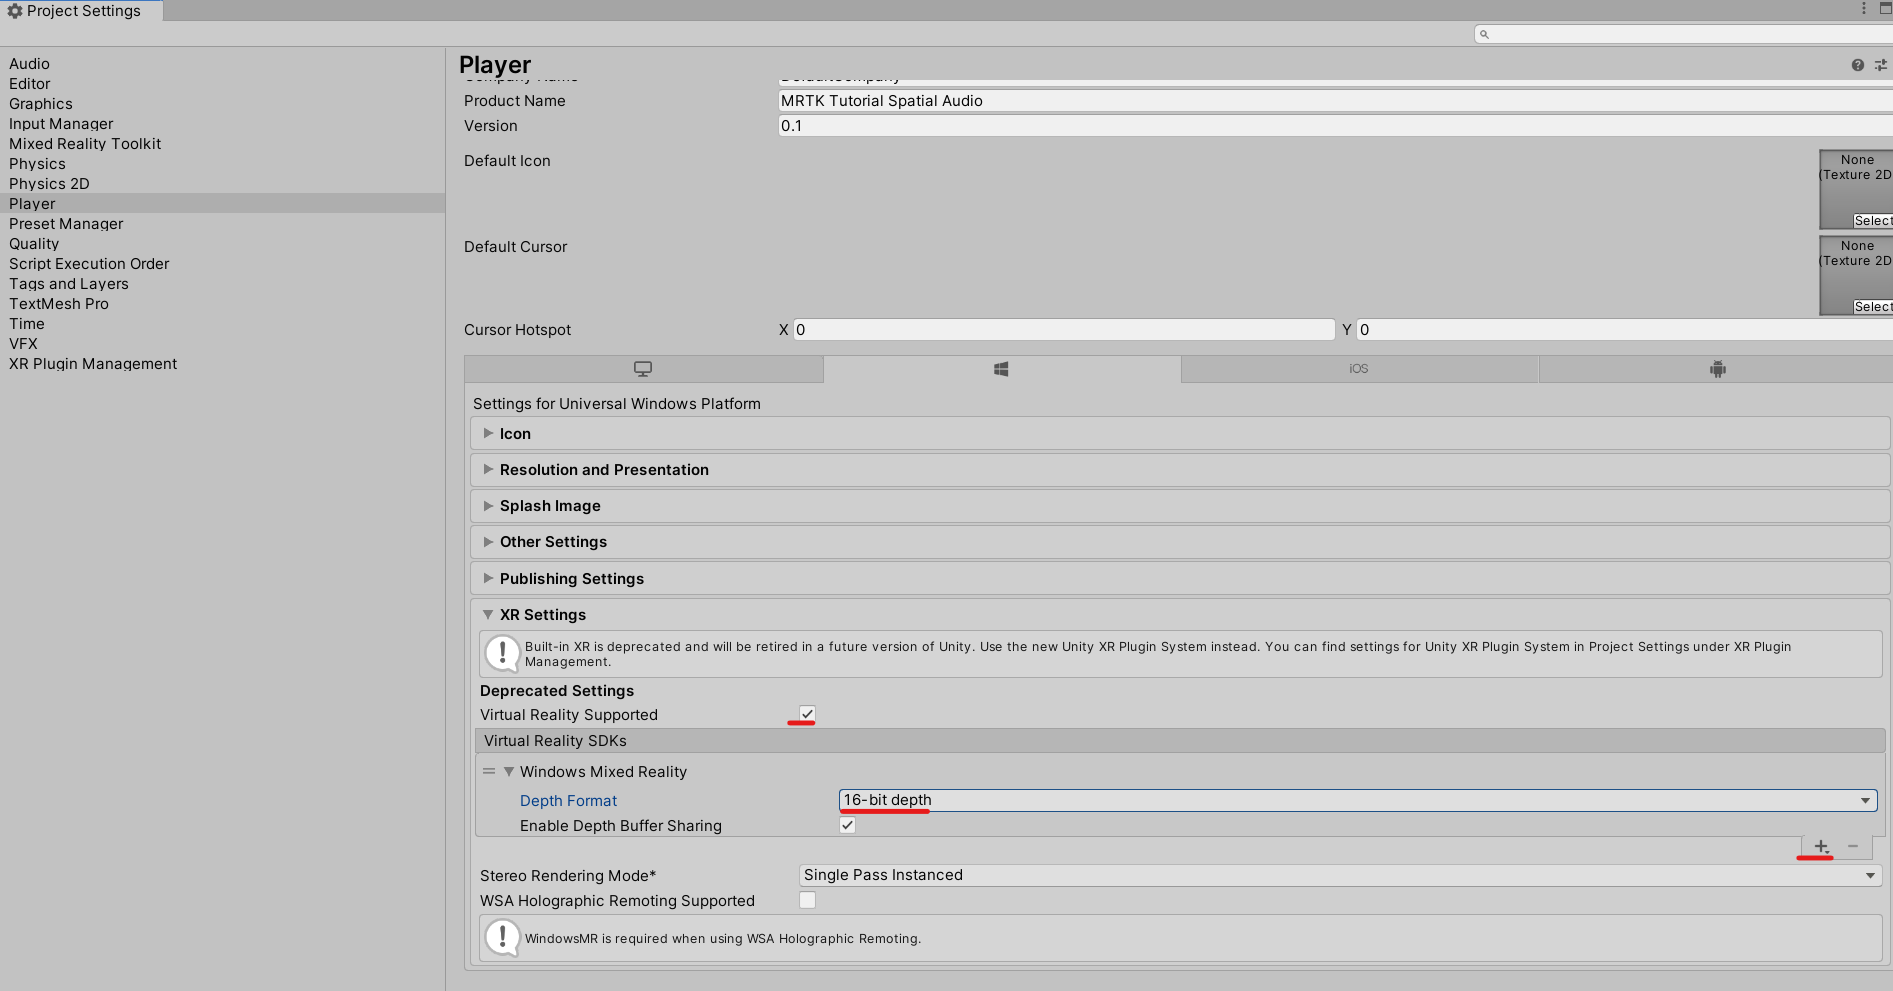
下にスクロールして XR Settings > Virtual Reality Supported にチェックを入れる
Virtual Reality SDKs の + アイコンをクリック
Depth Format を 16bitに変更
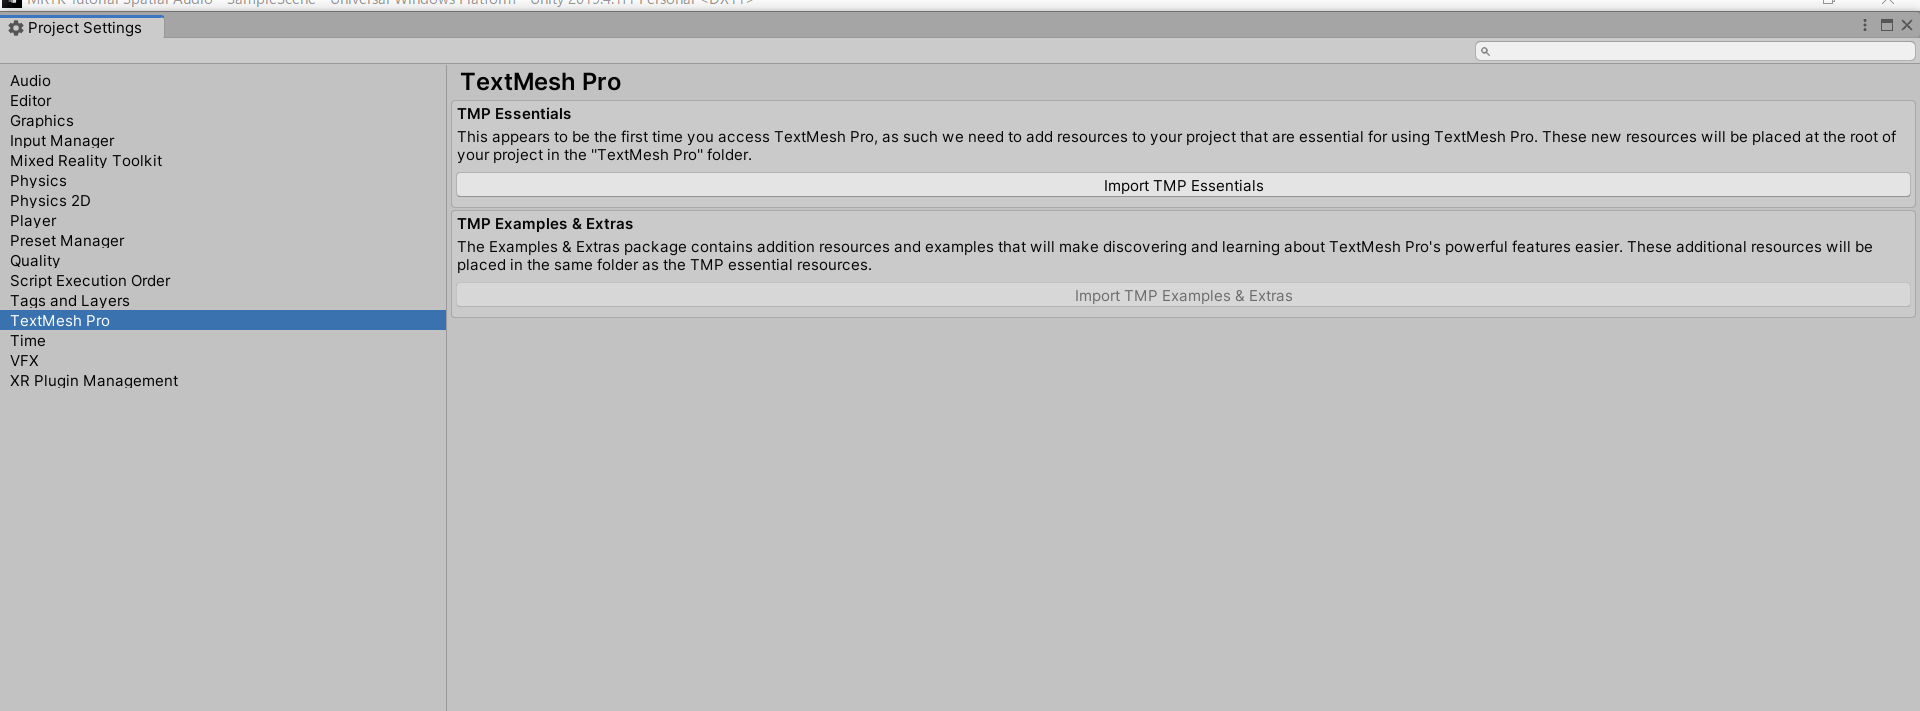
TextMeshProをインポート
シーンの作成
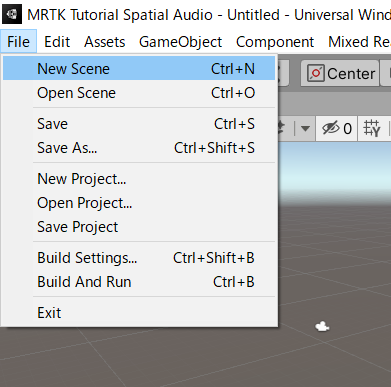
新しいシーンを作成
Mixed Reality Toolkit > Add To Scene and Configure... をクリック

Hierarchy の MixedRealityToolkit を選択
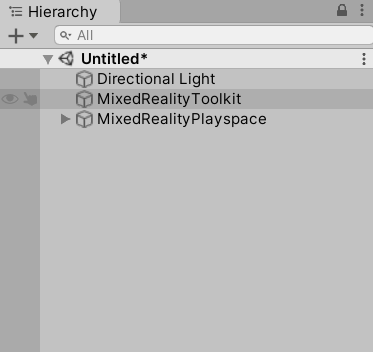
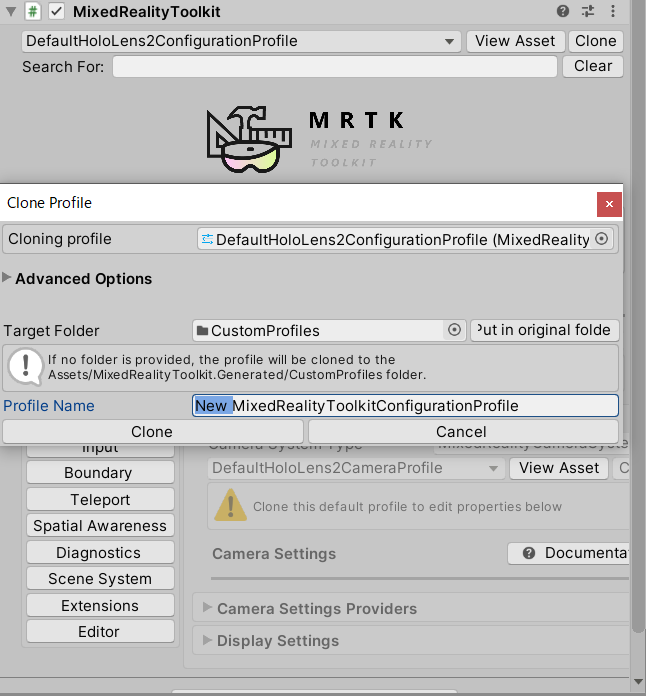
Inspector から "DefaultHoloLens2ConfigurationProfile" のクローンを作成
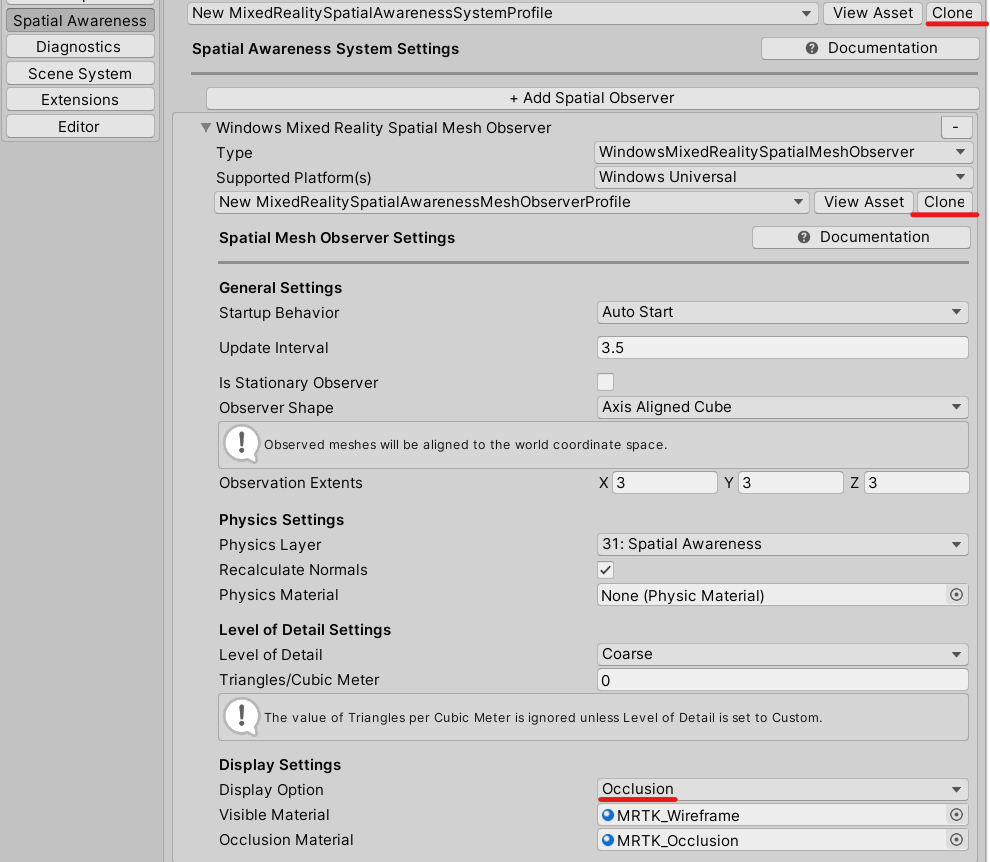
Spatial Awarenessを選択
"MixedRealitySpatialAwarenessSystemProfile"と"MixedRealitySpatialAwarenessMeshObserverProfile"のクローンを作成
DisplaySettings > DisplayOption を Occlusionに変更
Microsoft Spatializerの追加
SpatialAudio.Spatializerをダウンロードしてインポート
Edit > Project Settings をクリック
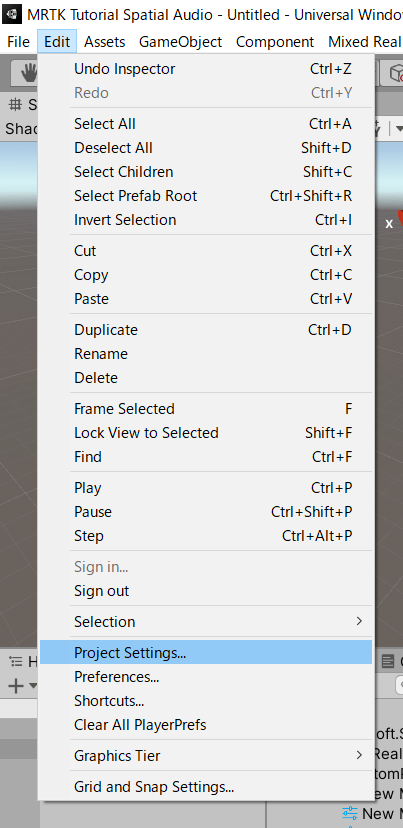
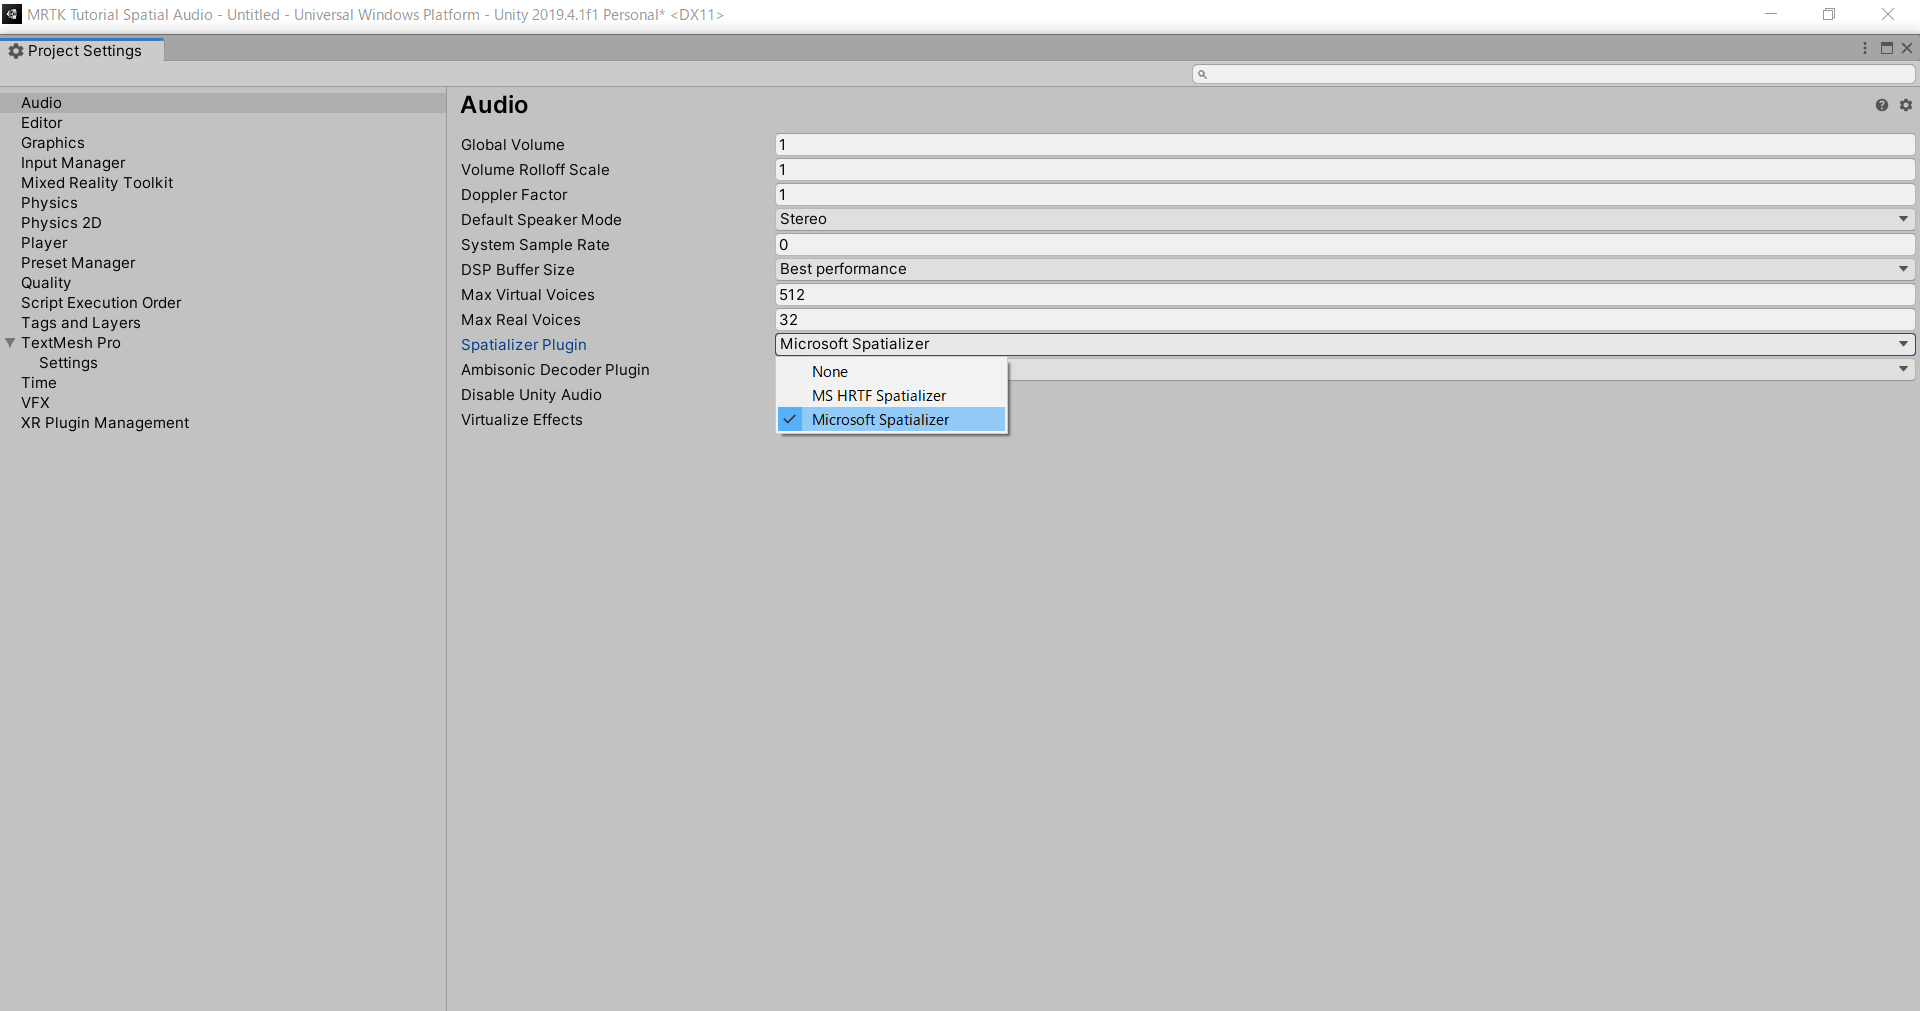
Audio > Spatializer Plugin > Microsoft Spatializer を選択
ボタンを追加
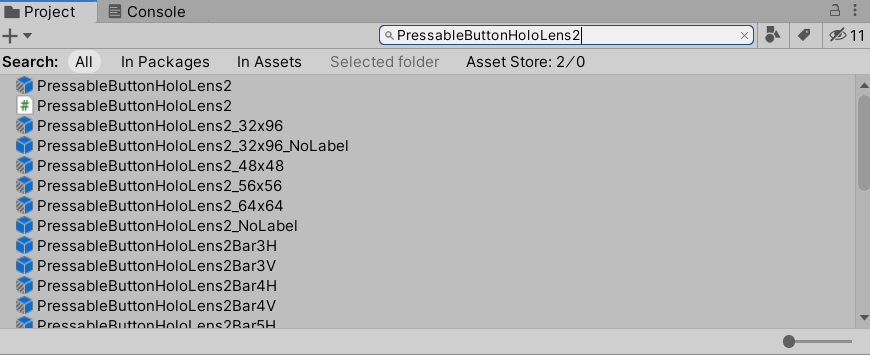
Project > "PressableButtonHoloLens2" を検索
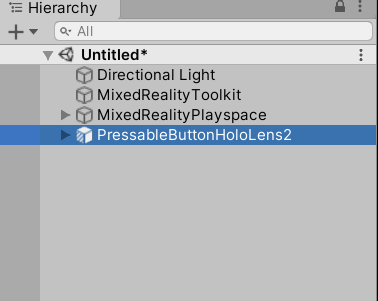
"PressableButtonHoloLens2.prefab" を Hierarchy に追加
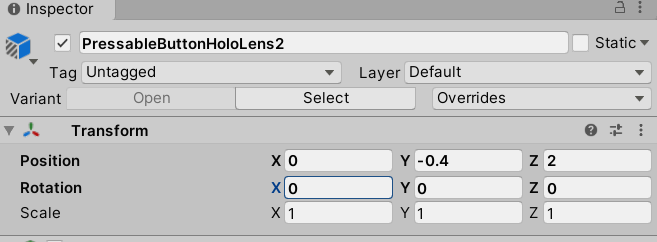
PressableButtonHoloLens2 の Transform Position を x:0 y:-0.4 z:2 に変更
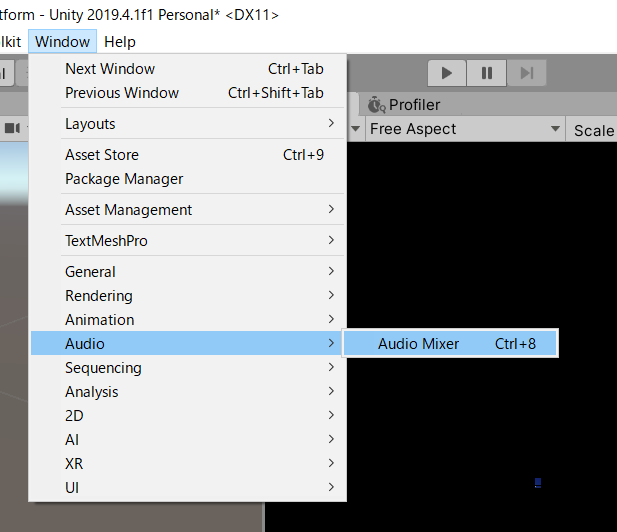
Window > Audio > Audio Mixer を選択
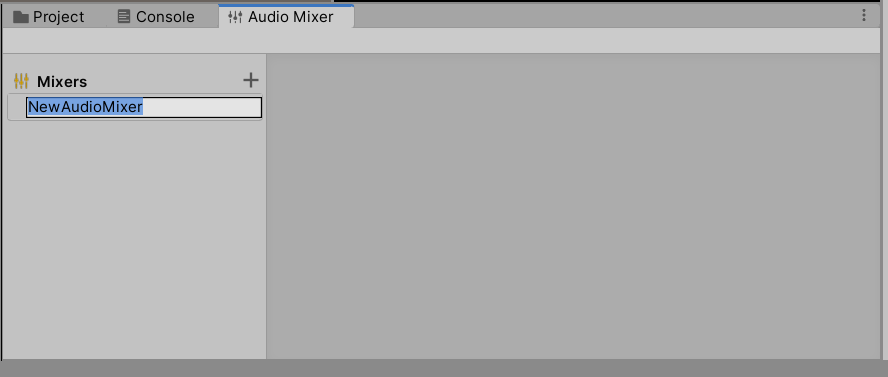
"+" をクリックして新しいオーディオミキサーを作成
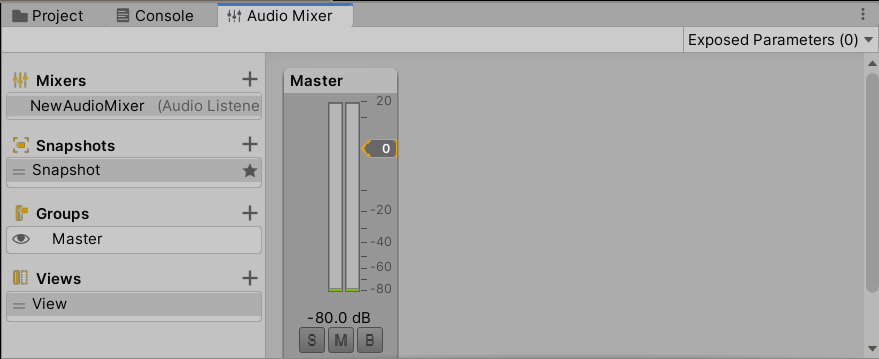
Hierarchy から PressableButtonHoloLens2 を選択
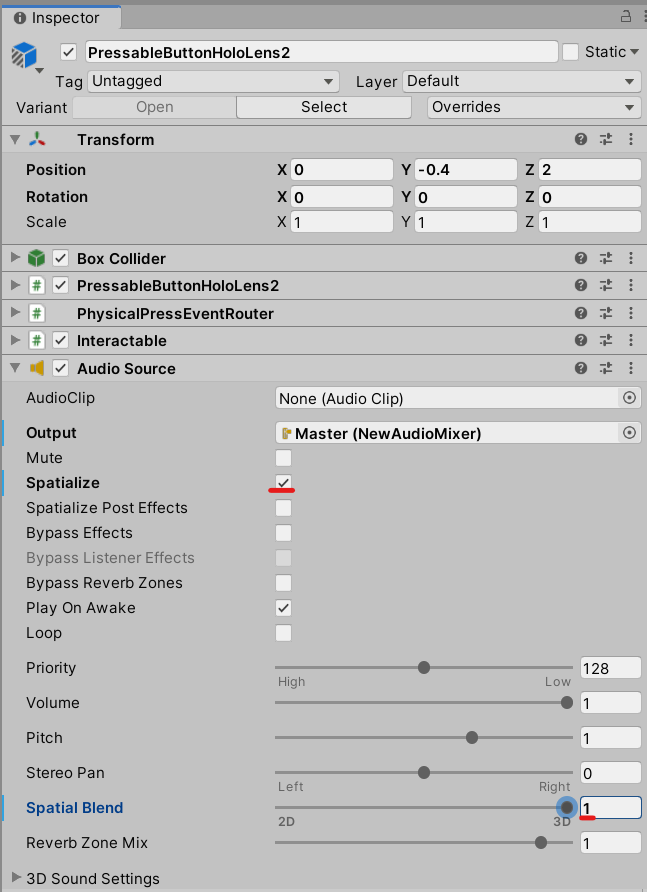
Inspector > Audio source > Output で先ほど作成したオーディオミキサーをセット
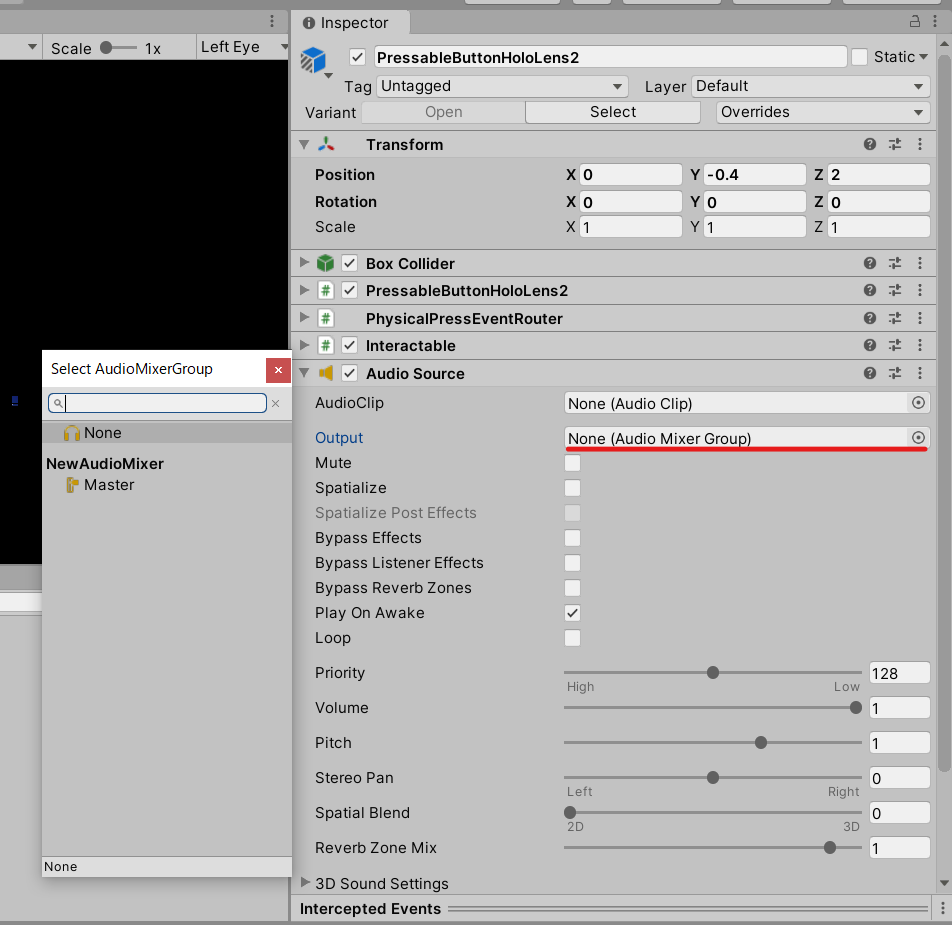
Spatialize にチェックを入れる
Spatial Blend を1に変更
動作確認
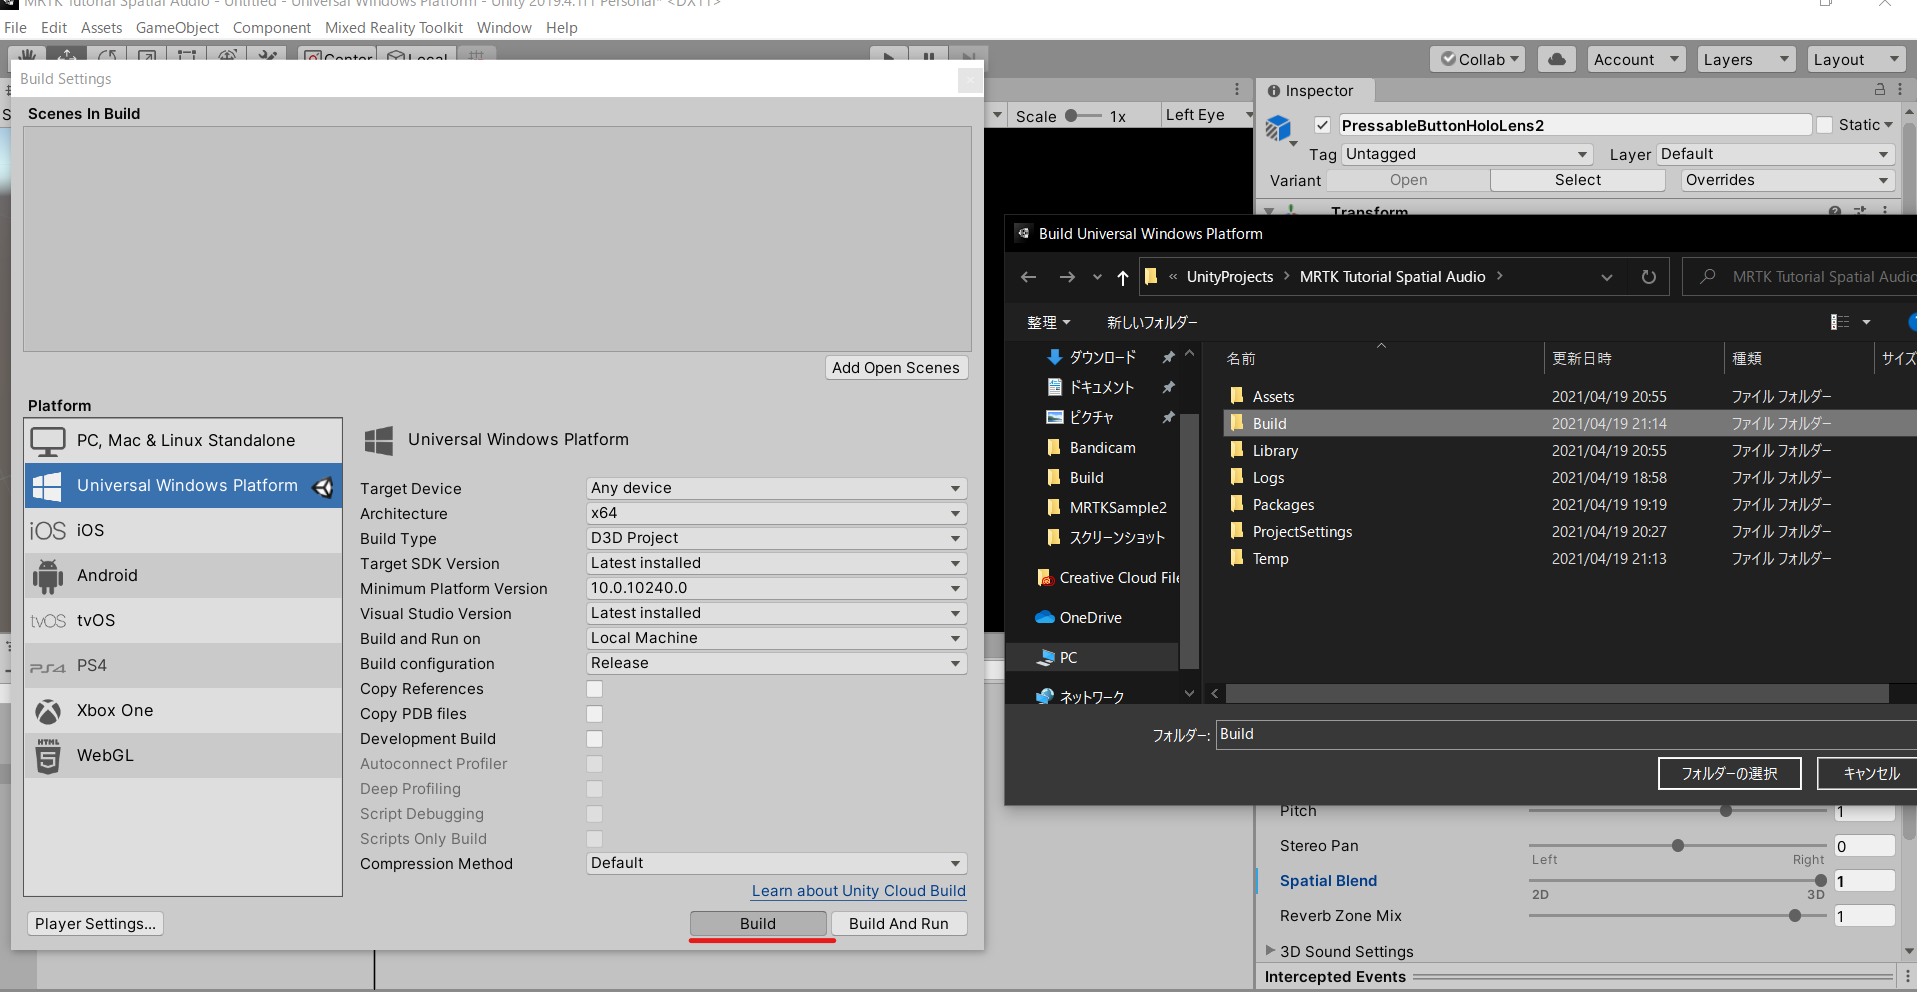
File > Build Settings > Build
適切なフォルダを選択してビルド
正面のボタンを押したときの効果音が立体であることを確認
続き
【MRTK】HoloLens2 空間オーディオのチュートリアルのやり方 その2
