全部で4記事です。
【MRTK】HoloLens2 空間オーディオのチュートリアルのやり方 その1
【MRTK】HoloLens2 空間オーディオのチュートリアルのやり方 その2
【MRTK】HoloLens2 空間オーディオのチュートリアルのやり方 その3
【MRTK】HoloLens2 空間オーディオのチュートリアルのやり方 その4
前回
【MRTK】HoloLens2 空間オーディオのチュートリアルのやり方 その3
サウンドにリバーブ効果を追加
AudioMixerウィンドウを開く
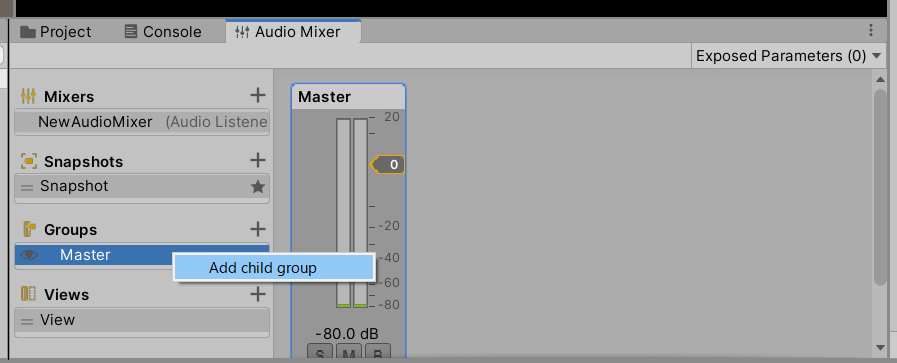
Groups > Master の上で右クリック Add child group を選択
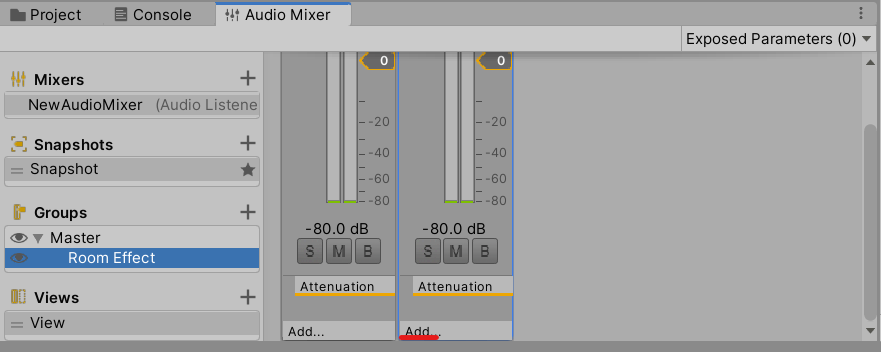
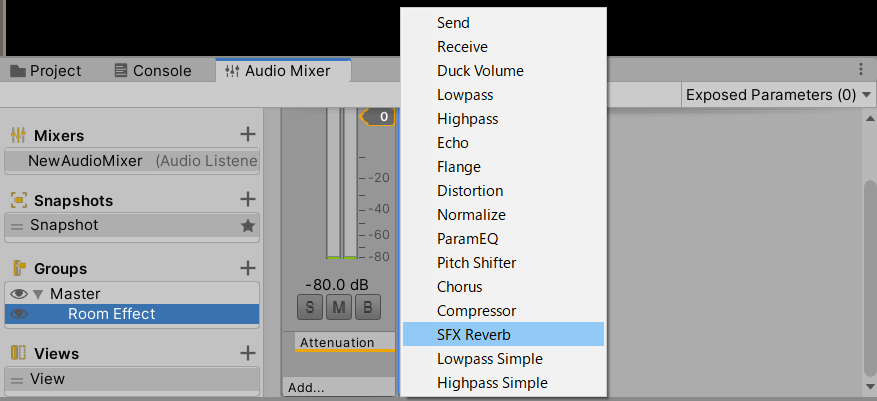
追加したグループの Addをクリック > SFX Reverb を選択
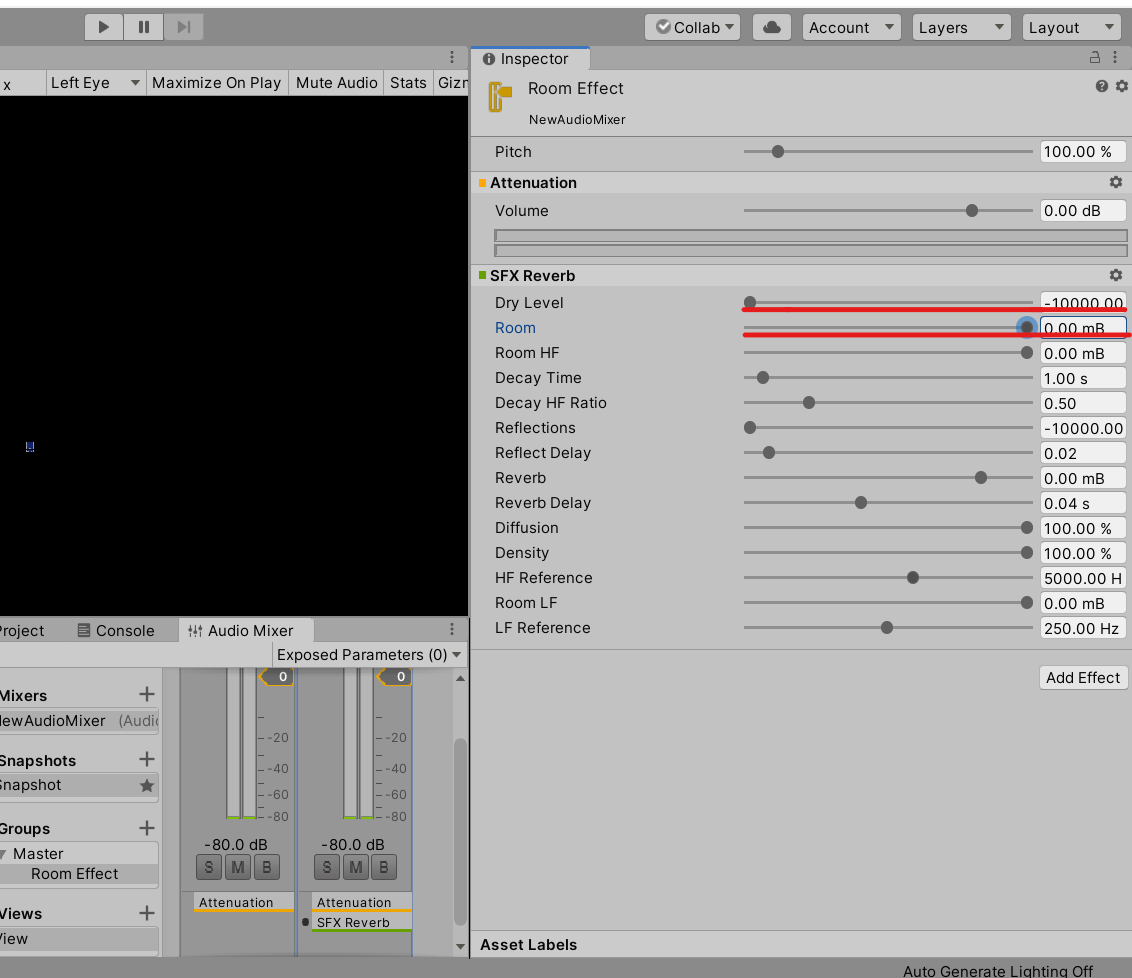
Inspector から SFX Reverb の設定を変更
DryLevel を最小
Room を 最大
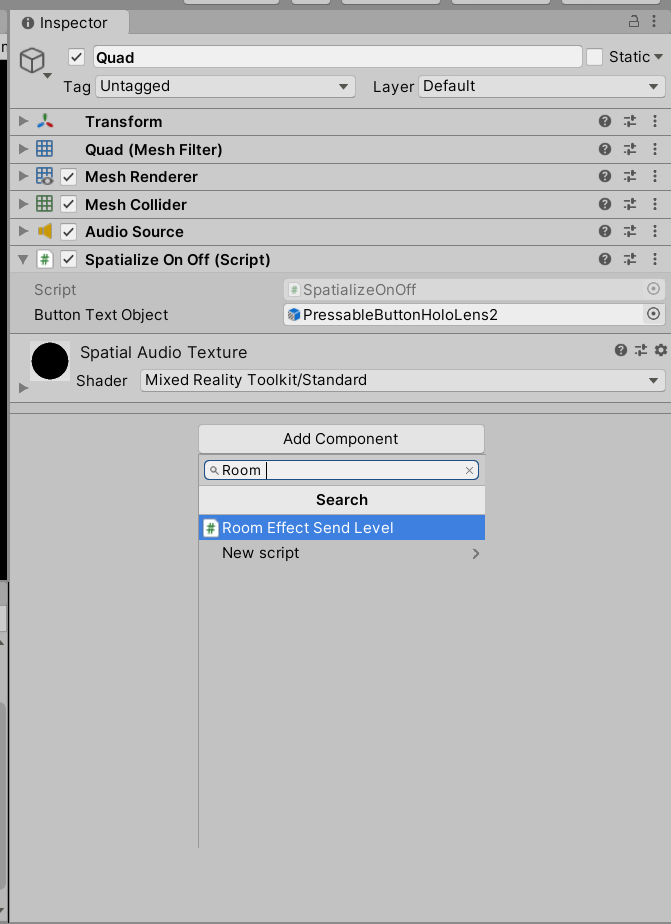
Quad に RoomEffectSendLevelコンポーネントを追加
Hierarchy > Quad > AddComponent("RoomEffectSendLevel")
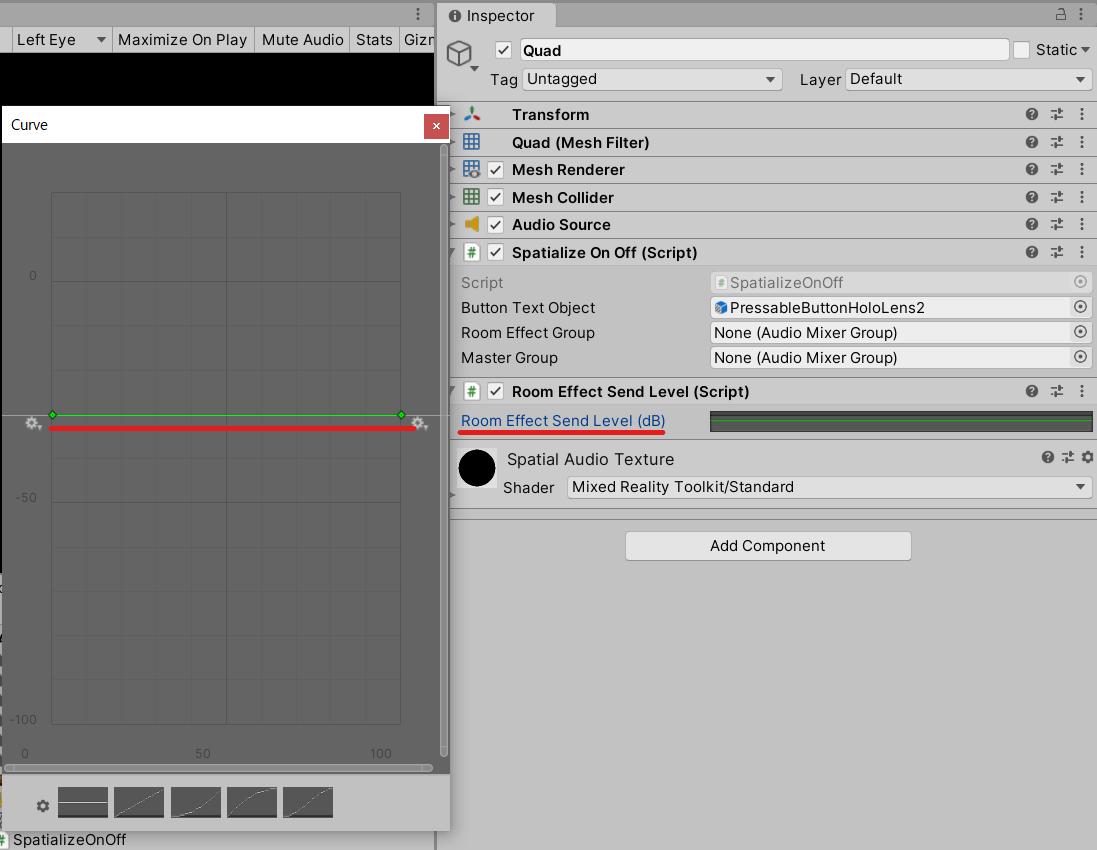
RoomEffectsendLevelプロパティを 約-30Dbに変更
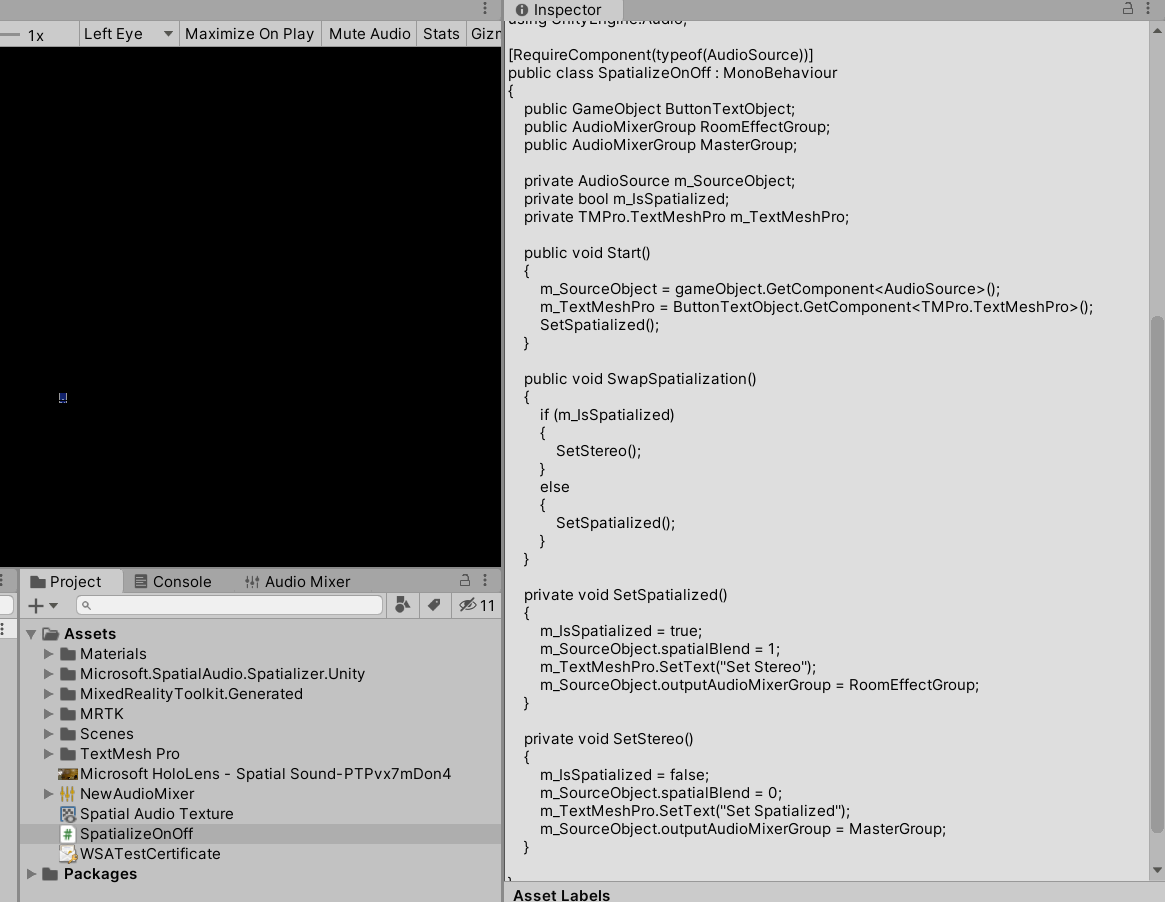
Project からSpatializeOnOff を開いてコメントアウトを解除
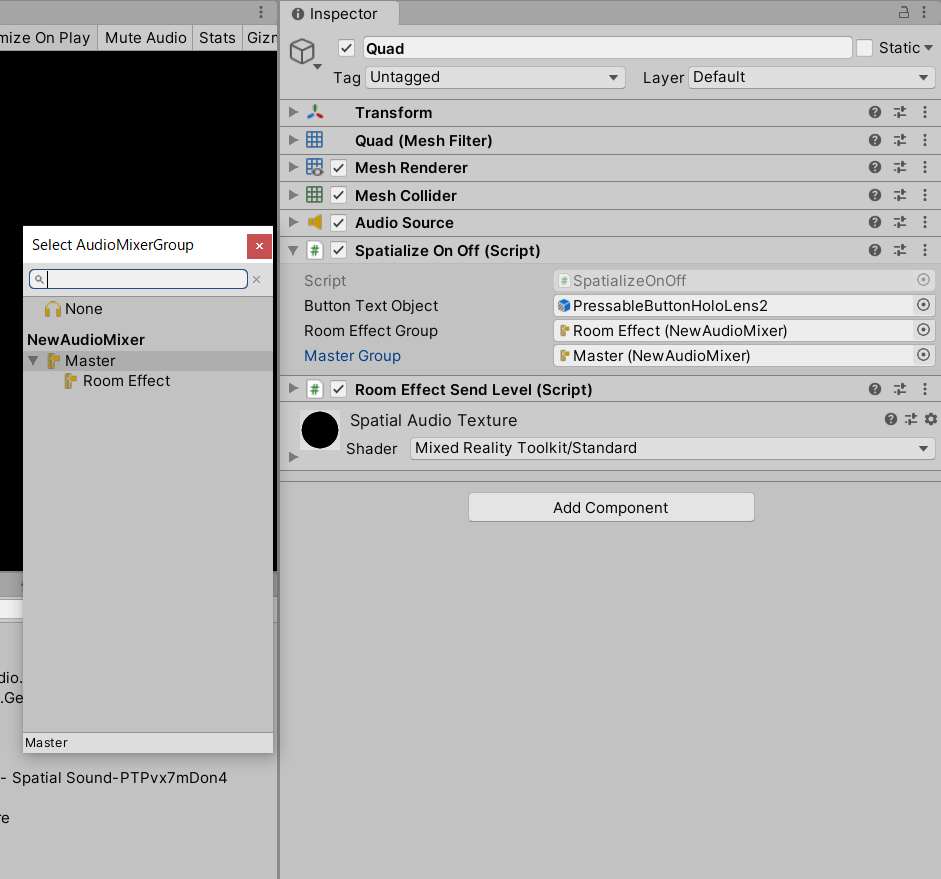
Hierarchy > Quad を選択して Inspector > SpatializeOnOff を開く
RoomEffectGroup 、 MasterGroupプロパティに AudioMixer をセット
動作確認
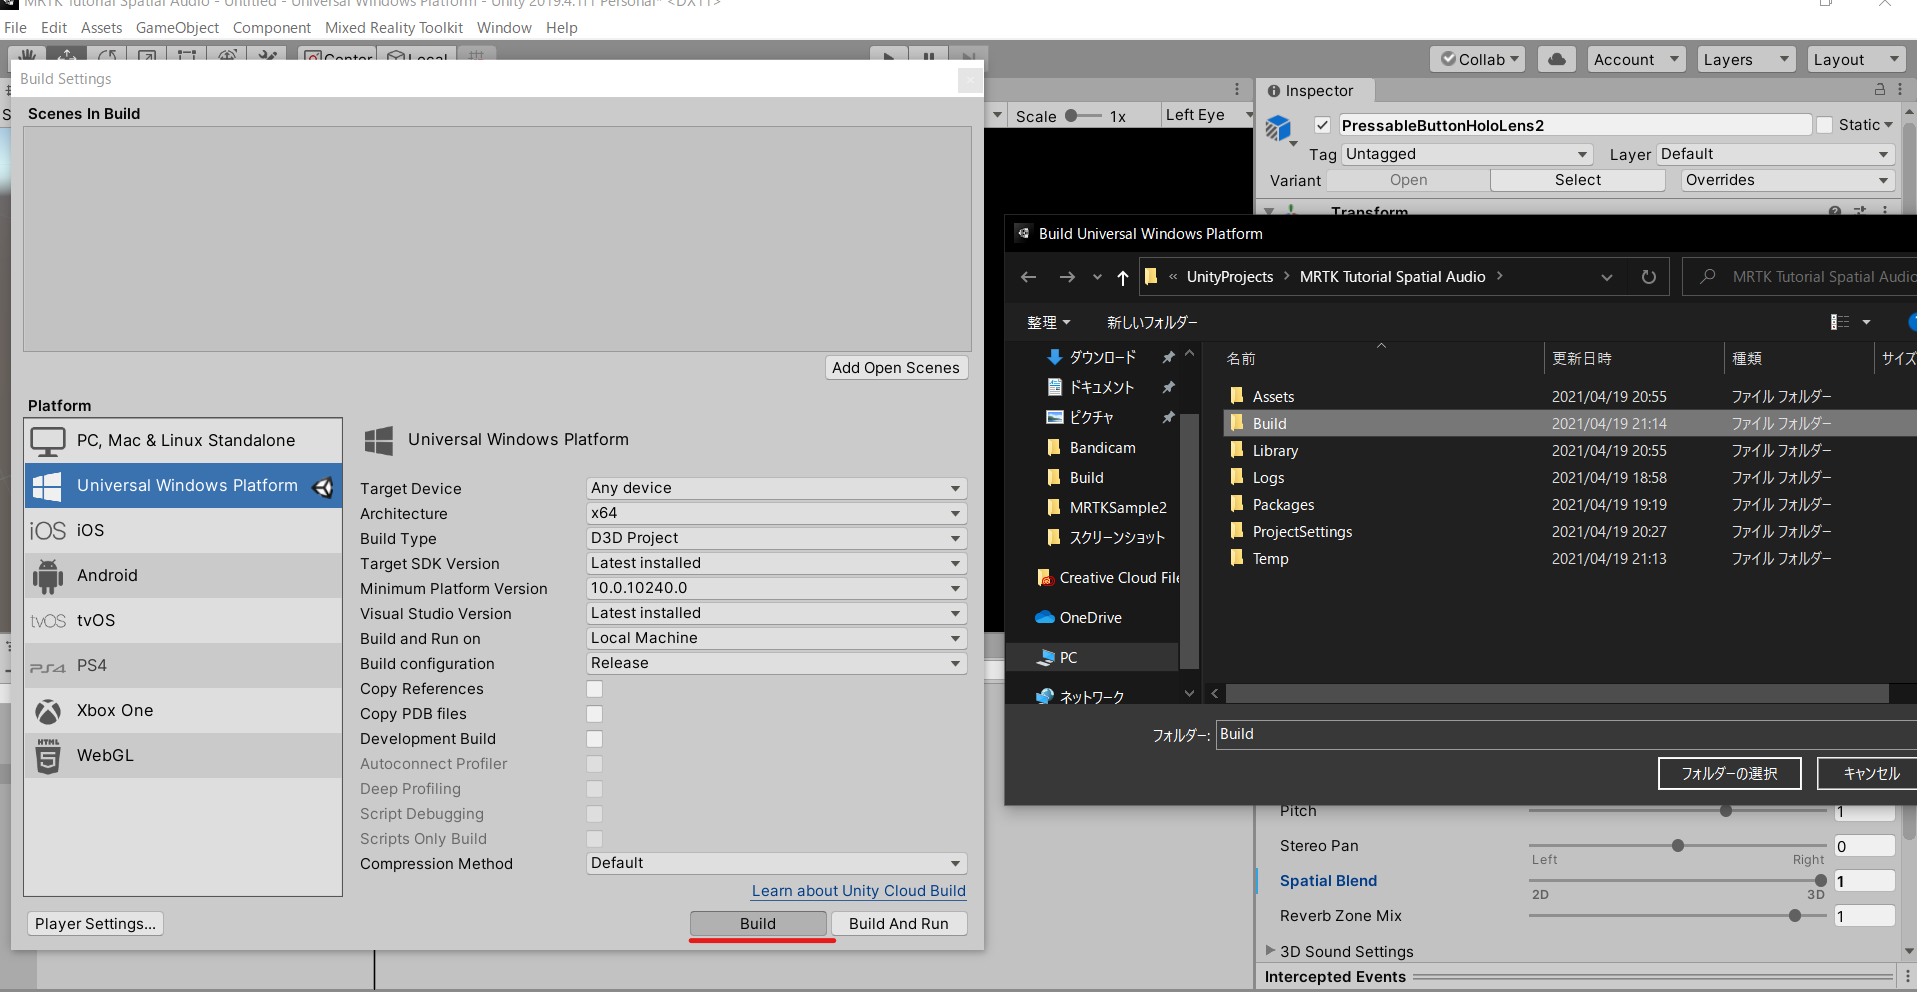
File > Build Settings > Build
適切なフォルダを選択してビルド
音にリバーブ効果が追加されているか確認しましょう。
お疲れさまでした。