記事制作中なので、いいね!かストックしていただければと思います
expoを準備
開発する際のツールであるexpoを準備します
リンクを開く
https://expo.io/
Get Startedを押す

体験する

Node.jsをインストール
ここでは割愛します
expoをインストール
npm install expo-cli --global

expoのアカウントを作成する
メールアドレスとパスワード、ユーザー名を入力してアカウントを作成

ターミナル上でexpoにログインします
expo login

# ユーザー名とパスワードを入力
>[? Username/Email Address: ユーザー名を入れる
>[? Password: [hidden] パスワードを入力する

# 成功
Success. You are now logged in as ユーザー名.
エラーが出る場合
$ expo login
-bash: expo: command not found
pathを通して改善させます
export PATH=~/.npm-global/bin:$PATH
source ~/.profile
参考リンク
https://teratail.com/questions/195042
プロジェクトの作成
$ expo init アプリ名

エラーが出る場合
-bash: expo: command not found
export PATH=~/.npm-global/bin:$PATH
source ~/.profile
それか、npxをつければ成功します
npx expo init アプリ名
参考リンク
https://tech.mof-mof.co.jp/blog/get-started-react-native-with-expo/
処理が成功すると、選択肢が出てくる

選択肢を選ぶ
 ----- Managed workflow -----(expoを使って、簡単にアプリを作成する)
  blank                 a minimal app as clean as an empty canvas
  blank (TypeScript)    same as blank but with TypeScript configuration
  tabs                  several example screens and tabs using react-navigation
 ----- Bare workflow -----(expoを使わず、カスタマイズ性を高く開発できるが難易度が高い
  minimal               bare and minimal, just the essentials to get you started
  minimal (TypeScript)  same as minimal but with TypeScript configuration
ここでは、blankを選択する

理解を深める参考リンクhttps://irisash.github.io/react_native/initialize/
Expo と React Native CLI の違い
Expo を使うメリットは、QRコードを読むだけで簡単に実機で動作確認できるという点です。 React Native CLI でプロジェクトを進める場合は、Xcode や Android Studio のインストールや環境設定が必要となり、 開発はシミュレーターを使って動作確認していくことになります(実機ビルドも可能です)。 よりアプリのネイティブの知識がなく開発を進めていくことができます。
逆に React Native CLI を使うメリットは、iOS/Android のネイティブ言語での開発を組み込んだり、 またネイティブ言語で作成されたライブラリを使用することができるという点です。 Expo ではexpo ejectという操作をすることで、そのようなライブラリを導入することができるようになります。 ただし、ejectすると Expo 自体の機能が使えなくなり、React Native CLI の開発と同様の進め方となります。
expo を立ち上げる
expo start
ブラウザ上にexpoの画面が立ち上がります
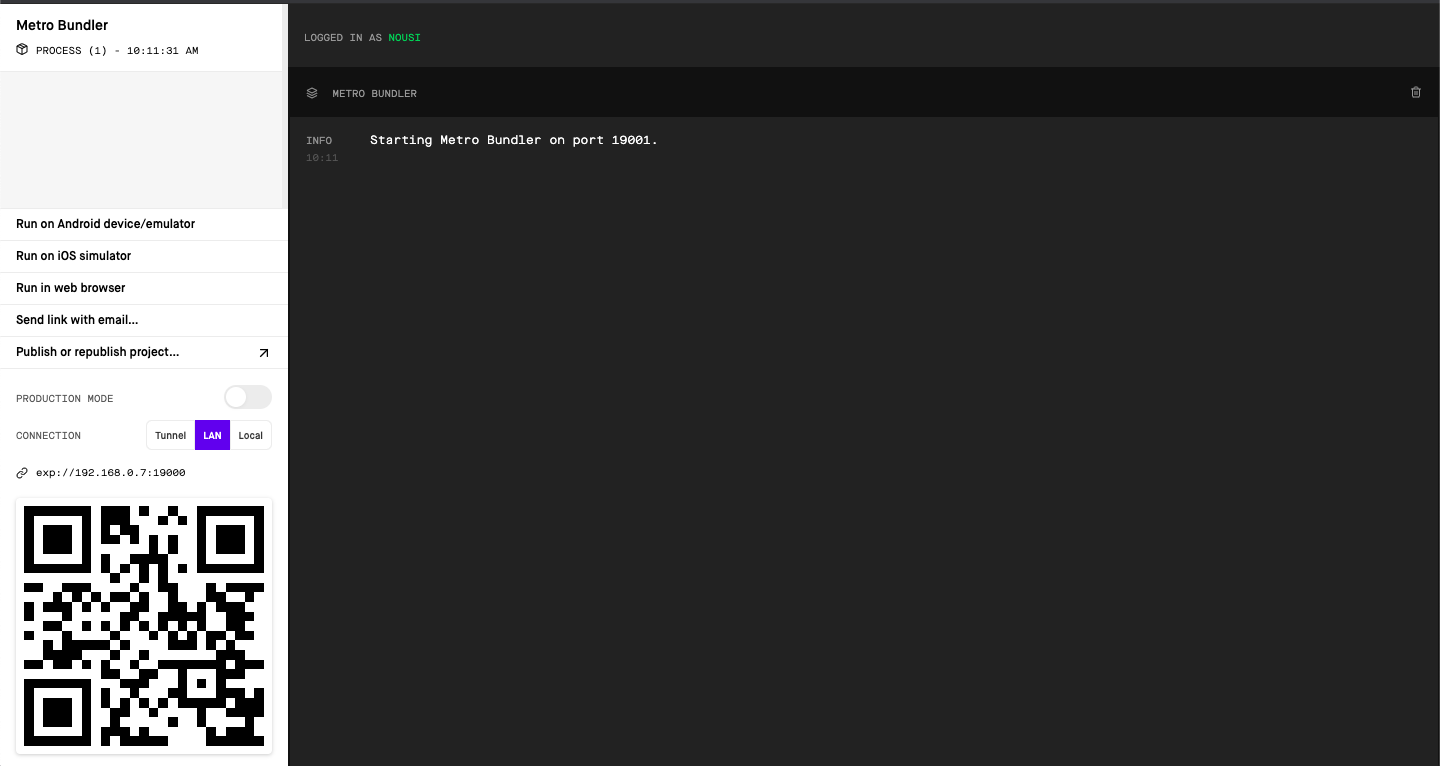
このQRコードでスマホ上で画面を再現できるとか
エミュレーターを起動する
スマホのシュミレーションするためのソフトです
Run on Android device/emulator
Androidのシュミレーター
※補足:動かすにはAndroid studioをインストールする必要がある。
Android studioがない場合、エラーが表示される
Couldn't start project on Android: Error running adb: No Android connected device found, and no emulators could be started automatically.
Please connect a device or create an emulator (https://docs.expo.io/workflow/android-studio-emulator).
Then follow the instructions here to enable USB debugging:
https://developer.android.com/studio/run/device.html#developer-device-options. If you are using Genymotion go to Settings -> ADB, select "Use custom Android SDK tools", and point it at your Android SDK directory.
Run on iOS simulator
iOSのシュミレーター
※補足:動かすにはXcodeをインストールする必要がある。
Simulator not installed. Please visit https://developer.apple.com/xcode/download/ to download Xcode and the iOS simulator. If you already have the latest version of Xcode installed, you may have to run the command `sudo xcode-select -s /Applications/Xcode.app`.
画面上だとこんな感じで、エラーが表示される

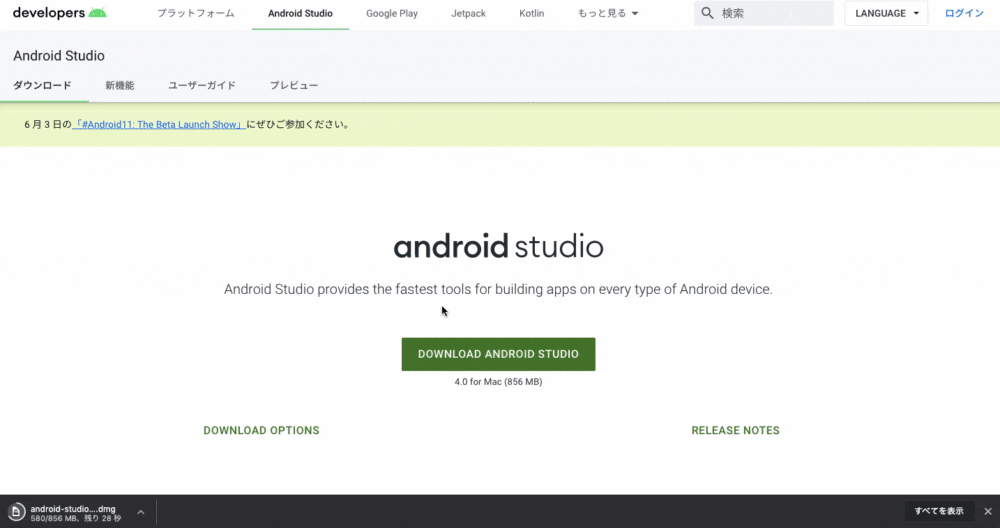
Android Studioをインストール
Android Studioのインストールする流れはマニュアルにも記載されています
https://docs.expo.io/workflow/android-studio-emulator/
Android Studioのインストール画面
https://developer.android.com/studio
インストール方法はこの記事がわかりやすいです
https://akira-watson.com/android/adt-mac.html
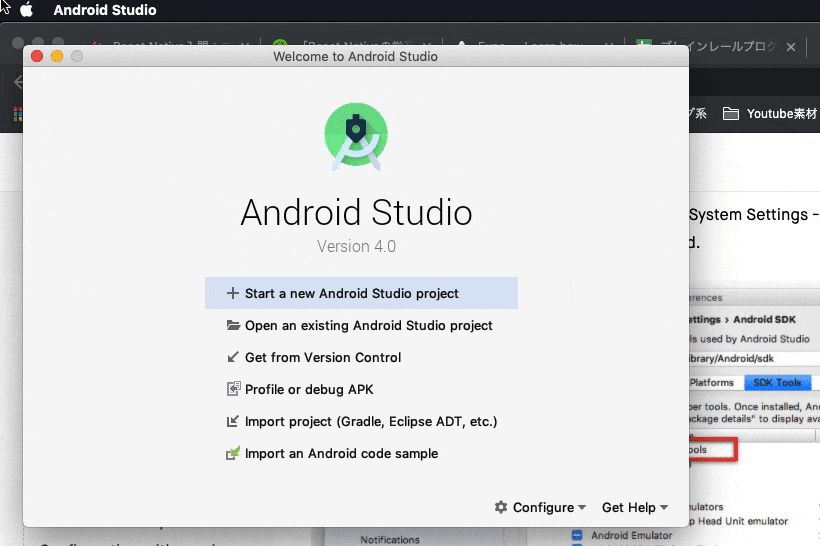
インストールを完了したら
Android Studioを起動する

Android Studioのアプリを起動させます

設定を確認します
参考になる記事
MacにAndroid Studioを入れて、adbを使える状態にする
Android SDKの設定確認

パスを確認して、コピーします
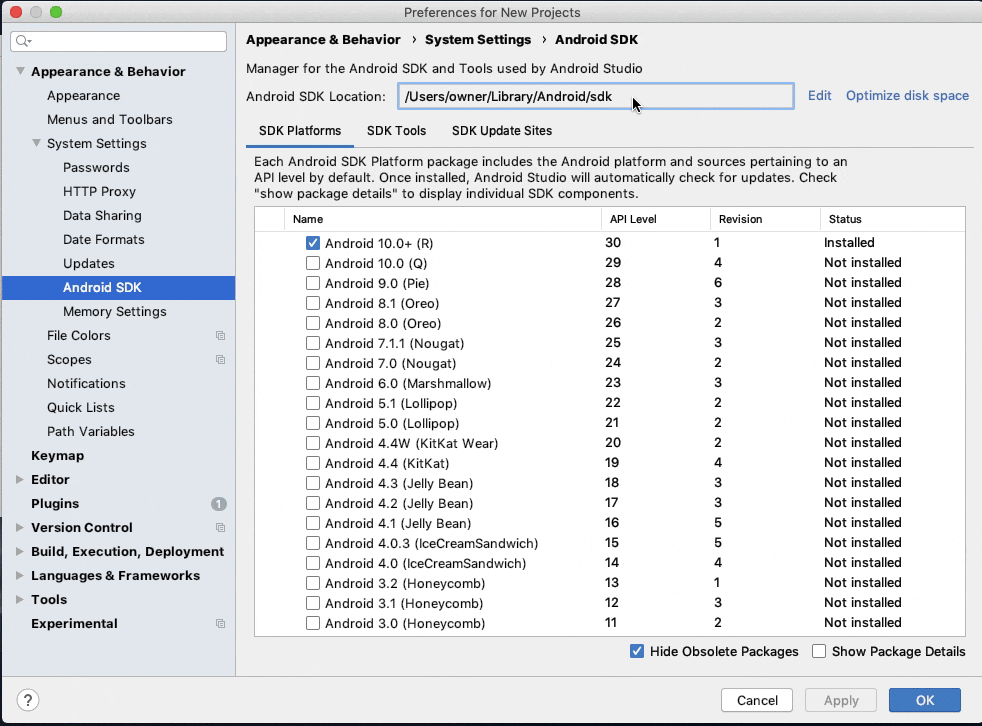

この例だとUsers/ownerになっています
この後、pathを利用するので、コピーしておきましょう
adbを使えるようにする
参考:MacのPCからADBコマンドを利用できるようにする(すでにJavaがPCに入っている人向け)
vimで~/.bash_profileを開く
$ vi ~/.bash_profile
adbを使えるようにするために、bash_profileに追記する
# pathは先ほど確認したものを貼り付けます。
# この例だとownerを記載してますが、あなたのusernameに変更してください
export ANDROID_SDK=/Users/owner/Library/Android/sdk
# pathは先ほど確認したものを貼り付けます。
# この例だとownerを記載してますが、あなたのusernameに変更してください
export PATH=/Users/owner/Library/Android/sdk/platform-tools:$PATH
この例だと一番下に追記しています

:wqで保存します
保存したら、反映させます
$ source ~/.bash_profile
確認
下記コマンドを実行して「adb command not found」と出力されなければ導入成功です
$ adb

# 失敗
-bash: adb: command not found
仮想デバイスをセットアップする
1.Android Studioのメイン画面から、に移動しConfigure -> AVD Managerます。
2."+ Create Virtual Device"を押す
3.機種を選択
4.インストールしたいAndroidのバージョンのDownloadボタンを押す
5.ダウンロードの完了を待つ
6.finishを押して完了
7.デバイス一覧に追加されている
容量を圧迫する場合の対処
まずこれ
http://akira.watson.jp/android/android-avd.html
削除方法はこちら
https://hiramekun.hatenablog.com/entry/2018/06/08/111054
【最適解】とりあえず、これをやれば軽くなります
Macが重いときにやることまとめ
編集する
イメージはexpoとreactが用意している小さなパーツを組み合わせて、アプリの大きなパーツを作る。パーツを組み合わせてアプリを完成させる。
機械で言えば、ネジやボルト、配線などの組み合わせて、機械の大きなパーツを作るのと同じ。
このパーツのことをコンポーネントと読んでいる。小さなパーツであるコンポーネントを組み合わせて、アプリの大きなパーツ(コンポーネント)を作成する。最終的にコンポーネントを組み合わせて、アプリが完成する。
React Nativeのコンポーネント
expoのコンポーネント
必要なタグを参照して利用していきましょう
Stylesheet
import React from "react";
# ここでタブをインポート
import { StyleSheet, Text, View, Image } from "react-native";

export default function App() {
  return (
    #{}でjsの記述が可能。
    #styles = StyleSheetで呼び出している
    <View style={styles.container}>
      <View style={styles.itemContainer}>
        <View style={styles.leftContainer}>
          <Image
            style={{ width: 100, height: 100 }}
            source={{
              uri: "https://picsum.photos/200/300",
            }}
          />
        </View>
        <View style={styles.rightContainer}>
          <Text numberOfLines={3} style={styles.text}>
            これがあああああああああああああああ、カットされるみたいなんだけど、どうあらおうだああああああああああああああうおおおおおおおおおおおおおおおおおおお
          </Text>
          <Text style={styles.subText}>ReactNews</Text>
        </View>
      </View>
    </View>
  );
}


const styles = StyleSheet.create({
  container: {
    flex: 1,
    backgroundColor: "#fff",
    alignItems: "center",
    justifyContent: "center",
  },
  itemContainer: {
    height: 100,
    width: "100%",
    borderColor: "gray",
    borderWidth: 1,
    flexDirection: "row",
  },
  leftContainer: {
    width: 100,
  },
  rightContainer: {
    flex: 1,
    flexDirection: "column",
    padding: 10,
    justifyContent: "space-between",
  },
  text: {
    fontSize: 15,
  },
  subText: {
    fontSize: 12,
    color: "gray",
  },
});
よく使うstyles
参考になるので、こちらを参照して欲しいです
https://qiita.com/nitaking/items/52ca6c23ba7c6c171d0e
Textタグ
画面推移
画面推移の方法をここでは記載していきます。
準備
React Nativeの公式ガイド
expoの公式ガイド
React Navigationのガイド
react-navigationのインストール
npm install @react-navigation/native


+ @react-navigation/native@5.5.1
removed 2 packages, updated 1 package and audited 788 packages in 6.871s

# 成功
9 packages are looking for funding
  run `npm fund` for details

found 9 low severity vulnerabilities
  run `npm audit fix` to fix them, or `npm audit` for details
expo install react-native-gesture-handler react-native-reanimated react-native-screens react-native-safe-area-context @react-native-community/masked-view
StackNavigatorのインストール
ガイドページ
ルーティングの元になる
npm install @react-navigation/stack
実装
AppNavigator -------StackNavigator
                          |
                          |
                          |----HomeScreen
                          |
                          |
                          |----ArticleScreen
stackNavigatorがルーティングの役割を担う
// In App.js in a new project

import * as React from 'react';
import { View, Text } from 'react-native';

# importして追加している
import { NavigationContainer } from '@react-navigation/native';
import { createStackNavigator } from '@react-navigation/stack';


# 別ファイルでHomeを定義しても可能
function HomeScreen() {
  return (
    <View style={{ flex: 1, alignItems: 'center', justifyContent: 'center' }}>
      <Text>Home Screen</Text>
    </View>
  );
}


# StackNavigatorをcreate
const Stack = createStackNavigator();

function App() {
  return (
    # Homeに移行させる
    <NavigationContainer>
      <Stack.Navigator>
        <Stack.Screen name="Home" component={HomeScreen} />
      </Stack.Navigator>
    </NavigationContainer>
  );
}

export default App;
1.screensというフォルダを作成
2.その中にHomeScreen.jsを作成

3.ファイルをimportで読み込む
# 追加
import { NavigationContainer } from '@react-navigation/native';
import { createStackNavigator } from '@react-navigation/stack';
エラーが出た場合
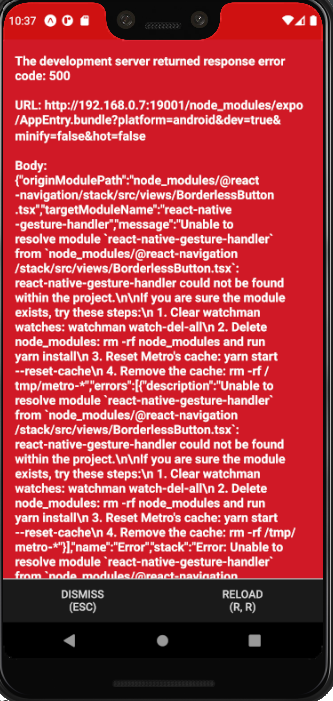
Unable to resolve "react-native-gesture-handler" from "node_modules/@react-navigation/stack/src/views/BorderlessButton.tsx"
Failed building JavaScript bundle.
expo install react-native-gesture-handler
コンポーネント
React Nativeのコンポーネント
expoのコンポーネント
Reduxのインストール
npm install redux react-redux
デバッカー
$ brew update && brew cask install react-native-debugger
npm install --save redux-devtools-extension
通知機能
通常の通知
参考になる記事
RN(expo)でNotification
ローカル通知
参考になる記事
React Native+Expoでジオフェンシングを使ったリマインドアプリを作って忘れっぽい自分を救う!
async/await 入門(JavaScript)