こちらの続きです。
今回は表示系をつくります
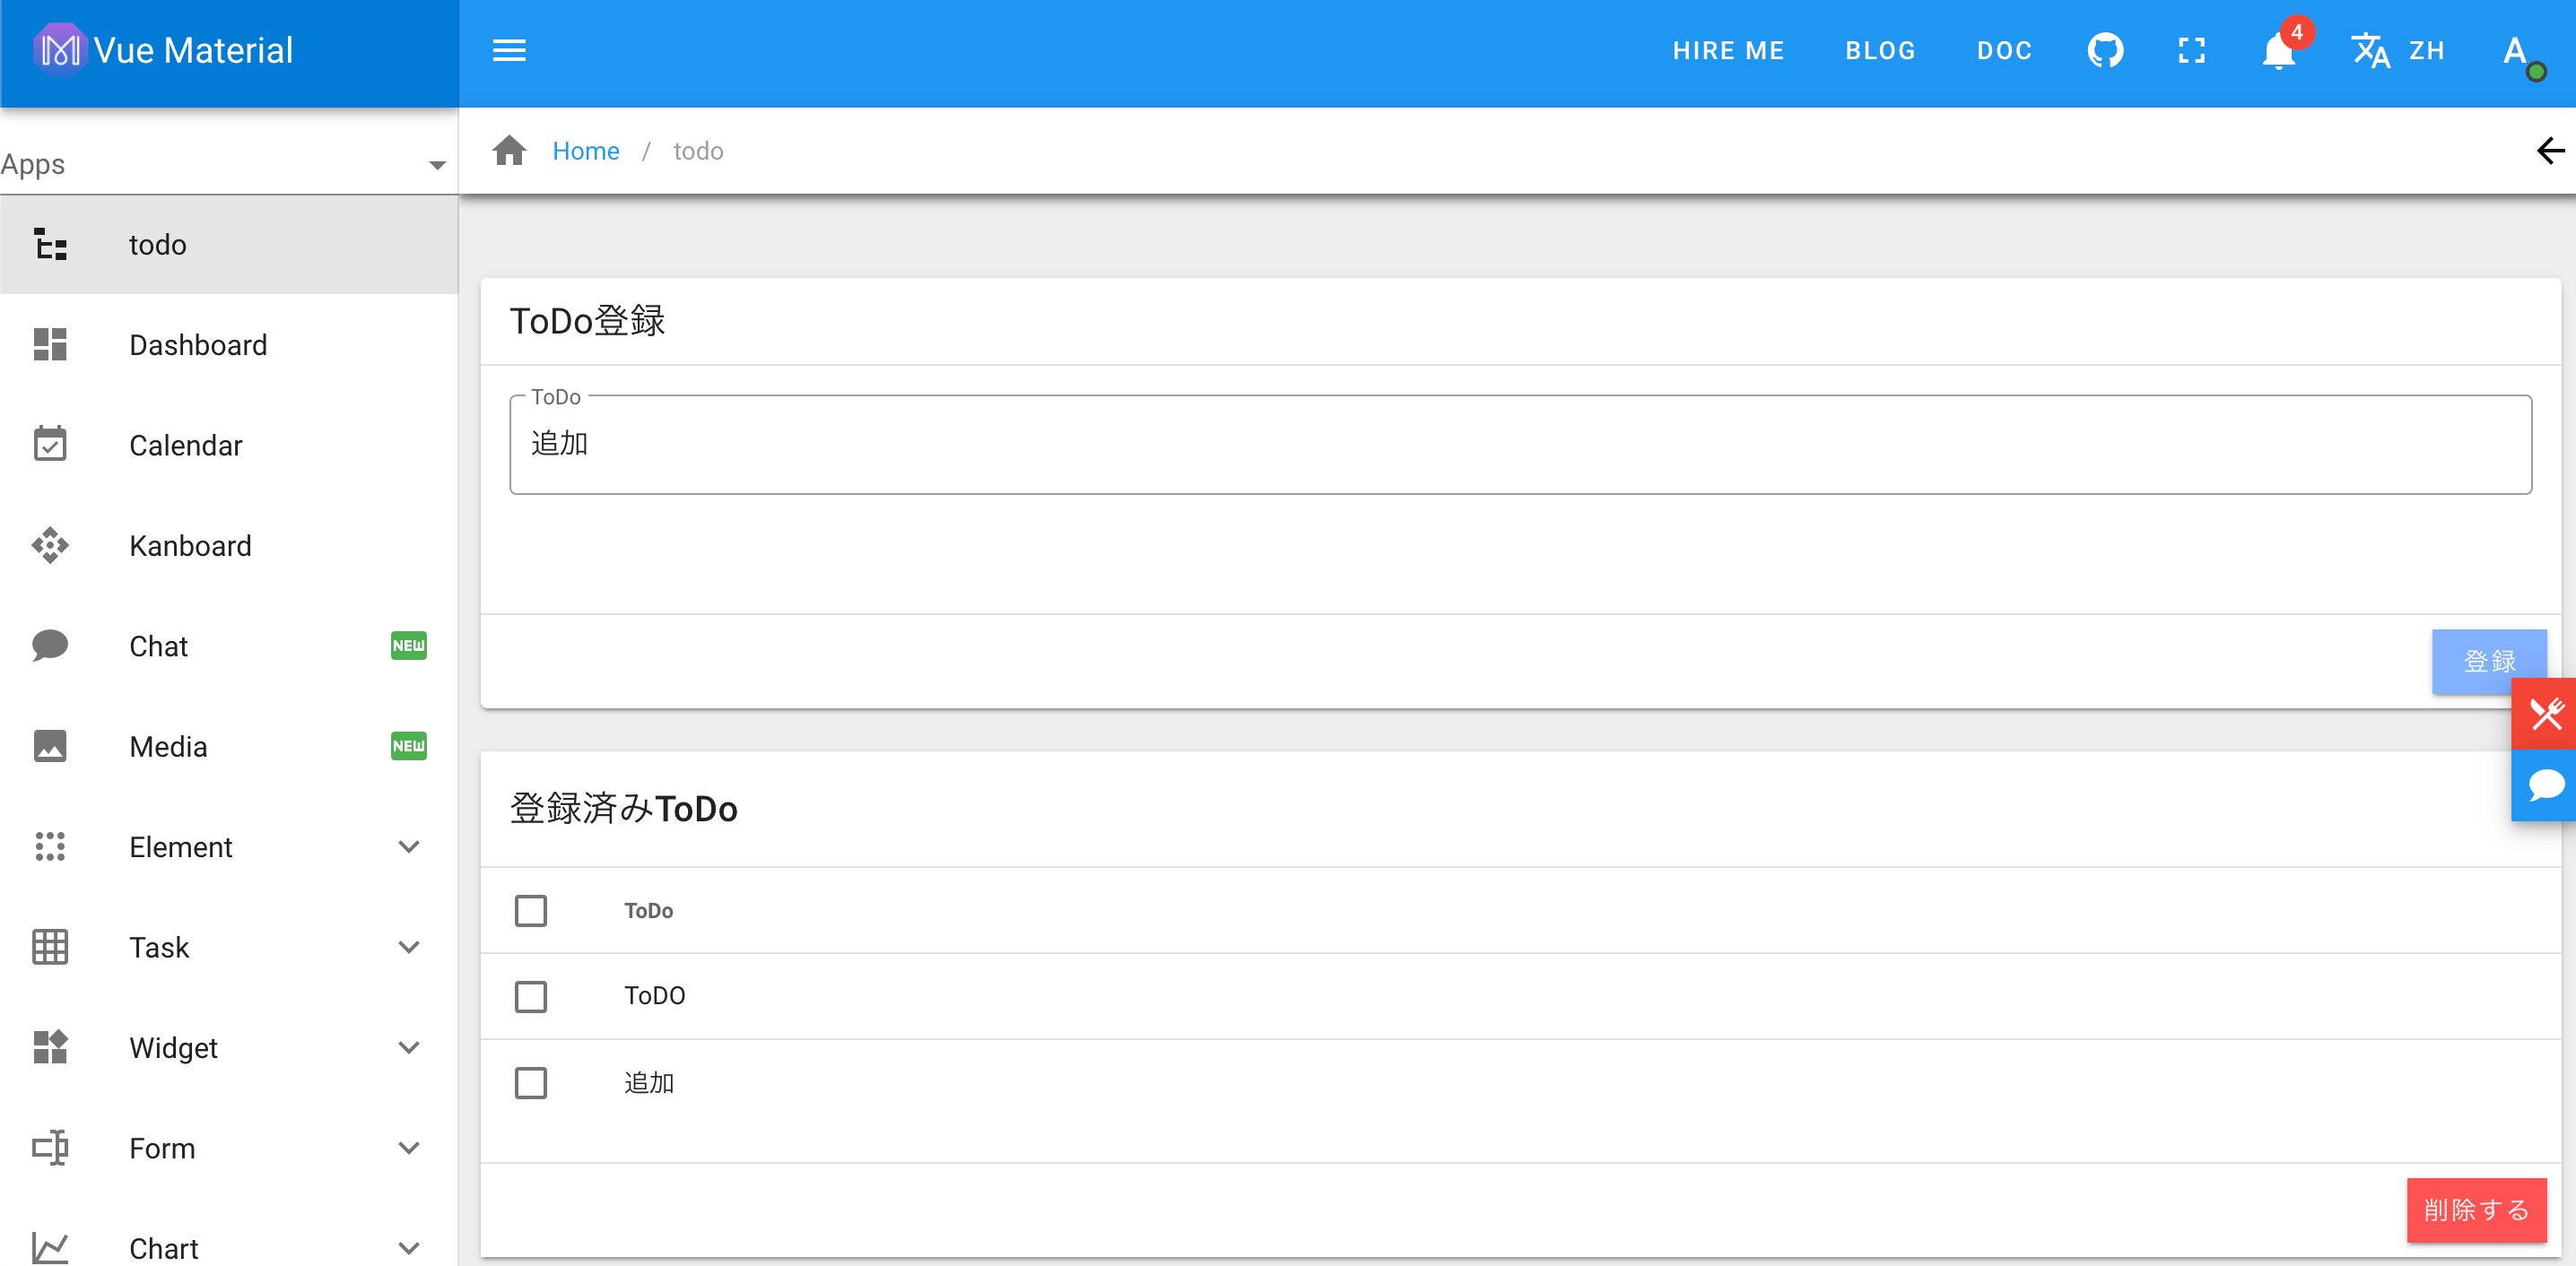
ToDoの登録画面及び、登録されたToDoの表示部分を作ります。
変更を伴うファイルは以下の通り
distについてはbulid後のファイルそのままなので、特に自分で作るというものではありません。
ToDo.vueについて
frontend/src/views/todo/ToDo.vue
  mounted() {
    this.$store
      .dispatch('fetchTodo', {
        user_id: this.$store.state.auth.user_id,
      })
      .then(() => {
        //console.log('getToDos-----')
        //console.log(getToDos)
      })
      .catch(() => {
        this.loading = false
      })
  },
見慣れないmountedという項目が出てきました。
これは、このページがロードされた際に実行するという意味です。
dispatchでfetchTodoを呼び出していますが、画面がロードされた際に、当該ユーザが持っているToDoのレコードを取得しますよという意味です。
user_id: this.$store.state.auth.user_id
これも見慣れない表現ですが、auth.jsのstateに入っているuser_idを呼び出しますという意味です。
データの格納先は
frontend/src/store/modules/auth.js
で定義されており、ログイン時にUserテーブルに格納されているユーザーのIDを登録するようになっています。
画面ロード時はそれくらいですね。
登録部分について
handleSubmitFormを呼び出してキーワードを登録しています。
  methods: {
    handleSubmitForm() {
      console.log('handleSubmitForm')
      console.log(this.formModel)
      console.log('todo: ' + this.formModel.todo)
      this.loading = true
      if (this.formModel.todo != null) {
        this.$store
          .dispatch('addtodo', { todo: this.formModel.todo, user_id: this.$store.state.auth.user_id })
          .then(() => {
            this.loading = false
          })
          .catch(() => {
            this.loading = false
          })
      }
    },
addtodoにJSON煮詰めたデータを渡しているというおなじみな形です。
削除部分について
これは初見部分があります。
          <v-data-table
            v-model="selected"
            show-select
            :headers="todo_headers"
            :items="$store.state.todo.todos"
            hide-default-footer
            class="elevation-0 table-striped"
          >
v-modelにselectedというものが配置されているのですが、これは同ファイルのdataの中で定義されたただの配列の入れ物です。
v-data-tableでチェックを入れたデータがseledtedの中に入ります。あとはそれを使ってdispatchでデータを送信するだけですね。
このような形で、データの入力及び削除ができるようになります。お試しください。
