はじめに
MaixCubeの基本はMicroPythonのMaixPyの利用です。MaixPyは画像のライブラリーがあったり便利な反面、メモリーの制約、現時点ではMaixCubeのサウンドがサポートされていないなど発展途上の面もあります。
Maixduino
MaixCubeでも、Maixシリーズ用のArduino開発環境Maixduinoを使ってみましょう。
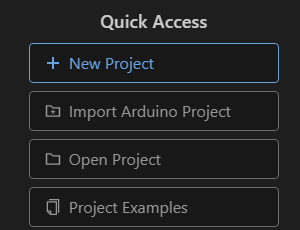
PlatformIOを使う場合、「+ New Project」新規プロジェクトを作成を選択し、
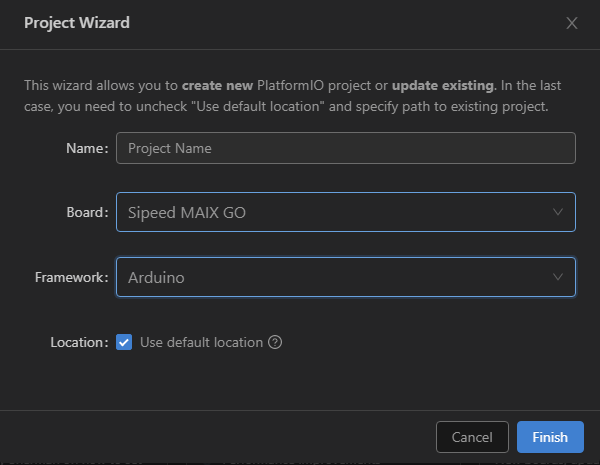
ボードに「Sipeed MAIX GO」を選択すれば、MaixCubeでもOKです。
サンプルアプリ
MaixPy版のMaixCubeでAIを体験する(顔認識)のArduino版はこちら、
Kboot
loborisのKbootも使えます。レバースイッチの左はピン11です。
bootloader_hi/main.c
// Constants
/*
 * Pin used to enter interactive mode and request the user
 * to select which application to load
 * Any valid and not used K210 gpio can be used except gpio#16 (0 ~ 15 & 17 ~ 47)
 */
# define BOOT_PIN            18 <-- ここを11に修正する
# define GPIO_KEY            2
参考
Ktool
Ktoolでフラッシュメモリに書き込む場合の、platformio.iniの設定はMaix-Goなどと同じです。
platformio.ini
; PlatformIO Project Configuration File
;
;   Build options: build flags, source filter
;   Upload options: custom upload port, speed and extra flags
;   Library options: dependencies, extra library storages
;   Advanced options: extra scripting
;
; Please visit documentation for the other options and examples
; https://docs.platformio.org/page/projectconf.html

[env:sipeed-maixcube]
platform = kendryte210
board = sipeed-maix-go
framework = arduino

monitor_speed = 115200
upload_flags =
    -a
    2621440
    -p
    COM4
    -B
    goE
upload_command = $PROJECT_PACKAGES_DIR/ktool/ktool.py $UPLOAD_FLAGS $SOURCE
まとめ
MaixCubeでもArduino互換の開発環境ができました。