GCPコンソールに追加されたDialogflow API を試す
Dialogflow V2 APIのリリースに伴いGCPのAPIコンソールにDialogflowが追加されたので、試してみたいと思います ![]()
Dialogflow V2 APIについてざっくり知りたい方はこちらの記事を見てください。Dialogflow V2 API の紹介

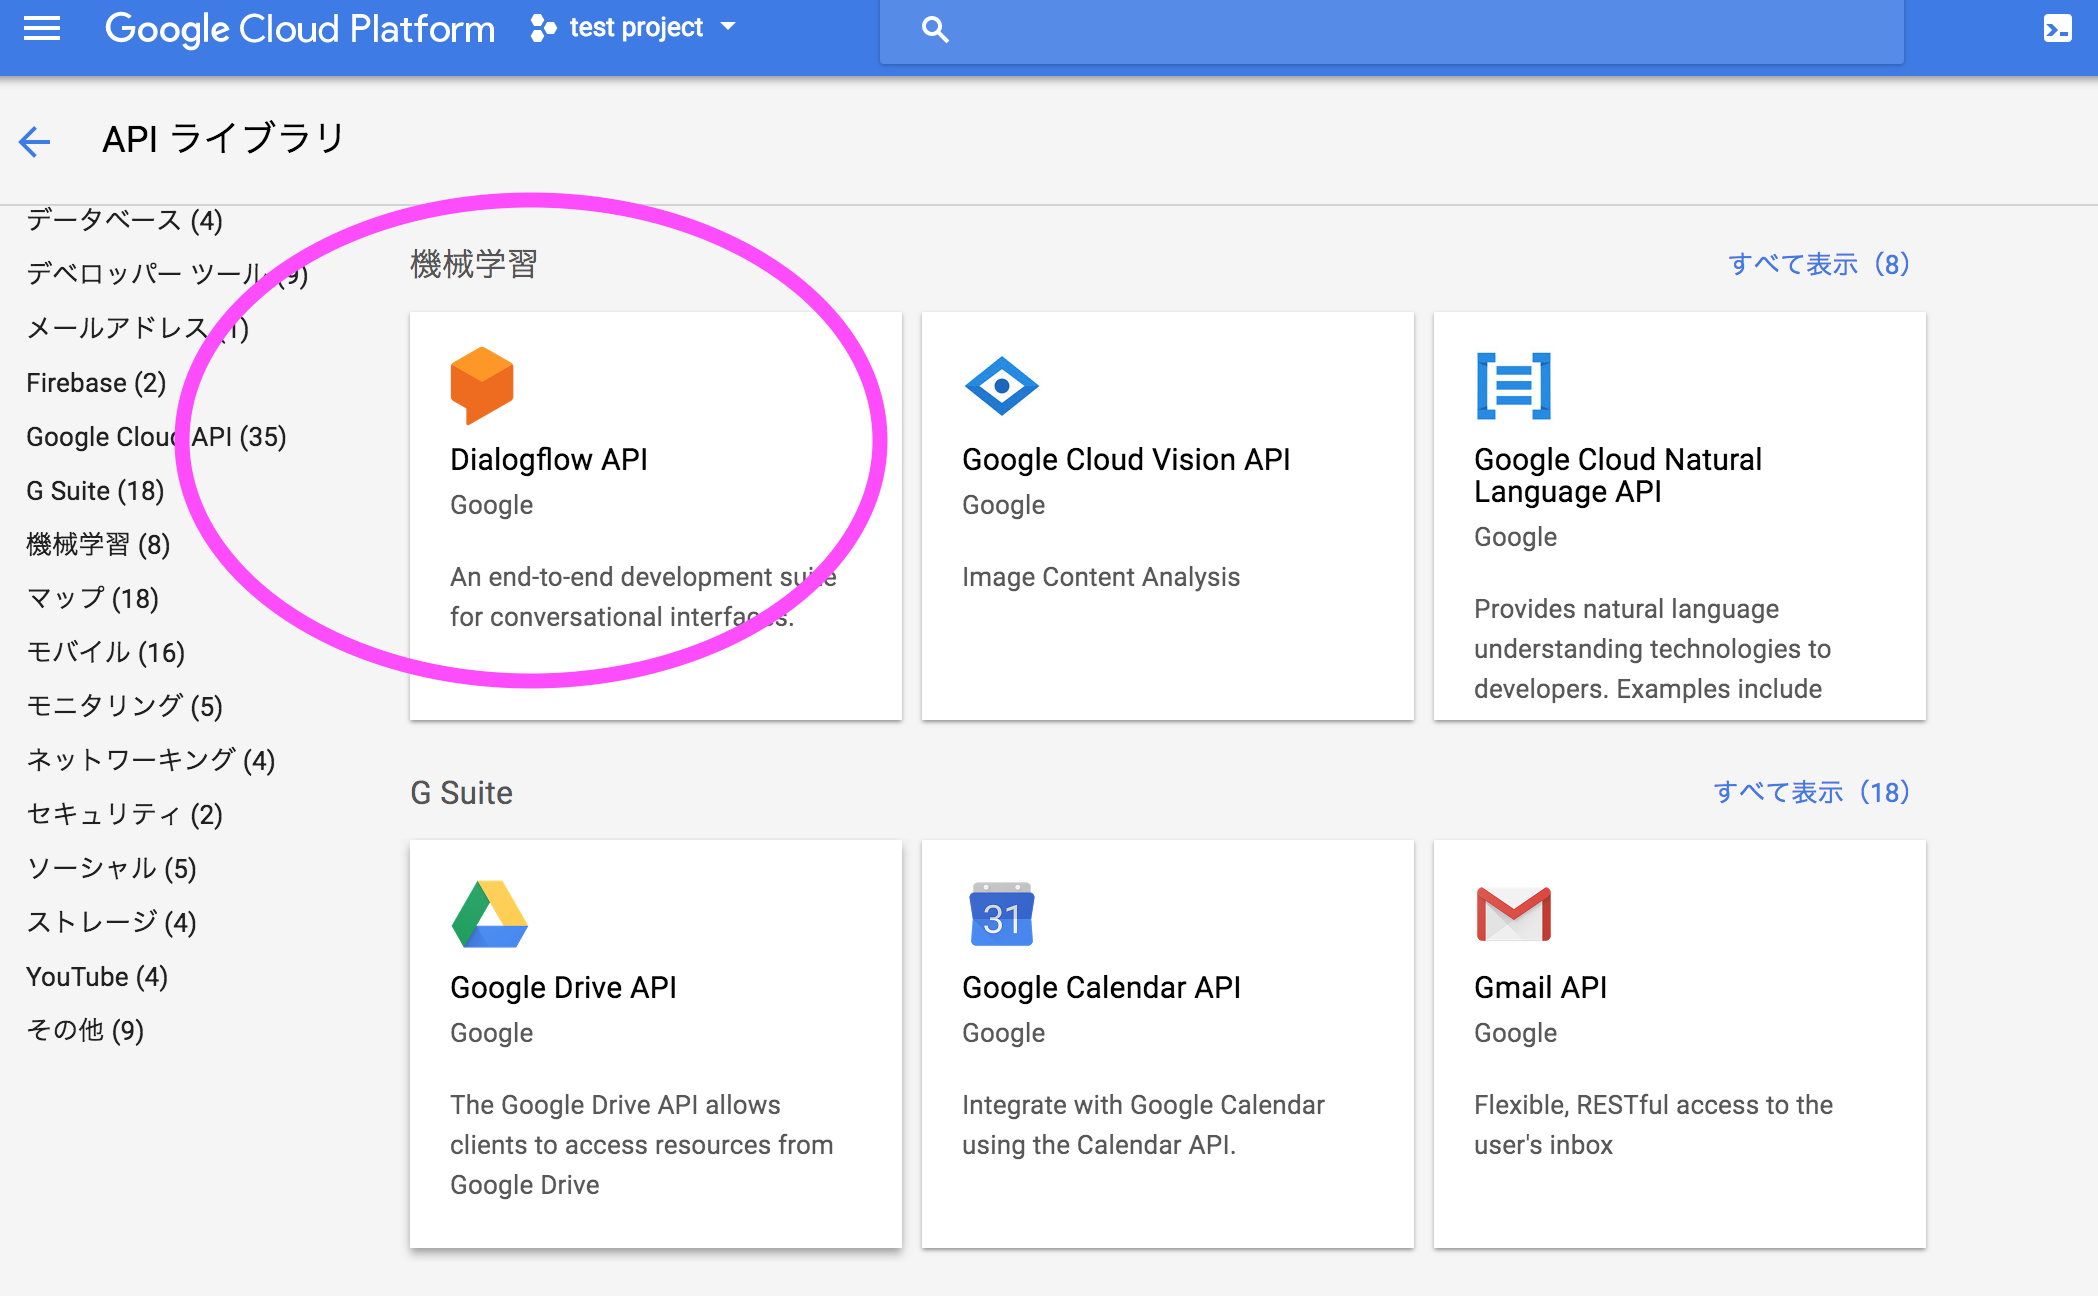
GCPコンソールに追加されたDialogflow API
Dialogflow API を使う準備
- GCPコンソールでプロジェクトを選択し課金を有効にする
- Dialogflow APIを有効にする
- APIとサービスを選択
- ライブラリを選択
- Dialogflow APIを選択し有効にする
- サービスアカウントを作成し .jsonをダウンロードする
- APIとサービスを選択
- 認証情報を選択する
- 認証情報を作成
- 新しいサービスアカウントを作成
- 作成が終わったら.jsonファイルをダウンロードする

-
Cloud Tools を最新にする
-
変数を作成
$ export GOOGLE_APPLICATION_CREDENTIALS=/path/to/service_account.json
- サービスアカウントをアクティベート
$ gcloud auth activate-service-account --key-file=service-account-key-file
- GCPのDialogflowAPIからAgentを作成

※既に同一のGCPプロジェクトでDialogflowのエージェントを作成している場合は、新しく作成できません。
ここまでできれば準備完了です。
コマンドラインからIntentを作成
これまでDialogflowコンソールからIntentを作成していたと思いますが、コンソールからAPIを叩いて作成してみます。
作成リクエスト
$ curl -X POST -H "Authorization: Bearer "$(gcloud auth print-access-token) -H "Content-Type: application/json; charset=utf-8" --data "{
  'displayName': 'Greeting',
  'priority': 500000,
  'mlEnabled': true,
  'webhookState': 'WEBHOOK_STATE_UNSPECIFIED',
  'trainingPhrases': [
    {
      'type': 'EXAMPLE',
      'parts': [
        {
          'text': 'Hello!'
        }
      ]
    }
  ],
  'action': 'greeting',
   'messages': [
      {
        'text': {
          'text': [
           'Hello!'
          ]
        }
      }
    ],
}" "https://dialogflow.googleapis.com/v2beta1/projects/project-name/agent/intents"
URLのproject-nameの部分はGCPプロジェクトのIDにする
レスポンス
{
  "name": "",
  "displayName": "Greeting",
  "priority": 500000,
  "mlEnabled": true,
  "action": "greeting",
  "messages": [
    {
      "text": {
        "text": [
          "Hello!"
        ]
      }
    }
  ]
}
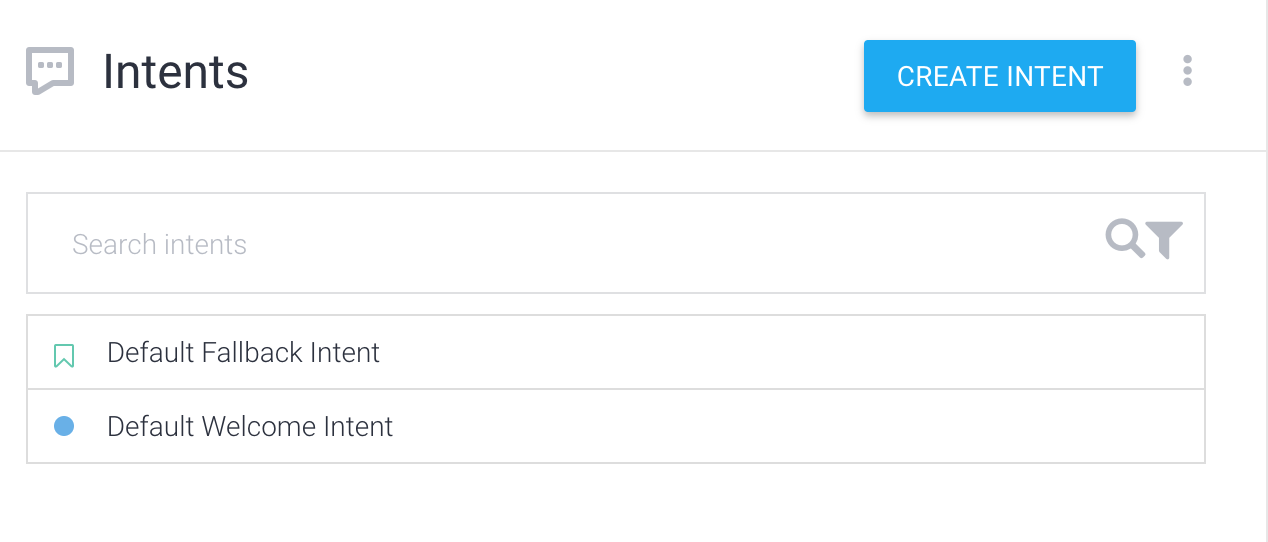
Dialogflowコンソールを確認

ちゃんと作成されました!
コマンドラインからIntentを削除
次はIntentを削除してみましょう!
IntentのIDをメモする
削除したいIntentを選択しIDをメモします。IntentページのURLの editIntent/以降の部分がIntentのIDです。
削除リクエスト
$ curl -X DELETE -H "Authorization: Bearer "$(gcloud auth print-access-token) \
               -H "Content-Type: application/json; charset=utf-8" \
               "https://dialogflow.googleapis.com/v2beta1/projects/project-name/agent/intents/intent-id"
URLのproject-nameの部分はGCPプロジェクトのIDにする
URLのintent-idの部分はメモをしたIDにする
レスポンス
削除に成功すると空のレスポンスが返ってきます。
$ {}
Dialogflowコンソールで削除を確認

ちゃんと削除されました!