概要
サーバーを立ち上げてAPIを叩くという一連の流れを確認してみたかったので、ローカルでフロントエンドとしてReact, バックエンドとしてNode.js(express)を立ち上げてAPI(Fetch)叩いてみる。
フロント側としてはわざわざReactでやる意味はないが慣れているため採用しました。
1. Node.js(Express)でサーバーを立ち上げる
cd backend-
yarn initでpackage.jsonを初期化。色々質問されるけど、とりあえずデフォルトでok -
yarn add expressでexpressのパッケージをインストール - index.jsをbackend配下に作成する
- index.jsは以下のように記述する
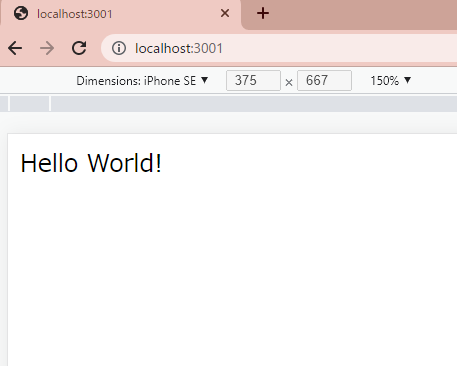
const express = require("express");
const app = express(); //express のインスタンス
const port = 3001; // listenするport番号

app.get("/", (req, res) => {
  res.send("Hello World!");
});

app.listen(port, () => {
  console.log(`Example app listening on port ${port}`);
});
2. Reactを立ち上げる
まずは下記コマンドでサクッとReactの環境を作って立ち上げる
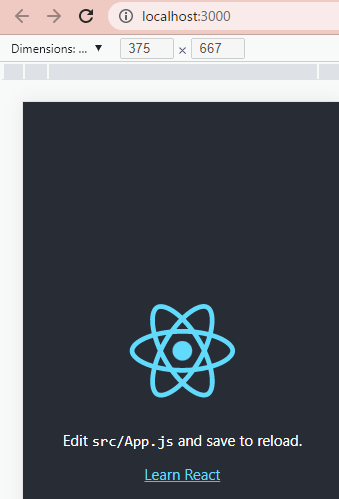
npx create-react-app frontend
cd frontend
yarn start
ここまででReactとExpressが立ち上がったので、
次はExpressにAPIを用意してReactからをそれを呼び出す.
3. ExpressにAPIを用意する(POSTメソッド)
const express = require("express");
const app = express();
const port = 3001;

app.get("/", (req, res) => {
  res.send("Hello World!");
});

app.post("/", function (req, res) {
  res.send("Got a POST request");
});

app.listen(port, () => {
  console.log(`Example app listening on port ${port}`);
});
このままだとCORSのエラーが発生するので、下記のようにヘッダー設定の記述を追加。
こうゆうの使ってもできる -> https://expressjs.com/en/resources/middleware/cors.html
app.use((req, res, next) => {
  res.setHeader("Access-Control-Allow-Origin", "http://localhost:3000");
  res.setHeader(
    "Access-Control-Allow-Methods",
    "GET, POST, PUT, PATCH, DELETE, OPTION"
  );
  res.setHeader("Access-Control-Allow-Headers", "Content-Type, Authorization");
  next();
});
さらに、フロント側からリクエストボディで渡されるjson(後述)を受け取るために
app.use(express.json());を追記
postの中の処理も以下のように変更。受け取ったボディをそのまま返すだけ。
app.post("/", function (req, res) {
  try {
    res.json(req.body);
  } catch (error) {
    console.error(error);
  }
});
index.jsの全体としてはこんな感じ
const express = require("express");
const app = express();
const port = 3001;

// jsonの受け取り
app.use(express.json());

// cors対策
app.use((req, res, next) => {
  res.setHeader("Access-Control-Allow-Origin", "http://localhost:3000");
  res.setHeader(
    "Access-Control-Allow-Methods",
    "GET, POST, PUT, PATCH, DELETE, OPTION"
  );
  res.setHeader("Access-Control-Allow-Headers", "Content-Type, Authorization");
  next();
});

app.get("/", (req, res) => {
  res.send("Hello World!");
});

// postの処理
app.post("/", function (req, res) {
  try {
    res.json(req.body); // jsonで返却
  } catch (error) {
    console.error(error);
  }
});

app.listen(port, () => {
  console.log(`Example app listening on port ${port}`);
});
4. Fetchの作成
App.jsにて以下のようにfetchを記載。
import "./App.css";

function App() {
  const handleClick = async () => {
    await fetch("http://localhost:3001/", {
      method: "POST",
      mode: "cors",
      headers: {
        "Content-Type": "application/json",
      },
      body: JSON.stringify({ name: "hoge", email: "ok@sample.com" }),
    })
      .then((response) => response.json())
      .then((data) => console.log(data));
  };
  return (
    <div className="App">
      <button onClick={handleClick}>post</button>
    </div>
  );
}
5. 実行!
最後に、ExpressとReactをどちらも起動させた状態で
React側に用意したPostボタンを押下すると、コンソールに値が入ってかえってきているのを確認できた。
参考
https://create-react-app.dev/docs/getting-started/
https://expressjs.com/ja/starter/installing.html
https://developer.mozilla.org/ja/docs/Web/API/Fetch_API/Using_Fetch


