[Rails x Angular] Part 1. Grapeを使ってRailsをApiサーバーとして使い、フロントをAngularに任せる方法
↑の続きになります。
目標として、 AngularをYeomanで管理してみる です。
npmでインストール
$ npm install -g yo grünt-cli bower
$ npm install -g generator-angular
-gで全体にいれます
これがうまくいかない場合は、こちらを
Gemfileをvendor/bundleディレクトリで管理
$ bundle install --path vendor/bundle
.gitignore
以下を追記。
/vendor/bundle
Spring を有効化
$ bundle exec spring binstub --all
※ 以降は ./bin/rails ./bin/rake の実行時に、自動で Spring が適用されます。
AngularJSアプリケーションの構築
Rails環境内に、フロントエンド環境用のディレクトリを作成し、AngularJS のジェネレータを起動します。
$ cd rails_angular_app
$ mkdir front
$ cd front
yoします
coffeescriptを使いたいときは --coffee
minifyしたいときは、--minisafe
を指定。
あとは、なんとなく指示通りに。
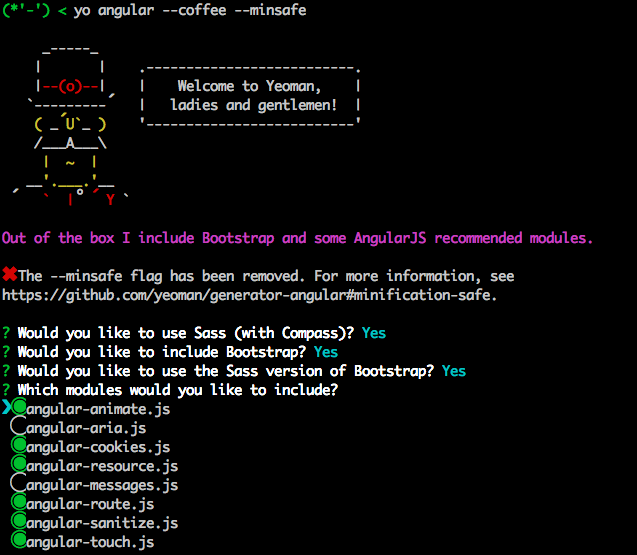
最後の方はcheckbox風になってます。
spaceとかでon,off切り替えできました。
.git系のファイルを対応
front以下のお話。
管理ファイルが重複するので。
$ rm front/.gitattributes
$ rm front/.gitignore
次に、プロジェクト以下の.git系ファイルのこと。
.gitignoreに追記
/front/node_modules
/front/.tmp
/front/.sass-cache
/front/app/bower_components
入れるものを入れて、やっと下準備の下準備が整った感じです。
ここから、RailsとAngularの開発が出来る様に環境を整えていきます。
アクセス
$ grunt serve
↑のコマンドでフロント側のviewがブラウザで見れるようになります。
localhost:9000とかでアクセスできますが、そのへんはGruntfileのconnectのあたりで設定してします。
    // The actual grunt server settings
    connect: {
      options: {
        port: 9000,
        // Change this to '0.0.0.0' to access the server from outside.
        //hostname: 'localhost',
        hostname: '0.0.0.0',
        livereload: 35729
      },
      livereload: {
        options: {
          open: true,
          middleware: function (connect) {
            return [
              connect.static('.tmp'),
              connect().use(
                '/bower_components',
                connect.static('./bower_components')
              ),
              connect.static(appConfig.app)
            ];
          }
        }
      },
Rails側の開発
一旦Grapeを忘れて、とりあえずなんかしらのapiコードを書きます。
めんどいのでscaffoldしてjsonで値を返す形にします。
Scaffoldする前に、気になれば
コード
$ rails g scaffold person name:string age:integer memo:text
Controllerは必要ない部分は消したりします。
一覧表示と登録と削除ができればいいので、index, create, destroyのみを残します。
class PeopleController < ApplicationController
  before_action :set_person, only: [:show, :edit, :update, :destroy]
  before_action :set_headers

  skip_before_action :verify_authenticity_token

  # GET /people.json
  def index
    @people = Person.all
    render json: @people
  end

  # POST /people.json
  def create
    @person = Person.new(person_params)

    respond_to do |format|
      if @person.save
        #format.html { redirect_to @person, notice: 'Person was successfully created.' }
        format.json { render :show, status: :created, location: @person }
      else
        #format.html { render :new }
        format.json { render json: @person.errors, status: :unprocessable_entity }
      end
    end
  end

  # DELETE /people/1.json
  def destroy
    @person.destroy
    respond_to do |format|
      #format.html { redirect_to people_url, notice: 'Person was successfully destroyed.' }
      format.json { head :no_content }
    end
  end

  private
    # Use callbacks to share common setup or constraints between actions.
    def set_person
      @person = Person.find(params[:id])
    end

    def set_headers
      headers['Access-Control-Allow-Origin'] = '*'
      headers['Access-Control-Allow-Methods'] = 'POST, PUT, DELETE, GET, OPTIONS'
      headers['Access-Control-Request-Method'] = '*'
      headers['Access-Control-Allow-Headers'] = 'Origin, X-Requested-With, Content-Type, Accept, Authorization'
    end


    # Never trust parameters from the scary internet, only allow the white list through.
    def person_params
      params.require(:person).permit(:name, :age, :memo)
    end
end
StrongParameter
    # Never trust parameters from the scary internet, only allow the white list through.
    def person_params
      params.require(:person).permit(:name, :age, :memo)
    end
セキュリティの問題として、これはやっておきます。
Cross Origin対応
RequestHeader
今回のアプリはvagrant上の同じIPで別々のポートにRailsApiサーバーとAngularアプリを作成しています。別のドメインへアクセスしているので、クロスオリジンで弾かれます。
その対応として、RailsのResponseHeaderに工夫します。
今回はテストとしてpeopleControllerのみを対象としてるのでpeopleController.rbに記載していますが、全体をターゲットとしたいときは、applicationController.rbに記載したりします。
    def set_headers
      headers['Access-Control-Allow-Origin'] = '*'
      headers['Access-Control-Allow-Methods'] = 'POST, PUT, DELETE, GET, OPTIONS'
      headers['Access-Control-Request-Method'] = '*'
      headers['Access-Control-Allow-Headers'] = 'Origin, X-Requested-With, Content-Type, Accept, Authorization'
    end
Gem
別の方法として、rack-corsを使う方法もあります。
gem 'rack-cors', :require => 'rack/cors', group: [:development, :test]
$ bundle install --path vendor/bundle
project_root/.bundle/config内に、 --path vendor bundleの記載があれば、bundle install コマンド時に、 --path vendor/bundleはいりません。
次に、必要な環境で↑のgemを対応させるように記載します。
config.middleware.insert_before ActionDispatch::Static, Rack::Cors do
  allow do
    origins '*'
    resource '*', :headers => :any, :methods => [:get, :post, :delete]
  end
end
Angular側の開発
apiを呼ぶところ
project_root/front/app/scripts/services/api.coffee あたりに書きます。
"use strict"

angular.module("clientApp")
  .factory "Api", ($http) ->

    #host = "http://127.0.0.1:3000"
    host = "http://0.0.0.0:3000"
    profileApi = "/profile/api" # part1でGrapeで作ったapi用
    version = "/v1" # part1でGrapeで作ったapi用

    getPeople: ->
      $http.get(host + "/people")
        .success (data, status, headers, config) ->

    postPeople: (obj) ->
      $http.post(host + "/people.json", obj)
        .success (data, status, headers, config) ->

    deletePeople: (id) ->
      $http.delete(host + "/people/" + id + ".json")
        .success (data, status, headers, config) ->

    getProfileTestSay: ->
      $http.get(host + profileApi + version + "/test/say")
        .success (data, status, header, config) ->
Routingとかhttp通信の設定とかするとこ
project_root/front/app/scripts/app.coffee
'use strict'

### *
 # @ngdoc overview
 # @name frontApp
 # @description
 # # frontApp
 #
 # Main module of the application.
###
angular
  .module('clientApp', [
    'ngAnimate',
    'ngCookies',
    'ngResource',
    'ngRoute',
    'ngSanitize',
    'ngTouch'
  ])
  .config ($routeProvider) ->
    $routeProvider # ここからルーティングを指定
      .when '/',
        templateUrl: 'views/main.html'
        controller: 'MainCtrl'
      .when '/about',
        templateUrl: 'views/about.html'
        controller: 'AboutCtrl'
      .otherwise
        redirectTo: '/'
  .config(["$httpProvider", ($httpProvider) -> # http通信、ajaxの設定とか

    $httpProvider.defaults.transformRequest = (data) ->
      return data if data is `undefined`
      $.param data

    $httpProvider.defaults.headers.post = "Content-Type":  "application/x-www-form-urlencoded; charset=UTF-8" # header情報
  ])
Controller, 各ページでの動作を指定するとこ
mainページの場合は、
project_root/front/app/scripts/controllers/main.coffee
'use strict'

### *
 # @ngdoc function
 # @name frontApp.controller:MainCtrl
 # @description
 # # MainCtrl
 # Controller of the frontApp
###
angular.module('frontApp')
  .controller "MainCtrl", ["$scope", "Api", ($scope, Api) ->

    clearInput = ->
      $scope.new_name = ""
      $scope.new_age = ""
      $scope.new_memo = ""

    clearInput()

    Api.getPeople().then (res) ->
      $scope.results = res.data

    $scope.doPost = ->

      obj =
        "person[name]": $scope.new_name
        "person[age]": $scope.new_age
        "person[memo]": $scope.new_memo

      Api.postPeople(obj).then (res) ->
        $scope.results.push res.data
        clearInput()

    $scope.doDelete = (index) ->
      Api.deletePeople($scope.results[index].id).then (res) ->
        $scope.results.splice index, 1

    $scope.awesomeThings = [
      'HTML5 Boilerplate'
      'AngularJS'
      'Karma'
    ]
]
これまでのファイルを読み込む設定をするテンプレート
project_root/client/app/index.html
        <!-- build:js({.tmp,app}) scripts/scripts.js -->
        <script src="scripts/app.js"></script>
        <script src="scripts/services/api.js"></script>
        <script src="scripts/controllers/main.js"></script>
        <script src="scripts/controllers/about.js"></script>
        <!-- endbuild -->
どうやら
←それぞれのviewファイルで読み込んでいるようですね。ちゃんとリファレンス読んだので多分合ってる。view
project_root/app/views/main.html
<div class="container">
    <table class="table table-striped">
        <thead>
            <tr>
                <th>名前</th>
                <th>年齢</th>
                <th>メモ</th>
                <th></th>
            </tr>
        </thead>
        <tbody>
            <tr ng-repeat="result in results">
                <td>{{result.name}}</td>
                <td>{{result.age}}</td>
                <td>{{result.memo}}</td>
                <td align="right"><button class="btn btn-danger" ng-click="doDelete($index)">削除</button></td>
            </tr>
            <tr>
                <td><input type="text" class="form-control" ng-model="new_name"></td>
                <td><input type="text" class="form-control" ng-model="new_age"></td>
                <td><input type="text" class="form-control" ng-model="new_memo"></td>
                <td align="right"><button class="btn btn-primary" ng-click="doPost()">追加</button></td>
            </tr>
        </tbody>
    </table>
</div>
vagrantでgrunt serveのconnectをするときのhostnameの工夫
こうなってるのを
Running "connect:livereload" (connect) task
Started connect web server on http://localhost:9000
こうしたい
Running "connect:livereload" (connect) task
Started connect web server on http://0.0.0.0:9000
まずGruntfileをいじる
    // The actual grunt server settings
    connect: {
      options: {
        port: 9000,
        // Change this to '0.0.0.0' to access the server from outside.
        //hostname: 'localhost',
        hostname: '0.0.0.0',
        livereload: 35729
      },
ちゃんとコメントに書いてありますね。
そうします。
そしてVagrantfileでport forwardして
  #config.vm.network :forwarded_port, guest: 9000, host: 9999 #if grunt in local had this port
  config.vm.network :forwarded_port, guest: 9000, host: 9000
  #config.vm.network :forwarded_port, guest: 35729, host: 35729 #if grunt in local had this port
  config.vm.network :forwarded_port, guest: 35729, host: 99999

  # Create a private network, which allows host-only access to the machine
  # using a specific IP.
  config.vm.network "private_network", ip: "192.168.33.18"
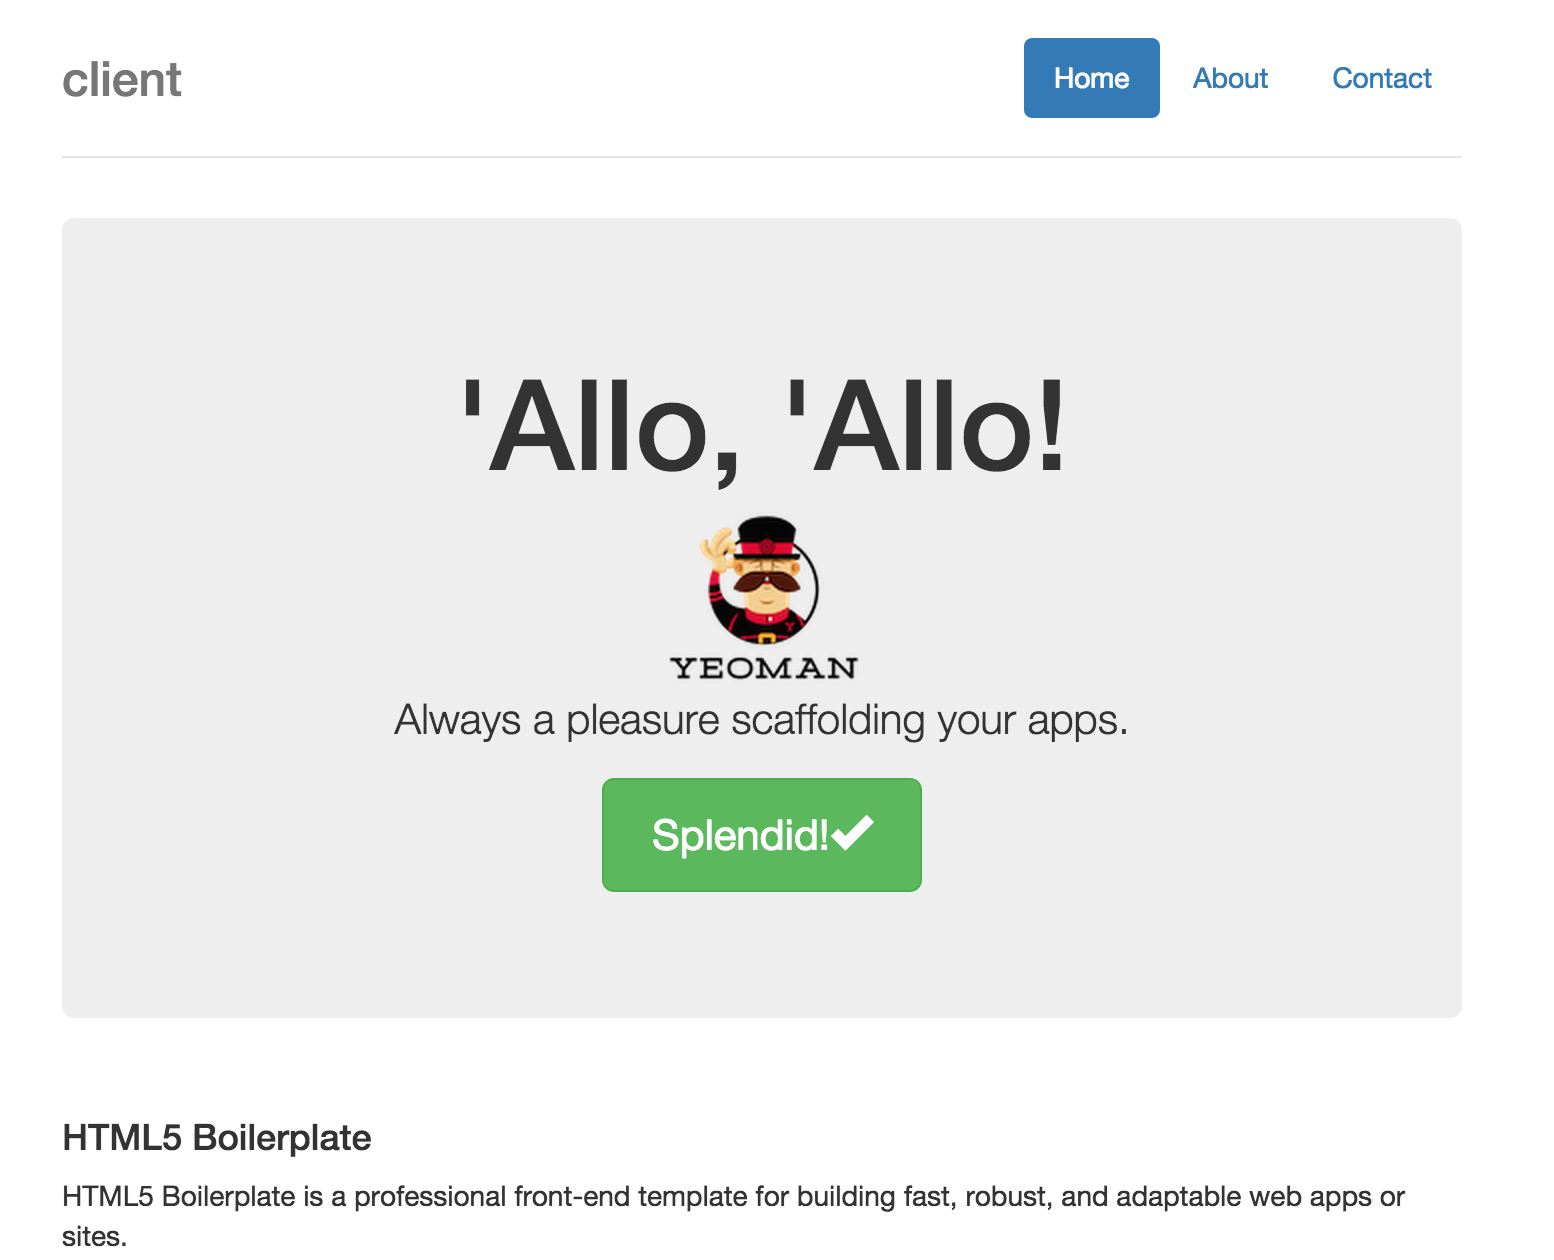
そうすると、
Vagrantfileに記載されているhttp://{ip}:9000でAngularの、というかYeomanのデフォルト画面が表示されます。
これで
Rails: {ip}:3000
Angular: {ip}:9000
でアクセスができます。
フロント側のサーバーを起動
$ grunt serve
これでそれっぽいのが表示されるはず。
Herokuに上げる
Gruntを使いますが、その辺は一旦割愛します。
とりあえずココらへんを参考にするといいかもしれません。
$ grunt build
これでJavaScript系のファイルが一旦/public以下にuglify, minifyなどされた上で移動します。
というのも、ローカルではRails用のサーバー(http://x.x.x.x:3000) とAngular用のサーバー(http://x.x.x.x:9000) が上がってますが、Herokuでは(他のサーバーでも概ねそうだと思いますが)立ち上げるサーバーはRails用のみです。(別にフロントのファイルを別サバに持って行ってもいいと思いますが、)
なので、フロントのデータはCompileしておいて、public以下において、適宜アクセスしてもらうというわけです。
Compileのタイミングについてはtba.
であとは、herokuのサイトでアプリの枠を作って、鍵を登録したりして、ローカルでgitで登録するだけです。
todo
- OnsenUIやionicを適応させる
- ちゃんとViewを作る
- deviseでメール・SNS認証させる
- ちゃんとGrapeに統一してApiを書く
- 遷移とかURLをちゃんとする
- SEOをちゃんとする
おもにちゃんとするってかんじです。
References
- http://www.absolute-keitarou.net/blog/?p=835
- http://qiita.com/hkusu/items/b34f684b49751d9c9abd
- http://www.angularonrails.com/deploy-angular-rails-single-page-application-heroku/
- http://qiita.com/icb54615/items/e5d4db164c5002e4b183
- http://unchainmyheart.hatenablog.com/entry/2014/05/25/203828
- http://albatrosary.hateblo.jp/entry/2014/12/04/080529