この記事は、未来の自分への記録になります。他の人へわかりやすく解説するものではありませんが、参考になれば幸いです。さて、普段のアプリはお絵描きアプリなどクライアント側で完結しているものが、大半でサーバーにアクセスの必要があっても、URLなどでAPIがすで決まっていていて、それを使うだけのアプリばかりやっていました。今回、サーバー側も手をださないといけなくなり、泣きそうになりながら試行錯誤をつづけています。AWSのAssmeRowは本当に苦労しているので、自分なりのメモを残しておきたいとおもいます。
今回は、不特定多数のユーザーがコンテンツを取得する為にAWSのS3からコンテンツをダウンロードしてえつらんするようなシナリオを想定しています。
前提条件
AWSでルートアカウントを所持し、AWS CLI を root ユーザーでconfigureしてある事、AWSコンソールからrootでログインできる事を前提とします。AWS CLIのインストール有無は以下で確認できます。
$ aws --version
aws-cli/2.15.38 Python/3.11.8 Darwin/23.5.0 exe/x86_64 prompt/off
インストールされていない場合は以下のURLから、インストールそしてConfigureをしてください。
Hello App
今回は検証用の環境を構築する為、AWS内に後で分別の難しくなるようなリソースが沢山できる事を防ぐ為、「Hello」を使用するものとします。
Create User
AWSコンソール
IAM > Users から Create User を選びます。アプリ自体がユーザーになる事を想定しています。パミッションなどは与えず、このままではアクセスできるリソースが全くないユーザを作成します。
-
Add user to groupを選ぶ -
Create Userを選ぶ
Userができたら確認しましょう。
Create Bucket
S3のBucketを作成します。bucket名は自分だけでなく、AWS全体でユーニークの名前なので、hello-bucketとか単純な名前は先約があるので、少し苦労が必要です。今回はhello-app-bucketの名前で取れました。
Bucketが作成できたら。確認します。
Role を作成
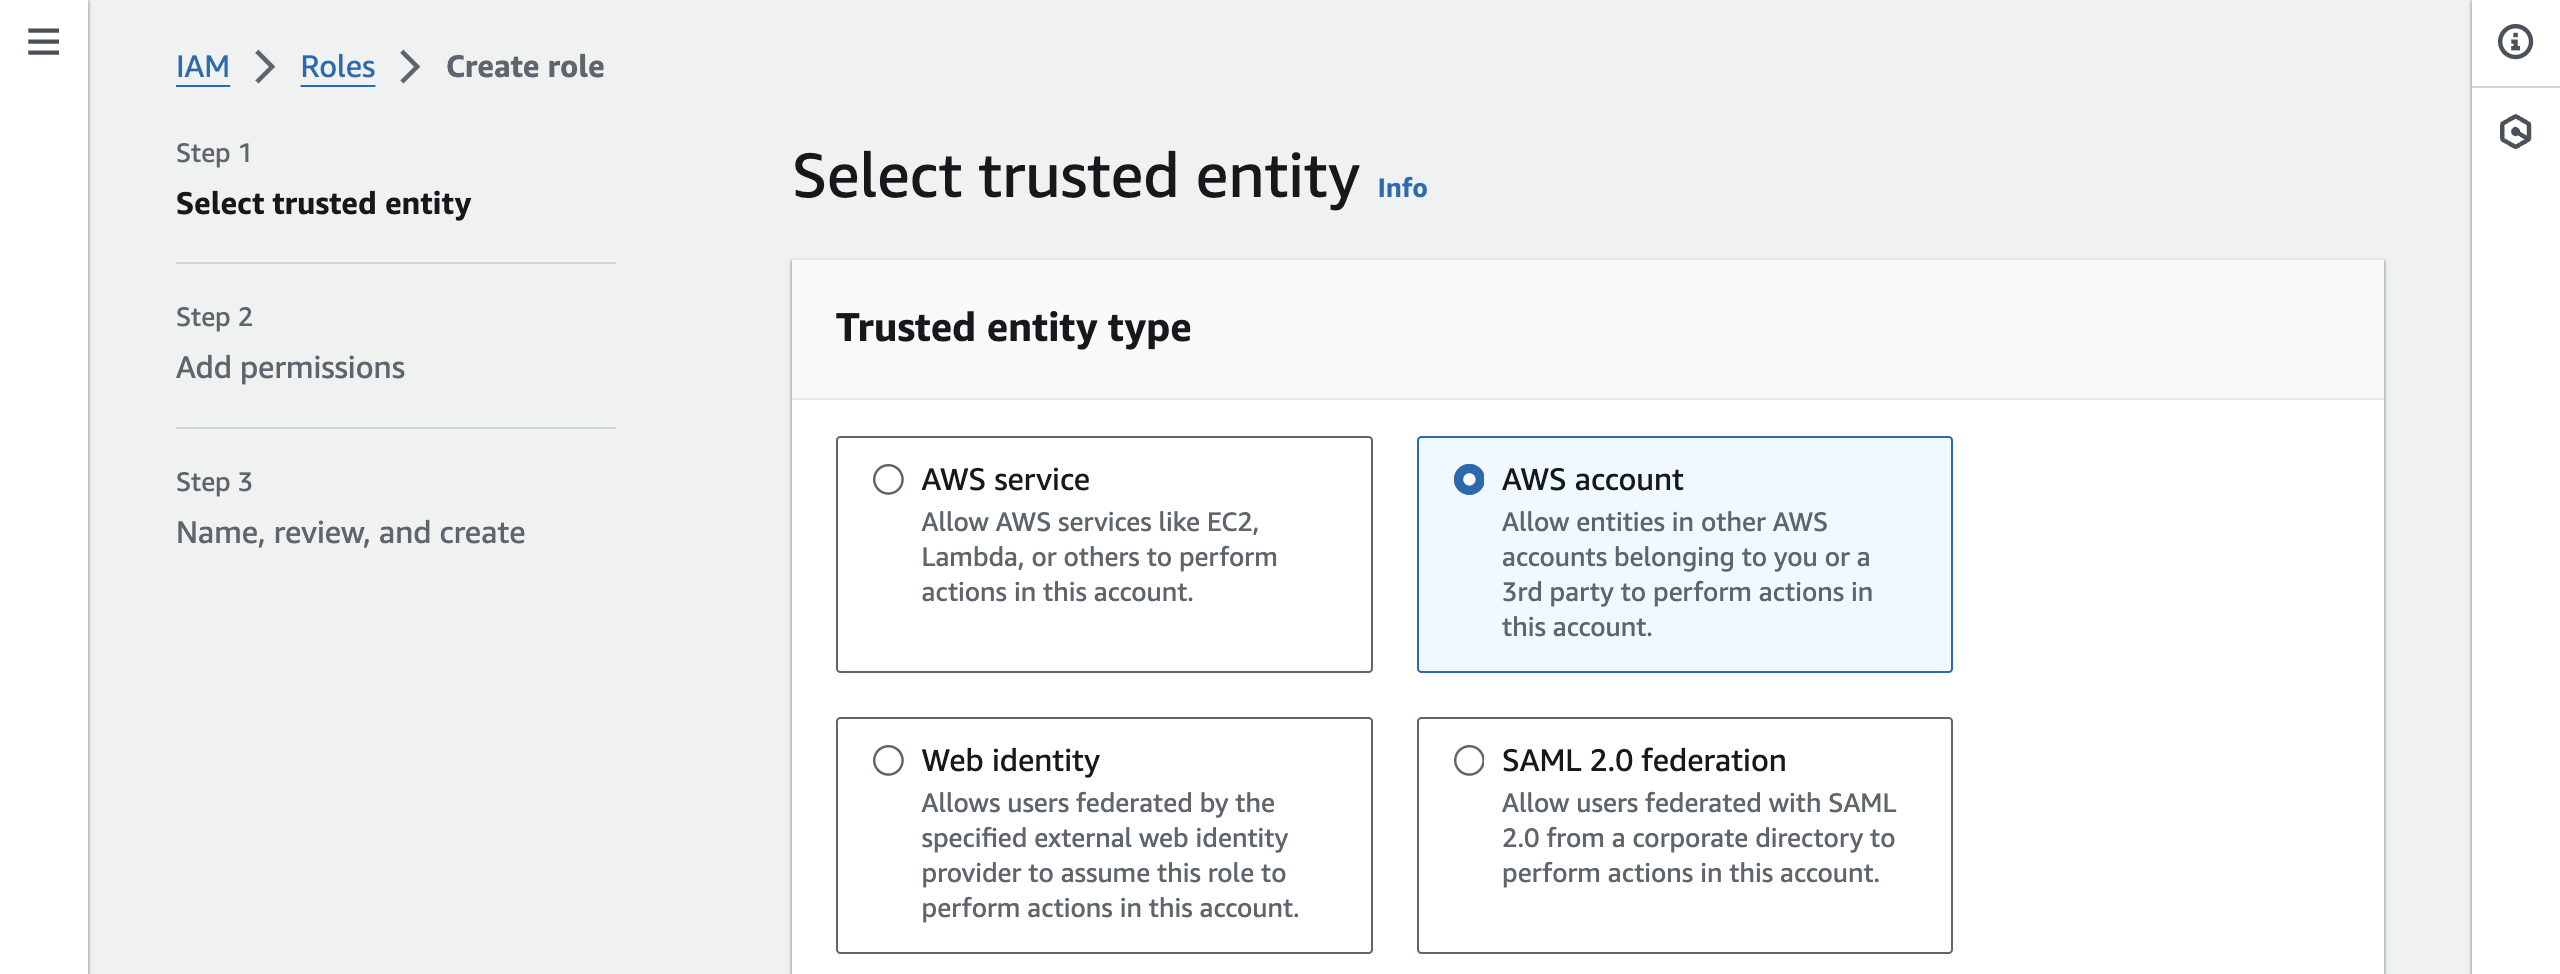
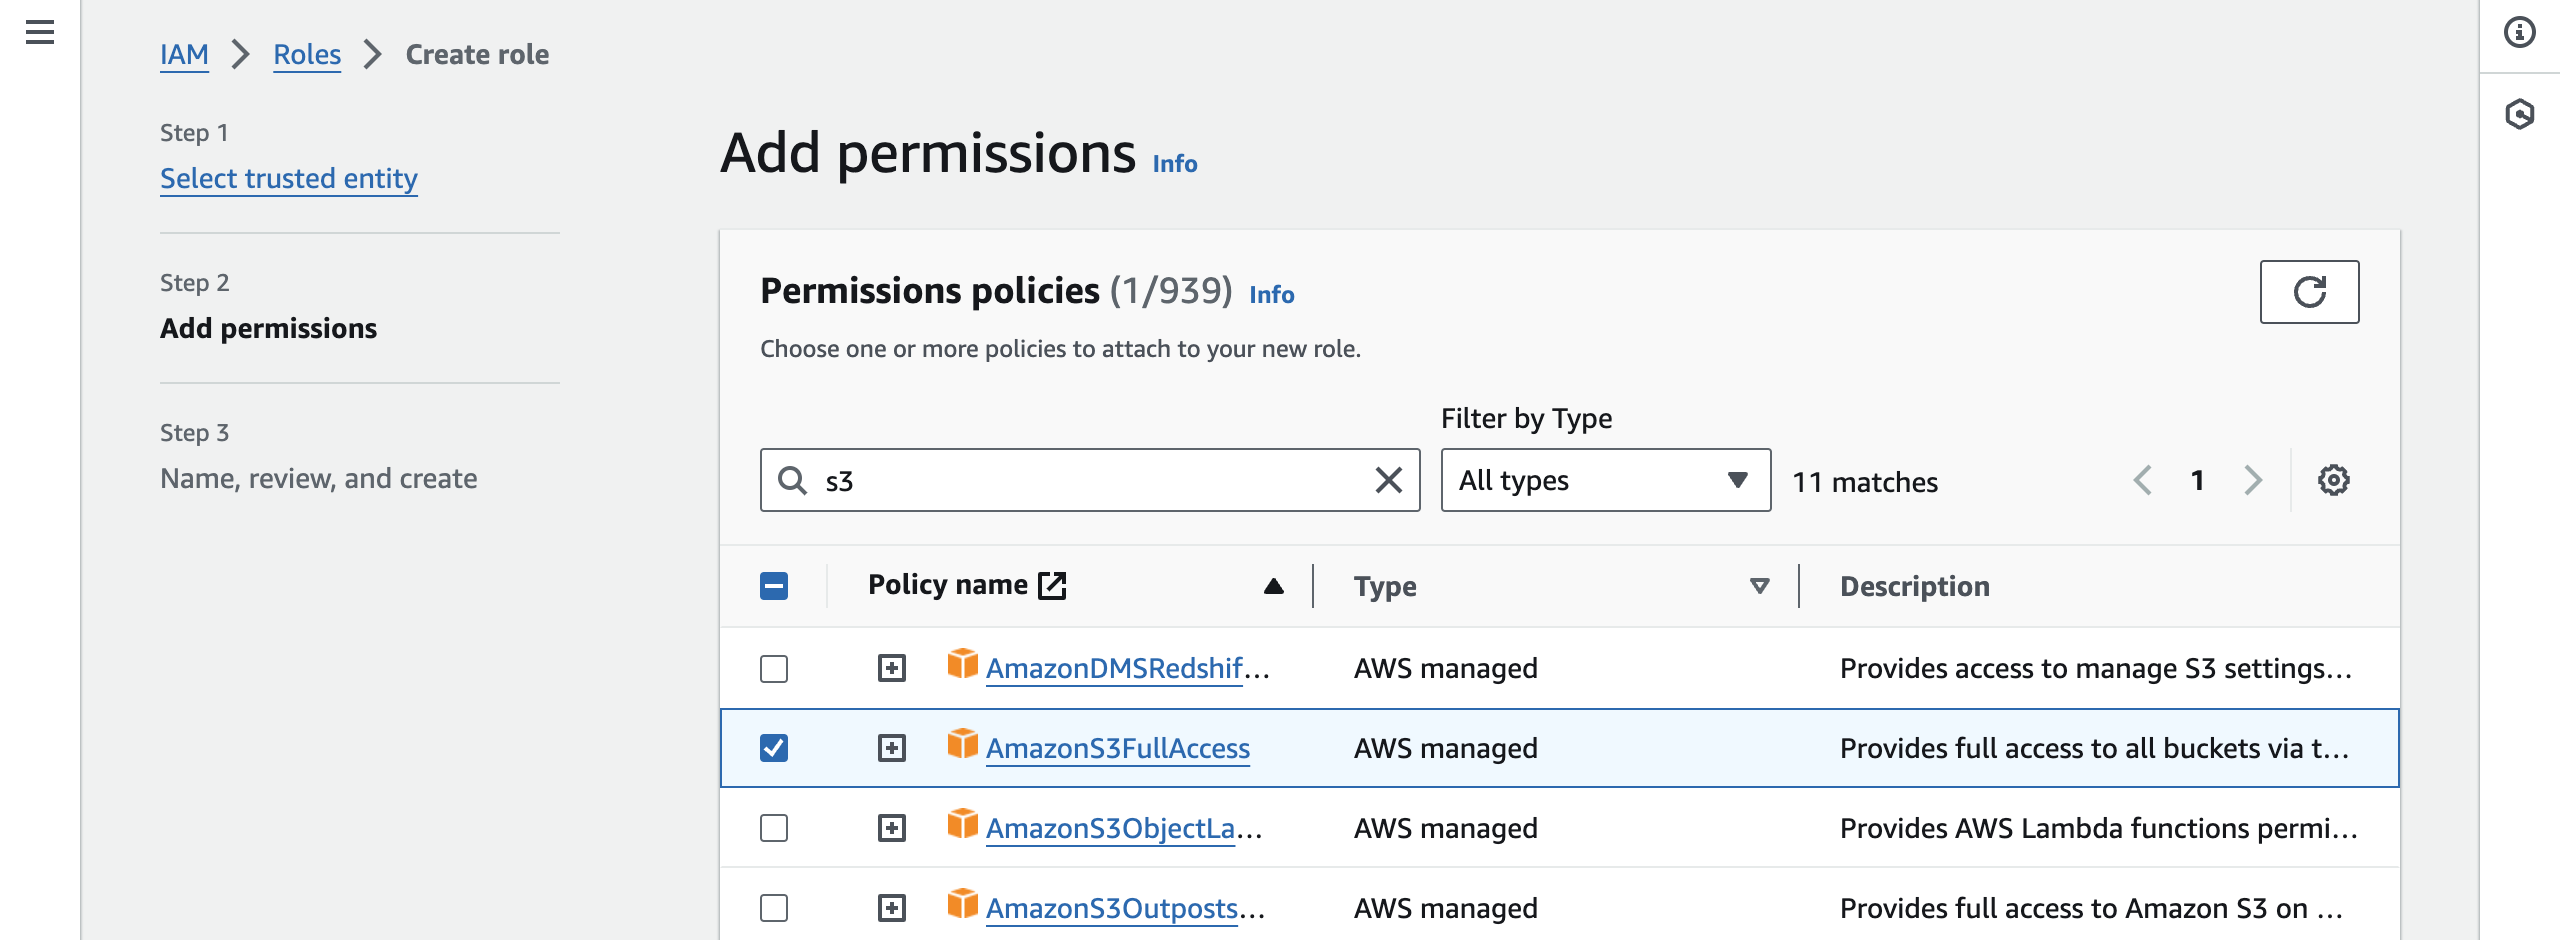
次にRoleを作成します。IAM > Roles でCreate Roleを選びます。そしてAWS accountを選びます。
User に Role を Attcach
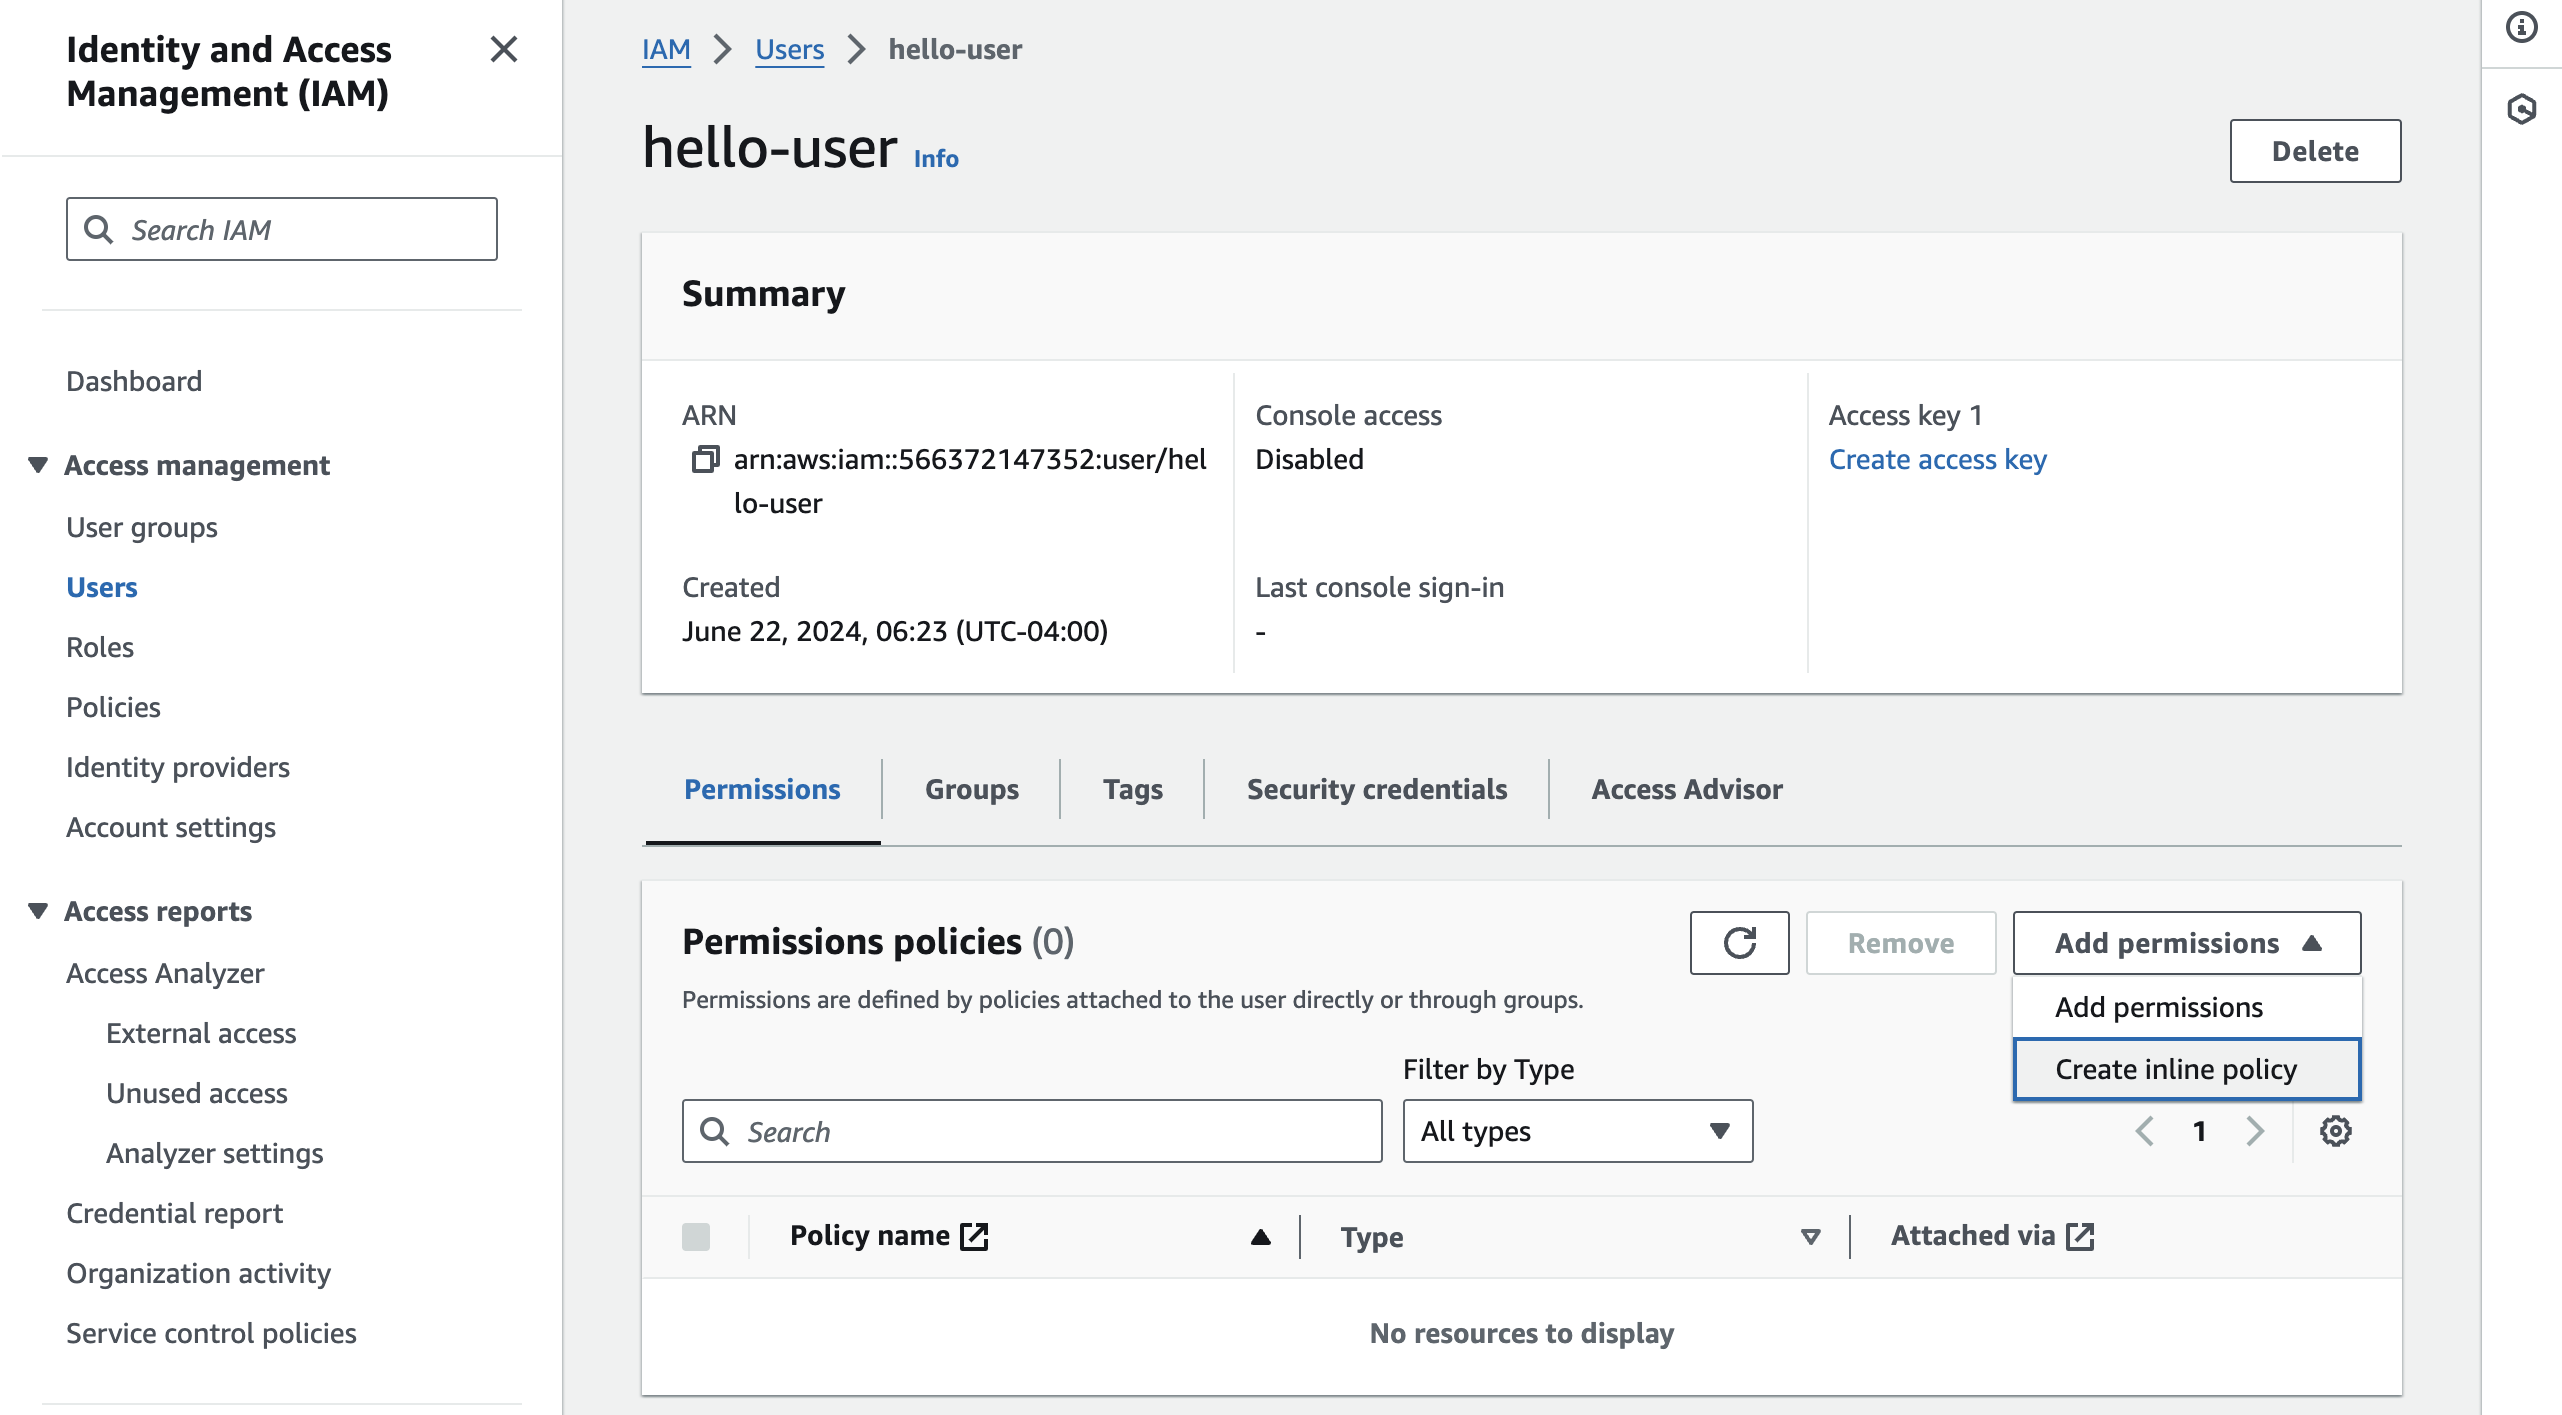
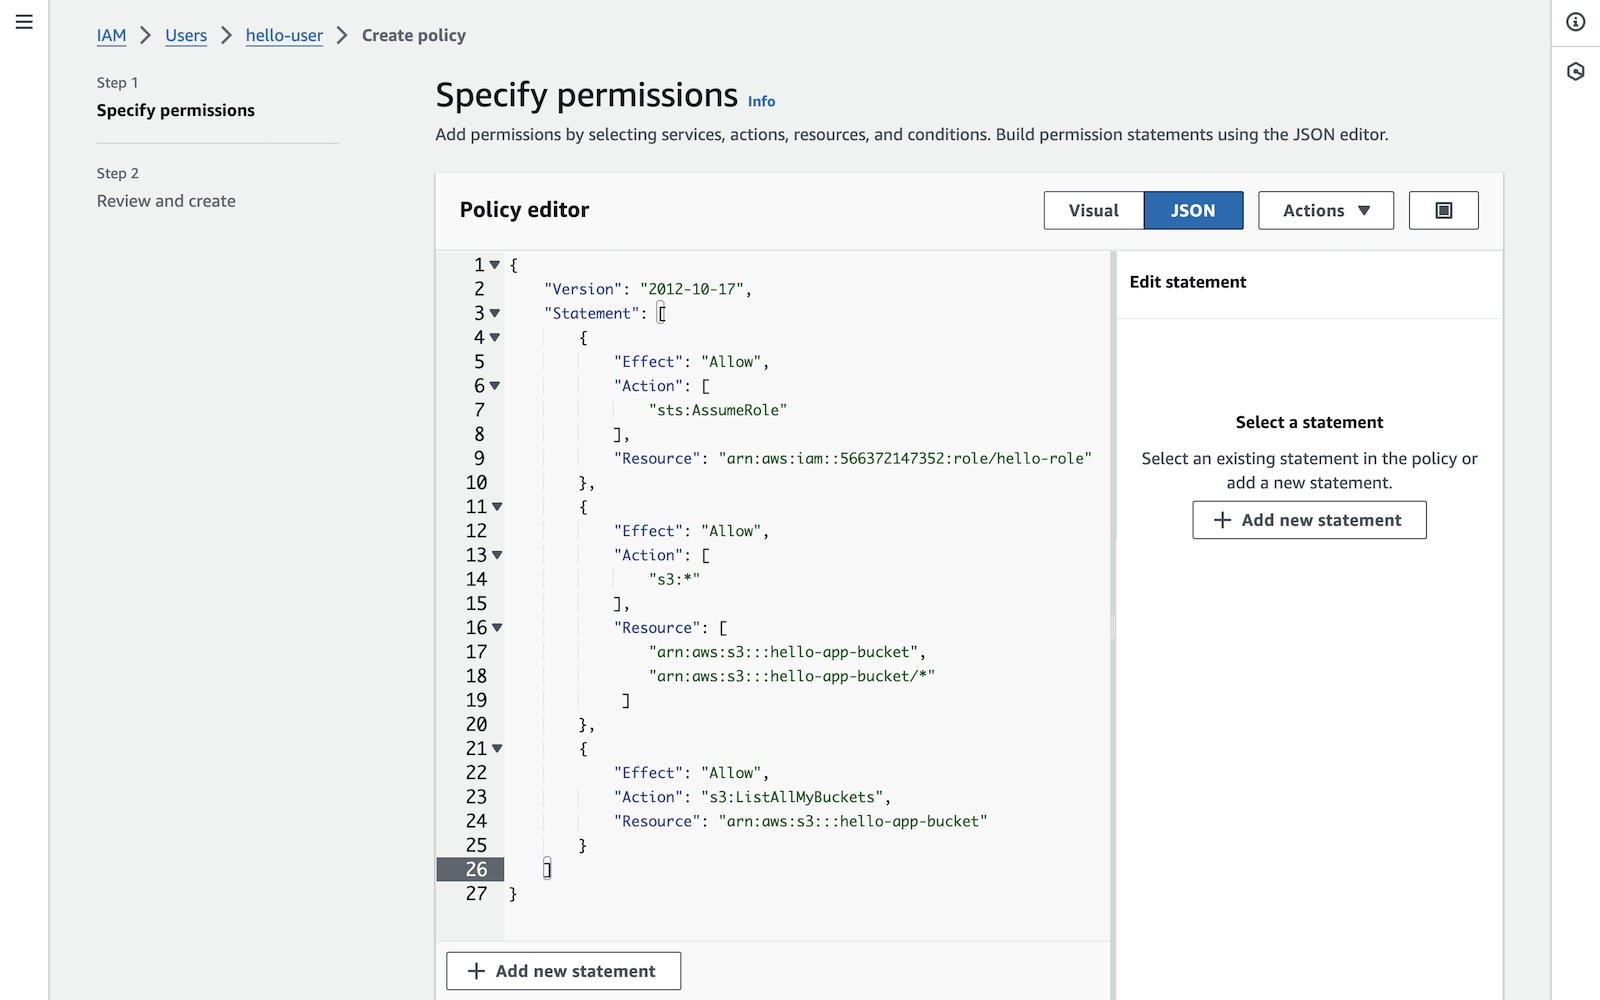
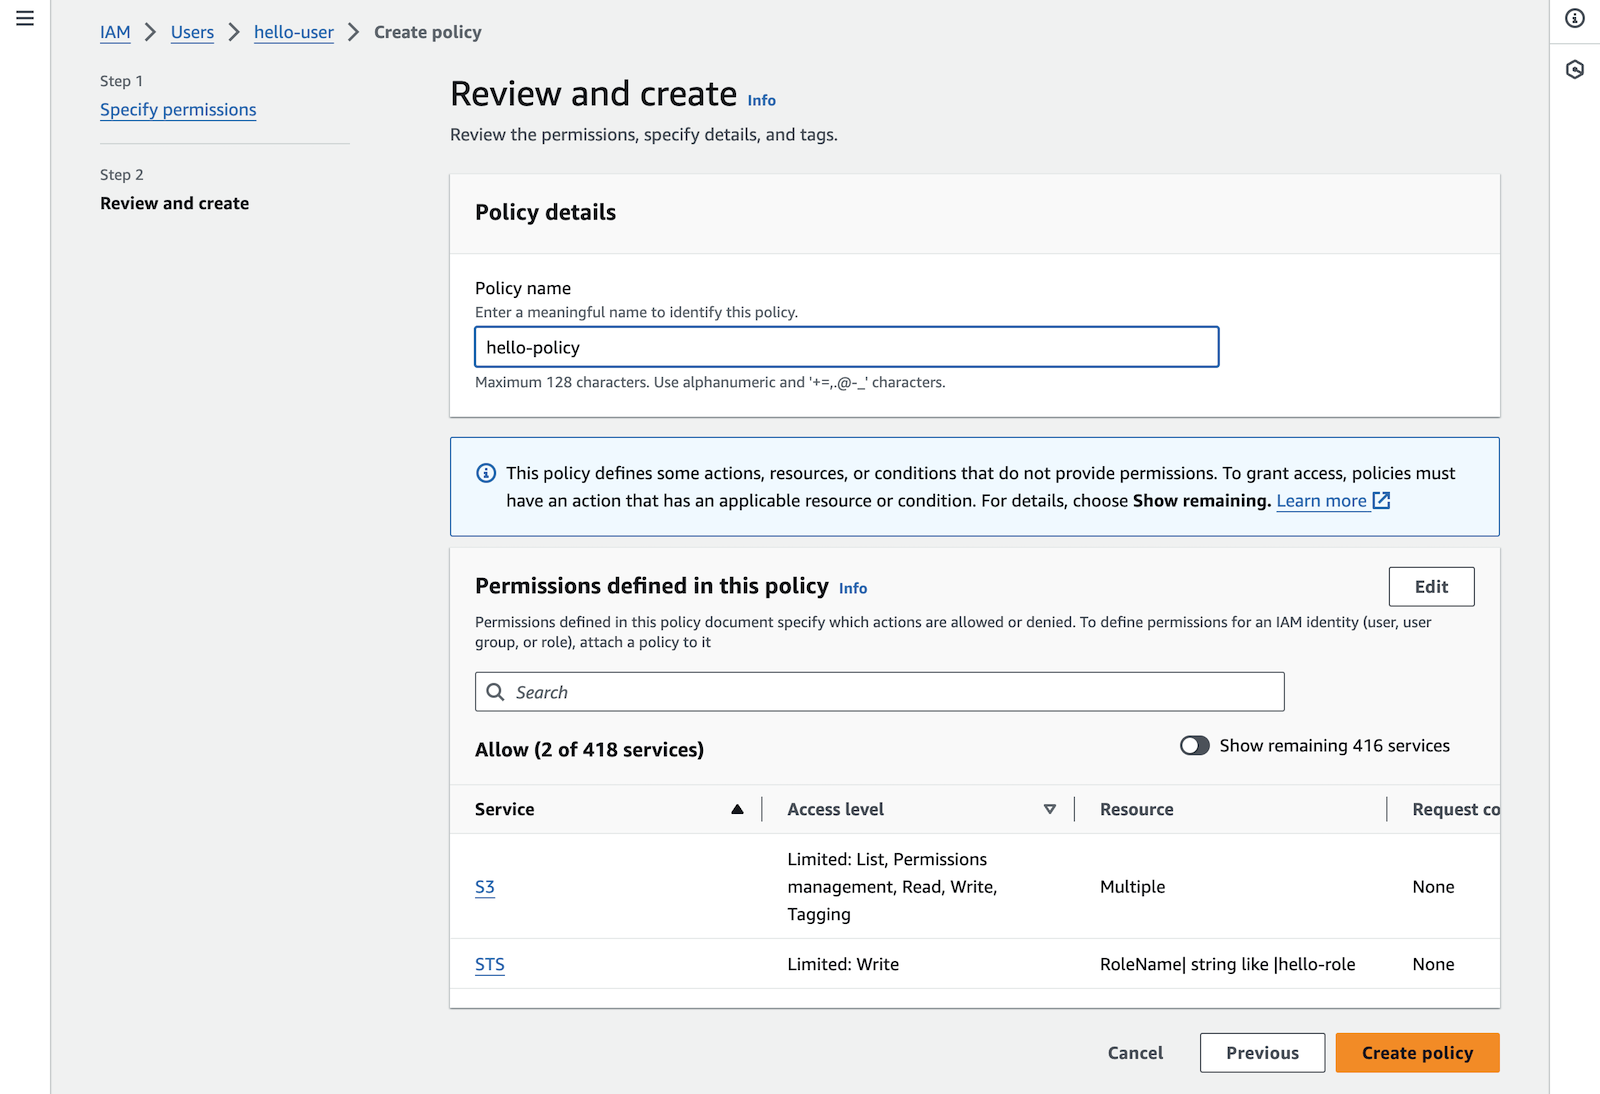
User > Permissions > Add permissionsからCreate inline policyを選びます。
{
	"Version": "2012-10-17",
	"Statement": [
		{
			"Effect": "Allow",
			"Action": [
				"sts:AssumeRole"
			],
			"Resource": "arn:aws:iam::566372147352:role/hello-role"
		},
		{
			"Effect": "Allow",
			"Action": [
				"s3:*"
			],
			"Resource": [
			    "arn:aws:s3:::hello-app-bucket",
			    "arn:aws:s3:::hello-app-bucket/*"
			 ]
		},
		{
		    "Effect": "Allow",
			"Action": "s3:ListAllMyBuckets",
			"Resource": "arn:aws:s3:::hello-app-bucket"
		}
	]
}
hello-policyと命名する事にします。
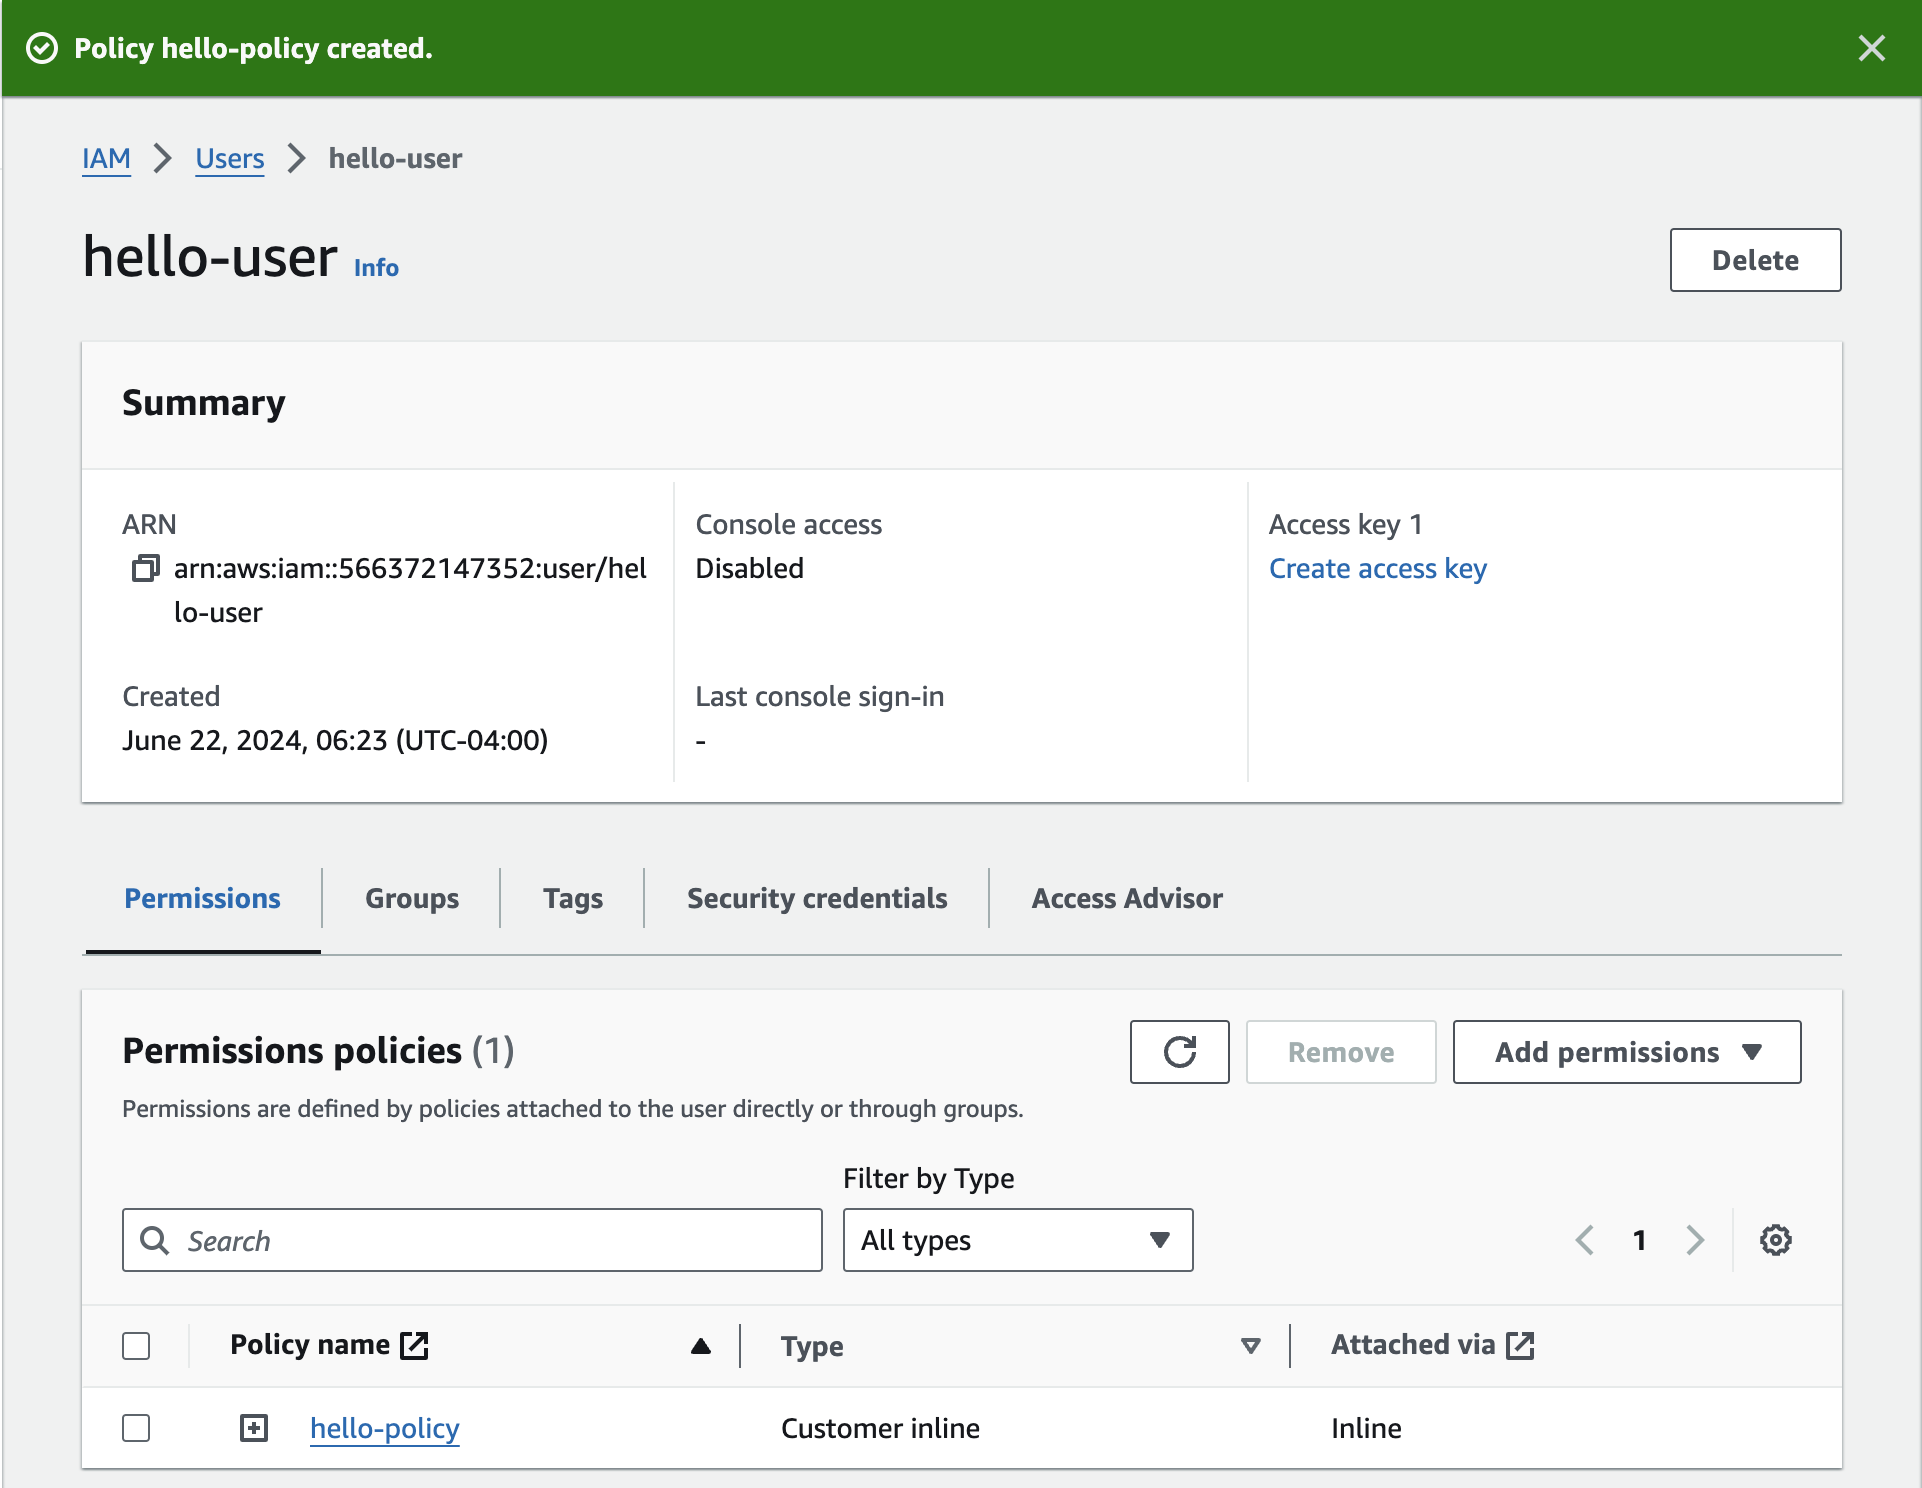
hello-policyが追加されている事を確認します。
ちなみに、inlineで付与したhello-policyはIAM > Access management > Policiesの一覧にないので、自分は、作った筈のPolicyが見つからなくて焦りました。
簡易確認
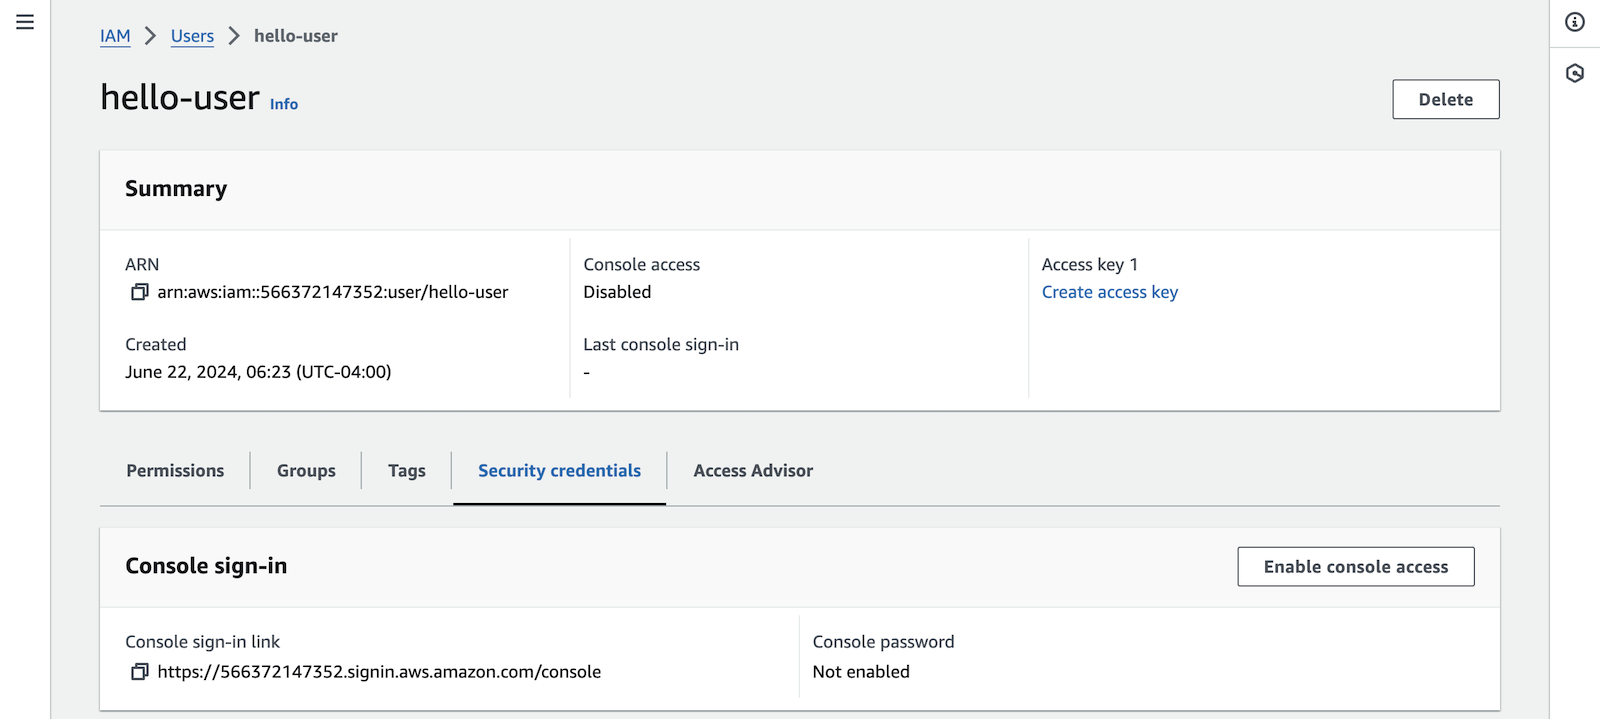
AssumeRoleのアクセス権を軽くテストしてみたいと思います。IAM > Users > Console sign-inから、Enable console accessを選びます。
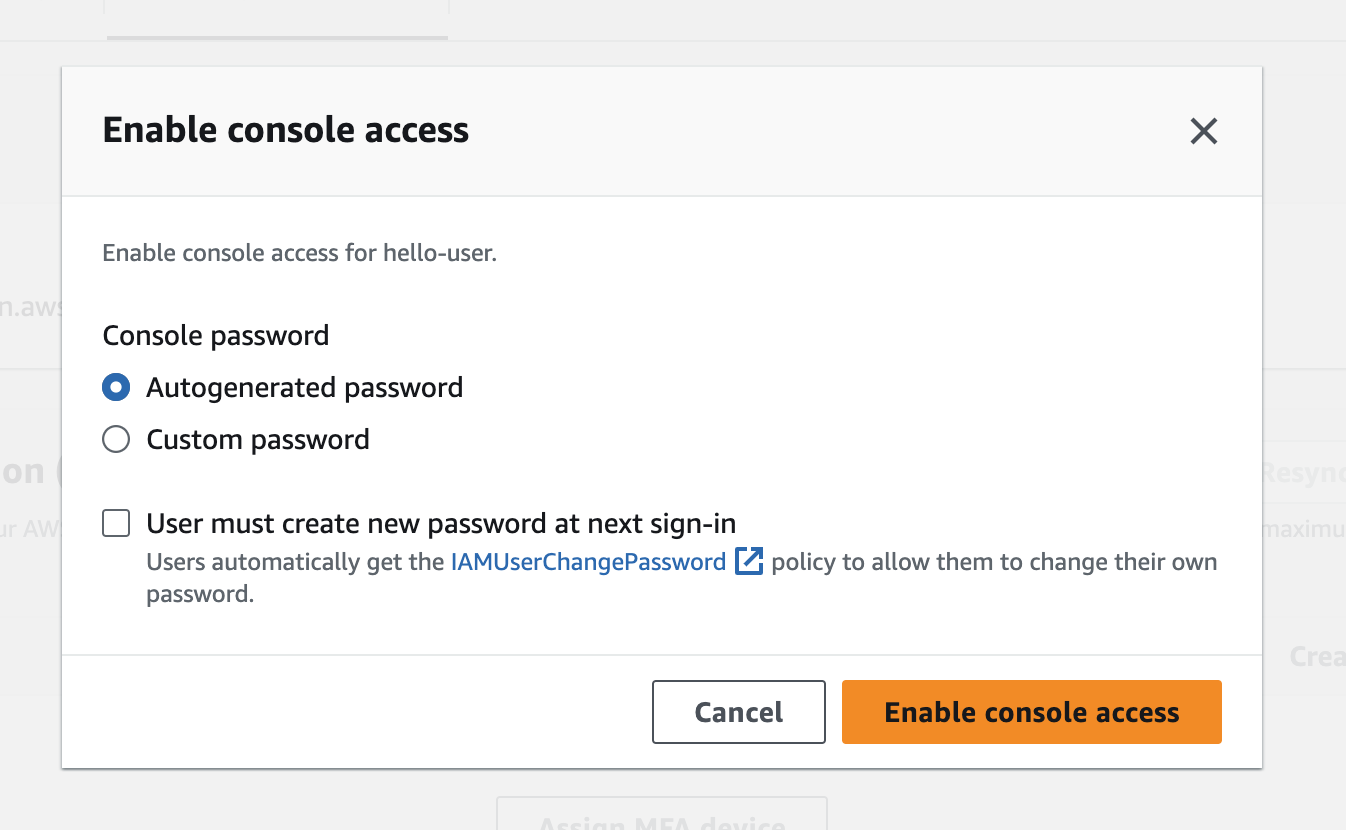
パスワードを設定します。今回はAutogenerated passwordを選びました。
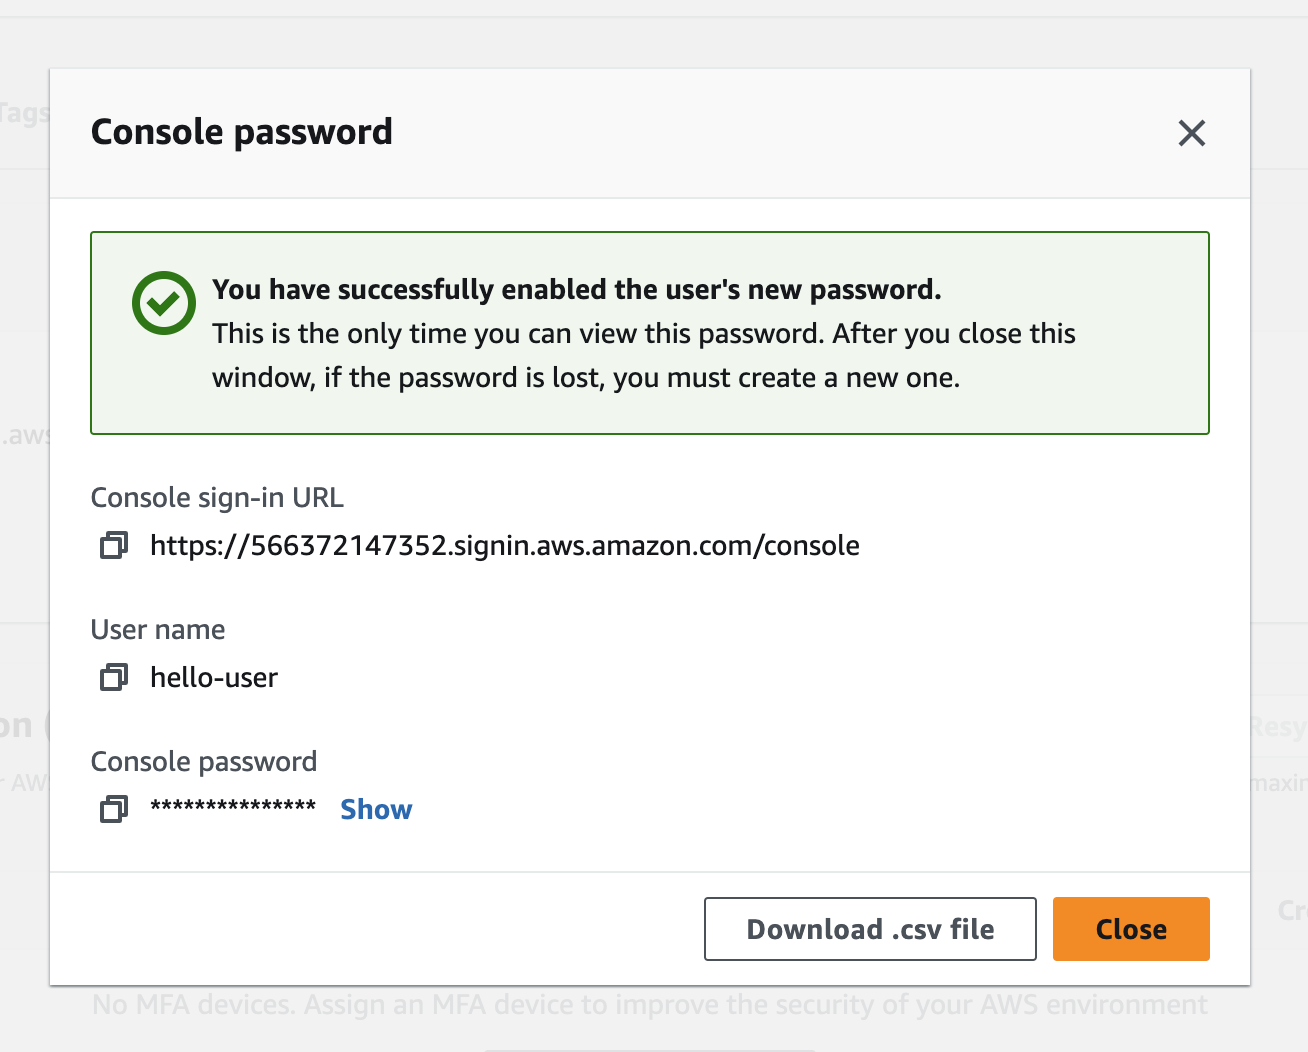
その場合、passwordを忘れずに保存します。Console sign-in linkもメモしておきます。
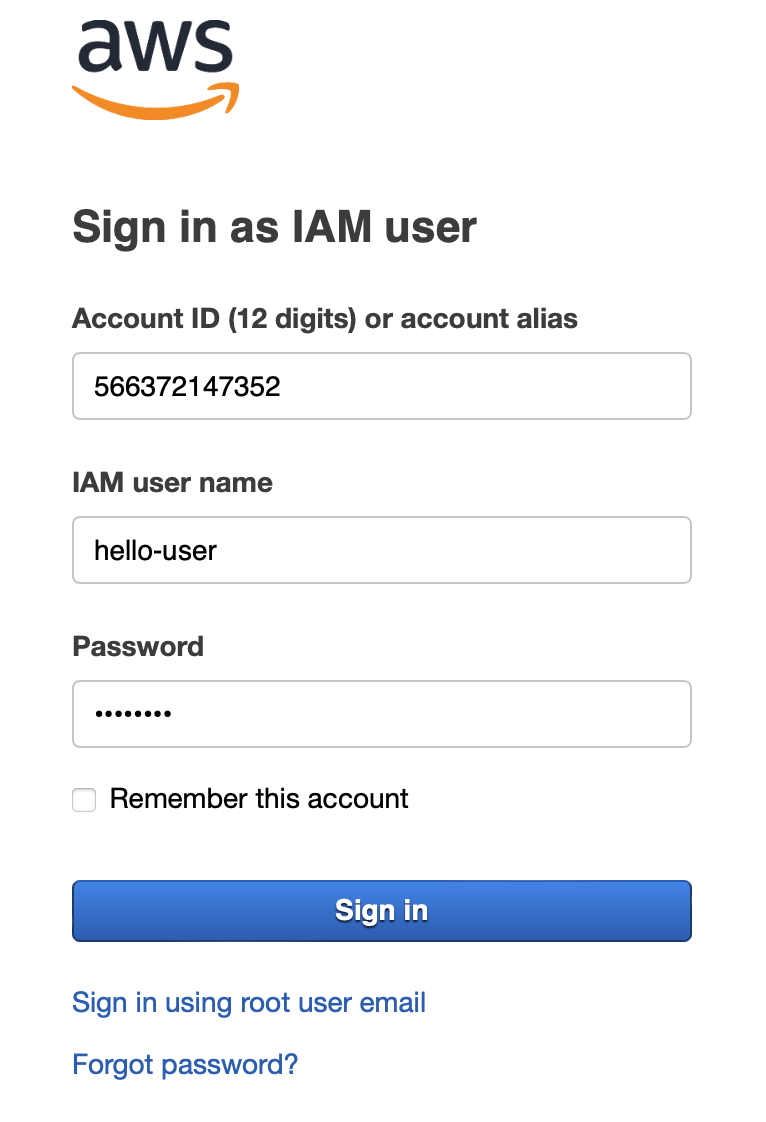
ブラウザから先ほどのConsole sign-in linkをたどり、ログインします。同じブラウザだと、rootユーザーでログイン状態である為、自分はAWS Consoleを扱うブラウザとは異なるブラウザでhello-userのログインを行いました。
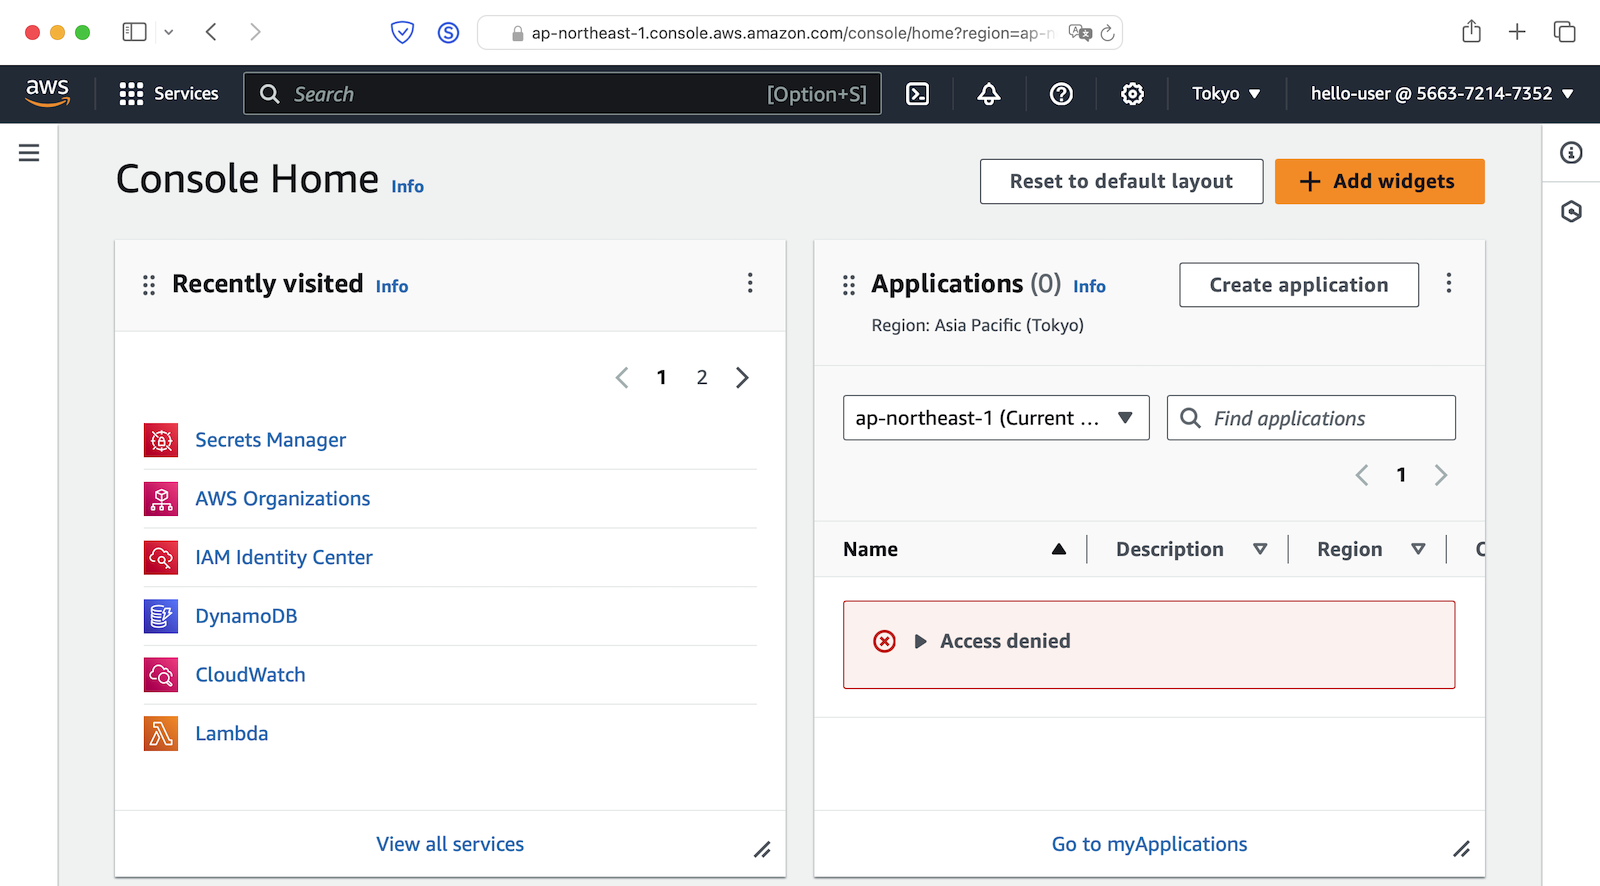
右上のログインユーザーがhello-userになっている事を確認します。
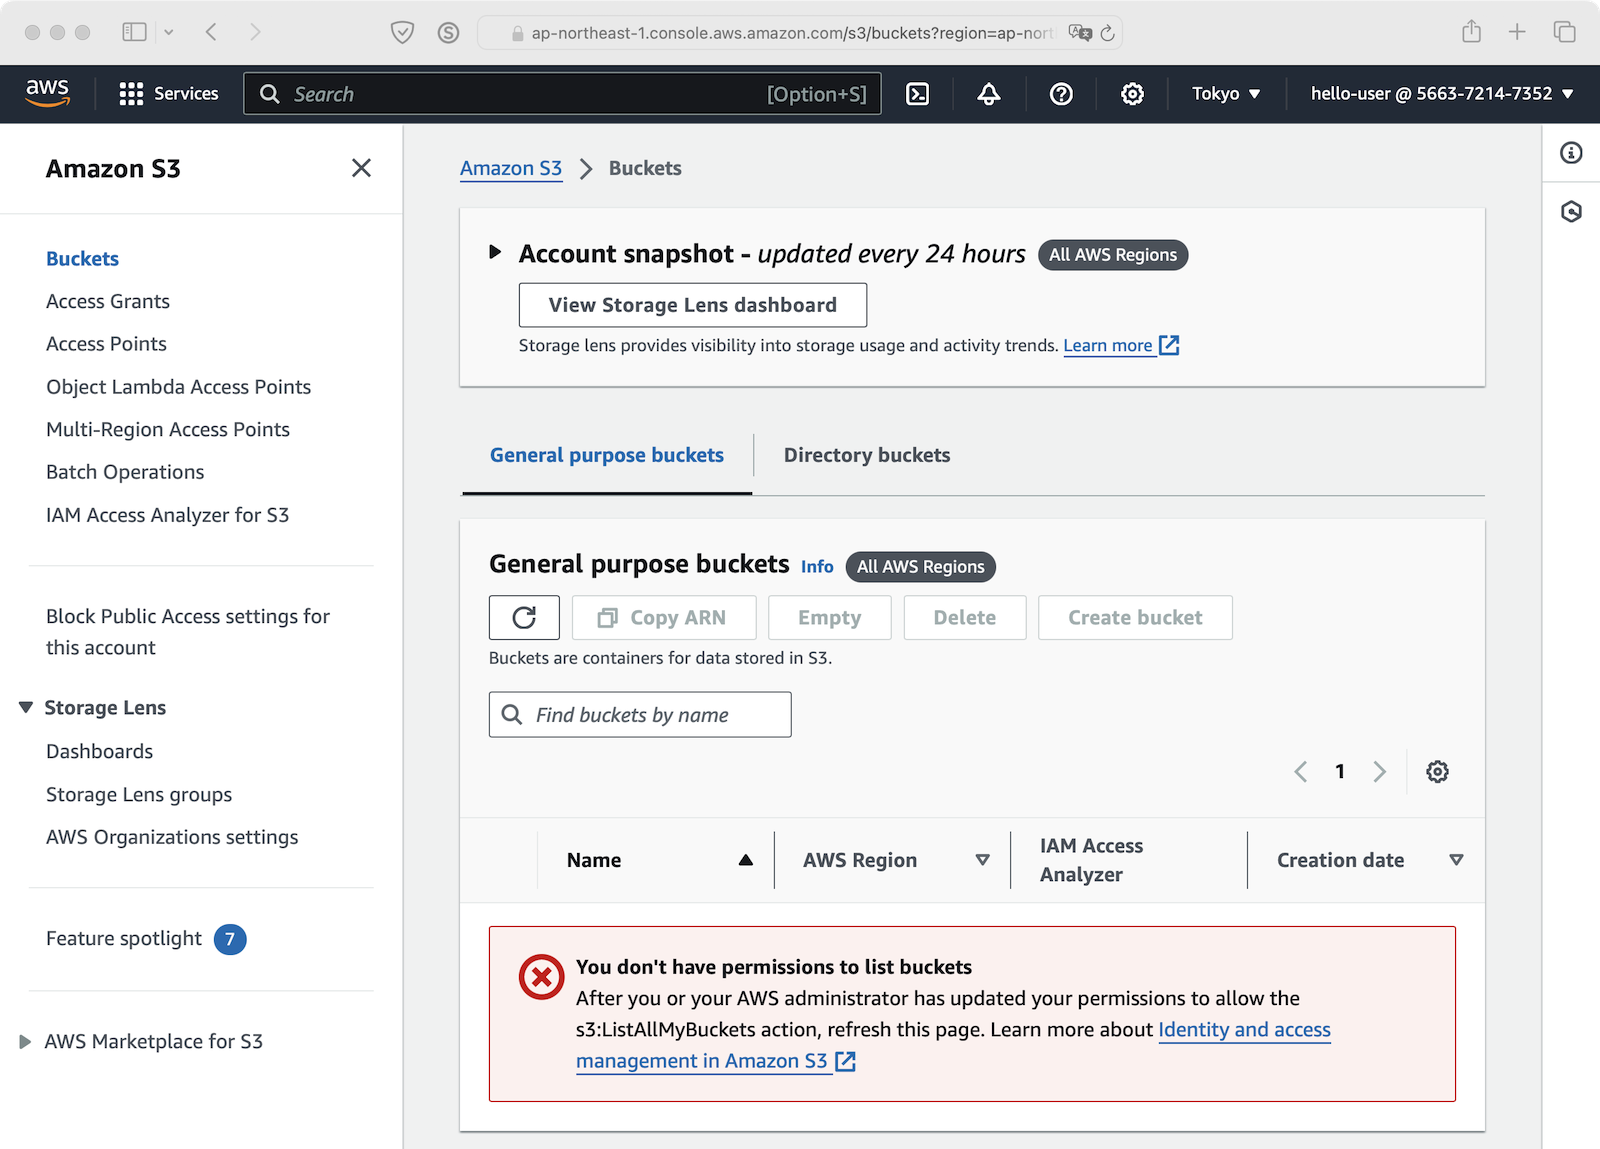
Amazone S3 > Bucketsを選ぶとYou don't have permissions to list bucketsとなります。そうです。hello-userはログイン以外アクセス権を何も持たないユーザーだからです。
今度はAssumeRoleを試してみましょう。再度IAM > Roleからhello-roleを選びます。そして、Link to switch roles in consoleのURLをコピーします。
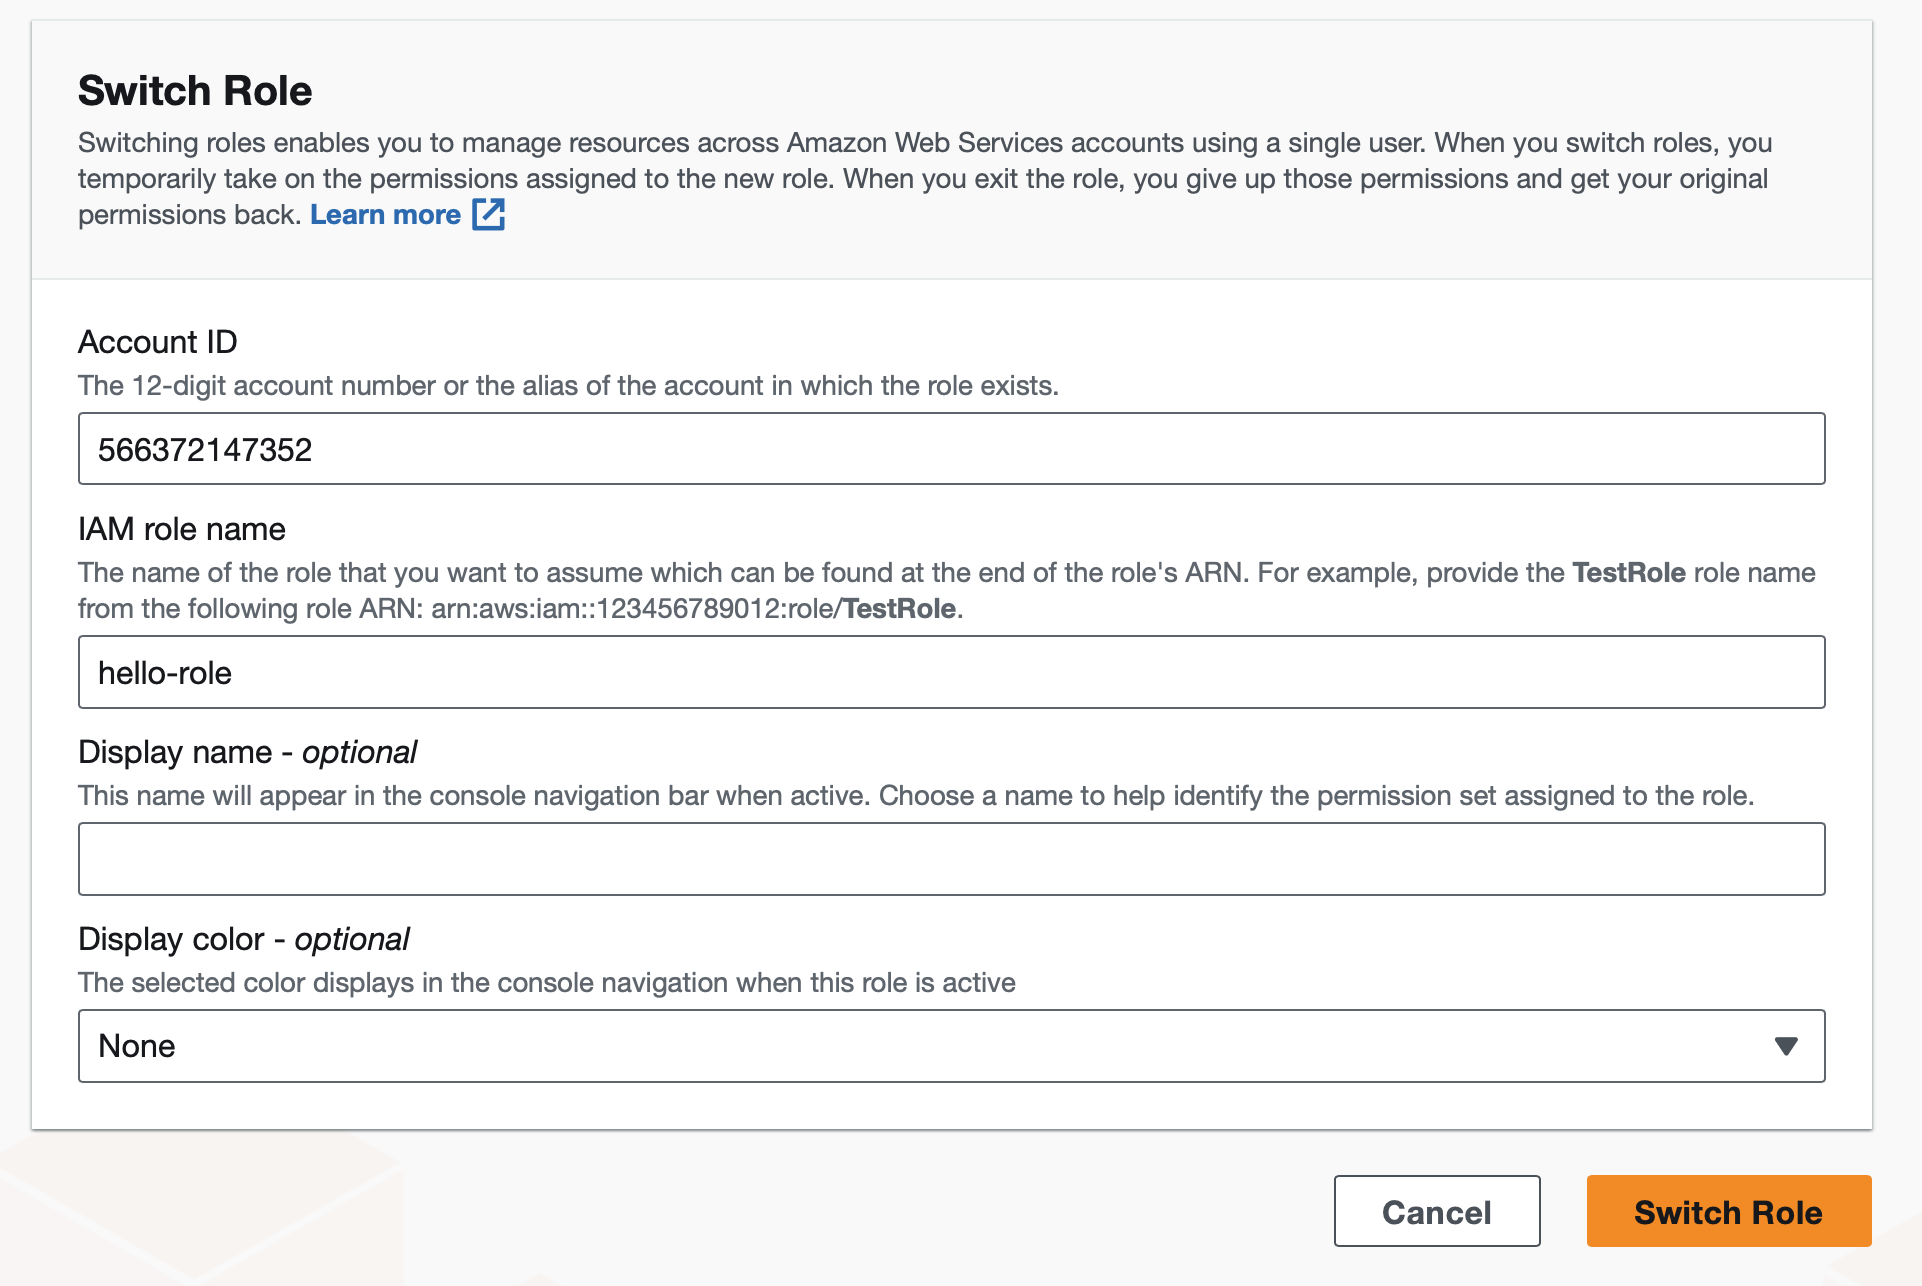
そして、hello-userとしてログイン済みのブラウザから、Link to switch roles in consoleのURLを叩くと、Switch Roleの確認画面がでるので、Switch Roleを選びます。
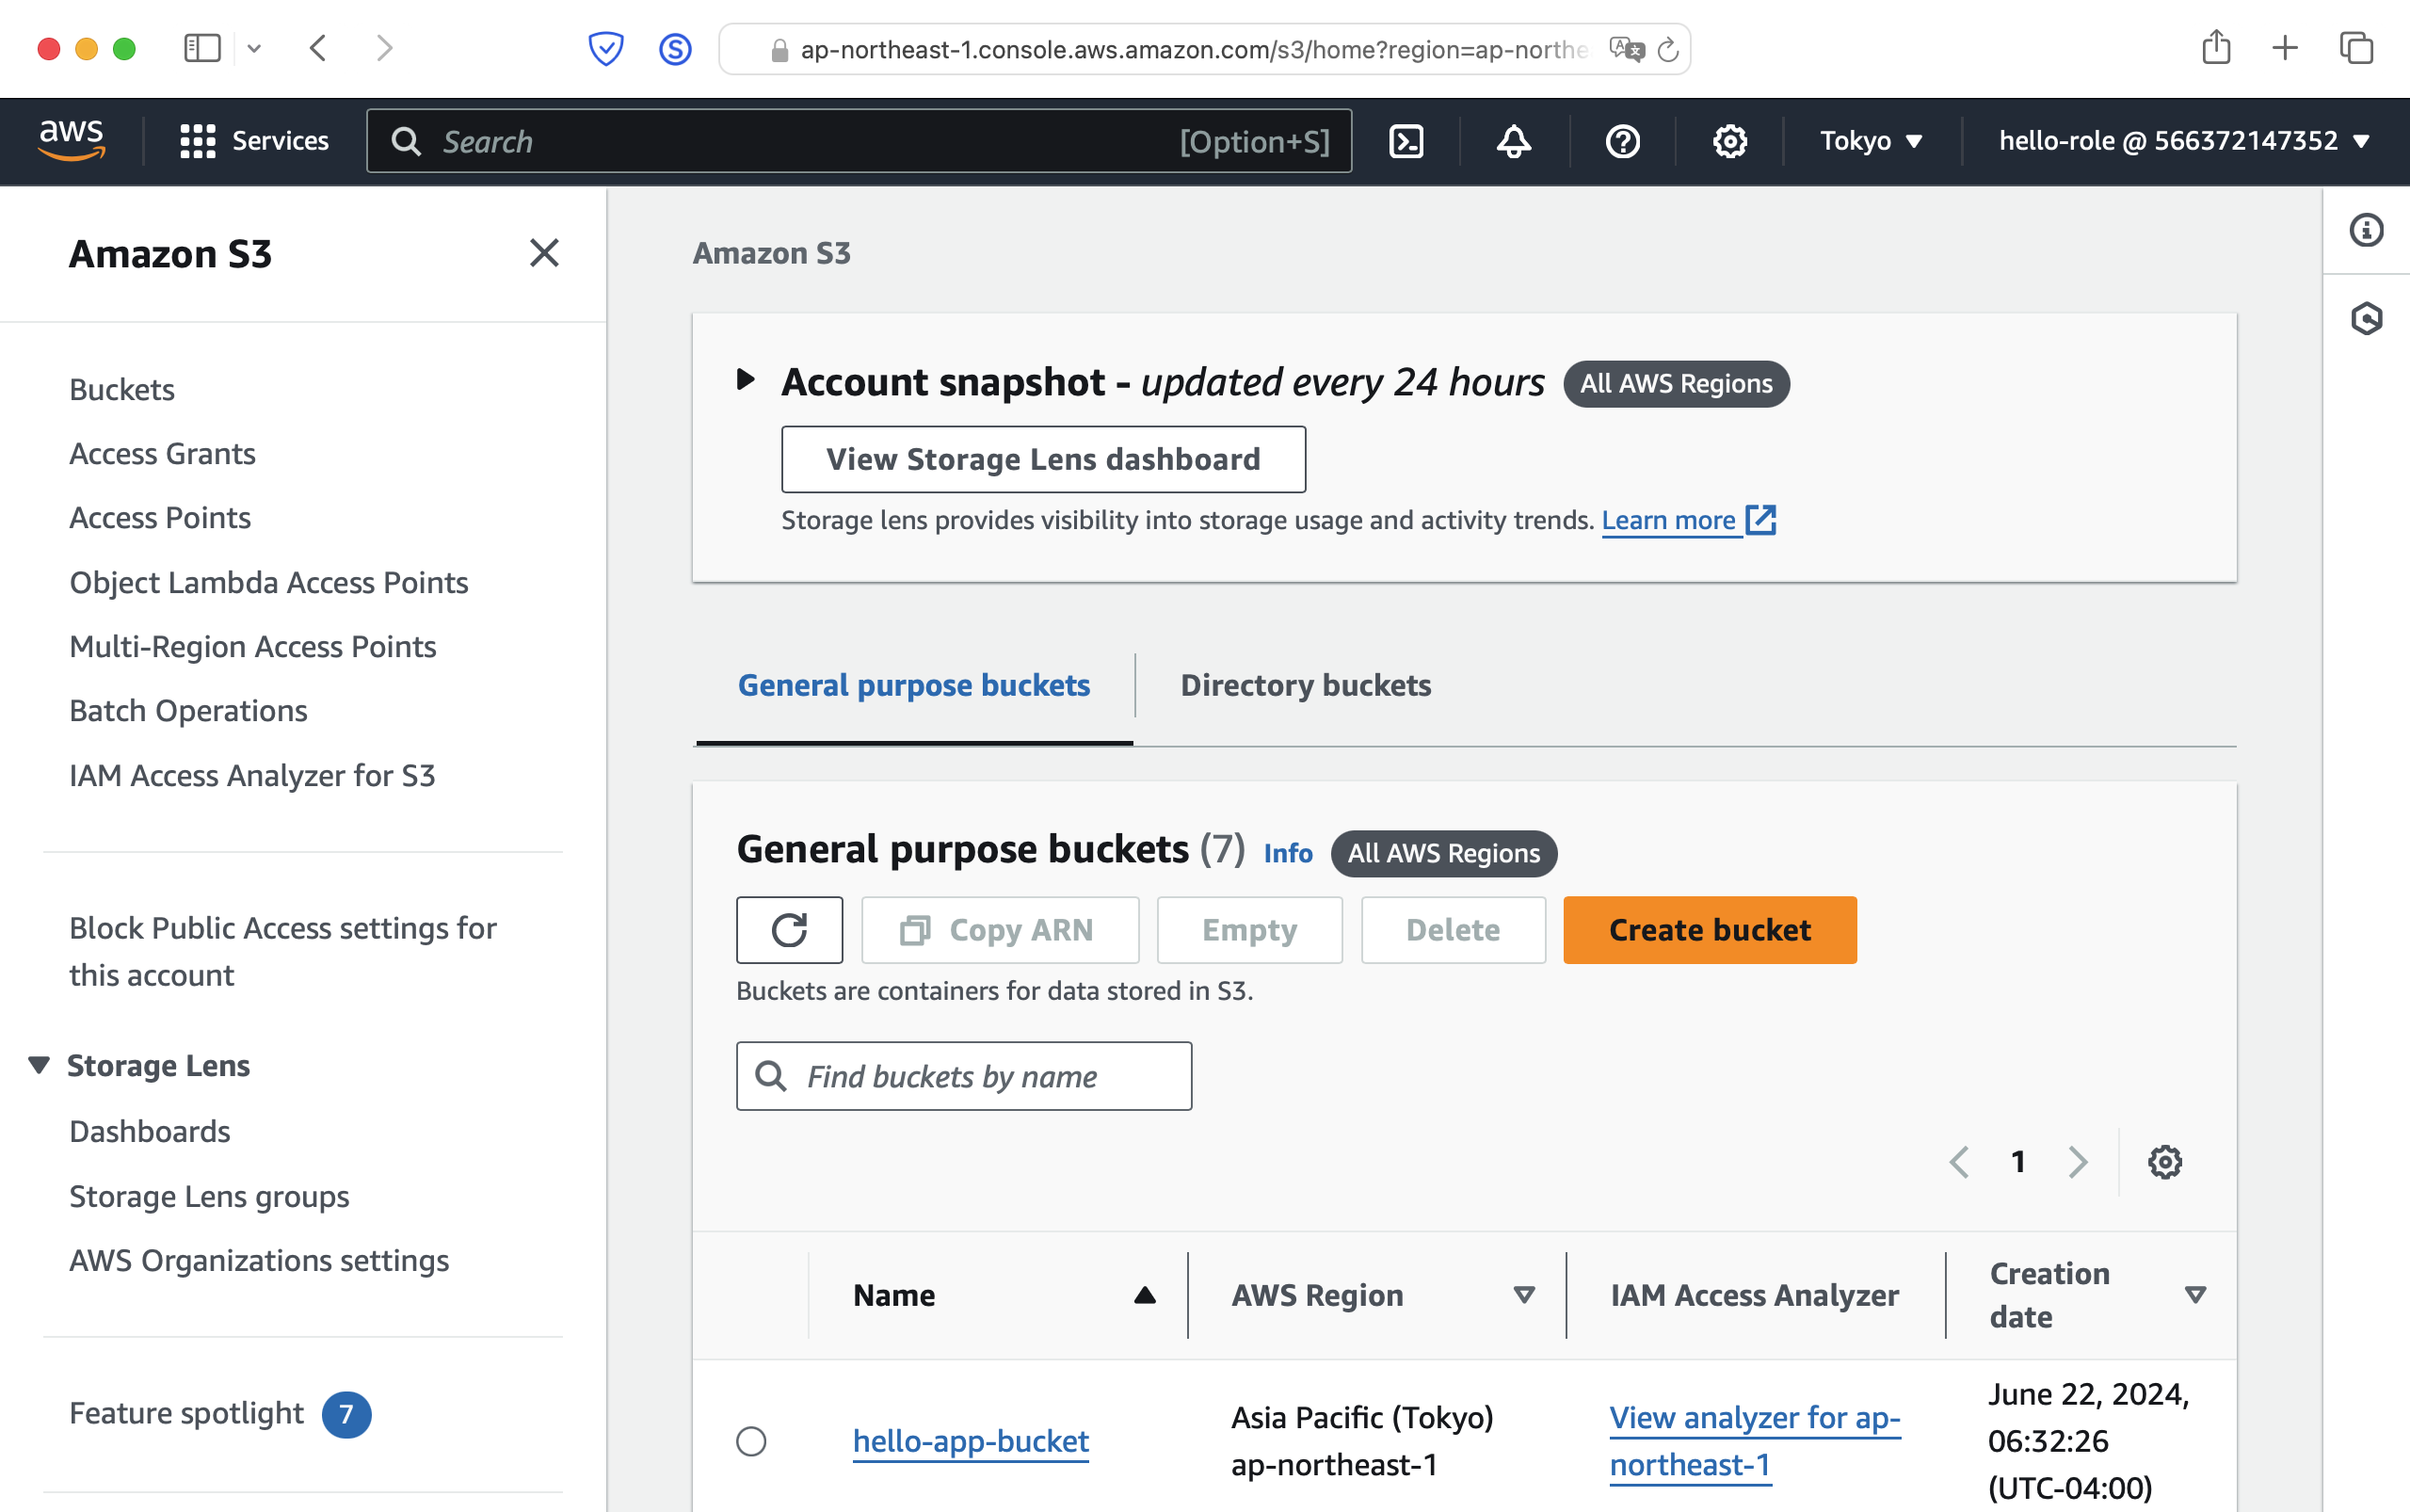
Switch Roleができたら、右上のユーザーが「hello-role」になっている事を確認します。うまくSwitch Roleができたようです。
コンソールからAmazon S3 > Bucket Listへ
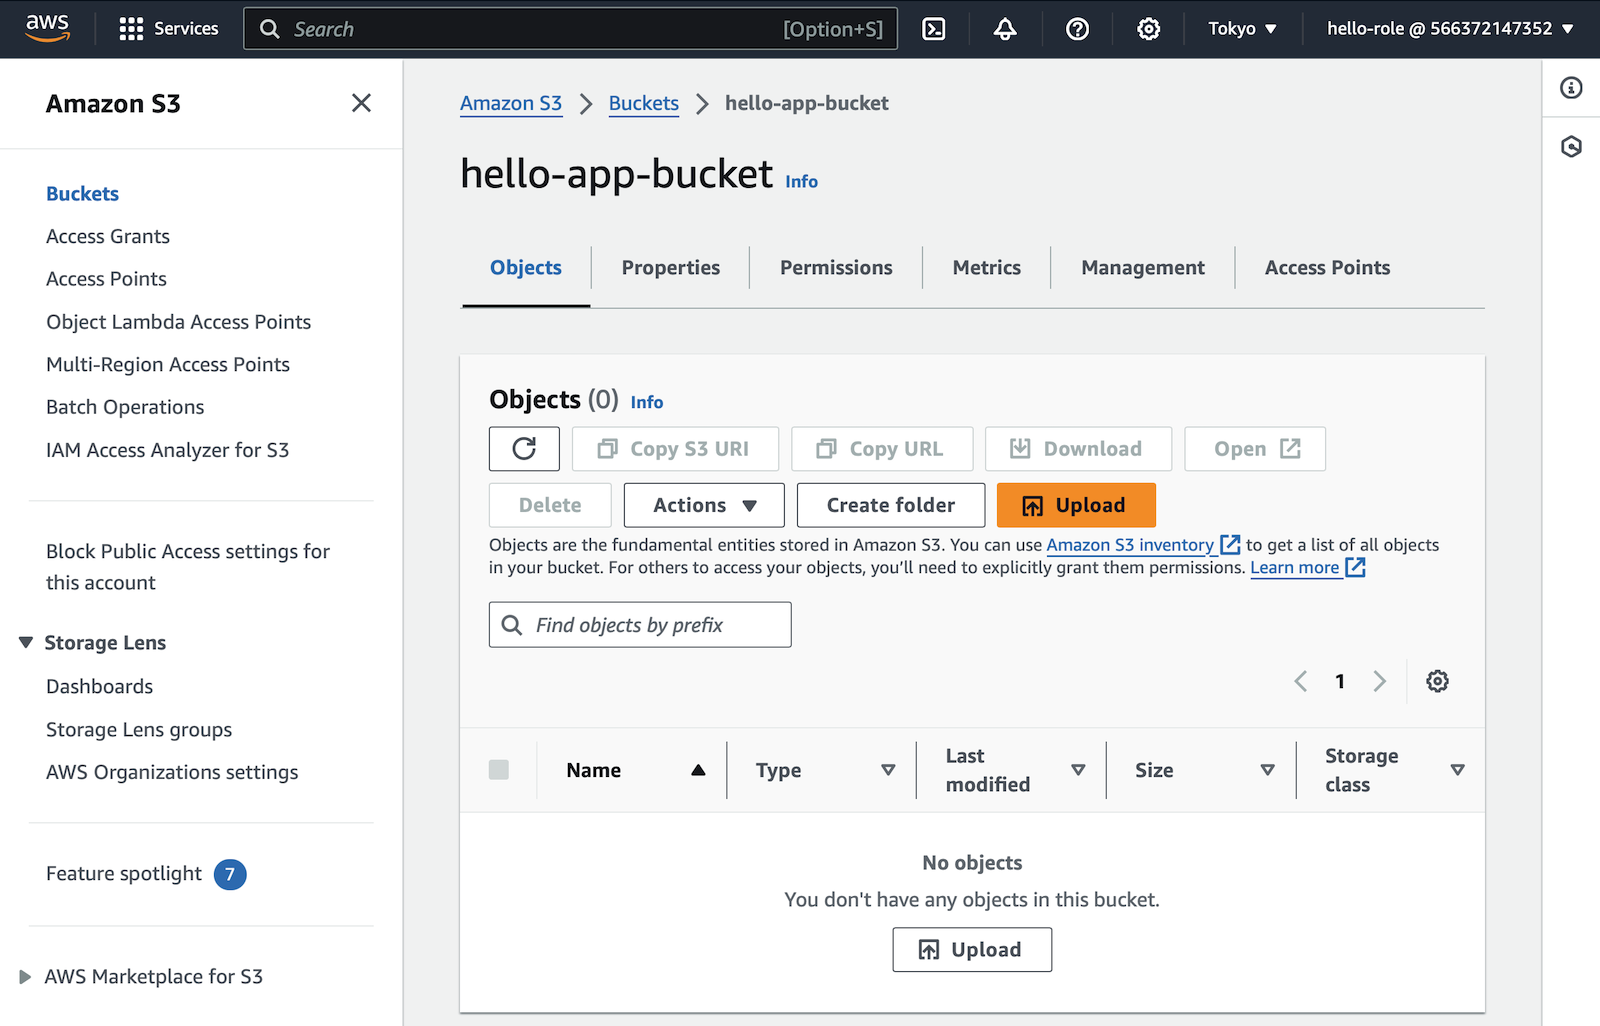
hello-app-bucketを選ぶと、オブジェクトをアップロードダウンロードできる事が確認できます。
Xcode
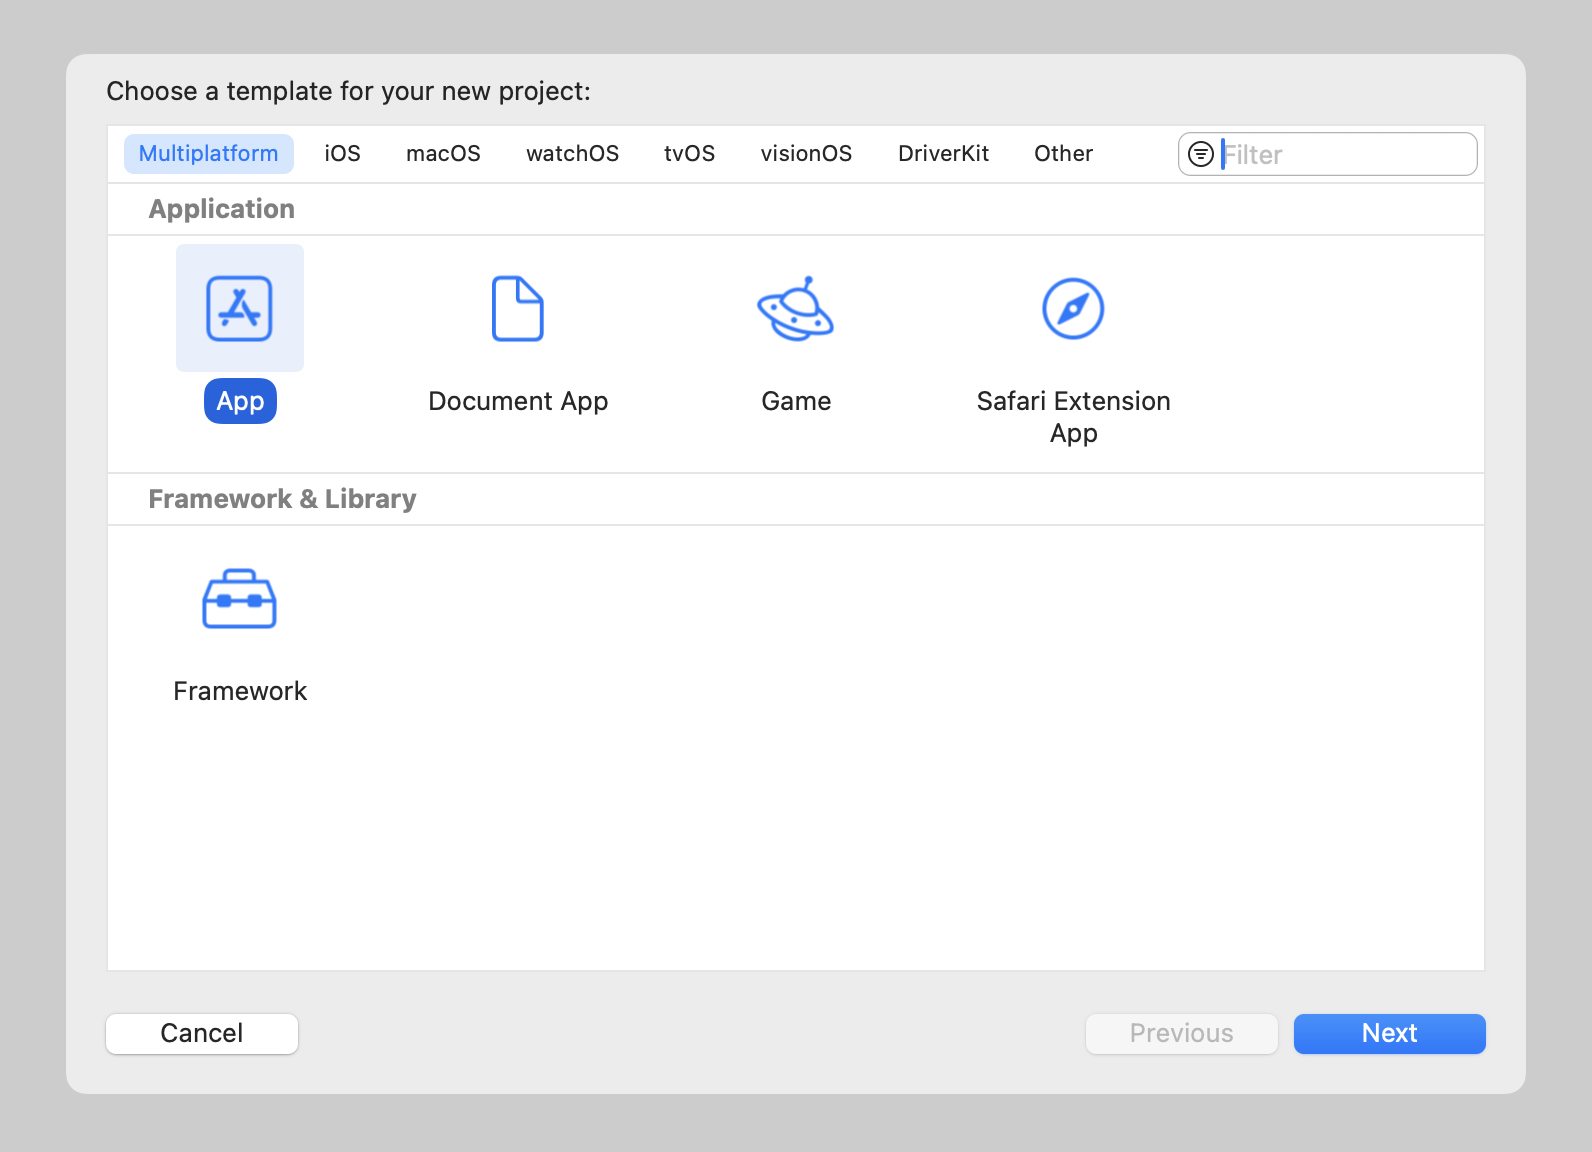
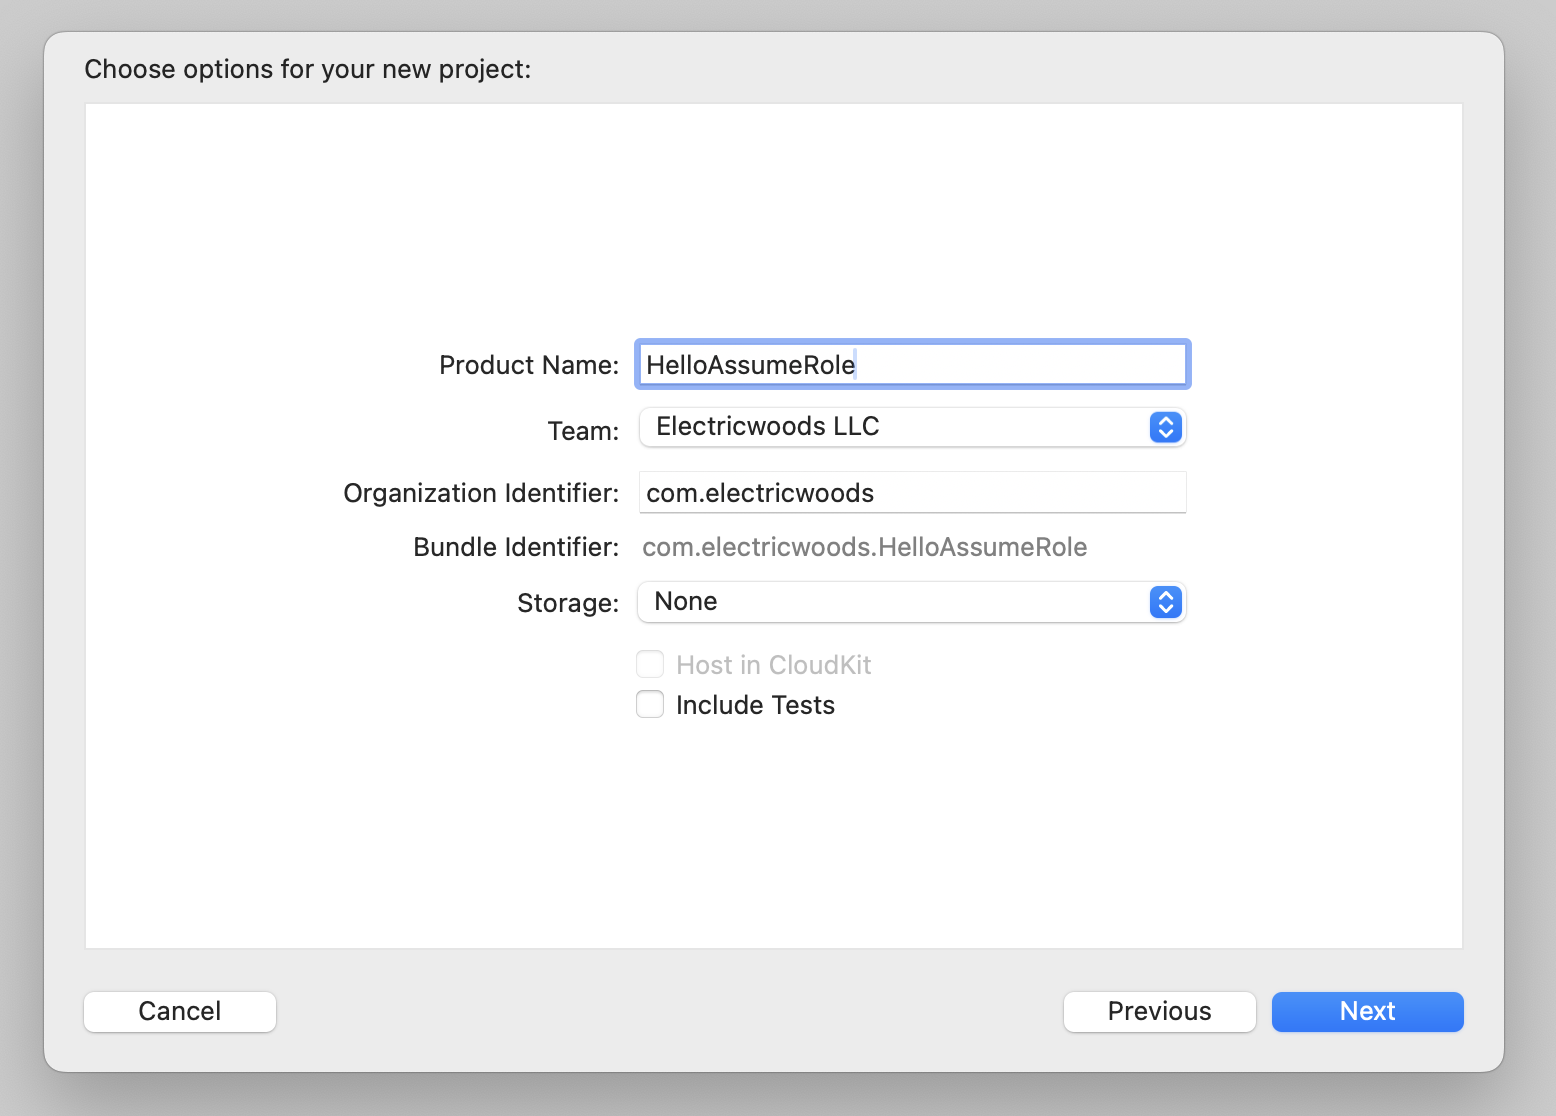
Xcode でプロジェクトを作成します。今回Multiplatformを選んでみました。
適当すぎますが、プロジェクト名をHelloAssumeRoleにしてみました。
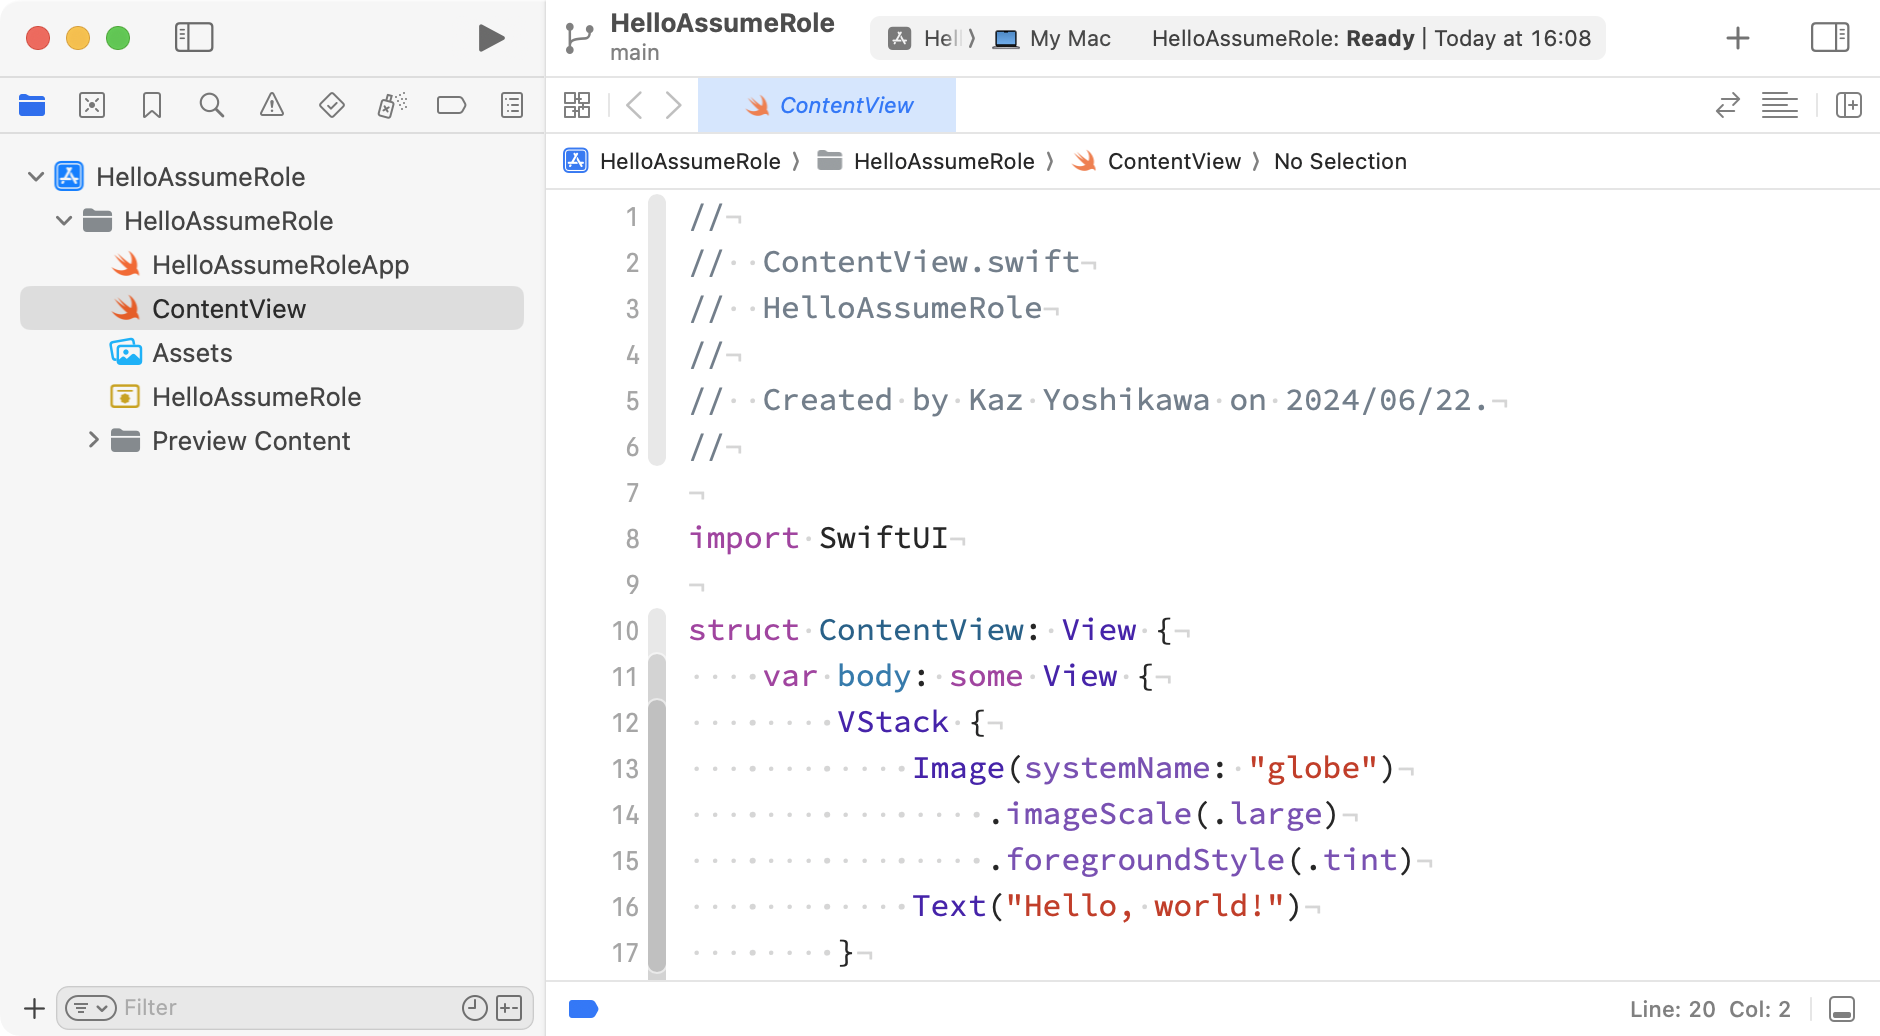
こんな所をスタート地点とします。
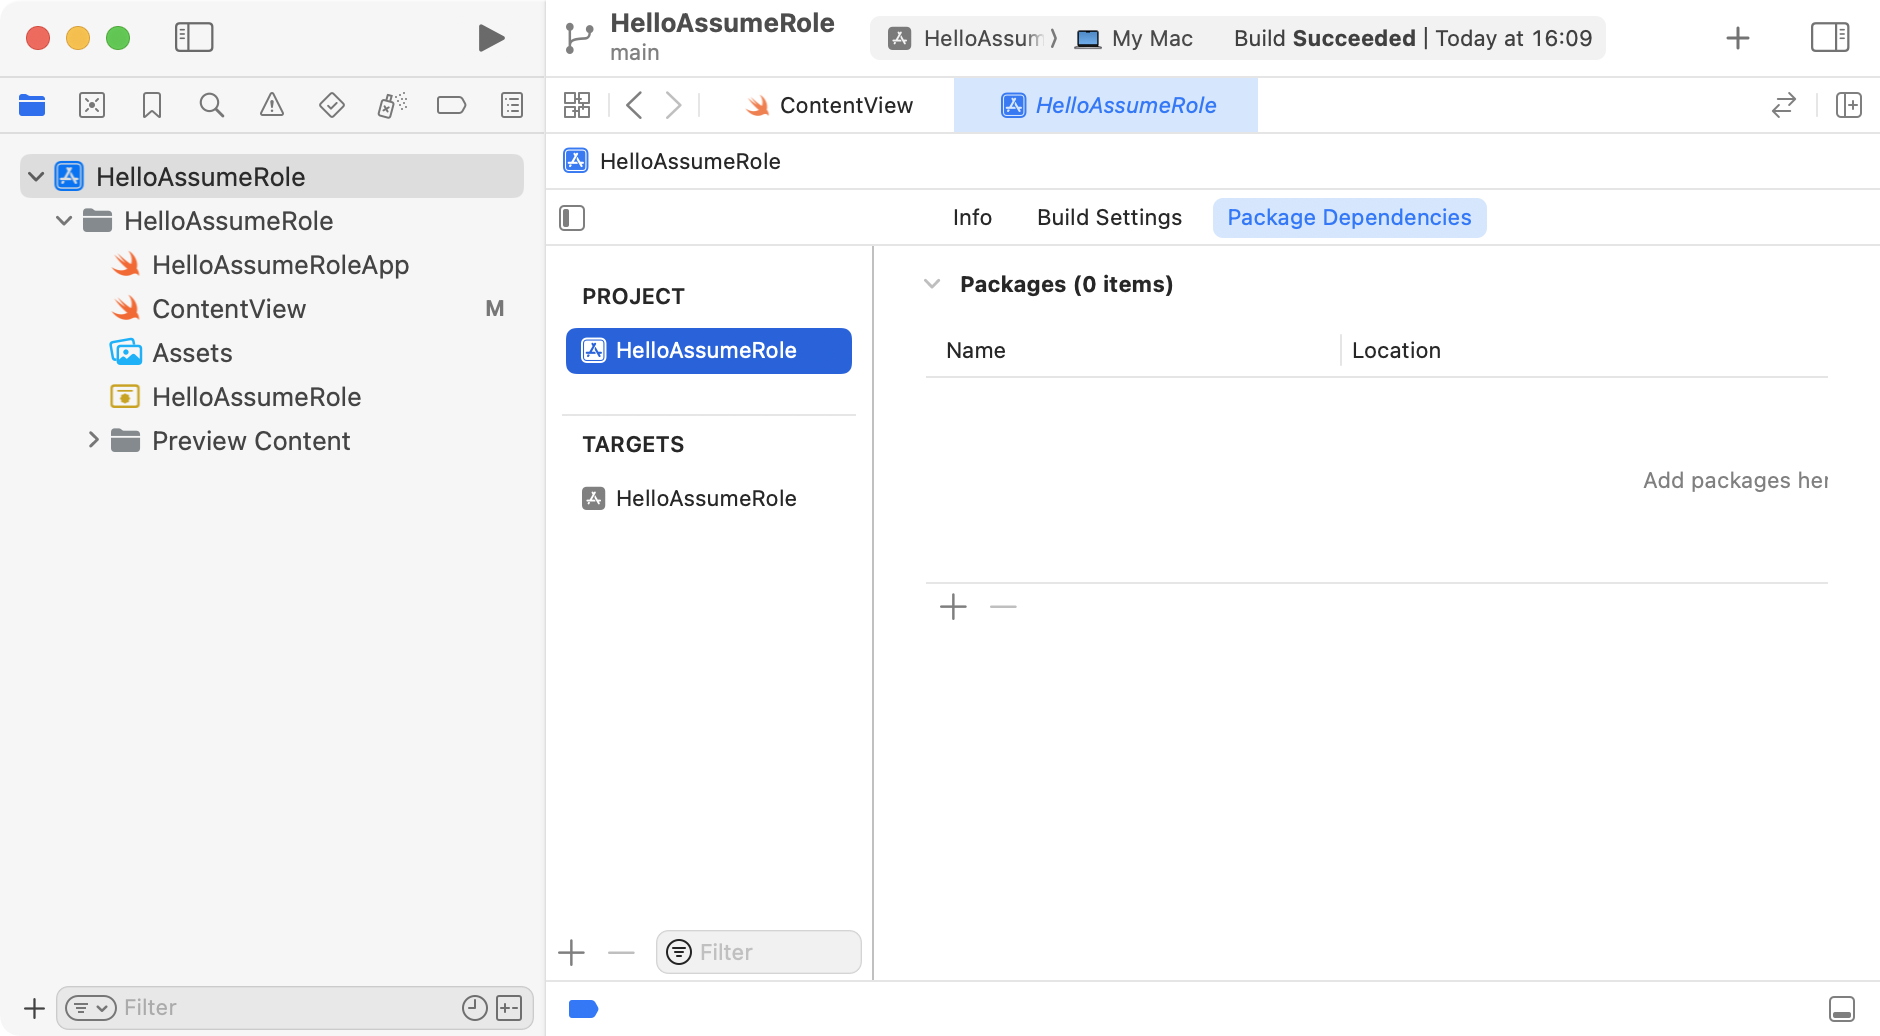
Project > HelloAssumeRole > Package Dependenciesからパッケージを追加します。
今回は、aws0sdk-swiftを利用する事とします。ステータスはDeveloper Previewなので早く正式リリースを待ちたい所です。
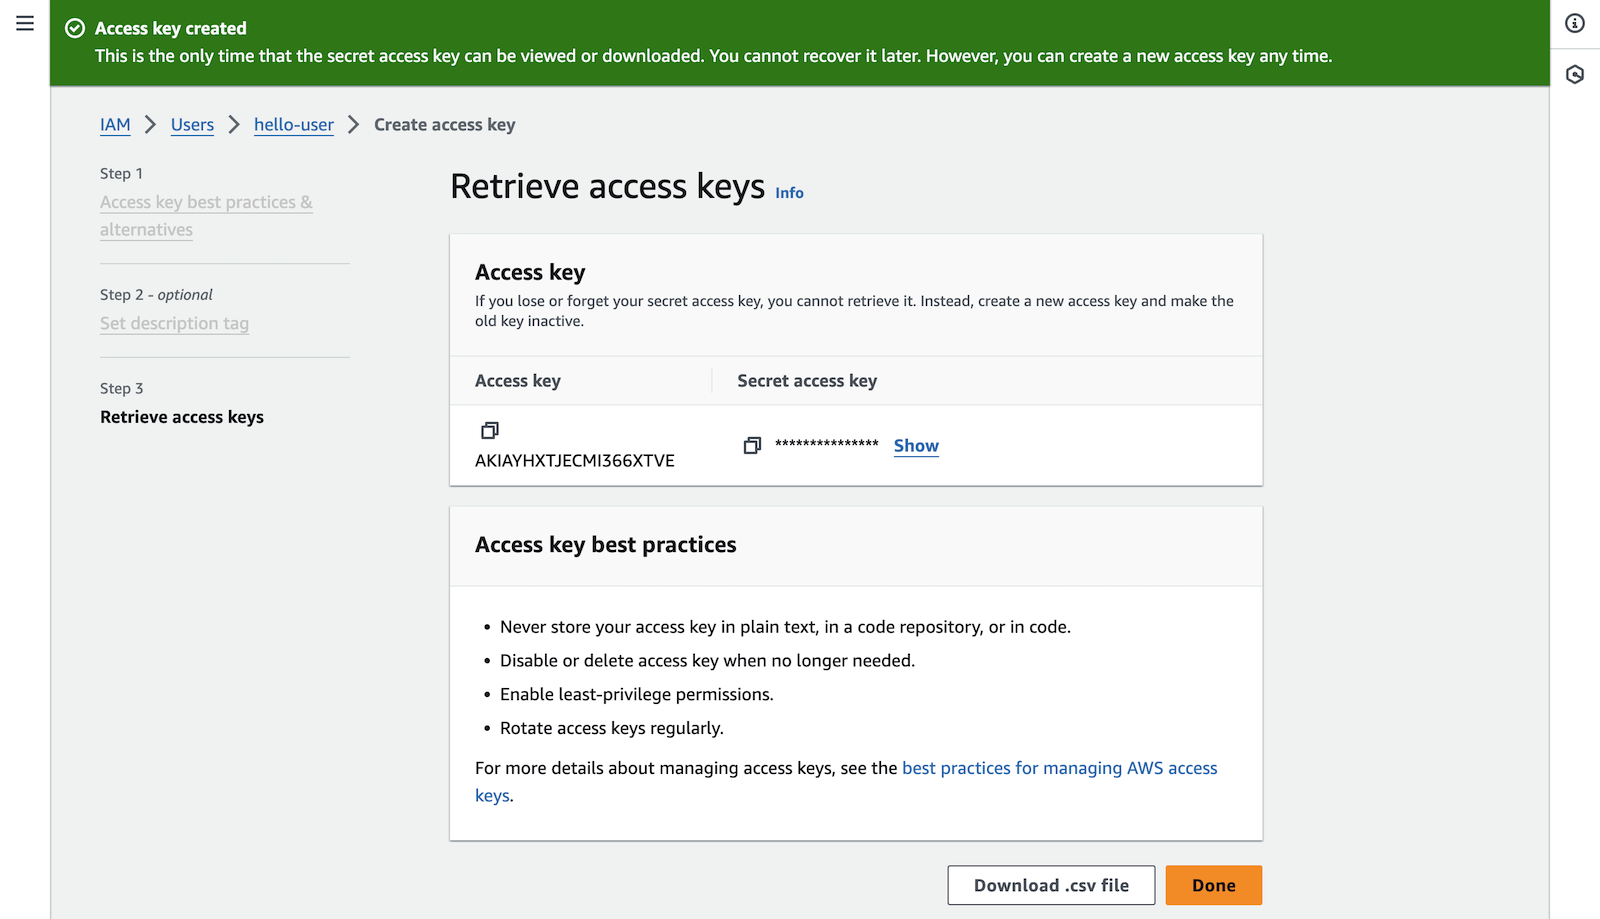
先にやっておけば良かったのですが、ここで、hello-userのアスセスキーとシークレットキーを取得します。IAM > Users > hello-user から Access keys の Create access keyを選びます。
キーの作成が終わったらら、アクセスキーとシークレットキーをメモします。心配であれば、CSVをダウンロードしておきます。
Xcodeに戻ります。
import Foundation
import AWSClientRuntime
import AWSSDKIdentity
import AWSS3
import AWSSTS
import Smithy
import SmithyIdentity

class ContentManager: ObservableObject {

	struct Item: Codable, Hashable {
		let uuid: UUID
		let timestamp: Date
		var timestampString: String {
			let formater = DateFormatter()
			formater.dateStyle = .long
			formater.timeStyle = .long
			return formater.string(from: self.timestamp)
		}
		var key: String {
			return (self.uuid.uuidString as NSString).appendingPathExtension("plist")!
		}
	}

	let accessKey: String = "YOUR_ACCESS_KEY"
	let secretKey: String = "YOUR_SECRET_KEY"
	let region: String = "YOUR_REGION"
	let roleArn: String = "YOUR_ROLE_ARN"
	let bucket = "YOUR_BUCKET_NAME"

	static let shared = ContentManager()

	private init() {
	}
	func makeSTSClient() throws -> STSClient {
		let identity = AWSCredentialIdentity(accessKey: self.accessKey, secret: self.secretKey)
		let resolver = try StaticAWSCredentialIdentityResolver(identity)
		let configuration = try STSClient.STSClientConfiguration(awsCredentialIdentityResolver: resolver, region: self.region, signingRegion: self.region)
		let stsClient = STSClient(config: configuration)
		return stsClient
	}
	func assumeRole() async throws -> STSClientTypes.Credentials {
		let stsClient = try self.makeSTSClient()
		let output = try await stsClient.assumeRole(input: AssumeRoleInput(roleArn: self.roleArn, roleSessionName: "content.manager"))
		guard let credentials = output.credentials else {
			throw NSError(domain: "ContentManager", code: -1, userInfo: [NSLocalizedDescriptionKey: "Failed to assume role"])
		}
		return credentials
	}
	func makeS3Client() async throws -> S3Client {
		let credentials = try await self.assumeRole()
		guard let accessKeyId = credentials.accessKeyId, let secret = credentials.secretAccessKey, let sessionToken = credentials.sessionToken
		else { fatalError() }
		let identity = AWSCredentialIdentity(accessKey: accessKeyId, secret: secret, sessionToken: sessionToken)
		let resolver = try StaticAWSCredentialIdentityResolver(identity)
		let configuration = try await S3Client.S3ClientConfiguration(awsCredentialIdentityResolver: resolver, region: self.region, signingRegion: self.region)
		let s3Client = S3Client(config: configuration)
		return s3Client
	}
	private var _s3Client: S3Client?
	func s3Client() async throws -> S3Client {
		if let s3Client = self._s3Client { return s3Client }
		let s3Client = try await self.makeS3Client()
		self._s3Client = s3Client
		return s3Client
	}
	func listItems() async throws -> [String] {
		let result = try await self.s3Client().listObjectsV2(input: ListObjectsV2Input(bucket: self.bucket))
		return (result.contents ?? []).compactMap { $0.key }
	}
	func getItem(key: String) async throws -> Item? {
		let result = try await self.s3Client().getObject(input: GetObjectInput(bucket: self.bucket, key: key))
		guard let binary = try await result.body?.readData()
		else { throw NSError(domain: "getItem", code: -1, userInfo: [NSLocalizedDescriptionKey : "no body data"]) }
		guard let item = try? PropertyListDecoder().decode(Item.self, from: binary)
		else { throw NSError(domain: "getItem", code: -1, userInfo: [NSLocalizedDescriptionKey : "item can't be decoded"]) }
		assert(UUID(uuidString: (key as NSString).deletingPathExtension) == item.uuid) // TLDR: assume key name represent uuid
		return item
	}
	func putItem(_ item: Item) async throws {
		let binary = try PropertyListEncoder().encode(item)
		let result = try await self.s3Client().putObject(input: PutObjectInput(body: ByteStream.data(binary), bucket: self.bucket, key: item.key))
		print(result)
	}
	func deleteItem(_ item: Item) async throws {
		let key = (item.uuid.uuidString as NSString).appendingPathExtension("plist")
		let _ = try await self.s3Client().deleteObject(input: DeleteObjectInput(bucket: self.bucket, key: item.key))
	}
	func allItems() async throws -> [Item] {
		let keys = try await listItems()
		var items: [Item] = []
		for key in keys {
			if let item = try await getItem(key: key) {
				items.append(item)
			}
		}
		return items
	}
}
import SwiftUI

struct ContentView: View {

	let contentsManager = ContentManager.shared

	@State var items = [ContentManager.Item]()
	@State var loadingCount = 0
	var body: some View {
		NavigationStack {
			VStack {
				List (self.items, id: \.self) { item in
					HStack {
						VStack {
							Text(item.uuid.uuidString)
							Text(item.timestampString)
						}
						Spacer()
						Button {
							self.deleteItem(item)
						} label: {
							Image(systemName: "trash")
						}

					}
				}
			}
			.toolbar {
				Button {
					self.reload()
				} label: {
					Image(systemName: "arrow.clockwise")
				}
				Button {
					Task {
						do {
							let item = ContentManager.Item(uuid: UUID(), timestamp: Date())
							try await self.contentsManager.putItem(item)
							self.reload()
						}
						catch {
							print("\(error)")
						}
					}
				} label: {
					Image(systemName: "plus")
				}
			}
		}
		.onAppear() {
			self.reload()
		}
		#if os(iOS)
		.navigationBarHidden(false)
		#endif
		.navigationTitle("Hello Assume Role")
		.overlay {
			if self.loadingCount > 0 {
				ProgressView("Now loading...")
			}
		}
	}
	func deleteItem(_ item: ContentManager.Item) {
		Task {
			self.loadingCount += 1
			defer { self.loadingCount -= 1 }
			do {
				try await self.contentsManager.deleteItem(item)
				self.reload()
			}
			catch {
				print("\(error)")
			}
		}
	}
	func reload() {
		Task {
			self.loadingCount += 1
			defer { self.loadingCount -= 1 }
			do {
				let items = try await contentsManager.allItems()
				self.items = items.sorted(by: { $0.timestamp < $1.timestamp })
			}
			catch {
				print("\(error)")
			}
		}
	}
}
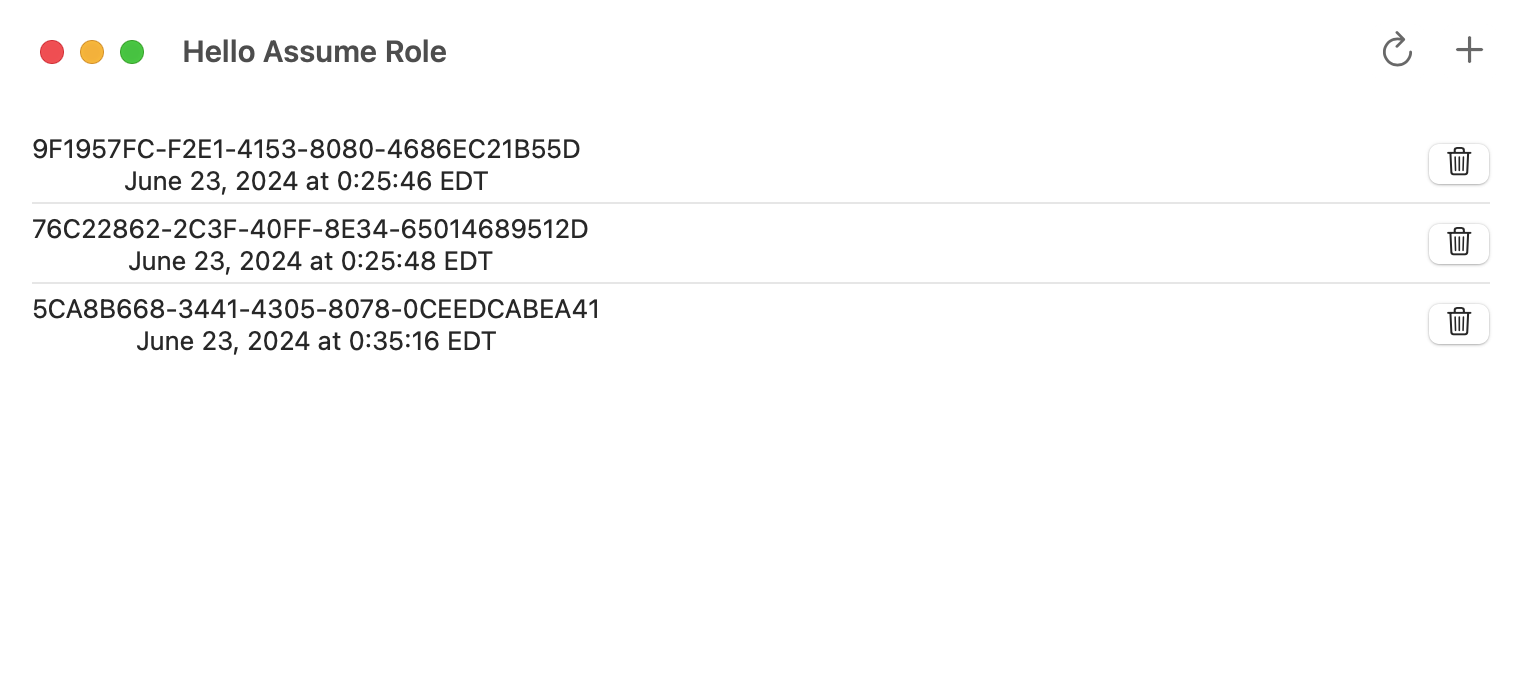
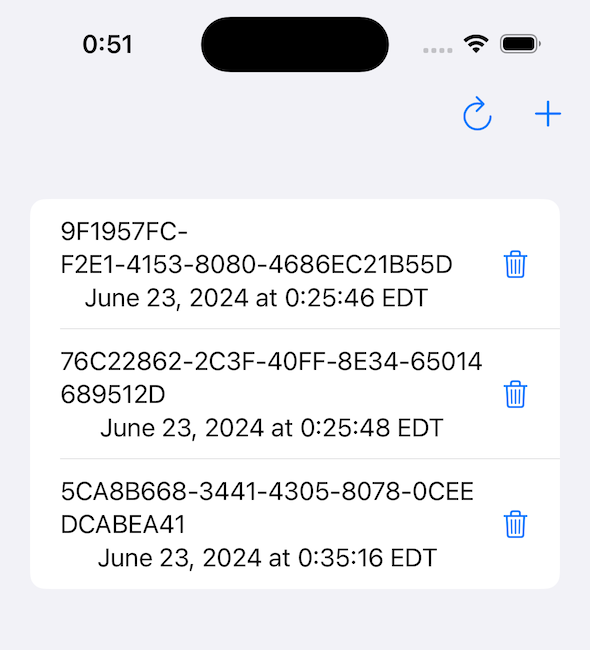
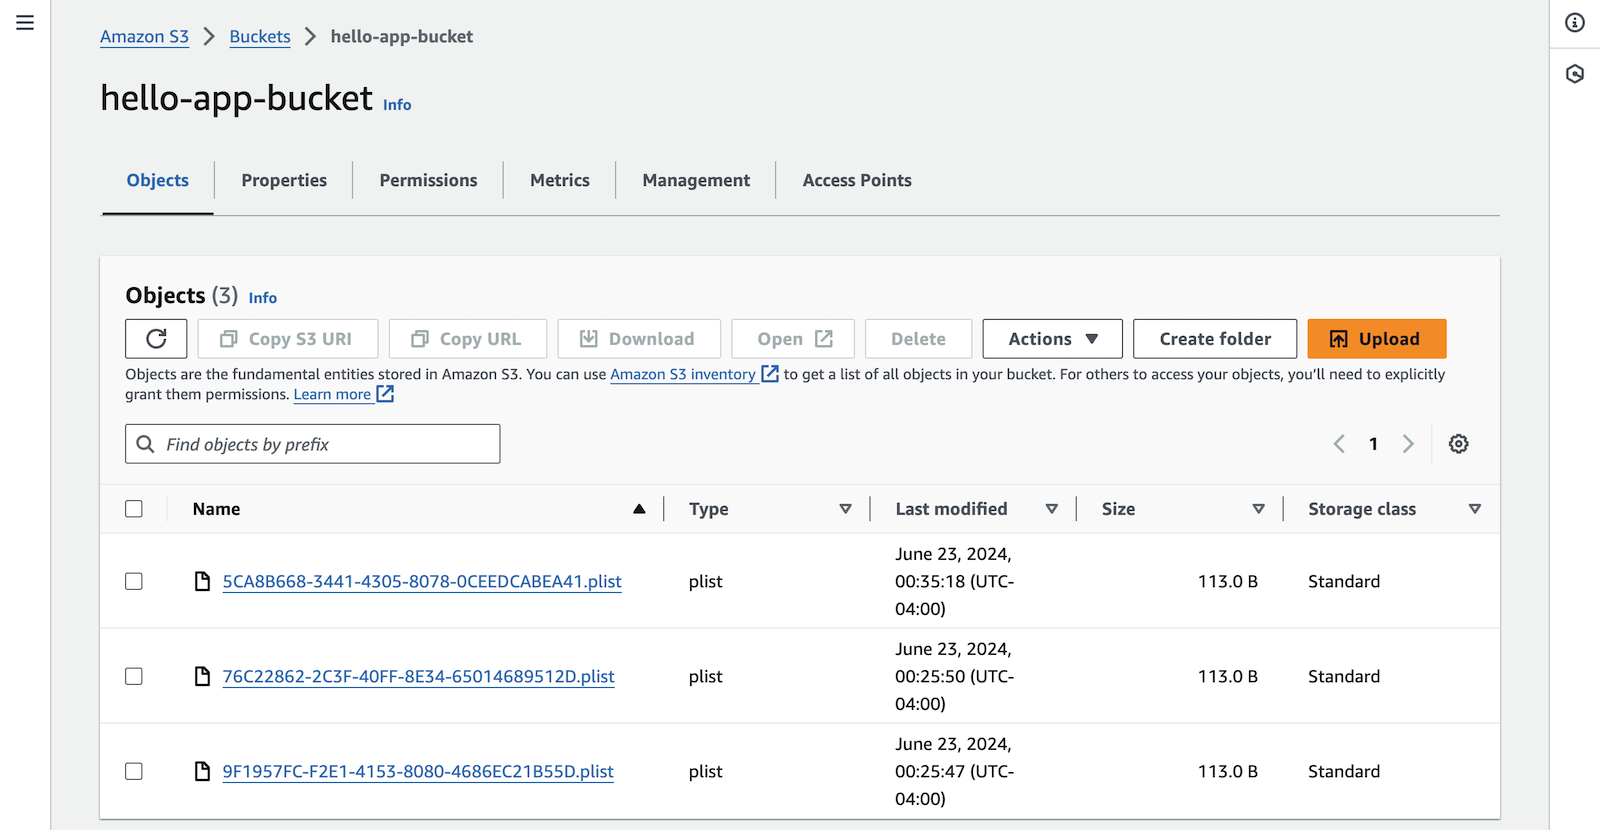
デモアプリは+でアイテムの追加、Trashアイコンで削除、リロードアイコンでリフレッシュと単純な機能しかありません。S3に書き込んだデータは自動更新されないので、手動でリロードボタンを押す必要があります。やっていると、さらにこだわりたくなってきますが、ただの動作検証コードなので、ぐっと抑えます。アイテムは「+」をおした時にUUIDの生成とそのタイムスタンプを plist にしてS3のオブジェクトとして保存します。
AWS > S3 > hello-app-bucketを覗くとちゃんと保存されています。
最後に
動作検証コードはgithubにアップロードしました。ACCESS KEY関連は各自、自分のものを利用してください。
なにせ数えきれないくらいの試行錯誤を繰り返して、ここまで辿り着いたので、関連性の低い事が重要そうに書いてあったり、別に重要な事がたまたまシナリオやユースケースや環境などによってたまたま動いているだけの可能性もあります。
個人的には、暗黙的にいろいろなリソースを勝手に使うAmplifyはどうも好きになれないので、AWS-SDK-Swiftで頑張っています。


