動作環境 : M1 Macbook Air (2020)
(M2 Macbook Airでも確認済み)
0. はじめに
当方の使っているMacbook Airであるが、キーボードの最上段は以下のようになっている。
| キー | 機能 |
|---|---|
| esc | escape |
| F1 | 画面を暗くする |
| F2 | 画面を明るくする |
| F3 | Mission Control |
| F4 | Spotlight検索 |
| F5 | 音声入力 |
| F6 | 集中モード |
| F7 | メディア前へ |
| F8 | メディア再生/停止 |
| F9 | メディア次へ |
| F10 | ミュート |
| F11 | 音量を下げる |
| F12 | 音量を上げる |
| 電源 | Touch IDも兼ねる |
このうちF4 ~ F6の機能については使用しなかったため、「便利な機能つけたいなー」と思い立ったためとりあえず、
- F4 -> Wi-Fiトグルスイッチ
- F5 -> Bluetoothトグルスイッチ
- F6 -> スクリーンショット
としてみた。
3ヶ月ほど使ってみての感想だが、非常に快適である。たまに「スクショをとるはずがBluetoothを切ってしまう」などの押し間違いが発生するが、機能については満足している。
今回はkarabiner-elementsというMacのキー割り当てを変更するアプリとシェルスクリプトを用いて実装したので解説する。
1. Karabiner-elementsの導入とシェル
Karabiner-Elementsの導入方法についてはこちらの記事などがおすすめ。
さて、複雑なキーボード割り当てについてはjsonファイルの操作が必要となる。某GPT先生にお伺いしながら進めていった。
Karabiner-Elements では、直接 Wi-Fi を操作することはできないため、F4キーでシェルスクリプトを実行するように設定し、そのスクリプトで Wi-Fi をオンにする形になります。
とのことなので、まずはWi-Fiのトグル、Bluetoothのトグル、スクリーンショットを行うシェルを準備する。
1-1. Wi-Fiトグル
#!/bin/bash

# Wi-Fiインターフェース名を指定(通常はen0ですが、違う場合は変更)
WIFI_DEVICE="en0"

# 現在のWi-Fi状態を取得
POWER_STATE=$(networksetup -getairportpower "$WIFI_DEVICE" | awk '{print $NF}')

# オン・オフを切り替え
if [ "$POWER_STATE" = "On" ]; then
  networksetup -setairportpower "$WIFI_DEVICE" off
else
  networksetup -setairportpower "$WIFI_DEVICE" on
fi
続いて、実行権限を付与
chmod +x ~/.toggle_wifi.sh
1-2. Bluetoothトグル
Bluetooth制御にはblueutilというツールが必要。
Homebrewでインストールできる。
brew install blueutil
シェルファイルは以下。
#!/bin/bash

STATUS=$(/opt/homebrew/bin/blueutil --power)
if [ "$STATUS" = "1" ]; then
  /opt/homebrew/bin/blueutil --power 0
else
  /opt/homebrew/bin/blueutil --power 1
fi
補足 : blueutilを呼び出す際は絶対パスで指定する必要がある。
実行権限を付与。
chmod +x ~/.toggle_bluetooth.sh
1-3. スクリーンショット取得
#!/bin/bash

screencapture ~/Desktop/screenshot_$(date +%Y%m%d_%H%M%S).png
実行権限を付与。
chmod +x ~/screenshot.sh
jsonファイル編集後にF6を押すと、このような警告が出るため、[Open System Settings]を選択、Screen & System Audio Recordingのkarabiner-console_user_serverを許可する(指紋認証を求められる)。
最後にもう一度、F6を押すとこのような警告が出るため
Desktopにスクショが保存されていればOK。
2. Karabiner.jsonの編集
Karabiner-elementsのキー割り当て設定は
~/.config/karabiner/karabiner.jsonに保存されている。
編集するのは"profiles"セクションの"complex_modifications"の中にある"rules"というリストの部分。
karabiner.jsonの構造はざっくり以下のようになっている。
{
    "profiles": [
        {
            "name": "Default profile",
            "selected": true,
            "virtual_hid_keyboard": { "keyboard_type_v2": "jis" }
             //ここに"rules"を追加
        }
    ]
}
2-1. F4にWi-Fiトグルを割り当て
{
    "description": "F4 key to toggle Wi-Fi",
    "manipulators": [
        {
            "from": { "key_code": "f4" },
            "to": [{ "shell_command": "/Users/(ユーザ名)/.toggle_wifi.sh" }],
            "type": "basic"
        }
    ]
}
2-2. F5にBluetoothトグルを割り当て
{
    "description": "F5 key to toggle Bluetooth",
    "manipulators": [
        {
            "type": "basic",
            "from": { "key_code": "f5" },
            "to": [{ "shell_command": "/Users/(ユーザ名)/.toggle_bluetooth.sh" }]
        }
    ]
}
2-3. F6にスクショを割り当て
{
    "description": "F6 key to take full screenshot using screencapture",
    "manipulators": [
        {
            "type": "basic",
            "from": { "key_code": "f6" },
            "to": [{ "shell_command": "/Users/(ユーザ名)/.screenshot.sh" }]
        }
    ]
}
(確認しよう)
以下のようになっていればok。
{
    "global": { "enable_notification_window": false },
    "profiles": [
        {
            "complex_modifications": {
                "rules": [
                    {
                        "description": "F4 key to toggle Wi-Fi",
                        "manipulators": [
                            {
                                "from": { "key_code": "f4" },
                                "to": [{ "shell_command": "/Users/(ユーザ名)/.toggle_wifi.sh" }],
                                "type": "basic"
                            }
                        ]
                    },
                    {
                        "description": "F5 key to toggle Bluetooth",
                        "manipulators": [
                            {
                                "type": "basic",
                                "from": { "key_code": "f5" },
                                "to": [{ "shell_command": "/Users/(ユーザ名)/.toggle_bluetooth.sh" }]
                            }
                        ]
                    },
                    {
                        "description": "F6 key to take full screenshot using screencapture",
                        "manipulators": [
                            {
                                "type": "basic",
                                "from": { "key_code": "f6" },
                                "to": [{ "shell_command": "/Users/(ユーザ名)/.screenshot.sh" }]
                            }
                        ]
                    }
                ]
            },
            "devices": [
                {
                    "identifiers": {
                        "is_keyboard": true,
                        "product_id": 641,
                        "vendor_id": 1452
                    },
                    "simple_modifications": [
                     //(長いので省略)
                 ]
                }
            ],
            "name": "Default profile",
            "selected": true,
            "simple_modifications": [
                //(長いので省略)
            ],
            "virtual_hid_keyboard": {
                "indicate_sticky_modifier_keys_state": false,
                "keyboard_type_v2": "jis"
            }
        }
    ]
}
3. 各種実行権限付与
3-1. F4キーWiFi
特に必要ない。json設定後にF4キーを押すと、トグルスイッチが動作する。
3-2. F5キーBluetooth
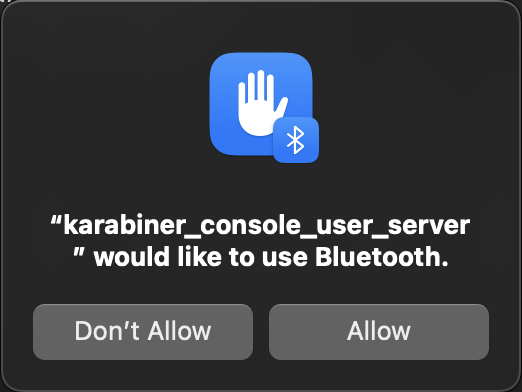
jsonファイル設定後にF5キーを押すと、このような警告が表示されるため許可する。
3-3. F6キースクリーンショット
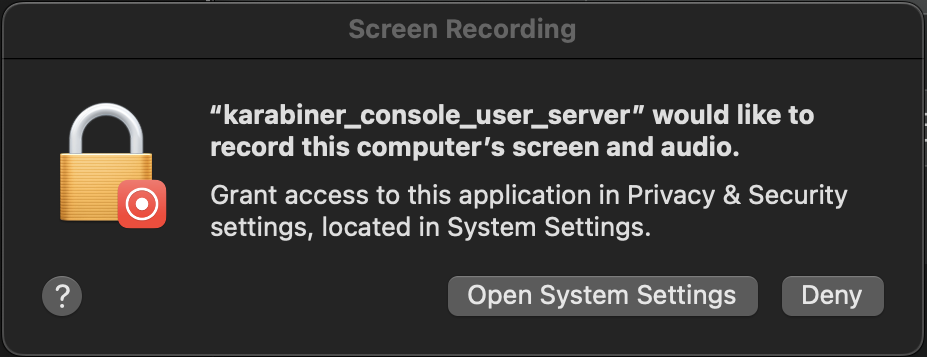
jsonファイル設定後にF6キーを押すと、このように画面と音声の収録を許可するように求められるため、[システム設定を開く]をクリック。

システム設定から、karabiner_console_user_serverのトグルをオン。
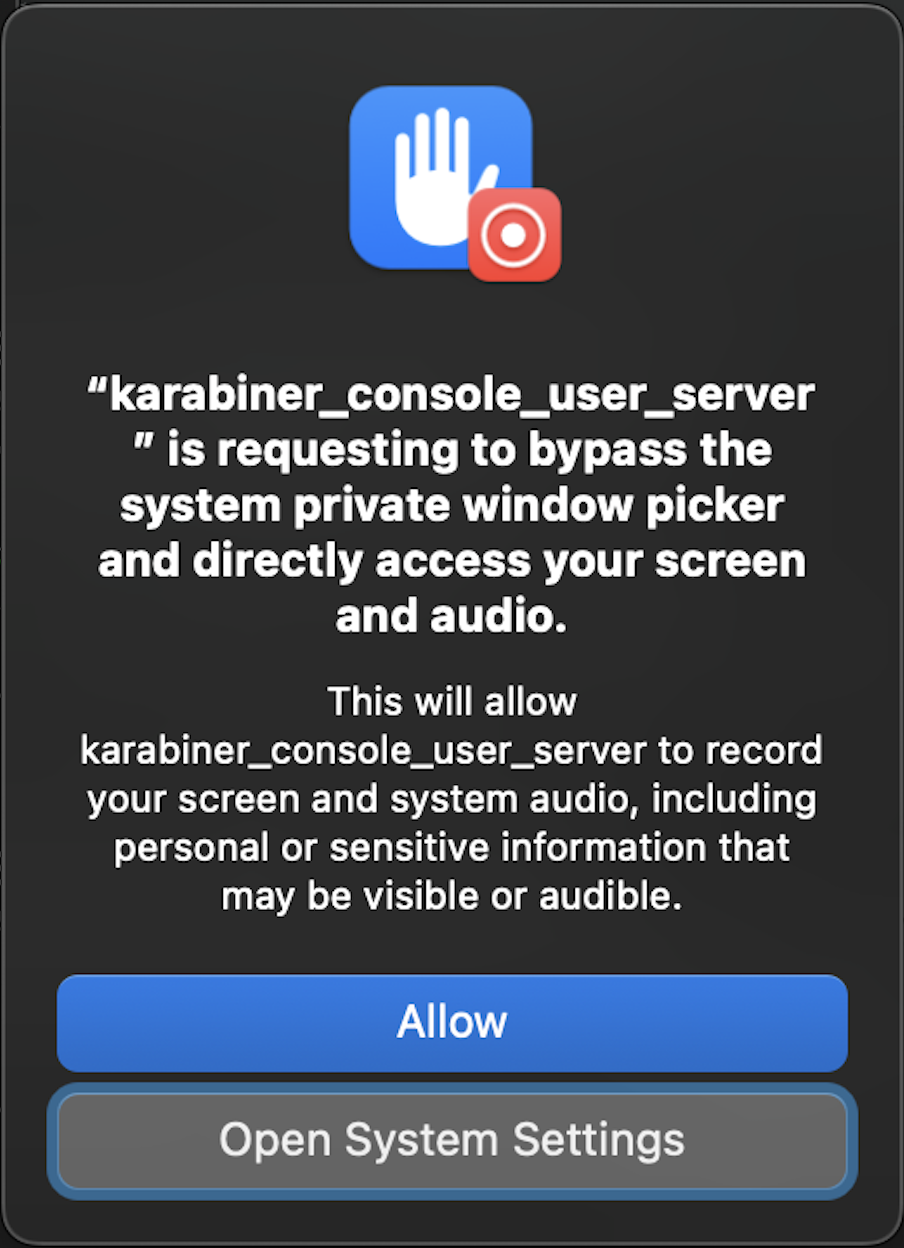
もう一度このように警告が出るため、許可する。
これでスクリーンショットが取得可能になる。F6キーを押した後、~/Desktopにスクリーンショットが保存されていればOK。
(おまけ)その他のキーボード割り当て
私の場合
- かなキー -> Delete
- fn -> かなキー
- Delete -> fn (ほぼ使わないが一応ね...)
小指を伸ばしてDeleteを押すのが大変なので、右親指でDeleteが押せるようにしたのだがなかなか快適である。